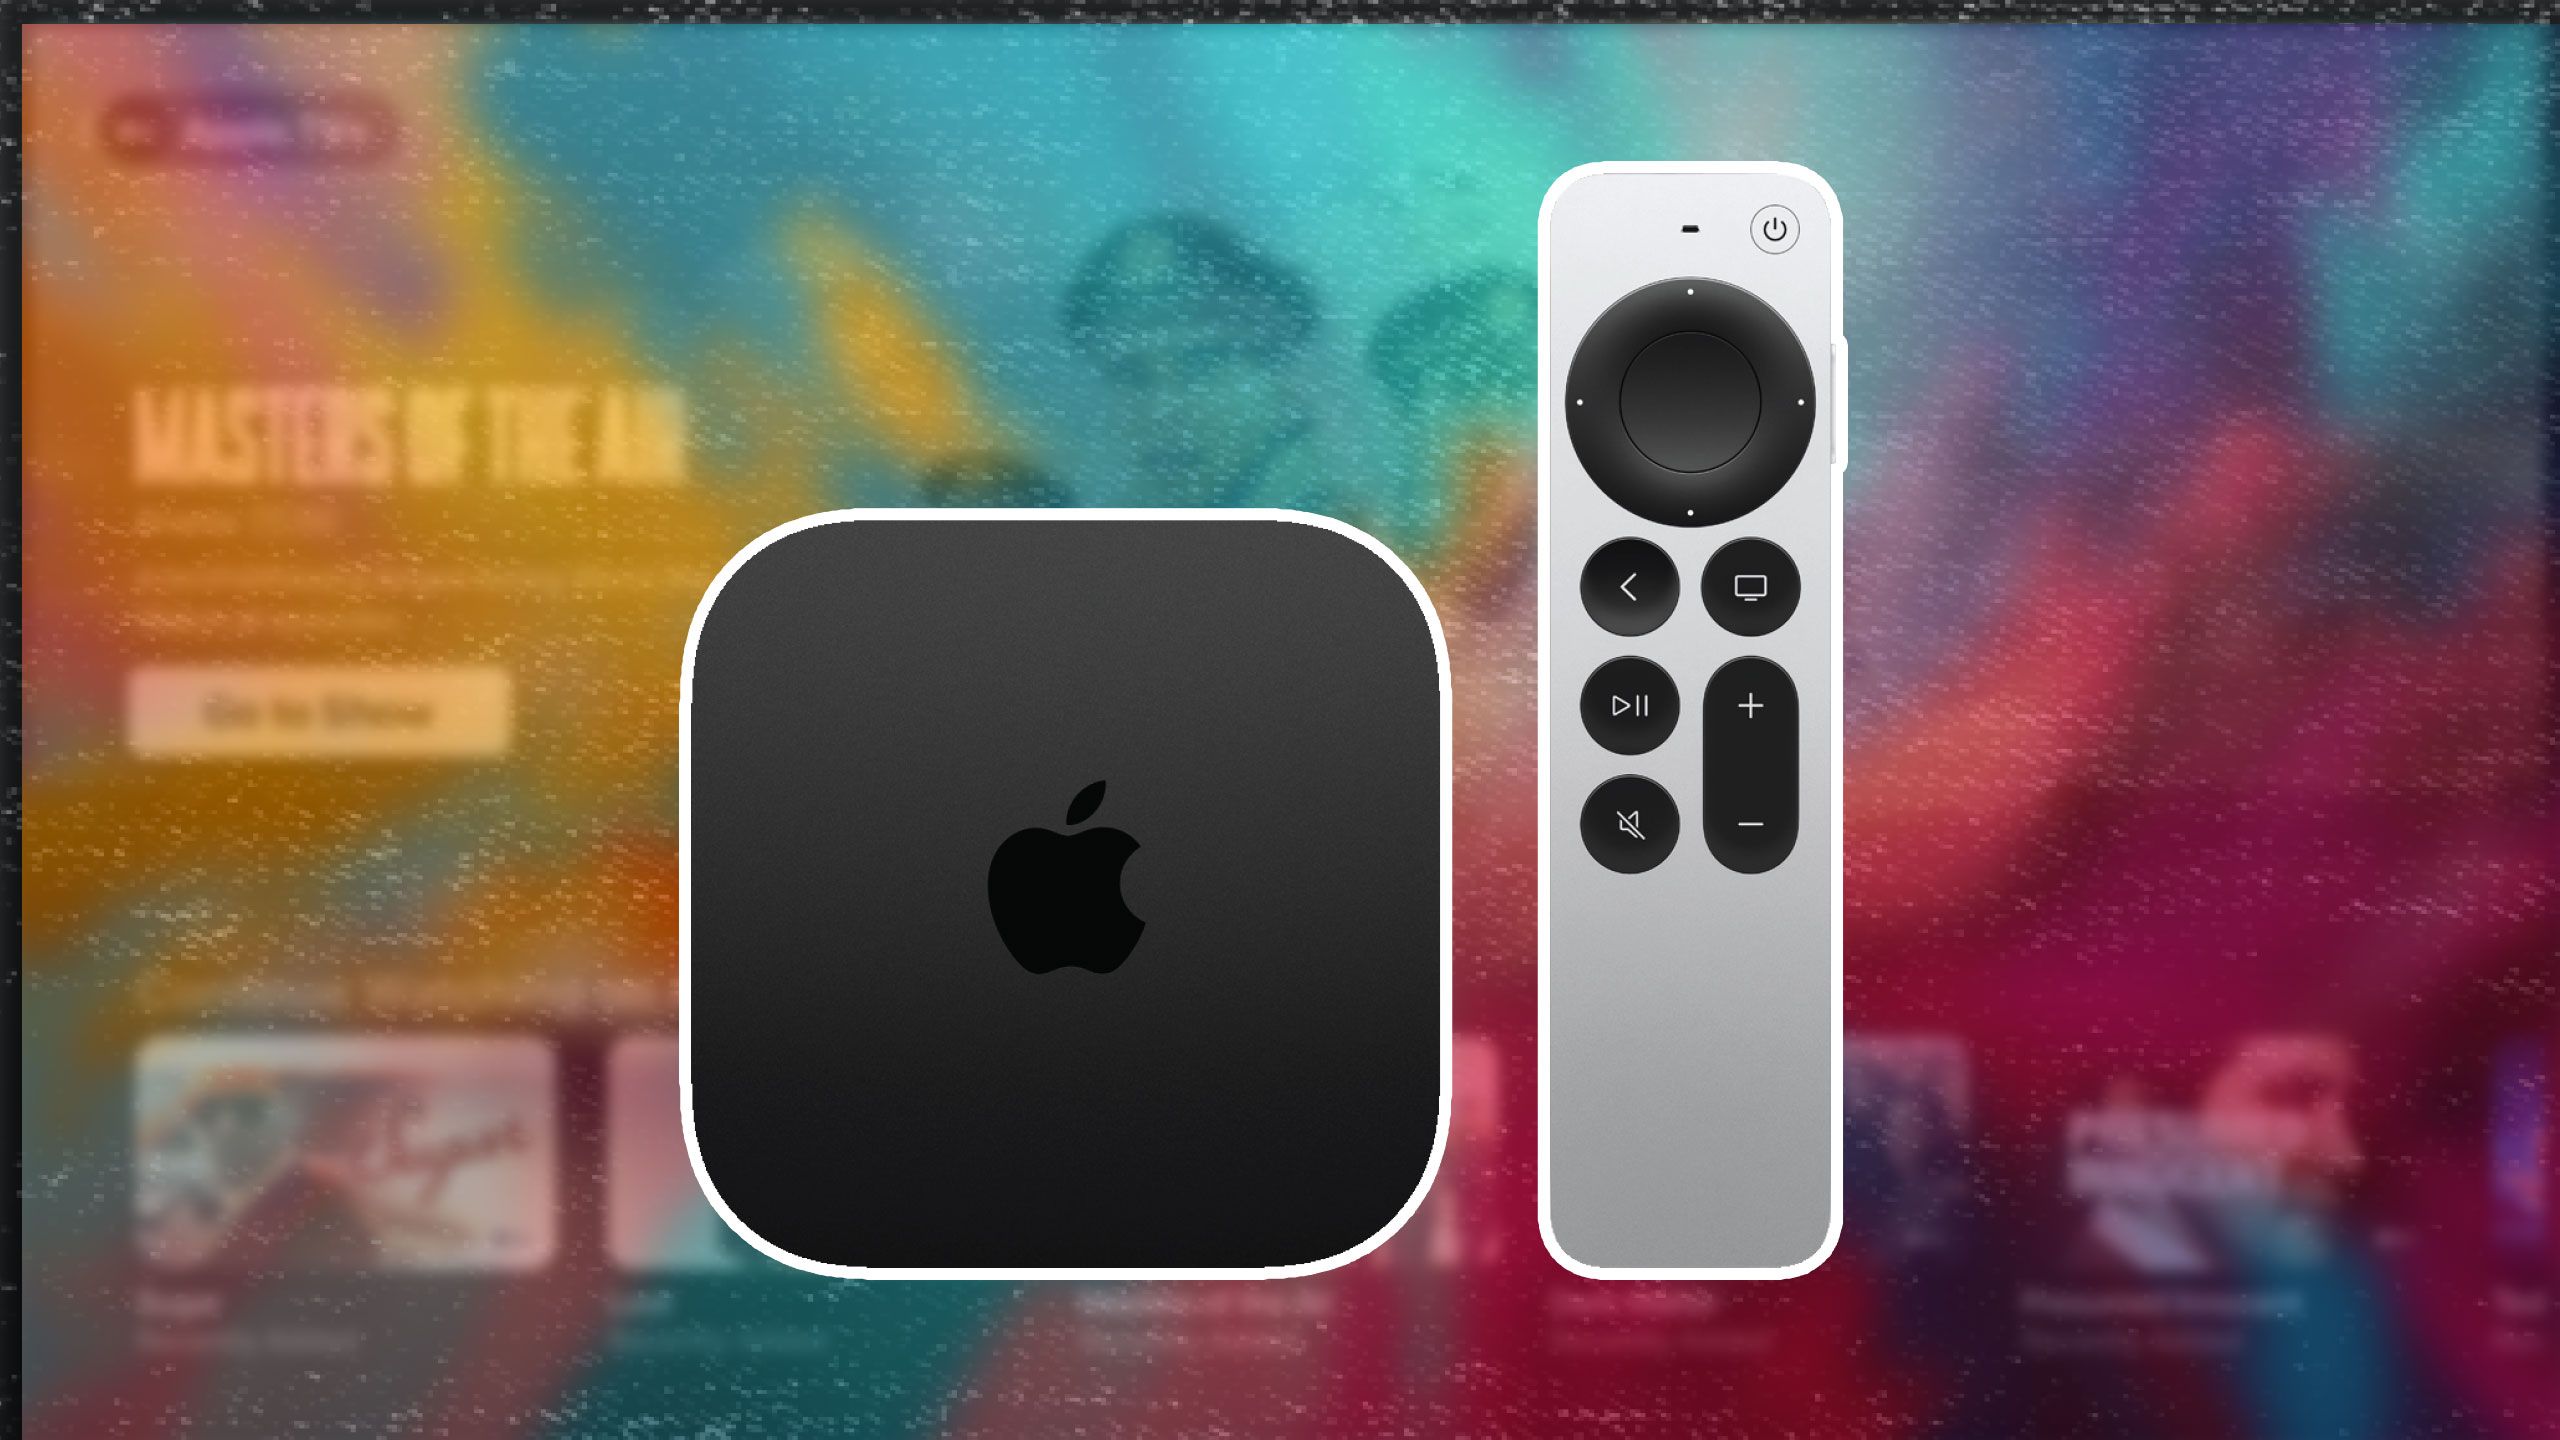
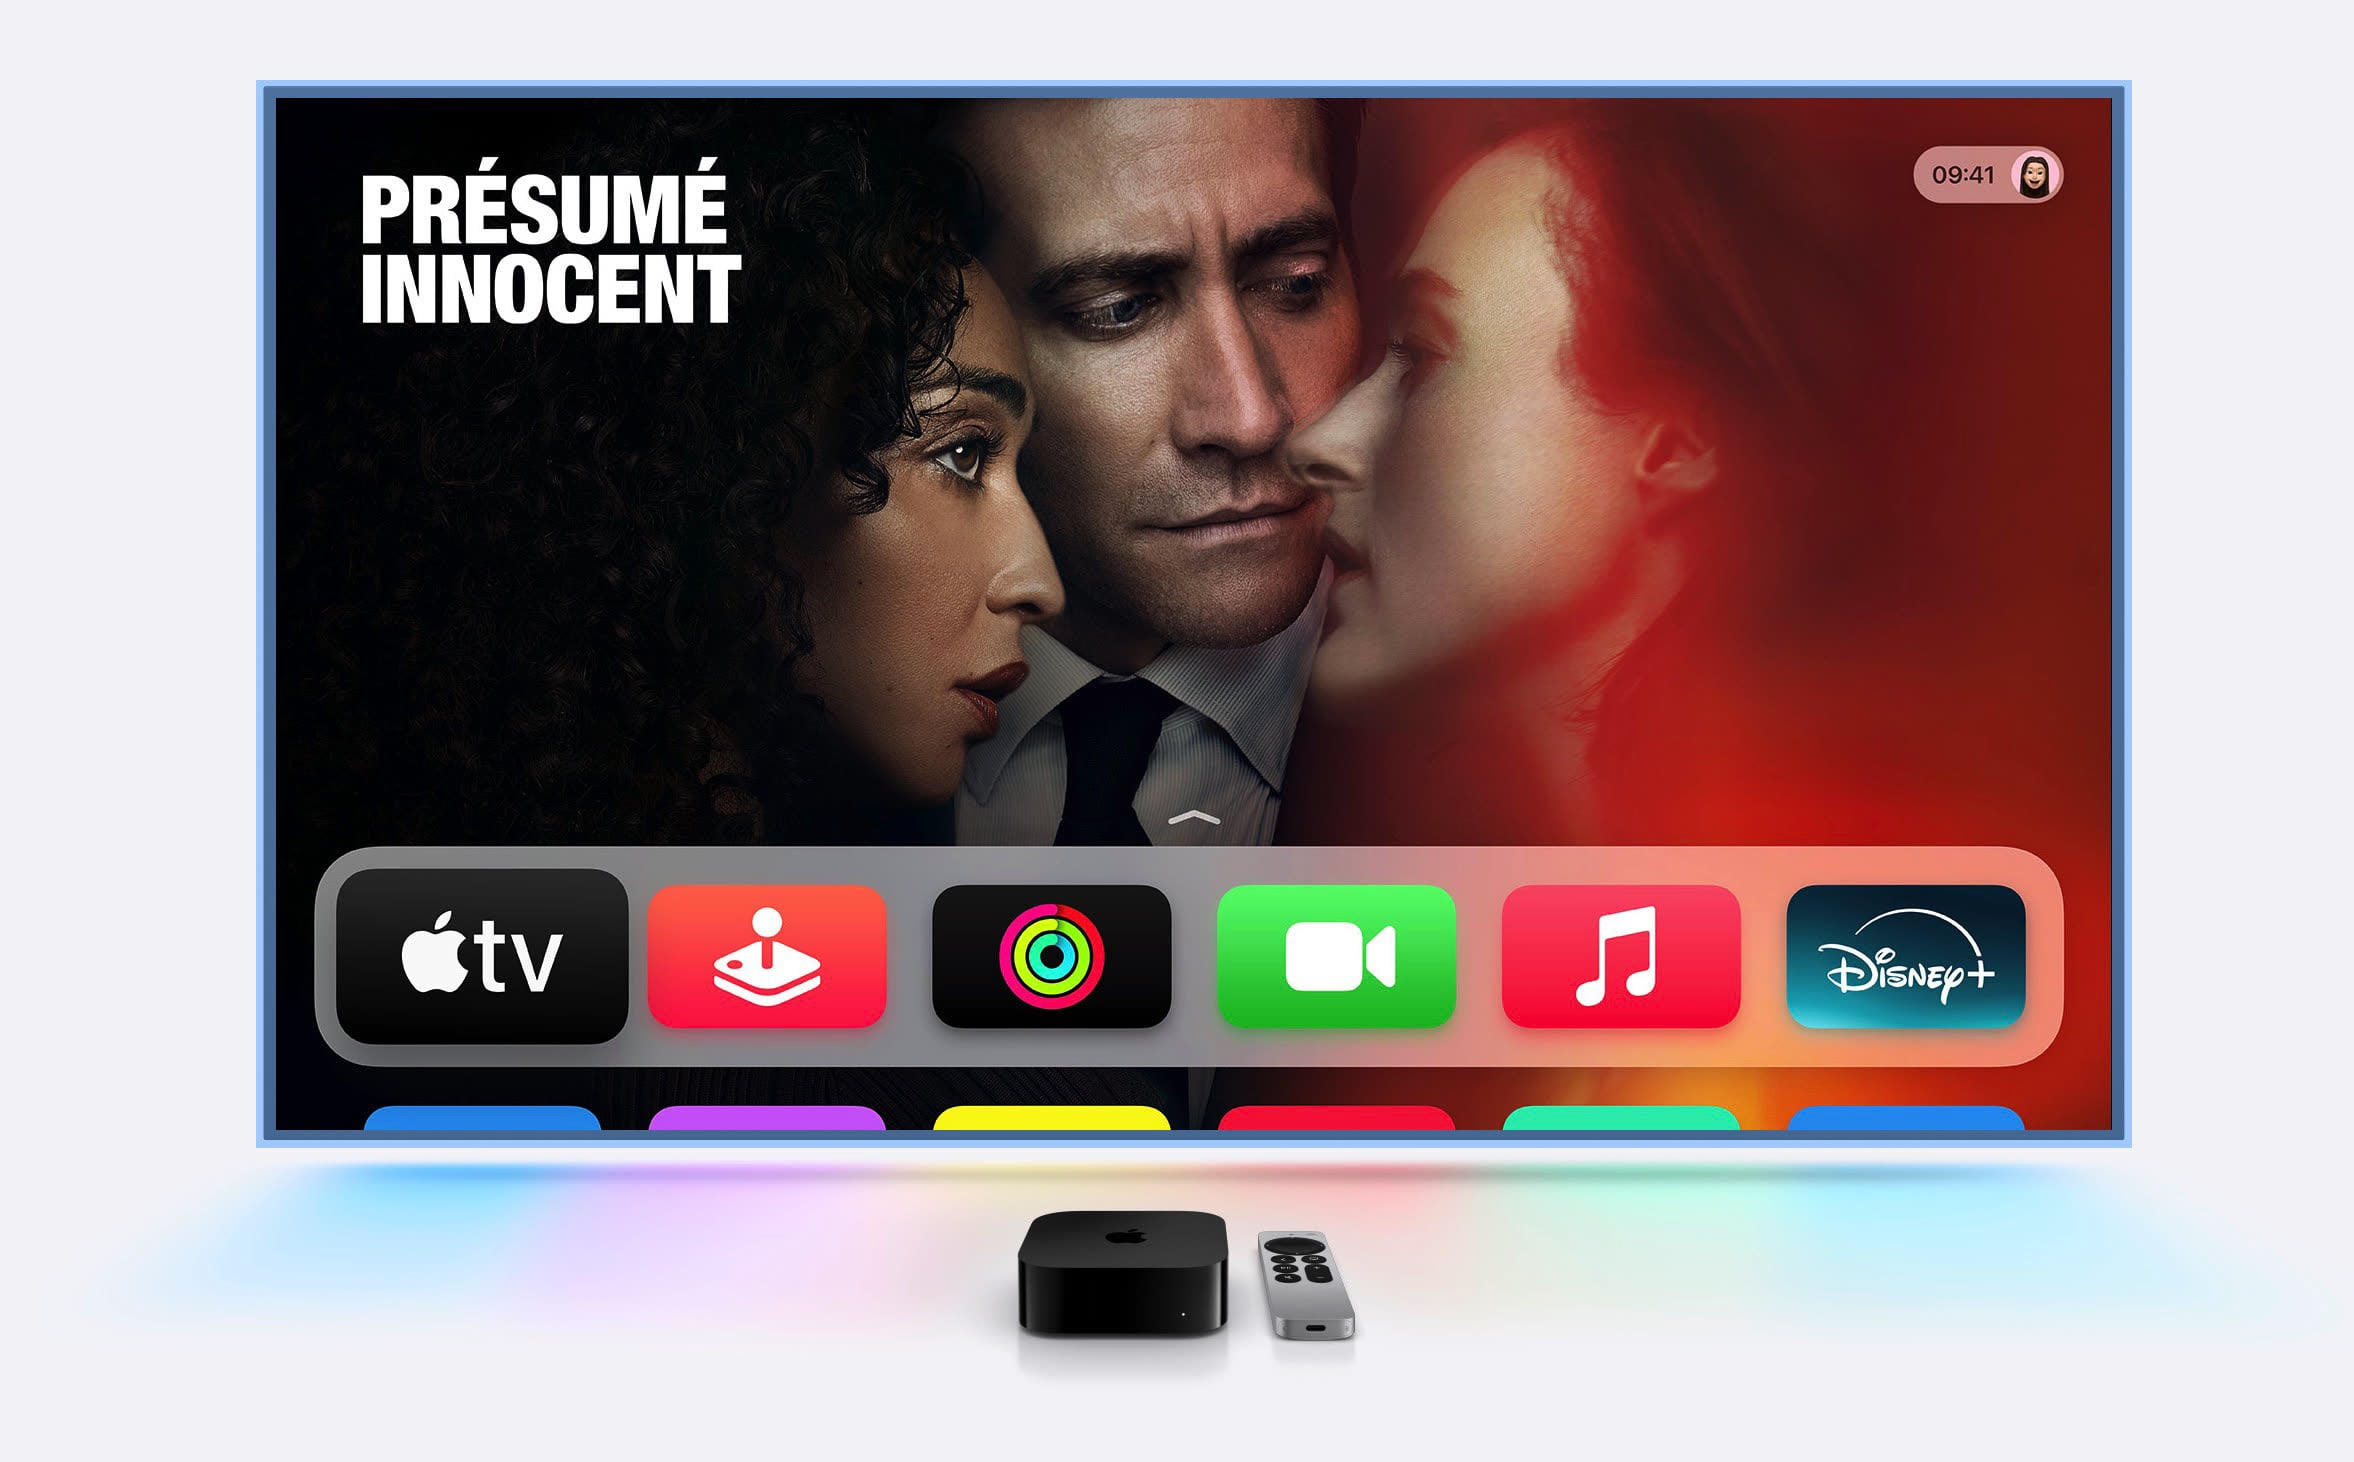
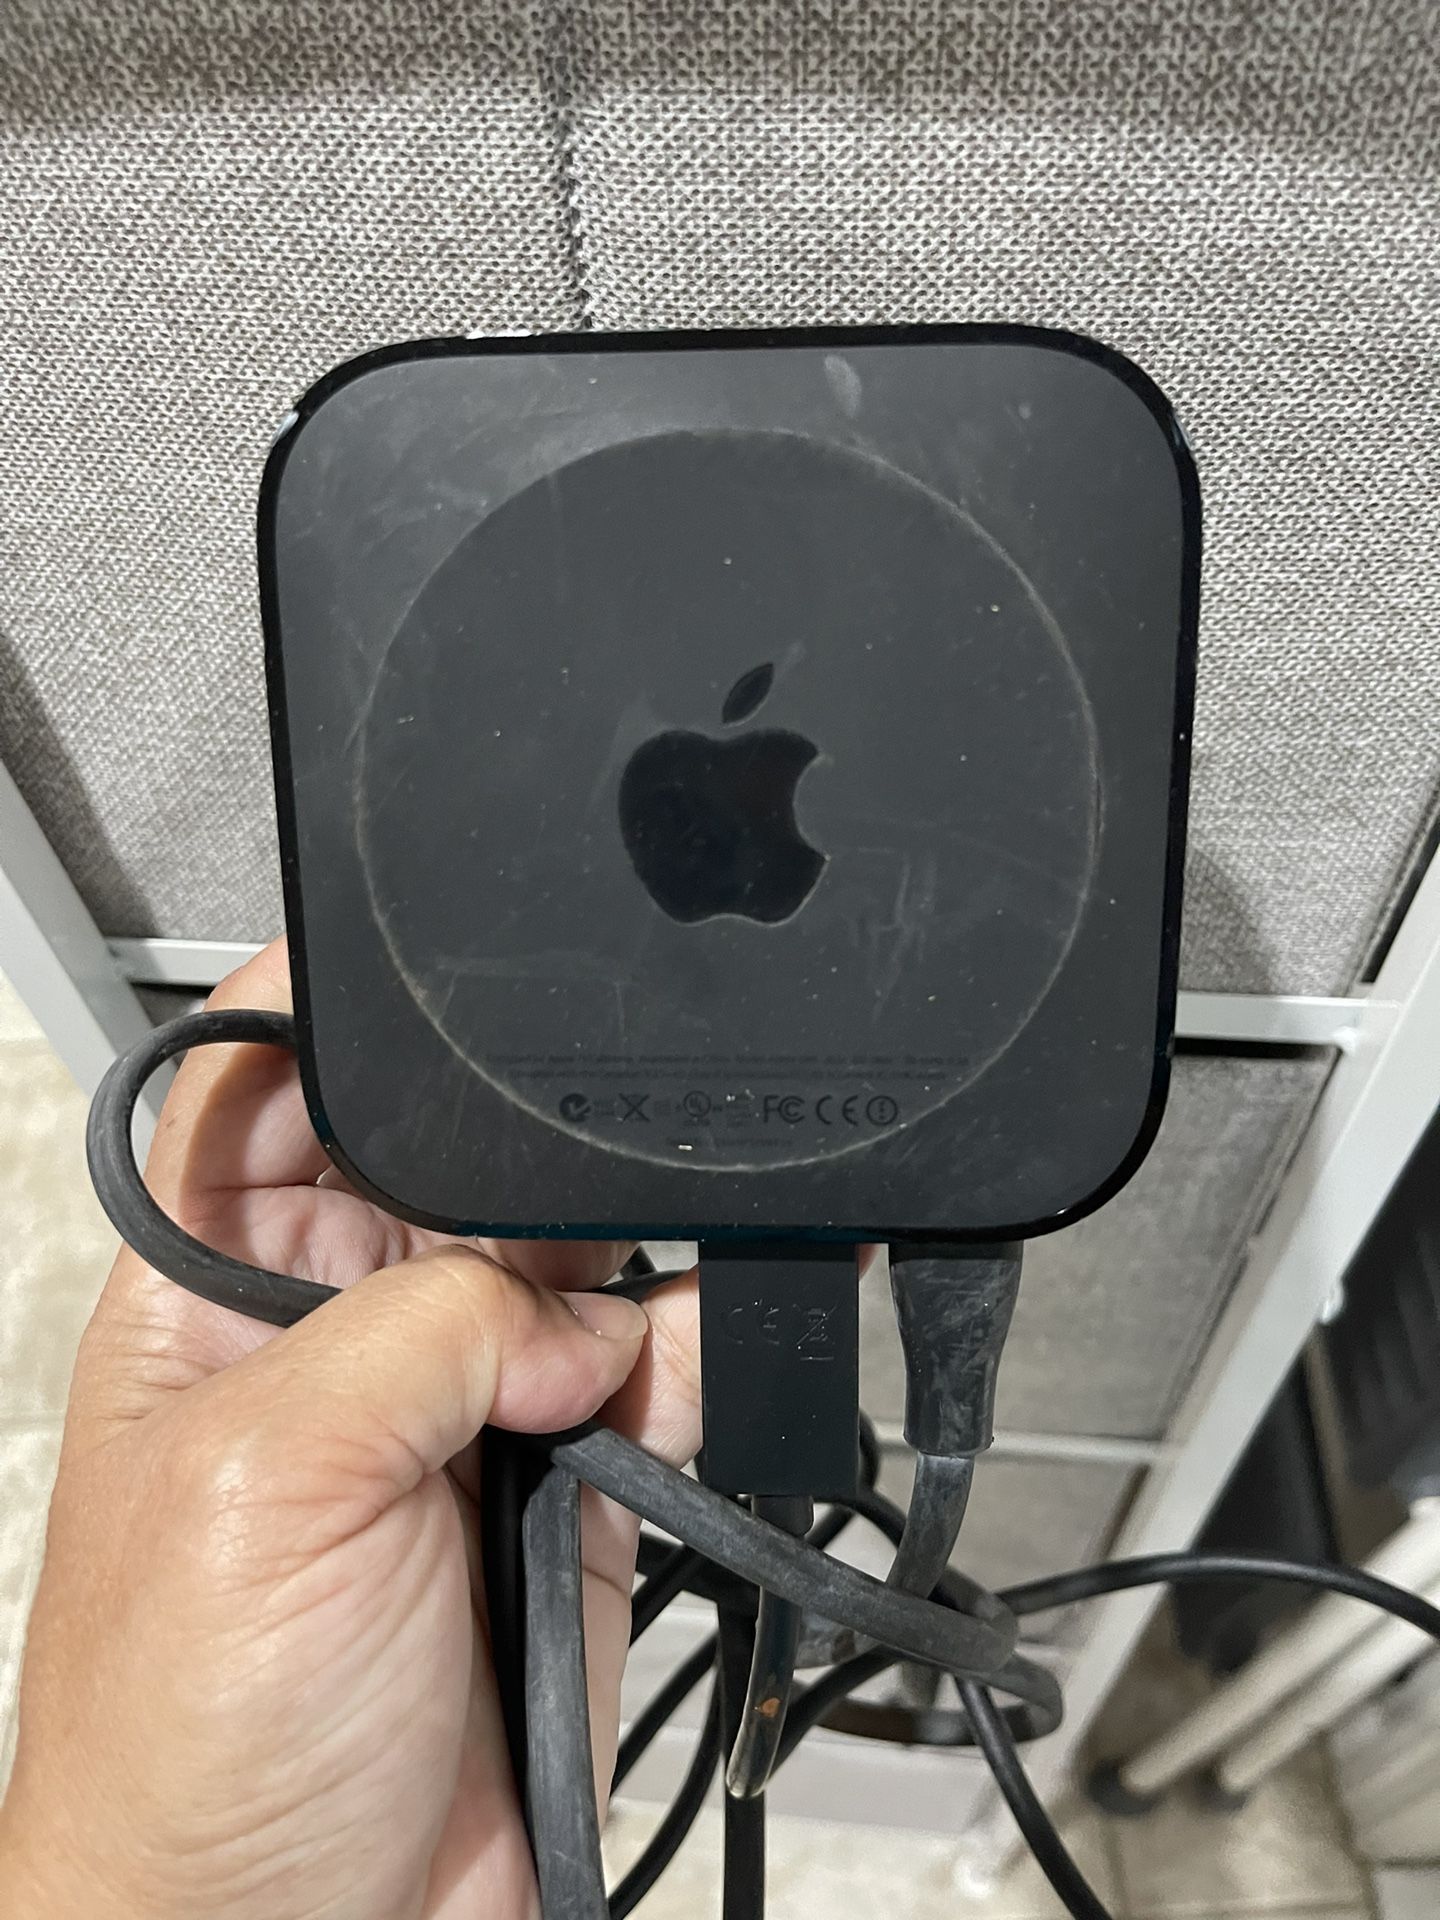
Setting up an Apple TV requires connecting the device to your display via a high-speed HDMI cable, linking it to a stable power source, and configuring the network settings to interface with your home Wi-Fi or Ethernet infrastructure. This process ensures your media hardware, display, and digital ecosystem function as a unified home theater interface.
Understanding Your Hardware Requirements
Before beginning the physical connection, it is essential to verify that your hardware is compatible with the Apple TV model you own. The "hookup" process is generally standardized across the Apple TV HD and the various generations of Apple TV 4K, but technical requirements vary based on the resolution and refresh rate capabilities of your specific television or monitor.
To achieve the best visual performance, you must use a certified High-Speed HDMI cable. For Apple TV 4K models, specifically those supporting High Dynamic Range (HDR) and high-frame-rate content, an Ultra High-Speed HDMI cable (often labeled as HDMI 2.1) is recommended to prevent bandwidth bottlenecks. If your television lacks an HDMI port—a rarity in modern sets but common in legacy equipment—you will encounter significant compatibility barriers that cannot be solved through simple cabling, often requiring an active HDMI-to-Composite or HDMI-to-Component converter, though these often degrade signal quality significantly.
Physical Installation Steps
The physical installation of an Apple TV follows a logical sequence designed to protect the integrity of the device’s ports. Following these steps ensures that you do not force connections or misconfigure the sequence of power-up, which can occasionally lead to handshake errors between the media box and the display.
- Placement: Position your Apple TV on a flat, stable surface with adequate ventilation. The device generates heat during 4K streaming and high-intensity gaming; therefore, placing it inside an enclosed, non-ventilated cabinet can lead to thermal throttling.
- HDMI Connection: Connect one end of your HDMI cable to the port on the back of the Apple TV and the other end to an available HDMI input on your television or AV receiver. Note the input number (e.g., HDMI 1, HDMI 2) as you will need this for the next step.
- Power Connection: Connect the power cord to the Apple TV and then to a wall outlet. It is best practice to use a surge protector to guard the device against voltage fluctuations.
- Network Integration: If your router is nearby, connect an Ethernet cable to the Apple TV’s RJ45 port for the most stable connection. If you prefer wireless, you will perform this configuration via the software interface during the initial boot process.
Navigating the Initial Configuration
Once the physical hardware is connected, switch your television to the correct input source. You should see the Apple TV setup screen. If the screen remains black, verify that the HDMI cable is firmly seated and that the television is set to the specific input where the cable is plugged in.
The setup process is designed to be streamlined, especially if you possess an iPhone or iPad. By holding an iOS device near the Apple TV, you can automatically transfer your Wi-Fi settings, Apple ID credentials, and regional preferences. This "proximity setup" is the preferred method, as it eliminates the need to manually enter complex Wi-Fi passwords using the remote control.
If you do not have an iOS device, you will be prompted to select your language, connect to your local wireless network, and sign in with your Apple ID manually. Ensure your Apple ID has two-factor authentication enabled, as this is a requirement for accessing the full suite of Apple services, including the App Store and Apple TV+.
Optimizing Display and Audio Settings
After the initial login, the device will prompt you to configure display settings. This is a crucial step in the "hookup" process, as it ensures your Apple TV is sending the optimal signal to your display.
- Match Content: Navigate to Settings > Video and Audio > Match Content. Enabling "Match Dynamic Range" and "Match Frame Rate" allows the Apple TV to adjust its output to match the source material. This prevents the "soap opera effect" caused by artificial motion smoothing and ensures content is displayed in its original intent.
- Audio Output: If you are using a soundbar or a surround sound system, you may need to configure the audio format. Select "Change Format" if you need to force a specific output like Dolby Digital 5.1 or Dolby Atmos, though the "Auto" setting is generally reliable for most modern HDMI eARC setups.
- Color Balance: Use the "Color Balance" feature within the settings menu. This utilizes your iPhone’s camera to calibrate your television's color profile to Apple’s industry-standard reference, helping to correct inaccurate factory settings on many televisions.
Comparing Connection Methods
| Connection Type | Pros | Cons | Best For |
|---|---|---|---|
| Ethernet | Lowest latency, high stability | Requires physical cable run | Gaming, 4K HDR streaming |
| Wi-Fi 6/6E | Flexible placement, fast | Susceptible to interference | Standard HD streaming |
| HDMI eARC | Simplified audio control | Requires eARC-capable TV | Soundbar / Surround systems |
Troubleshooting Common Connection Issues
Even with a perfect setup, technical hurdles can arise. The most frequent issue is the "HDMI Handshake" failure, where the Apple TV and the television fail to communicate correctly, resulting in a black screen or persistent flickering.
To resolve this, try the following steps:
- Power Cycle: Turn off the television, unplug the Apple TV, wait 30 seconds, and plug both back in. This often resets the digital negotiation process between the two devices.
- Port Swapping: Try a different HDMI port on your television. Some televisions have specific ports that support higher bandwidth (e.g., HDMI 4 on certain models might be the only one capable of 4K/120Hz).
- Cable Verification: If you are experiencing intermittent signal dropouts, the cable itself is frequently the culprit. Cheap or damaged HDMI cables often struggle to maintain the high bandwidth required for high-definition 4K streaming.
FAQ: Common Questions Regarding Apple TV Setup
Do I need a paid Apple subscription to use an Apple TV? No. While the device is branded by Apple, it functions as a streaming hub for various third-party services like Netflix, Disney+, and YouTube. You do not need an Apple TV+ subscription to operate the hardware, though you will need an Apple ID to download apps.
How do I use my TV remote to control the Apple TV? Most modern televisions support HDMI-CEC (Consumer Electronics Control). When enabled in your TV's settings (often labeled as "Bravia Sync," "Anynet+," or "SimpLink"), your television remote can send commands to the Apple TV, allowing you to use one remote for both devices.
What should I do if my remote is not responding? If the Siri Remote fails to pair, ensure it is charged using a USB-C or Lightning cable. You can manually force a pair by holding the "Back" and "Volume Up" buttons for five seconds while pointing the remote at the Apple TV.
Can I connect Apple TV to an old TV without HDMI? Not directly. You would need an HDMI-to-Composite or HDMI-to-Component converter box. These devices are widely available but will significantly reduce your video quality to standard definition, and they do not support protected content streams in many cases.
Is it necessary to turn off the Apple TV when I am done? No. Apple TV is designed to remain in "Sleep" mode when not in use. It consumes negligible power in this state and will wake up automatically the moment you touch the remote or select the device via AirPlay.
Final Recommendations
Successful integration of an Apple TV into your home media environment relies on a stable network connection and correct display settings. Once you have completed the physical hookup and the software calibration, verify your setup by navigating to a high-quality streaming app to ensure that HDR or Dolby Vision badges appear, confirming that your display is receiving the full signal quality. Should you relocate your hardware or change your display, remember to re-run the Color Balance and Match Content utilities to ensure the best possible viewing experience.