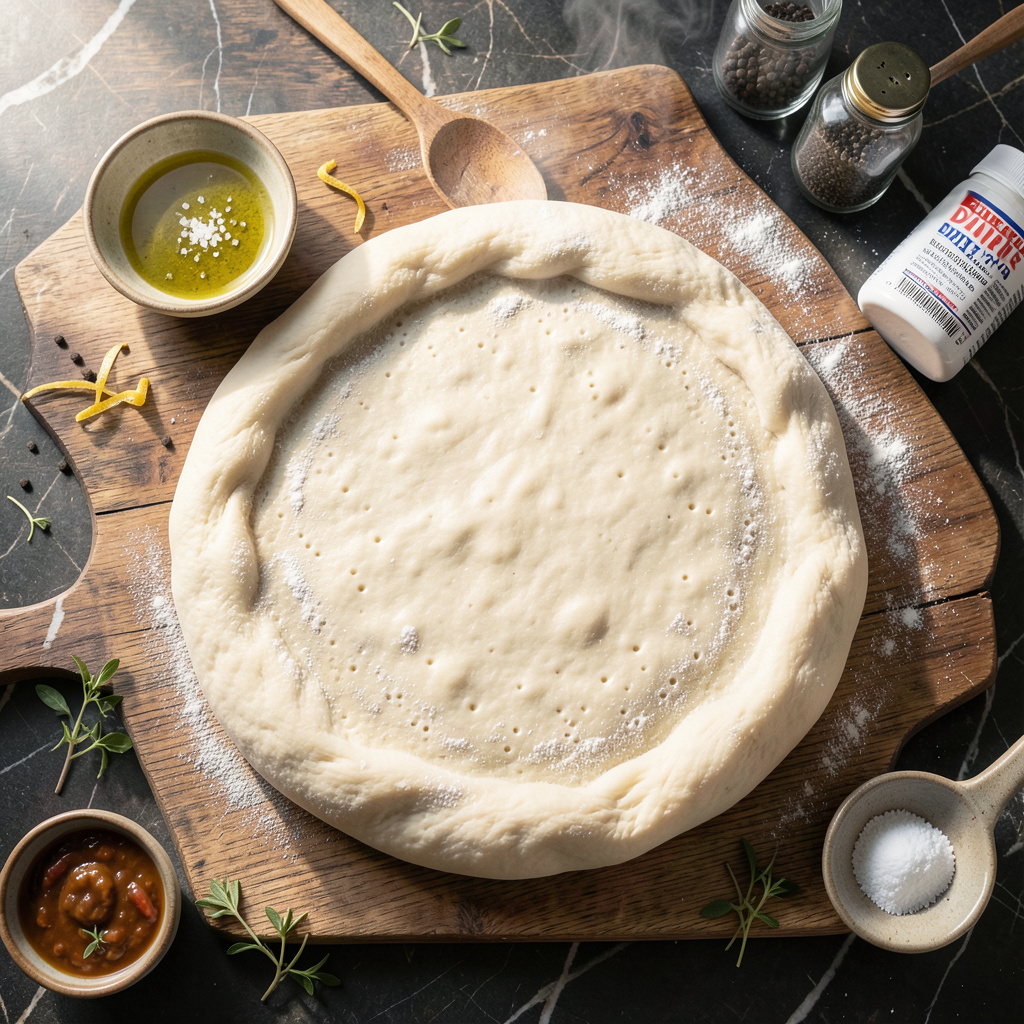
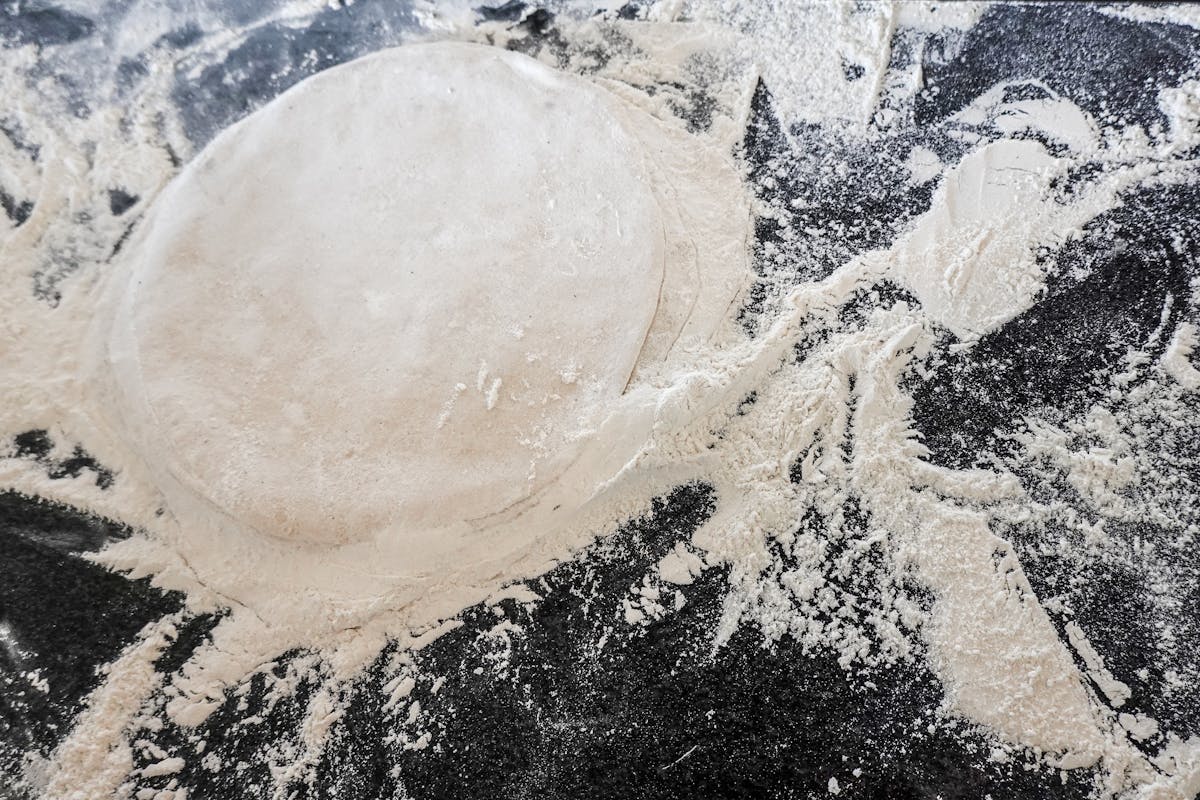
A 24 hour pizza dough recipe relies on a cold fermentation process that allows yeast to slowly break down starches and proteins, resulting in a complex, airy crust with superior flavor and texture. By utilizing a minimal amount of yeast and a lengthy refrigeration period, home bakers can achieve professional-grade results that are unattainable with rapid-rise doughs.
The Science of Cold Fermentation
To understand why a 24-hour window is considered the "sweet spot" for home pizza makers, one must look at the biochemical activity occurring within the dough. Unlike rapid-rise recipes that use high quantities of yeast and warm temperatures to force leavening in 60 to 90 minutes, a 24-hour recipe is built on the principle of enzymatic control.
When flour and water are mixed, amylase enzymes begin breaking down complex starches into simpler sugars. Simultaneously, proteases begin to relax the gluten structure. By chilling the dough, you effectively put the yeast into a state of semi-dormancy. This significantly slows the production of carbon dioxide, but it does not stop the enzymatic activity. Over the course of 24 hours in the refrigerator, these enzymes have time to fully develop the dough's flavor profile, while the yeast produces organic acids that give the crust its characteristic tangy, sourdough-like depth.
Furthermore, cold-fermented dough is significantly easier to handle. The chilled state firms up the fat and sugars, making the dough less sticky and more resistant to tearing during the stretching process. This structural integrity allows for a thinner center and a more pronounced, airy "cornicione" (the outer rim of the pizza) after baking.
Essential Ingredients and Quality Standards
Consistency in baking is derived from precise ratios. For a standard 24-hour cold-fermented dough, the following components are essential to success.
- Flour: Use Tipo '00' flour for a soft, authentic Neapolitan texture, or high-protein bread flour if you prefer a chewier, heartier crust. Avoid cake or pastry flours, as they lack the protein content required to build a strong gluten network.
- Water: Room temperature or cool water is sufficient. The temperature will equalize in the refrigerator regardless.
- Salt: Essential not only for flavor but also for regulating yeast activity. Salt tightens the gluten structure; omitting it can lead to a dough that loses its shape during proofing.
- Yeast: Use Instant Dry Yeast (IDY). Because of the long fermentation time, you only need a fraction of what is required for a standard recipe—typically 1/4 to 1/2 teaspoon per 500 grams of flour.
Step-by-Step Preparation Process
The actual labor involved in this recipe is minimal, but the timing is strict. Follow this sequence to ensure your dough reaches its peak performance.
1. Mixing and Kneading
Combine your dry ingredients in a large bowl, then add the water. Mix until a shaggy mass forms. If using a stand mixer, knead on low speed for 6–8 minutes until the dough pulls away from the sides of the bowl and passes the "windowpane test"—where you can stretch a small piece of dough thin enough to see light through it without it breaking. If mixing by hand, knead for 10–12 minutes on a lightly floured surface.
2. The Bulk Ferment (Initial Rise)
Place the dough in a lightly oiled bowl and cover it tightly with plastic wrap or a lid. Let it rest at room temperature for 1 to 2 hours. This initial stage allows the yeast to kickstart its activity before it enters the cold environment of the refrigerator.
3. Cold Fermentation
Place the covered container in the coldest part of your refrigerator. Ideally, this should be between 36°F and 40°F. Allow the dough to proof here for the remaining 22–23 hours. You will notice the dough expand slowly; it may double in size or slightly less, which is expected.
4. The Tempering Stage
Remove the dough from the refrigerator at least 90 minutes before you intend to bake. Dividing the dough into individual balls at this stage makes the final stretching process significantly easier, as the gluten needs to relax after being chilled.
Comparison of Dough Development Times
| Fermentation Time | Yeast Quantity | Flavor Profile | Ease of Stretching |
|---|---|---|---|
| 1 Hour (Warm) | High | Minimal / Yeasty | Difficult (Elastic) |
| 8 Hours (Ambient) | Moderate | Moderate / Standard | Moderate |
| 24 Hours (Cold) | Low | Complex / Tangy | Excellent (Relaxed) |
| 72 Hours (Cold) | Very Low | Highly Acidic | Fragile |
Technical Troubleshooting
Home bakers often encounter specific issues when transitioning to cold-fermented doughs. Understanding these variables allows for rapid adjustment.
Dough is too tough to stretch: This occurs when the dough has not been allowed to reach room temperature before shaping. If the dough snaps back like a rubber band, it is still too cold. Give it another 30 minutes on the counter.
Dough has a metallic or overly yeasty flavor: This is almost always caused by using too much yeast. In a 24-hour cycle, the yeast has plenty of time to multiply. Using more than the recommended amount causes an excess of yeast by-products that result in a harsh taste.
Large, unmanageable bubbles: If the dough is riddled with massive gas pockets that deflate immediately, it may have been over-proofed or the initial kneading was insufficient to trap the gas properly. Ensure you use a high-protein flour to maintain the structure required for long fermentation.
Optimal Baking Conditions
Even the best 24-hour dough can be ruined by improper baking. The goal is a rapid rise (oven spring) that sets the crust before the center becomes soggy.
If you are using a standard home oven, place a pizza stone or steel on the highest rack. Preheat the oven to its maximum temperature (usually 500°F–550°F) for at least one hour. The stored heat in the stone or steel is crucial; it mimics the intense heat of a wood-fired oven, allowing the dough to crisp up on the bottom while the top bubbles properly.
Frequently Asked Questions
Can I leave the dough in the fridge for longer than 24 hours? Yes, but with caveats. You can extend the time to 48 or 72 hours for increased flavor complexity, but you must reduce the yeast quantity by half for every additional 24-hour interval to prevent the dough from over-proofing and collapsing.
Why does my pizza crust come out pale? A pale crust is often a result of either the oven not being hot enough or a lack of sugar in the dough. If you are baking at home, a teaspoon of sugar or diastatic malt powder in the dough helps promote better browning via the Maillard reaction.
Do I need a specific type of container for the fridge? A glass or plastic container with a tight-fitting lid is ideal. The airtight seal prevents the surface of the dough from drying out and forming a "skin," which can be difficult to stretch and may prevent the dough from rising evenly in the oven.
Is there a benefit to "folding" the dough instead of kneading? Yes. For high-hydration recipes, a series of "stretch and folds" every 30 minutes during the initial room-temperature stage can build a better gluten structure than traditional kneading, resulting in a more open, airy crumb.
Final Recommendations for Success
To master the 24-hour pizza dough, begin with a simple recipe using a scale for accuracy. Measure your ingredients in grams rather than cups; flour volume varies significantly based on humidity and how it is packed, which is the primary cause of inconsistent results.
For your next attempt, document your process: note the exact temperature of your refrigerator and the type of flour used. By controlling these small variables, you will quickly transition from inconsistent results to a reliable, bakery-quality crust that serves as the perfect foundation for any topping combination.