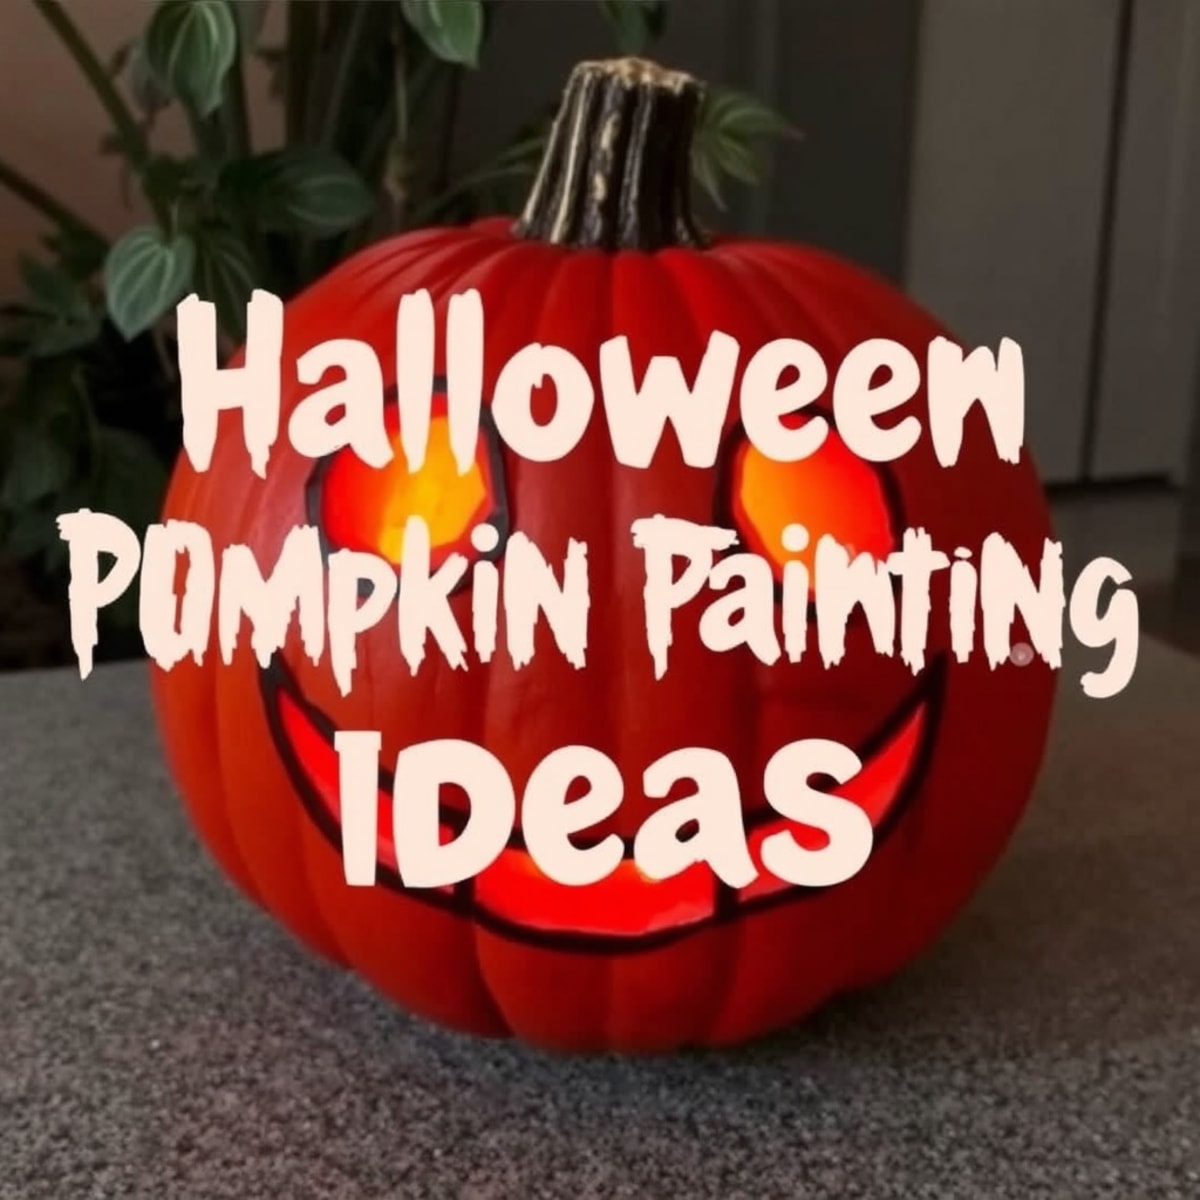
Decorating pumpkins is a cherished seasonal tradition that allows you to express creativity, celebrate autumn, and enhance your home with festive aesthetics without requiring advanced artistic skills or complex power tools.
Pumpkin decorating offers an accessible, budget-friendly way to celebrate the autumn season, Halloween, and Thanksgiving. Whether you prefer clean modern aesthetics, whimsical patterns, or traditional orange-and-black motifs, these 20 easy pumpkin decoration ideas cover a broad spectrum of styles that require minimal preparation, simple household supplies, and very little cleanup.
The Essentials of Easy Pumpkin Decorating
Before diving into specific design concepts, preparing your pumpkins properly ensures your hard work lasts throughout the autumn season. Whether you choose real gourds from a local patch or durable faux pumpkins from a craft store, a solid foundation makes every decorating technique easier to execute.
Real vs. Faux Pumpkins: Making the Right Choice
- Real Pumpkins: Authentic pumpkins offer natural shapes, textures, and stems. However, once carved or punctured, they begin to decompose within days, especially in warmer climates. Non-carved, surface-decorated real pumpkins typically last several weeks.
- Faux Pumpkins: Crafted from foam or plastic, artificial pumpkins can be reused year after year. They provide a smooth, uniform canvas and never rot, making them ideal for elaborate painted designs or permanent porch displays.
Basic Tools and Supplies to Keep on Hand
To execute these 20 decoration ideas efficiently, keep a basic crafting kit ready:
- Acrylic craft paints in various autumn and modern color palettes.
- Foam brushes, fine-detail paintbrushes, and sponges.
- Low-temp hot glue gun and extra glue sticks.
- Painter's tape for clean lines.
- Metallic markers or permanent paint pens.
- Embellishments such as ribbons, lace, faux flowers, and buttons.
Category 1: No-Carvings, Paint, and Markers
Painting and drawing on pumpkins eliminate the mess and safety hazards of carving while opening up endless design possibilities. These ideas rely on basic stationery and craft supplies.
1. Color-Blocked Modernism
Divide your pumpkin visually into sections using painter's tape. Paint the bottom half in a striking neutral shade like matte black, soft cream, or sage green, leaving the top natural or metallic. This creates a contemporary, minimalist aesthetic that complements modern interior design.
2. Metallic Leaf and Copper Accents
Apply a coat of copper, gold, or silver spray paint to the entire pumpkin, or use metallic leaf adhesive to add shimmering patches along the ribs. The metallic sheen catches indoor lighting and candlelight beautifully, offering a sophisticated alternative to traditional autumn colors.
3. Sharpie Doodles and Geometric Patterns
Using black or colored ultra-fine permanent markers, draw intricate mandalas, zig-zags, polka dots, or geometric grids directly onto a white or pastel-painted pumpkin. This method requires a steady hand but offers total creative control with virtually zero cleanup.
4. Splatter Paint Jackson Pollock Style
Place a plain pumpkin inside a cardboard box to contain the mess. Load an old toothbrush or stiff paintbrush with watered-down acrylic paint and flick the bristles toward the pumpkin. Layering multiple contrasting colors results in an energetic, modern abstract art piece.
5. Chalkboard Painted Messages
Coat your pumpkin in chalkboard paint. Once dry, use colored chalk to write welcoming seasonal greetings, daily menus, or spooky messages. The best part of this design is its reusability: simply wipe it clean with a damp cloth and rewrite a new message whenever inspiration strikes.
Category 2: Textured, Tactile, and Fabric Wraps
Adding texture to your pumpkins transforms them into sensory centerpieces that feel cozy and warm. These approaches use inexpensive fabrics and household craft supplies.
6. Chunky Knit Sweater Pumpkins
Repurpose an old sweater or thrift-store knit pullover by cutting off a sleeve or section of fabric. Slip the pumpkin inside, secure the fabric tightly around the stem using rubber bands or twine, and trim excess material. The ribbed texture of knitwear instantly adds a cozy farmhouse vibe to mantels and entryways.
7. Lace-Wrapped Elegance
Wrap sections of your pumpkin in vintage lace or burlap ribbon, securing the ends discreetly with hot glue. You can also paint a white pumpkin first and apply black lace over it for a dramatic, gothic-inspired Victorian aesthetic.
8. Velvet and Jewel-Toned Glamour
Glue small strips of stretch velvet fabric along the natural grooves of a pumpkin. Rich jewel tones like emerald green, deep plum, and sapphire blue elevate ordinary gourds into luxurious decorative statement pieces suitable for Thanksgiving tabletops.
9. Twine-Wrapped Rustic Charms
Apply a thin line of hot glue to the top of the pumpkin near the stem, press down natural jute twine, and wrap it tightly around the gourd in varying patterns. You can wrap the entire pumpkin for a rustic textured look or create distinct horizontal stripes.
10. Decoupage Pressed Autumn Leaves
Collect fallen leaves, press them flat between heavy books, and use Mod Podge to adhere them to the surface of a light-colored pumpkin. Seal the leaves with an additional topcoat of decoupage medium to preserve their vibrant autumn colors and prevent curling as they dry.
Category 3: Bling, Sparkle, and Glamour
For those who prefer a high-fashion, glamorous seasonal display, these sparkling techniques require minimal effort but deliver maximum visual impact.
11. Full Glitter Coverage
Brush a thick layer of decoupage glue over your pumpkin and generously shake ultra-fine craft glitter over the surface until fully coated. Let it dry completely, then shake off the excess. While messy during application, a glitter pumpkin reflects ambient light brilliantly on dark autumn evenings.
12. Push-Pin Constellations
Use metallic silver, gold, or brass push-pins to map out constellations, initials, or geometric shapes directly into the pumpkin's skin. The metallic pinheads create a studded, industrial-chic pattern that requires no glue or paint.
13. Rhinestone and Sequins Mosaic
Transform an ordinary pumpkin into a disco-ball-inspired centerpiece by gluing individual flat-backed rhinestones, pearls, or sequin trims in concentric circles or random organic clusters around the stem.
14. Thumbtack Striping
Create clean metallic stripes or zig-zags by pressing flat-headed thumbtacks into the pumpkin in uniform rows. This technique works exceptionally well on soft faux pumpkins and provides a sleek metallic contrast against matte orange or white surfaces.
Category 4: Whimsical, Floral, and Nature-Inspired
Bring the beauty of the outdoors onto your tabletop by combining pumpkins with natural botanicals, quirky accessories, and unexpected objects.
15. Succulent-Topped Pumpkins
Instead of carving into your pumpkin, use a hot glue gun to attach an assortment of live or faux succulent cuttings directly to the top around the stem. Live succulents can survive for weeks on moisture drawn from the pumpkin and can even be replanted after the season ends.
16. Floral Vase Pumpkins
Hollow out a small circular hole around the stem of a real or faux pumpkin, scoop out the seeds, and insert a small water-filled jar inside. Arrange fresh autumn flowers, eucalyptus sprigs, and dried wheat stalks inside the opening for a stunning seasonal floral arrangement.
17. Googly Eye Monster Pumpkins
A favorite for families with young children, this idea involves covering a brightly painted pumpkin in dozens of self-adhesive googly eyes of varying sizes. It creates a silly, non-scary Halloween decoration that takes less than five minutes to assemble.
18. Washi Tape Striping
Apply patterned Washi tape in vertical stripes from the stem to the base. Because Washi tape is repositionable and easy to peel off without leaving sticky residue, this is an ideal craft for kids and temporary party decorations.
19. Mini Pumpkin Topiary Stack
Select three pumpkins of descending sizes (large, medium, and small). Paint them in complementary colors (such as white, grey, and gold) and stack them vertically on top of one another, securing them with a sturdy wooden dowel driven down through the centers.
20. Stenciled Silhouette Pumpkins
Place a sticker stencil (such as a bat, witch silhouette, or monogram letter) onto the side of your pumpkin. Sponge dark acrylic paint over the stencil, let it dry for a few minutes, and peel the sticker away to reveal a crisp, professional graphic design.
Quick Comparison of Pumpkin Decoration Techniques
To help you select the best approach based on your time constraints, budget, and skill level, review the comparative breakdown below:
| Decoration Category | Estimated Time | Mess Level | Skill Level | Longevity (Real Pumpkins) |
|---|---|---|---|---|
| Paint & Markers | 20–45 mins | Low | Beginner | 3 to 6 weeks |
| Fabric Wraps | 15–30 mins | Very Low | Beginner | Indefinite (if faux) |
| Glitter & Sparkle | 30–60 mins | High | Easy | 2 to 4 weeks |
| Floral & Nature | 20–40 mins | Low to Med | Intermediate | 1 to 2 weeks |
Frequently Asked Questions
How long do non-carved decorated pumpkins last?
Non-carved pumpkins that are painted, wrapped in fabric, or embellished typically last between 4 to 8 weeks, depending on ambient humidity and temperature. Keeping them in a cool, dry indoor environment prevents premature rotting.
Can I use real pumpkins for fabric and glue projects?
Yes, real pumpkins work wonderfully with low-temperature hot glue, pins, and fabric wraps. However, avoid applying heavy glues to soft or bruised spots, as weight can cause the skin to rupture prematurely.
What is the best type of paint to use on pumpkins?
Acrylic craft paint yields the best results for both real and faux pumpkins. It adheres well to waxy pumpkin skins, dries quickly, and comes in hundreds of colors with matte, satin, and metallic finishes.
How do I stop real pumpkins from rotting too quickly?
To extend the life of your decorated pumpkins, wipe them down with a mild solution of water and bleach (one teaspoon of bleach per gallon of water) to kill surface mold spores. Ensure they are completely dry before applying paint or glue.
Final Recommendations for Your Display
When styling your finished pumpkins, variety is key. Combine pumpkins of different heights, textures, and decoration styles to create visual depth on your porch, dining table, or mantel. Start with two or three foundational techniques—such as a metallic-painted gourd paired with a fabric-wrapped sweater pumpkin and a floral vase display—and build out your seasonal arrangement from there.