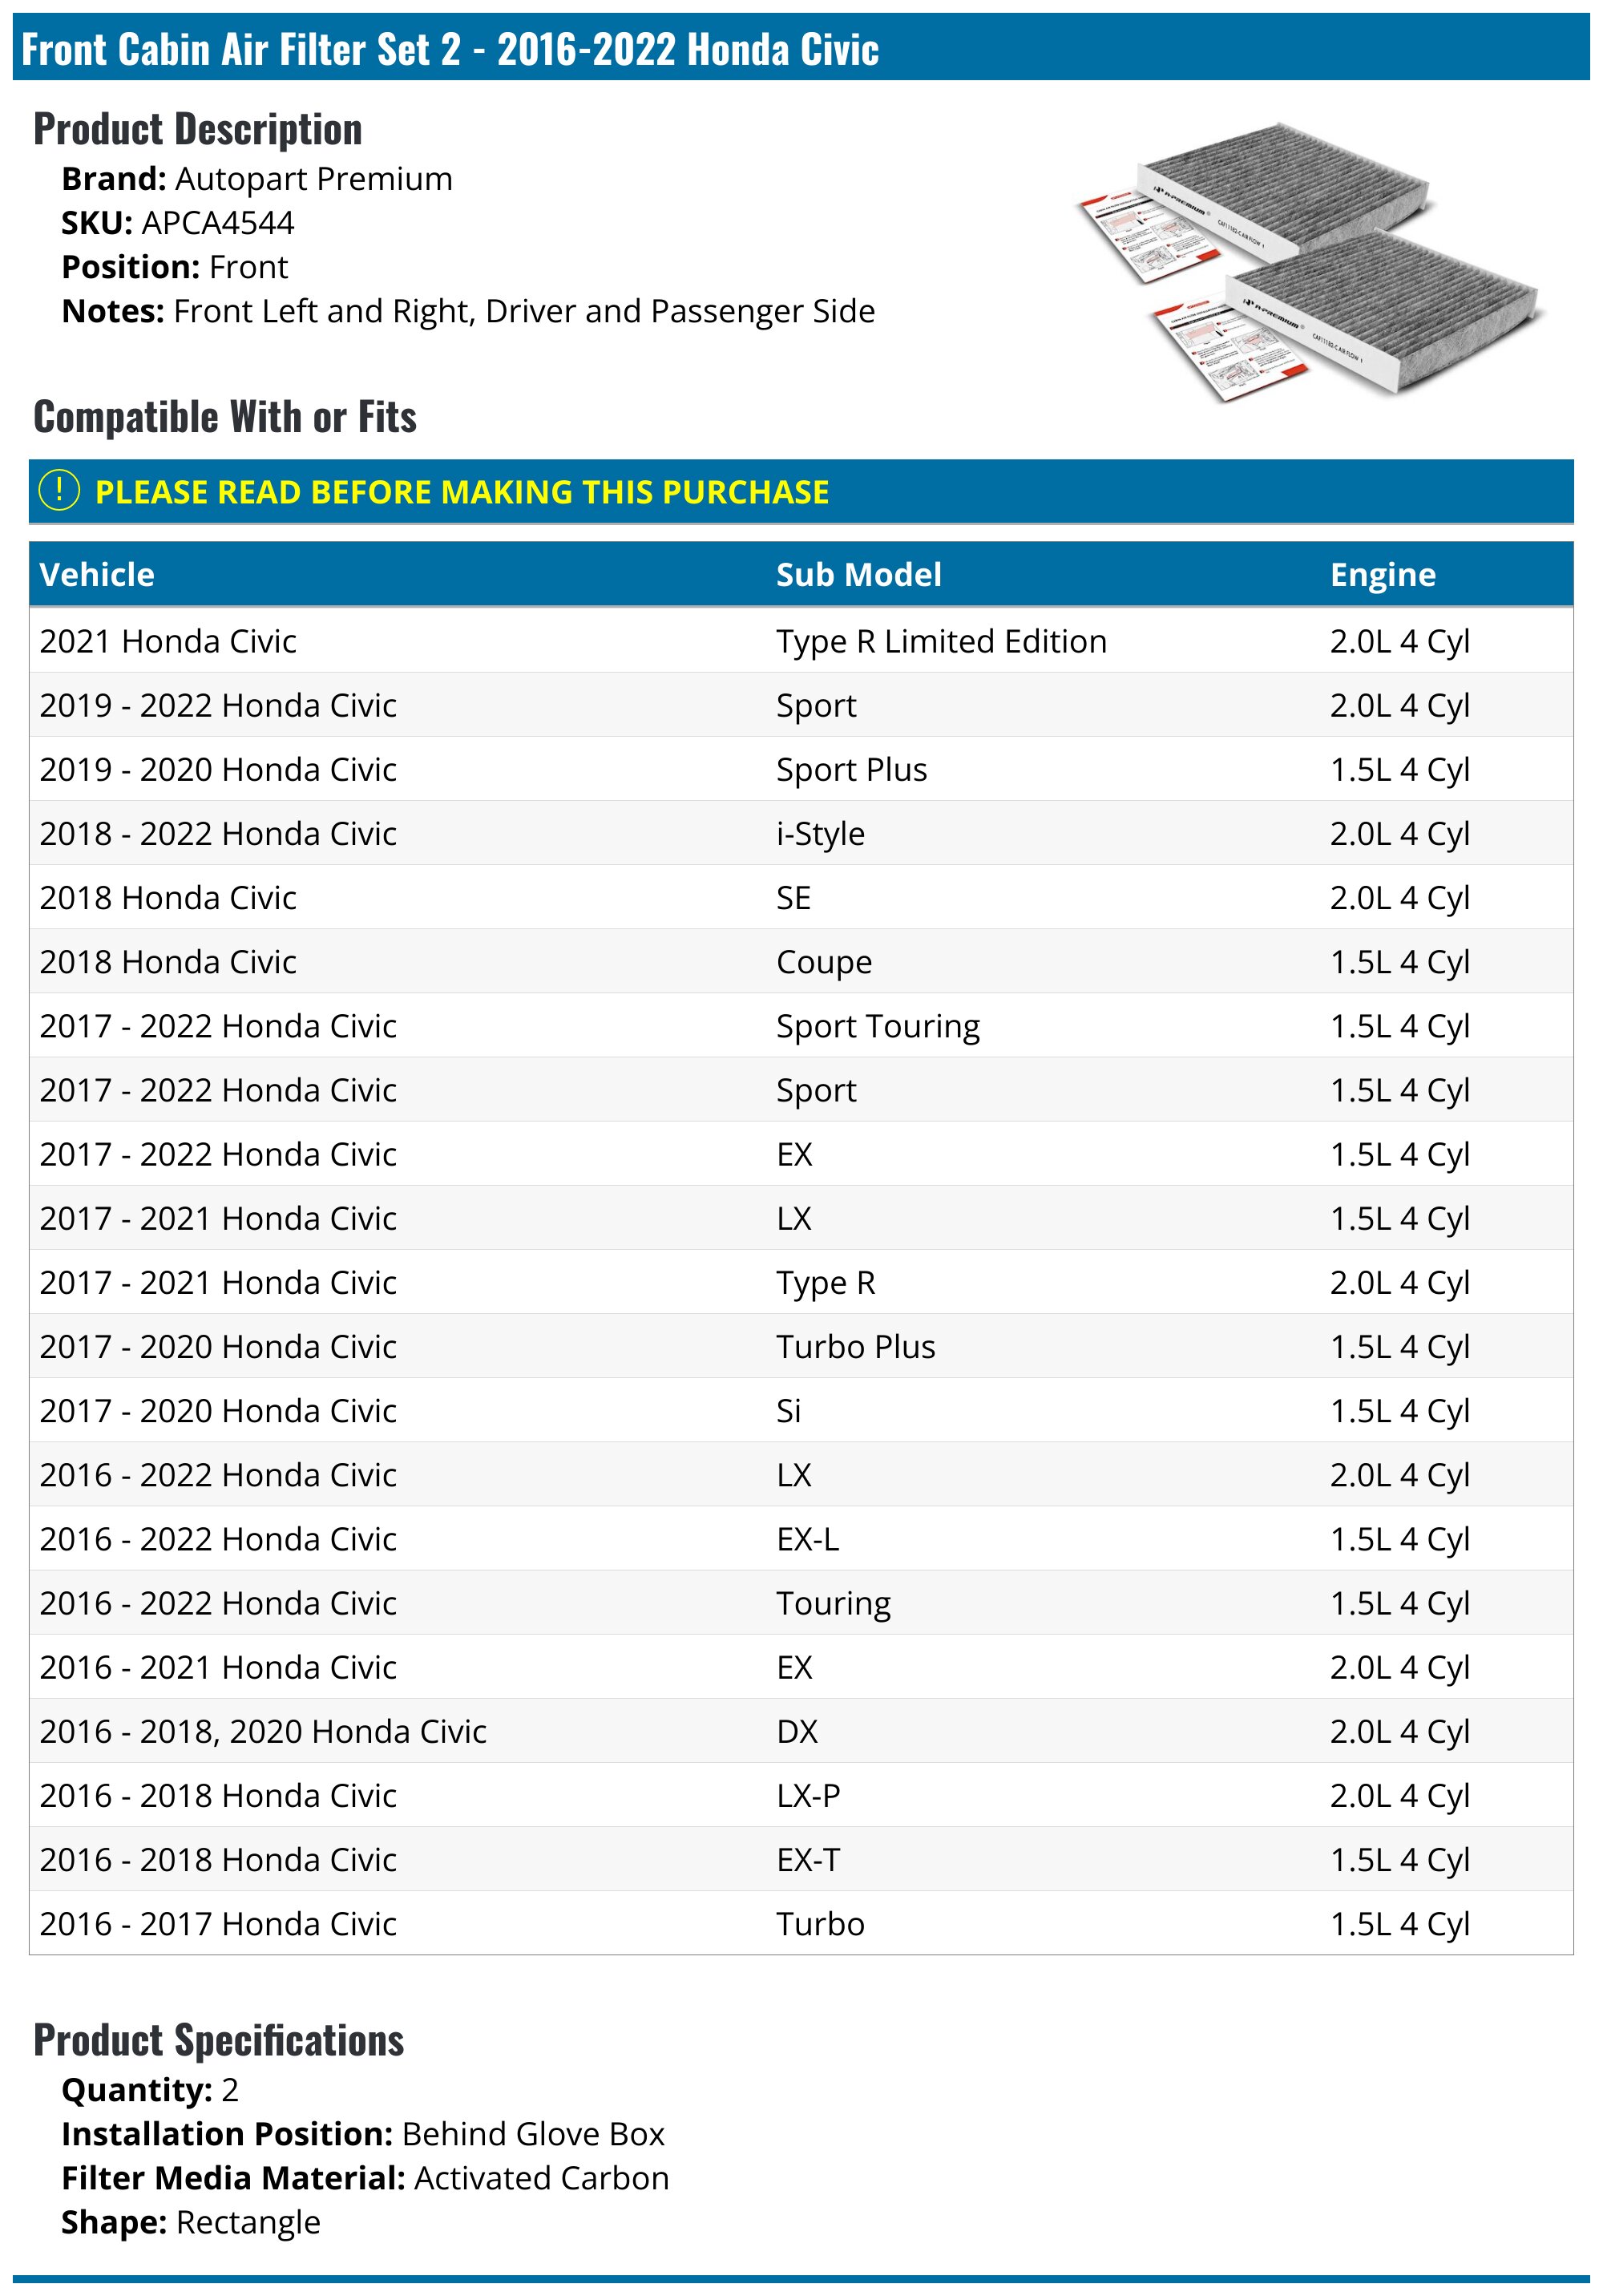
Replacing the cabin air filter on a 2018 Honda Civic is a straightforward, five-minute maintenance task that requires no tools and can save you significant money compared to dealership service fees. Located directly behind the glove box, the filter traps dust, pollen, and road debris before air enters the vehicle’s climate control system.
Maintaining clean cabin air inside your vehicle is a vital component of routine automotive upkeep, particularly for drivers who commute through heavy traffic, rural dusty roads, or areas with high seasonal pollen counts. On the 10th-generation Honda Civic (model years 2016 through 2021, including the 2018 model year), the cabin air filter is designed to be user-accessible. Understanding how to replace this component independently ensures that your vehicle’s HVAC (Heating, Ventilation, and Air Conditioning) blower motor operates efficiently and that the air you breathe remains fresh.
Understanding the Purpose and Timing of Your Filter Replacement
The cabin air filter acts as a physical barrier between the outside environment and the interior of your 2018 Honda Civic. As ambient air is drawn into the vehicle’s HVAC system through the cowl grilles beneath the windshield, it passes through a pleated paper or synthetic fiber filter element. This element captures particulate matter, including dust, soot, industrial fallout, mold spores, and pollen.
Over time, these trapped particles accumulate, gradually restricting airflow through the ventilation system. A clogged or heavily soiled cabin air filter forces the blower motor to work harder, which can lead to reduced airflow from the dashboard vents, strange musty odors when the air conditioning or heater is turned on, and increased strain on the electrical blower resistor. Furthermore, excessive debris buildup can allow allergens and fine particulate matter to bypass degraded filter seals, diminishing interior air quality.
When to Replace Your Cabin Air Filter
Honda typically recommends inspecting the cabin air filter every 15,000 miles or 12 months, and replacing it whenever it appears dirty, clogged, or damaged. However, your driving environment dictates the actual replacement frequency:
- Heavy Urban Environments: Stop-and-go traffic, high levels of diesel soot, and smog require more frequent inspections, potentially every 10,000 to 12,000 miles.
- Rural or Dusty Climates: Gravel roads, construction zones, and arid climates accelerate dust accumulation, necessitating replacements twice a year.
- High-Pollen Regions: Heavy tree and grass pollens can coat the filter medium rapidly during the spring and summer, leading to reduced defogging performance and persistent cabin odors.
Tools and Materials Required
One of the primary benefits of servicing a 2018 Honda Civic cabin air filter yourself is the minimal requirement for specialized equipment.
- Replacement Cabin Air Filter: Ensure you purchase a filter specifically designed for the 10th-generation Honda Civic (2016–2021). Standard aftermarket options include particulate filters as well as activated carbon filters, which offer an extra layer of odor neutralization.
- Flashlight or Work Light: Useful for illuminating the footwell area and ensuring the filter housing is clean before reassembly.
- Optional: A small handheld vacuum attachment to clear out any loose debris resting on top of the old filter before removal.
Step-by-Step Replacement Procedure
Performing this replacement requires care to avoid damaging the plastic retaining tabs on the glove box damper and housing door. Follow this sequential guide to complete the task safely.
Step 1: Prepare the Vehicle and Access the Glove Box
Open the passenger-side door and empty the contents of the glove box. Clearing out heavy items prevents them from spilling onto the floorboards and reduces weight when unhooking the glove box assembly.
Step 2: Detach the Glove Box Damper String
Lower the glove box halfway. Look at the right-hand outer side of the glove box assembly to locate the small damper arm or string tether. This tether prevents the glove box from dropping too quickly. Gently pull or unhook the small anchoring eyelet of the damper string away from its peg on the glove box frame. Allow the damper string to retract safely out of the way.
Step 3: Release the Glove Box Side Stoppers
To allow the glove box to swing down completely, you must disengage the upper stop tabs located on both the left and right outer edges of the glove box frame.
- Firmly grasp both sides of the outer glove box walls.
- Inwardly push the left and right side walls simultaneously. This action flexes the plastic slightly, allowing the two rectangular stop tabs to clear the upper dashboard frame.
- Allow the glove box to pivot completely downward toward the floorboard, exposing the HVAC blower housing behind it.
Step 4: Open the Cabin Air Filter Housing Door
Look straight ahead behind the lowered glove box. You will see a horizontal black plastic rectangular housing cover. This cover secures the cabin air filter inside the blower assembly.
- Locate the plastic locking tabs positioned on the left and right sides of the housing cover.
- Simultaneously pinch or pull these tabs inward and outward (depending on the exact tab design) to unlatch the cover.
- Pull the cover straight toward you and set it aside.
Step 5: Remove the Old Filter and Inspect the Housing
Slide the old filter tray straight out toward you. Pay close attention to the directional airflow arrows printed on the side of the old filter frame before discarding it.
- Inspect the housing interior with your flashlight. If leaves, insects, or loose dirt have settled inside the tray slot, use your fingers or a small vacuum nozzle to clean the area before installing the new component.
Step 6: Install the New Filter with Correct Airflow Orientation
Take your new cabin air filter and examine its outer frame. You will notice an arrow alongside text that reads "AIR FLOW."
- On a 2018 Honda Civic, the air flows downward through the filter housing. Therefore, the Air Flow arrows must point DOWN.
- Slide the new filter horizontally into the housing slot, ensuring that the edges seat securely within the internal guide rails without bending or crushing the delicate paper pleats.
Step 7: Reassemble the Housing and Glove Box
- Take the plastic housing cover and snap it back into place over the filter opening. Ensure both side latches click audibly to confirm a secure, airtight seal.
- Lift the glove box upward, flexing the side walls inward slightly so the upper stop tabs clear the dashboard frame again.
- Reconnect the damper string to its mounting peg on the right side of the glove box.
- Close the glove box and test its latching mechanism.
Filter Options: Standard vs. Activated Carbon
When purchasing a replacement filter for your 2018 Honda Civic, you will generally encounter two primary material configurations. Understanding their differences helps you select the best product for your driving habits.
| Filter Type | Primary Material | Key Benefits | Best Suited For |
|---|---|---|---|
| Standard Particulate | Cellulose or synthetic paper pleats | Excellent at trapping dust, pollen, road grime, and larger soot particles. Generally more affordable. | Budget-conscious drivers living in rural or low-smog areas with minimal air pollution. |
| Activated Carbon | Synthetic paper infused with porous carbon granules | Traps particulate matter and absorbs exhaust gases, chemical odors, foul smells, and industrial smoke. | Urban commuters, drivers frequently in heavy traffic, or individuals sensitive to strong ambient odors. |
Common Mistakes to Avoid
While replacing a 2018 Honda Civic cabin air filter is an approachable DIY project, a few common errors can compromise the installation or damage vehicle components:
- Incorrect Airflow Direction: Installing the filter upside down disrupts proper filtration and can cause premature clogging or whistling noises as air forces past compressed pleats. Always verify that the arrow points downward.
- Forcing the Glove Box: Breaking the side mounting tabs or the damper string usually happens when forcing the glove box without properly flexing the outer walls inward. Take your time during the release phase.
- Leaving Debris in the Housing: Failing to clear out accumulated leaves or twigs before inserting the new filter can result in blower motor imbalance, strange rattling noises, or immediate contamination of your brand-new filter element.
Frequently Asked Questions
How often should I change the cabin air filter in a 2018 Honda Civic?
You should inspect the filter every 15,000 miles or once a year, and replace it immediately if it is clogged with debris, darkened with soot, or emitting stale odors when the fan runs. If you drive in dusty conditions or heavy traffic, consider changing it every 10,000 miles.
Do I need any tools to replace the cabin air filter on my Civic?
No tools are required. The entire replacement process is entirely tool-free, relying on flexible plastic tabs on the glove box and filter housing cover that can be operated by hand in under five minutes.
What are the symptoms of a bad cabin air filter?
Common warning signs include noticeably reduced airflow from your dashboard vents even on high fan settings, persistent musty or moldy odors when the air conditioning is engaged, and a film of dust accumulating rapidly on your interior dashboard surfaces.
Is the cabin air filter the same as the engine air filter?
No. The cabin air filter cleans the air entering the passenger compartment for you to breathe, whereas the engine air filter cleans the air entering the engine's combustion chambers under the hood. They are entirely separate parts located in different areas of the vehicle.
Can a dirty cabin air filter damage my car's AC system?
Yes. A severely restricted filter forces the electric blower motor to pull against high resistance to move air. This restriction can cause the blower motor to overheat, draw excessive electrical current, or burn out the blower motor resistor over time.
Final Recommendations
Replacing your 2018 Honda Civic cabin air filter is a quick, cost-effective maintenance chore that directly improves your driving comfort and protects your vehicle's climate control electronics. By inspecting the filter annually and swapping it out at the first sign of contamination or airflow restriction, you ensure clean air circulation for every journey.