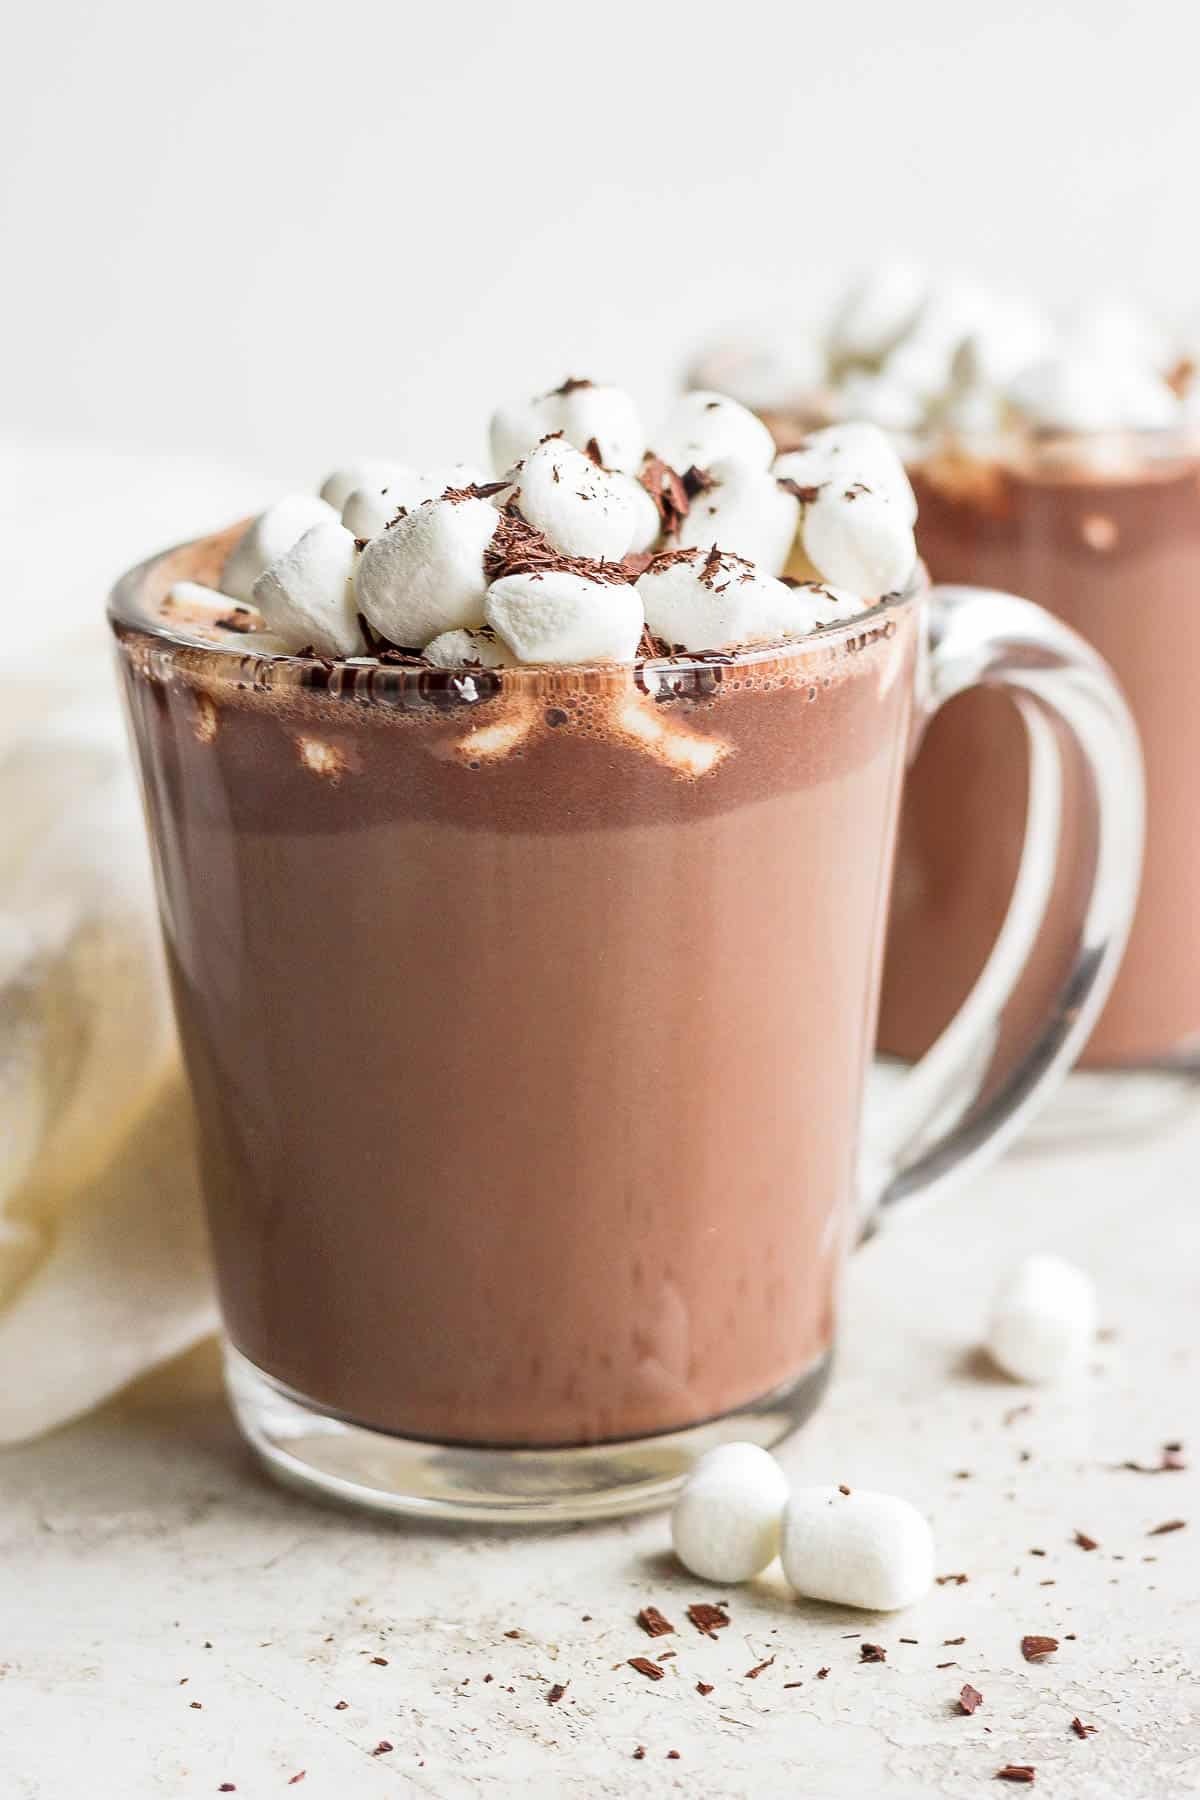
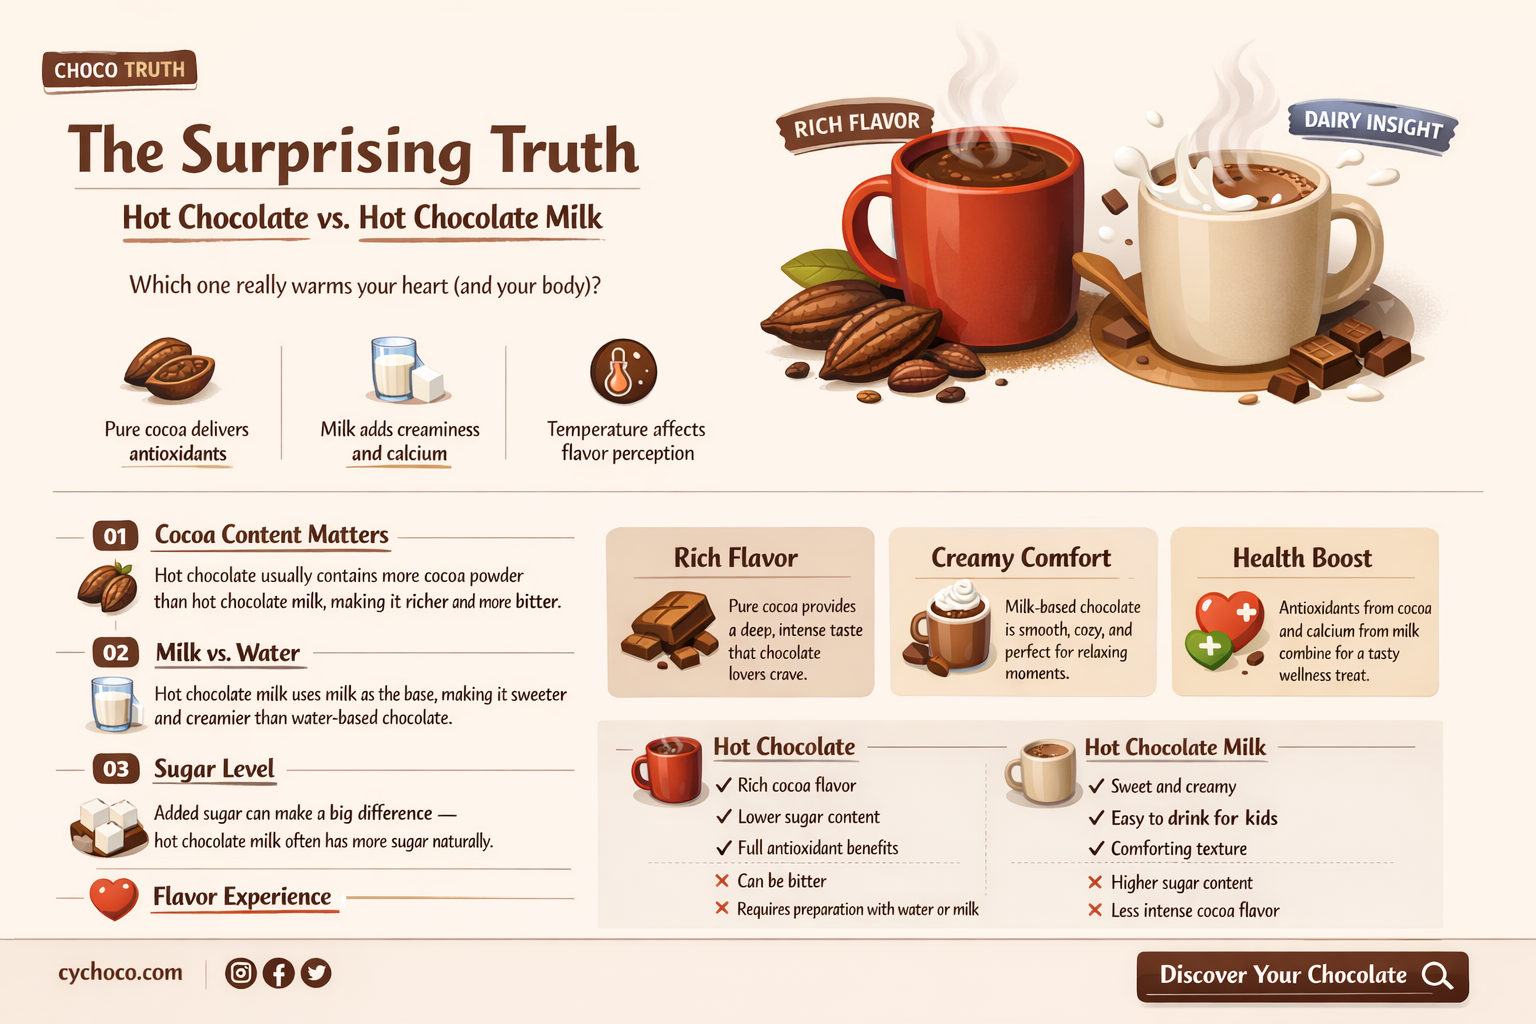
The best way to make hot chocolate with milk is to slowly melt high-quality chopped chocolate into whole milk on a stovetop, maintaining a temperature of approximately 160°F (71°C). This method relies on proper emulsification rather than simple mixing, resulting in a rich, velvety beverage that far surpasses instant powders in both texture and depth of flavor.
Understanding the Foundation: Chocolate vs. Cocoa
To master the art of hot chocolate in 2026, one must first distinguish between "hot cocoa" and "hot chocolate." While often used interchangeably, they are technically distinct. Hot cocoa is made from cocoa powder, which is the dried and ground remains of fermented, roasted, and pressed cocoa beans after the cocoa butter has been removed. Hot chocolate, or "sipping chocolate," is made directly from solid chocolate bars that contain cocoa butter, giving the drink a significantly creamier mouthfeel.
For the most luxurious experience, this guide focuses on using solid chocolate. The presence of cocoa butter is essential; it acts as a natural fat that, when properly emulsified with the fats and proteins in milk, creates a thick, glossy consistency. When selecting your chocolate, aim for a cacao percentage between 60% and 70%. Anything higher may become overly bitter when heated, while anything lower may be too sweet, masking the complex fruity or nutty notes of the bean.
The Role of Milk Chemistry in Texture
Milk is not merely a liquid medium; it is a complex emulsion of water, fats, and proteins. When making hot chocolate, the type of milk you choose determines the "body" of the drink. Whole milk is the industry standard because its fat content (roughly 3.25% to 3.5%) provides enough structure to suspend the chocolate particles without being as heavy as cream.
When milk is heated, the whey proteins begin to denature. If heated too quickly or to a boil, these proteins coagulate and form a skin on the surface—a common mistake that ruins the texture. By keeping the temperature below the boiling point, you preserve the sweetness of the lactose and ensure a smooth integration with the chocolate. For those using plant-based alternatives in 2026, oat milk is often preferred over almond or soy because its higher carbohydrate and protein structure mimics the creaminess of dairy more effectively during the steaming process.
Essential Equipment for Precision
While you can technically make hot chocolate with just a pot and a spoon, achieving "the best" results requires specific tools to manage the emulsion.
- Heavy-Bottomed Saucepan: This ensures even heat distribution and prevents "hot spots" that can scorch the milk or seize the chocolate at the bottom of the pan.
- Stainless Steel Whisk: A whisk is non-negotiable. It is the primary tool for aeration and emulsification, breaking down the chocolate into microscopic droplets that stay suspended in the milk.
- Digital Instant-Read Thermometer: Precision is the difference between a burnt-tasting drink and a perfect one. Monitoring the temperature prevents the milk from reaching the 180°F (82°C) threshold where proteins break down and "cooked" flavors emerge.
- Fine-Mesh Sieve (Optional): If you are using spices like cinnamon sticks or vanilla beans, a sieve ensures the final pour is perfectly smooth.
The 7-Step Guide to the Perfect Hot Chocolate
Following these steps ensures that the fats from the chocolate and the proteins from the milk bond correctly, creating a stable, decadent beverage.
Step 1: Finely Chop the Chocolate
Do not use standard chocolate chips. Most chocolate chips are formulated with stabilizers and lower cocoa butter content to help them retain their shape in the oven. Instead, use a high-quality couverture chocolate or a premium baking bar. Use a serrated knife to chop the chocolate into very fine, uniform pieces. The smaller the pieces, the faster they melt, reducing the time the milk must spend on the heat and preventing over-exposure to high temperatures.
Step 2: Scald the Milk Slowly
Pour your milk into the saucepan and place it over medium-low heat. You are looking for the "scalded" stage, which occurs just before boiling. Watch for small bubbles forming around the edges of the pan and steam beginning to rise. Do not let it reach a rolling boil. Scalding the milk breaks down certain proteins that can inhibit emulsification, making the final drink smoother.
Step 3: Create a Chocolate Slurry
Instead of dumping all the chocolate into the full pot of milk at once, remove the pan from the heat. Add about two tablespoons of the hot milk to your bowl of chopped chocolate. Stir this into a thick, glossy paste (a slurry). This technique, borrowed from pastry chemistry, prevents the chocolate from "clumping" and ensures that every particle is hydrated before it meets the larger volume of liquid.
Step 4: Gradually Incorporate the Liquid
Slowly pour the chocolate slurry back into the saucepan with the remaining milk. Return the pan to low heat. By adding the chocolate back into the milk gradually while whisking constantly, you are building a stable emulsion. If you see streaks of oil or dark spots, continue whisking vigorously; this is the sign that the cocoa butter is still trying to separate from the water in the milk.
Step 5: Temperature Control and Whisking
Continue to heat the mixture while whisking in a "figure-eight" motion. This motion creates more turbulence than a simple circular stir, leading to better aeration. Use your digital thermometer to monitor the temperature. You want to reach 160°F (71°C). At this temperature, the chocolate is fully melted, the flavors are fully expressed, and the milk is hot enough to be comforting without being dangerously hot to drink.
Step 6: Add Flavor Enhancers (The Secret Ingredients)
Once the base is smooth, add a tiny pinch of fine sea salt and a few drops of pure vanilla extract. Salt is a flavor "potentiator"—it suppresses bitterness and enhances our perception of sweetness and aromatic complexity. If you prefer a darker profile, a pinch of espresso powder can be added here; it doesn't make the drink taste like coffee but deepens the "roast" notes of the cacao.
Step 7: The Final Froth and Serve
Before pouring, give the hot chocolate one final, vigorous whisk or use a handheld milk frother for 15 seconds. This introduces tiny air bubbles (microfoam), which lightens the density of the chocolate and makes the mouthfeel more luxurious. Pour immediately into a pre-warmed ceramic mug. A cold mug will instantly drop the temperature of your drink by 10-15 degrees, shortening the "ideal" drinking window.
Comparative Analysis of Milk and Chocolate Combinations
The following table outlines how different ingredient choices affect the final result.
| Milk Type | Chocolate Type | Fat Content | Resulting Texture | Flavor Profile |
|---|---|---|---|---|
| Whole Milk | 70% Dark | High | Very Thick / Creamy | Balanced, intense cocoa |
| 2% Milk | 60% Dark | Medium | Smooth / Light | Sweeter, classic profile |
| Oat Milk | 70% Dark | Medium | Velvety / Cereal-like | Nutty, toasted notes |
| Heavy Cream (1:3 with milk) | 85% Dark | Extremely High | Ganache-like / Sipping | Ultra-rich, bittersweet |
| Coconut Milk (Canned) | 60% Dark | High | Dense / Tropical | Distinct coconut finish |
Troubleshooting Common Hot Chocolate Issues
The Chocolate is Grainy
If your hot chocolate feels "sandy" on the tongue, the chocolate likely seized or didn't melt completely. This happens if a small amount of cold liquid hits the melting chocolate or if the chocolate was of poor quality with high sugar-to-fat ratios. To fix this, you can try passing the mixture through a fine-mesh sieve or using an immersion blender to force the particles to break down.
The Drink is Too Thin
A thin hot chocolate usually results from using milk with low fat content (like skim milk) or not using enough chocolate. The ratio should be roughly 2 ounces of chocolate per 8 ounces of milk. If it’s already made and too thin, whisking in a teaspoon of heavy cream or a very small amount of cornstarch (dissolved in a slurry first) can provide the missing body.
A Skin Forms on Top
This is caused by the evaporation of water at the surface of the milk, which concentrates the proteins and fats into a solid layer. To prevent this, serve the drink immediately after whisking. If you are keeping a batch warm, placing a piece of parchment paper directly on the surface of the liquid (the "cartouche" method) will prevent skin formation.
Frequently Asked Questions
Can I use cocoa powder instead of bar chocolate?
Yes, but the method changes slightly. Cocoa powder contains very little fat, so you must "bloom" it first. Mix the cocoa powder and sugar with a small amount of boiling water or hot milk to form a paste before adding the rest of the milk. This prevents lumps and activates the flavor compounds. However, it will never be as creamy as bar chocolate because it lacks the cocoa butter.
What is the best temperature to serve hot chocolate?
For optimal flavor perception, 160°F (71°C) is the target temperature during preparation. By the time it is poured into a mug and served, it will naturally drop to about 145°F-150°F (63°C-66°C), which is the ideal range for sipping comfortably without scalding the palate.
Why does my hot chocolate taste "flat"?
A flat taste is usually due to a lack of acidity or salt. Chocolate is a complex fermented product. Adding a tiny pinch of salt or a drop of vanilla extract helps "brighten" the flavor. If it still feels dull, ensure you are using a chocolate bar that lists "cocoa butter" as one of the primary ingredients, not vegetable oil or palm oil.
Can I make this in a slow cooker for a crowd?
You can, but you must be careful. Set the slow cooker to "Low" and whisk the chocolate into the milk once the milk is warm. The primary risk with a slow cooker is the milk reaching a simmer and staying there too long, which can cause the milk to take on a "canned" or cooked flavor. Stir every 20 minutes to keep the emulsion stable.
Is it better to use Dutch-processed or natural cocoa if I'm mixing methods?
If you are adding cocoa powder to your milk-and-bar-chocolate mixture for extra punch, Dutch-processed is generally better for hot drinks. It has been treated with an alkalizing agent to reduce acidity, resulting in a darker color and a smoother, more "malty" flavor that complements milk perfectly.
Final Recommendation for a Superior Result
To achieve the absolute best hot chocolate in 2026, prioritize the quality of the emulsion. Do not rush the heating process. By using a heavy saucepan and whisking continuously until you reach 160°F, you ensure that the milk proteins and cocoa fats are perfectly bonded. For an extra touch of sophistication, top your finished drink with a light dusting of cocoa powder or a single, high-quality marshmallow rather than heaps of whipped cream, which can dilute the intense chocolate flavor you have worked to build.