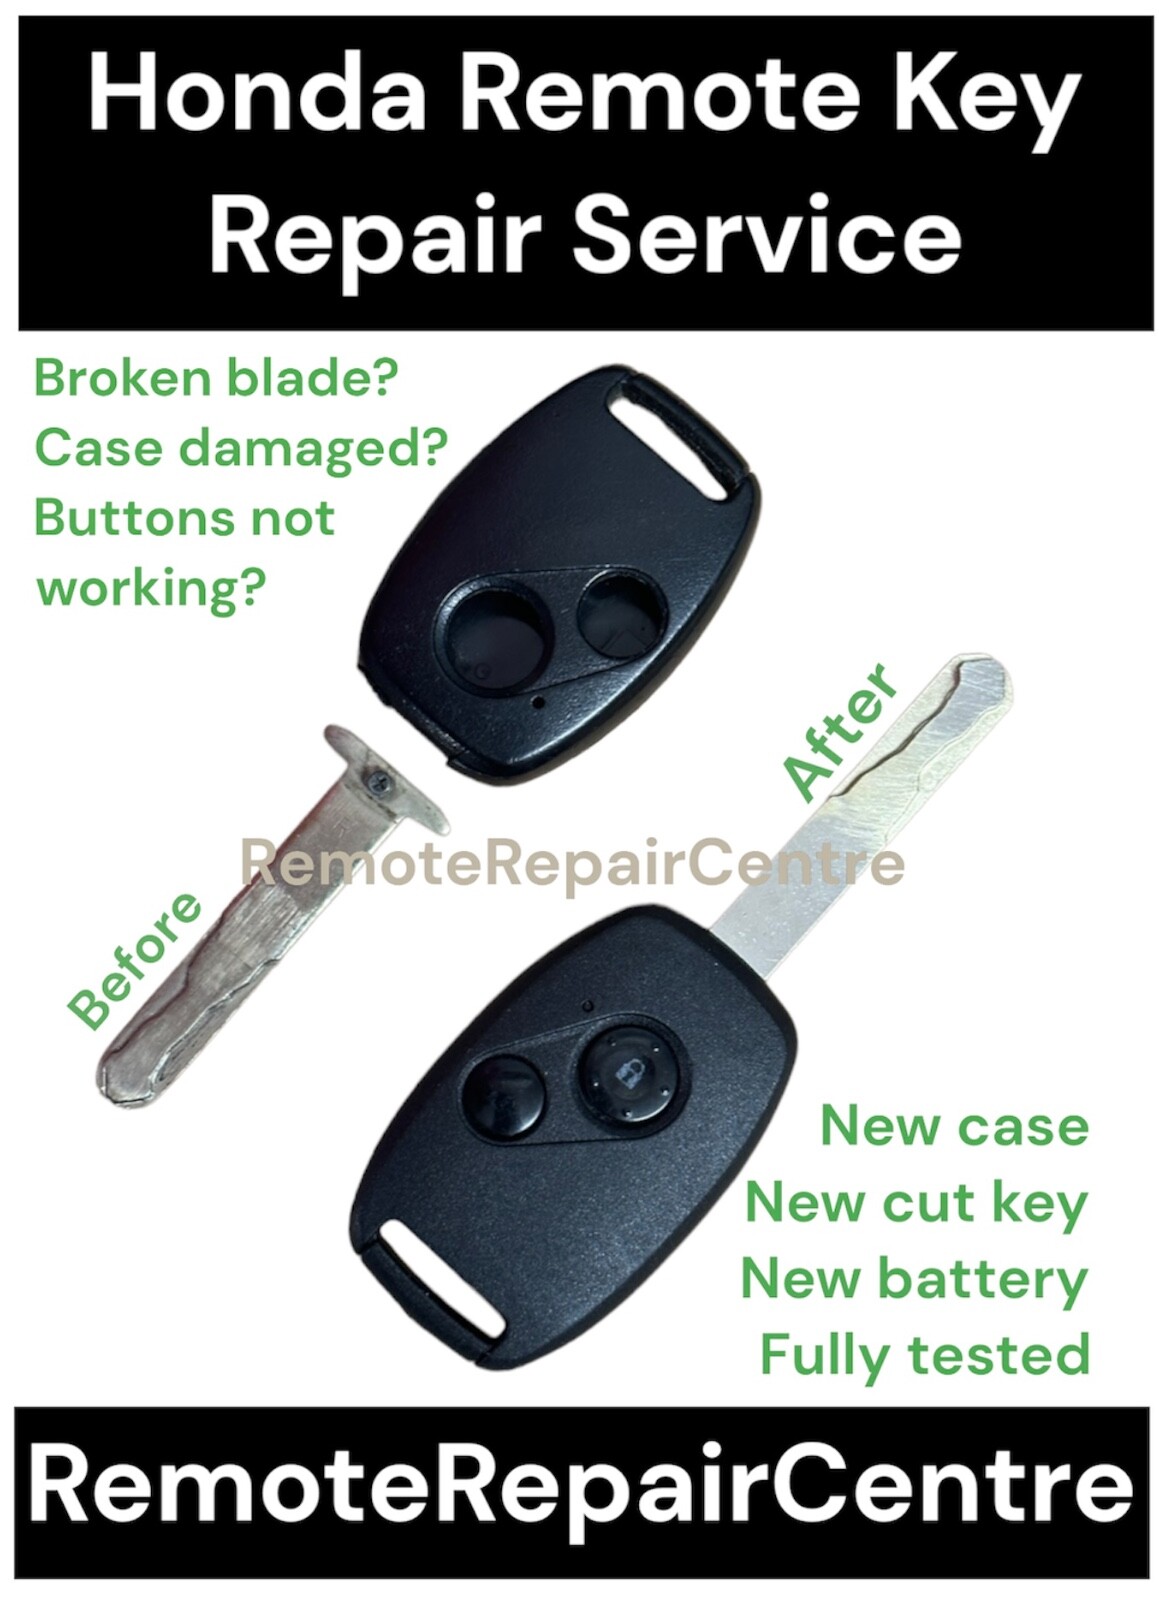
Replacing the battery in a 2015 Honda Civic key fob is a straightforward, inexpensive maintenance task that requires no specialized programming or tools beyond a small flathead screwdriver. Most 2015 Honda Civic remote transmitters use a standard CR1620 or CR2032 lithium coin cell battery, depending on whether you have a standard key fob or a push-button start smart key. By opening the plastic casing carefully, swapping the depleted coin cell with a fresh one matching the correct voltage and chemistry, and snapping the housing back together, you can restore full functionality to lock, unlock, and panic functions in under five minutes.
Understanding Your 2015 Honda Civic Key Fob Variant
The 2015 Honda Civic came equipped with multiple trim levels and key designs, ranging from the traditional mechanical ignition key with an integrated remote head to the proximity smart key system found on higher-end trims like the EX-L and Touring. Identifying which key type you own is the essential first step because it dictates both the battery size required and the internal mechanism used to secure the casing.
Integrated Remote Head Key (Standard Trims)
For LX, SE, and standard EX trims utilizing a traditional ignition cylinder, the key features a plastic remote head molded onto a metal blade. This fob typically houses a single CR1620 3-volt lithium coin cell battery. The remote housing is held together by a small Phillips-head screw located near the base of the metal blade, alongside structural snap clips running along the perimeter.
Smart Key FOB (Push-Button Start Trims)
Vehicles equipped with the push-button start system use a proximity smart key fob that remains in your pocket or bag while driving. This thicker, rectangular fob relies on a CR2032 3-volt lithium coin cell battery. Unlike the integrated remote head, the smart key does not use external screws; instead, it utilizes a hidden mechanical emergency key blade that must be extracted first to unlock the internal shell.
Symptoms of a Failing Key Battery
Recognizing when your 2015 Honda Civic key fob battery is dying prevents unexpected lockouts and frustration. Modern Honda remotes do not fail instantly; instead, they display gradual performance degradation as the internal lithium coin cell drops below its operational voltage threshold of approximately 3.0 volts.
- Reduced Operating Range: If you previously could unlock your Civic from thirty feet away, but now must stand directly next to the driver-side door, the battery is losing charge.
- Intermittent Responsiveness: Needing to press the lock or unlock buttons multiple times before the vehicle responds indicates low voltage delivery under load.
- Dashboard Warning Lights: For push-button start models, the vehicle's multi-information display may show a "Key Battery Low" warning message when the smart key is detected inside the cabin.
- Complete Unresponsiveness: When the LED indicator light on the fob fails to illuminate upon pressing a button, the battery is entirely depleted or dead.
Required Tools and Replacement Battery Specifications
Before opening your key fob, gather the necessary supplies to ensure a smooth replacement process without damaging the plastic enclosure. Using incorrect battery sizes or improvised metal tools can crack the housing or cause an electrical short circuit.
- Replacement Battery: Purchase a fresh 3-volt lithium coin cell. Standard integrated keys require a CR1620 battery, while proximity smart keys generally require a CR2032 battery. Always opt for reputable brands such as Energizer, Duracell, or Panasonic.
- Small Flathead Screwdriver: A precision electronics screwdriver or a jeweler's driver is ideal for prying open snap-fit enclosures.
- Microfiber Cloth: Used to protect the plastic exterior from scratches while applying leverage.
- Small Phillips Screwdriver: Required only if your specific integrated key fob model utilizes a retaining screw.
| Key Type | Trim Level | Battery Size | Voltage | Securing Mechanism |
|---|---|---|---|---|
| Integrated Remote Head | LX, SE, EX | CR1620 | 3V | Phillips Screw & Snap Clips |
| Proximity Smart Key | EX-L, Touring | CR2032 | 3V | Internal Release & Snap Clips |
Step-by-Step Replacement Guide for Integrated Remote Head Keys
If your 2015 Honda Civic uses the traditional ignition key with buttons integrated into the plastic handle, follow this detailed procedure to replace the internal battery safely.
Step 1: Remove the Retaining Screw
Inspect the outer casing of the key head near the point where the metal blade exits the plastic. Locate the small Phillips-head screw. Using a properly sized precision screwdriver, turn the screw counterclockwise to remove it completely. Set the screw aside in a secure location where it will not roll away or get lost.
Step 2: Separate the Casing Halves
Insert the tip of a small flathead screwdriver into the small notch or seam located along the outer edge of the plastic housing. Gently twist the screwdriver to pop the two halves apart. Work your way around the perimeter if necessary, taking care not to gouge the soft plastic material.
Step 3: Access the Electronic Module
Once the outer shell separates, lift out the internal rubber pad and electronic transmitter module. Keep the module intact; do not attempt to disassemble the circuit board itself, as the rubber keypad protects the internal contact points from dust and moisture.
Step 4: Swap the Battery
Note the orientation of the existing battery (the positive + side typically faces upward and displays text). Pop the old CR1620 battery out of its retainer clip, using the flathead screwdriver if it is wedged tightly. Insert the new CR1620 battery, ensuring that the positive side matches the orientation of the original cell.
Step 5: Reassemble the Housing
Place the electronic module back into one half of the plastic shell, followed by the rubber perimeter seal. Snap the two plastic halves back together firmly until you hear a click. Reinsert the Phillips-head screw and tighten it gently until snug, avoiding overtightening which can strip the plastic threads.
Step-by-Step Replacement Guide for Smart Key Fobs
Proximity smart keys require a different technique because they lack external screws and contain a built-in mechanical emergency key.
Step 1: Release the Mechanical Emergency Key
Locate the slider switch or release button on the top edge or back of the smart key fob. Slide this switch and pull outward on the metal emergency key blade to slide it completely out of the fob housing.
Step 2: Pry Open the Outer Shell
Look inside the slot where the emergency key was just removed. You will see a small, rectangular notch. Insert the tip of the mechanical key blade or a small flathead screwdriver into this slot and twist gently. The plastic case will separate into two halves along the center seam.
Step 3: Remove the Old Battery
Carefully lift the internal circuit board or locate the exposed battery compartment. Note the positive (+) and negative (-) markings. Pop out the depleted CR2032 battery from its housing.
Step 4: Install the New Battery
Place the fresh CR2032 battery into the compartment, making sure the positive side faces upward (or matches the manufacturer's polarity markings inside the tray). Press down gently until the coin cell clicks securely into place.
Step 5: Snap the Fob Back Together
Align the two plastic halves of the smart key fob and press them together firmly with your fingers until all retention clips engage cleanly around the perimeter. Slide the mechanical emergency key back into its integrated slot until it locks into position.
Testing and Verification Procedures
Once you have successfully reassembled your 2015 Honda Civic key fob, verify its operation before relying on it for daily driving.
- Proximity and Button Test: Stand within range of your Civic and press the Lock button. Listen for the audible chirp and observe the hazard lights flash. Repeat the process for the Unlock and Trunk release buttons.
- Panic Alarm Check: Briefly press the Panic button to ensure the remote transmits signals correctly, then press it again to deactivate the alarm.
- Ignition Test (Smart Key Only): Sit inside the vehicle with the smart key fob. Press the brake pedal and push the engine start/stop button to ensure the immobilizer system recognizes the key chip through the fresh battery power.
Troubleshooting Common Issues After Battery Replacement
If your key fob fails to operate your vehicle after installing a new battery, consider the following troubleshooting steps to resolve the issue.
- Incorrect Battery Polarity: The most common mistake is installing the coin cell upside down. Verify that the positive (
+) side faces outward or matches the housing diagrams. - Dirty Contact Points: Natural skin oils or corrosion on the internal metal contact terminals can block electrical current. Clean the terminals gently using a cotton swab dipped in isopropyl alcohol.
- Misaligned Housing: If the plastic halves are not snapped together completely, the internal rubber membrane may not press firmly against the circuit board microswitches.
- Unsynchronized Transmitter: In rare cases where power was lost for an extended period, the key may need re-synchronization by inserting it into the ignition and cycling it through the "On" position, or consulting a professional locksmith if programming was lost.
Safety Precautions and Proper Disposal
Lithium coin cell batteries present specific safety hazards, particularly regarding household pets and small children. Always handle them with care and dispose of depleted cells responsibly.
- Ingestion Hazard: Keep new and used coin cell batteries away from children. Swallowing a lithium coin cell can cause severe internal chemical burns and life-threatening injuries within hours. Seek immediate medical attention if ingestion is suspected.
- Proper Recycling: Do not throw lithium batteries into regular household trash. Take spent CR1620 and CR2032 batteries to a designated local recycling center, electronic retailer, or household hazardous waste collection site.
- Static Discharge: Avoid touching the flat surfaces of the new battery with bare metal tools or greasy fingers, as oil residue can impair electrical conductivity and reduce battery lifespan.
Preventative Maintenance and Best Practices
To maximize the longevity of your new 2015 Honda Civic key battery and prevent premature failure, implement a few simple maintenance habits.
- Avoid Extreme Temperatures: Leaving your key fob inside direct sunlight on a hot dashboard or exposing it to freezing conditions drains lithium cell capacity rapidly.
- Keep Dry: Moisture exposure can corrode the internal circuit board and short-circuit the battery. If your key fob gets wet, open the casing immediately and allow all components to dry completely before reassembly.
- Replacement Schedule: Plan to replace your Honda Civic key battery every two to three years as preventative maintenance, even before complete failure occurs.
Summary and Next Actions
Replacing the battery in your 2015 Honda Civic key fob is a quick, cost-effective DIY project that restores full access and convenience to your vehicle. By identifying your specific key type, acquiring the correct CR1620 or CR2032 battery, and following careful disassembly steps, you can complete the job in minutes. Inspect your key fob today, verify its performance, and keep a spare battery in your glove compartment for future peace of mind.