In 2026, the most effective way to run an Apache server on a Mac is through the Homebrew package manager. While macOS previously included a native version of Apache, Apple has deprecated system-provided web services. Installing Apache via Homebrew ensures you have the latest security patches, full configuration control, and seamless integration with modern PHP and MySQL versions for a professional local development environment.
The Evolution of Apache on the macOS Platform
The Apache HTTP Server, often simply called Apache, has been a cornerstone of web development for decades. For many years, macOS was celebrated by developers because it shipped with Apache and PHP pre-installed. However, as the operating system evolved, Apple transitioned toward a "thin" core, removing many scripting languages and server tools to reduce the attack surface of the OS and allow developers to choose their preferred versions.
By 2026, relying on "built-in" tools is a practice of the past. Modern macOS environments on Apple Silicon (M1, M2, M3, and M4 chips) require a decoupled approach. Using Homebrew, the "missing package manager for macOS," is the industry standard. This approach provides a "Cellar" structure where the server resides, keeping your system files clean and ensuring that macOS updates do not overwrite your custom configurations.
Prerequisites for a Modern Apache Installation
Before deploying an Apache server, your Mac must be prepared with the necessary command-line architecture. This ensures that the compilation and installation processes proceed without environment-related errors.
1. Xcode Command Line Tools
Even if you are not developing iOS apps, you need the Xcode Command Line Tools. These include the compilers and utilities required to build software on macOS. Open your Terminal (found in /Applications/Utilities/) and run: xcode-select --install
2. Homebrew Package Manager
Homebrew is essential for managing the Apache package (known as httpd). If you haven't installed it, you can find the installation script on the official Homebrew website. In 2026, Homebrew installs to /opt/homebrew on Apple Silicon Macs, which is a critical path to remember for configuration.
3. Administrative Privileges
Modifying server configurations and binding to standard web ports (like Port 80) requires administrative or "sudo" access. Ensure your user account has these permissions before proceeding.
Installing Apache (httpd) via Homebrew
Once the prerequisites are met, the installation of Apache is straightforward. In the terminal, execute: brew install httpd
This command downloads the latest stable version of the Apache HTTP Server. During the process, Homebrew will resolve any dependencies. Once the installation is complete, you will see a summary of where the configuration files are located. On an Apple Silicon Mac, the primary directory is /opt/homebrew/etc/httpd/.
Starting and Stopping the Service
Unlike standard applications, Apache runs as a background service (a daemon). Use the following commands to manage the server's lifecycle:
- To start Apache now and at login: brew services start httpd
- To stop the server: brew services stop httpd
- To restart after a configuration change: brew services restart httpd
By default, Homebrew’s Apache is configured to listen on Port 8080 to avoid conflicts with system services and to allow it to run without root privileges during initial setup. You can verify the installation by visiting http://localhost:8080 in your web browser. You should see a simple message stating, "It works!"
Essential Configuration: Tailoring Apache to Your Needs
The heart of the Apache server is the httpd.conf file. This file dictates how the server behaves, which modules it loads, and where it looks for website files. You can edit this file using a text editor like Nano or VS Code.
Changing the Port to 80
If you want to access your local sites via http://localhost without specifying a port, you must change the listening port from 8080 to 80. Locate the line: Listen 8080 And change it to: Listen 80
Note that after this change, you will likely need to run the service with elevated privileges, or use a reverse proxy, as ports below 1024 are restricted in macOS.
Setting the Document Root
The DocumentRoot is the folder where your website files (HTML, CSS, JS) live. By default, Homebrew sets this to a directory within the /opt/homebrew/ var folder. Most developers prefer to move this to their home directory for easier access. Locate these lines: DocumentRoot "/opt/homebrew/var/www"
Change them to your desired path, such as: DocumentRoot "/Users/YourUsername/Sites"
Enabling Overrides (.htaccess)
To allow WordPress, Laravel, or other frameworks to manage URLs via .htaccess files, you must change the AllowOverride directive. Inside the Directory block for your DocumentRoot, find: AllowOverride None And change it to: AllowOverride All
Implementing Virtual Hosts for Multiple Projects
If you are working on multiple websites simultaneously, you don't want to dump all files into a single folder. Virtual Hosts allow you to map different local domains (like project1.test and project2.test) to different folders on your Mac.
1. Enable the Virtual Hosts Module
In your httpd.conf, find the following line and ensure it is not commented out (remove the # at the start): Include /opt/homebrew/etc/httpd/extra/httpd-vhosts.conf
2. Configure the Vhosts File
Open /opt/homebrew/etc/httpd/extra/httpd-vhosts.conf and add a block for each project: ServerName project1.test DocumentRoot "/Users/YourUsername/Sites/project1" ErrorLog "/opt/homebrew/var/log/httpd/project1-error_log"
3. Update the Hosts File
For your browser to recognize "project1.test," you must point that domain to your local machine. Edit the macOS hosts file: sudo nano /etc/hosts Add the line: 127.0.0.1 project1.test
Integrating PHP with Apache
Apache by itself serves static content. To develop dynamic applications, you must link it with PHP. In 2026, PHP is also managed via Homebrew.
- Install PHP: brew install php
- Load the Module: In httpd.conf, add the LoadModule directive pointing to the Homebrew PHP library.
- Set Directory Index: Ensure Apache looks for index.php by finding the DirectoryIndex line and updating it: DirectoryIndex index.php index.html
- Add Type Handling: Tell Apache to process .php files through the PHP engine by adding: SetHandler application/x-httpd-php
Security and Local SSL (HTTPS)
Even for local development, using HTTPS is crucial. Browsers now enforce strict security policies that can interfere with cookies or service workers if you use plain HTTP.
The easiest way to implement SSL on a Mac Apache server is using mkcert. This tool creates a local Certificate Authority (CA) that your browser trusts.
- brew install mkcert
- mkcert -install
- mkcert localhost project1.test
Once you have the certificate files (.pem), you must enable mod_ssl in your Apache configuration and point the SSLCertificateFile and SSLCertificateKeyFile directives to your newly created certs. This ensures your local environment mirrors the production environment as closely as possible.
Comparing Apache Deployment Methods on macOS
Depending on your technical comfort level and project requirements, you might choose different ways to run Apache.
| Feature | Homebrew Apache (Recommended) | MAMP / XAMPP | Docker Containers |
|---|---|---|---|
| Control | Full manual control via config files | GUI-based, limited manual control | Isolated, environment-specific |
| Performance | Native speed, low overhead | Moderate overhead from GUI | Slight virtualization overhead |
| Version Flexibility | Can switch versions via Brew | Tied to the application version | High; can run any version easily |
| Ease of Setup | Intermediate (Command line) | Easy (Installer) | Advanced (Configuring YAML) |
| Updates | Independent updates per package | Requires updating the whole app | Image-based updates |
Troubleshooting Common Issues
Even with a perfect setup, you may encounter obstacles when running a server on macOS.
Address Already in Use (Port Conflicts)
If Apache fails to start, it is often because another service is using Port 80 or 8080. You can check this by running: sudo lsof -i -P | grep LISTEN If the native macOS "AirPlay Receiver" is active, it often occupies Port 5000 or 7000, but sometimes third-party apps grab Port 80. Disable the conflicting service or move Apache to a different port.
Permission Denied (403 Forbidden)
This error occurs when the Apache user (usually _www) does not have permission to read the files in your DocumentRoot. Ensure that your home directory and the "Sites" folder have "Execute" permissions for others so Apache can traverse the path. You can fix this by running: chmod 755 /Users/YourUsername chmod -R 755 /Users/YourUsername/Sites
Syntax Errors
Before restarting Apache, always check your configuration for typos: apachectl configtest This command will point you to the exact line number where a syntax error exists, saving significant time during debugging.
Frequently Asked Questions
Does macOS still come with Apache pre-installed in 2026?
While some legacy binaries may exist in the system folders, they are stripped of many features and are not intended for active web development. Apple has moved away from providing these tools to ensure OS stability. Using the Homebrew version is the only supported way to maintain a modern, secure stack.
Should I use Apache or Nginx on my Mac?
This depends on your project. Apache is excellent for shared hosting environments and projects that rely on .htaccess files for per-directory configuration. Nginx is often preferred for high-concurrency static file serving or as a reverse proxy. Most PHP developers stick with Apache for its ease of use and widespread compatibility with CMS platforms like WordPress and Drupal.
How do I view my Apache error logs?
Logs are your best friend when a site fails to load. For Homebrew Apache, logs are typically found in: /opt/homebrew/var/log/httpd/error_log You can watch the logs in real-time by running: tail -f /opt/homebrew/var/log/httpd/error_log
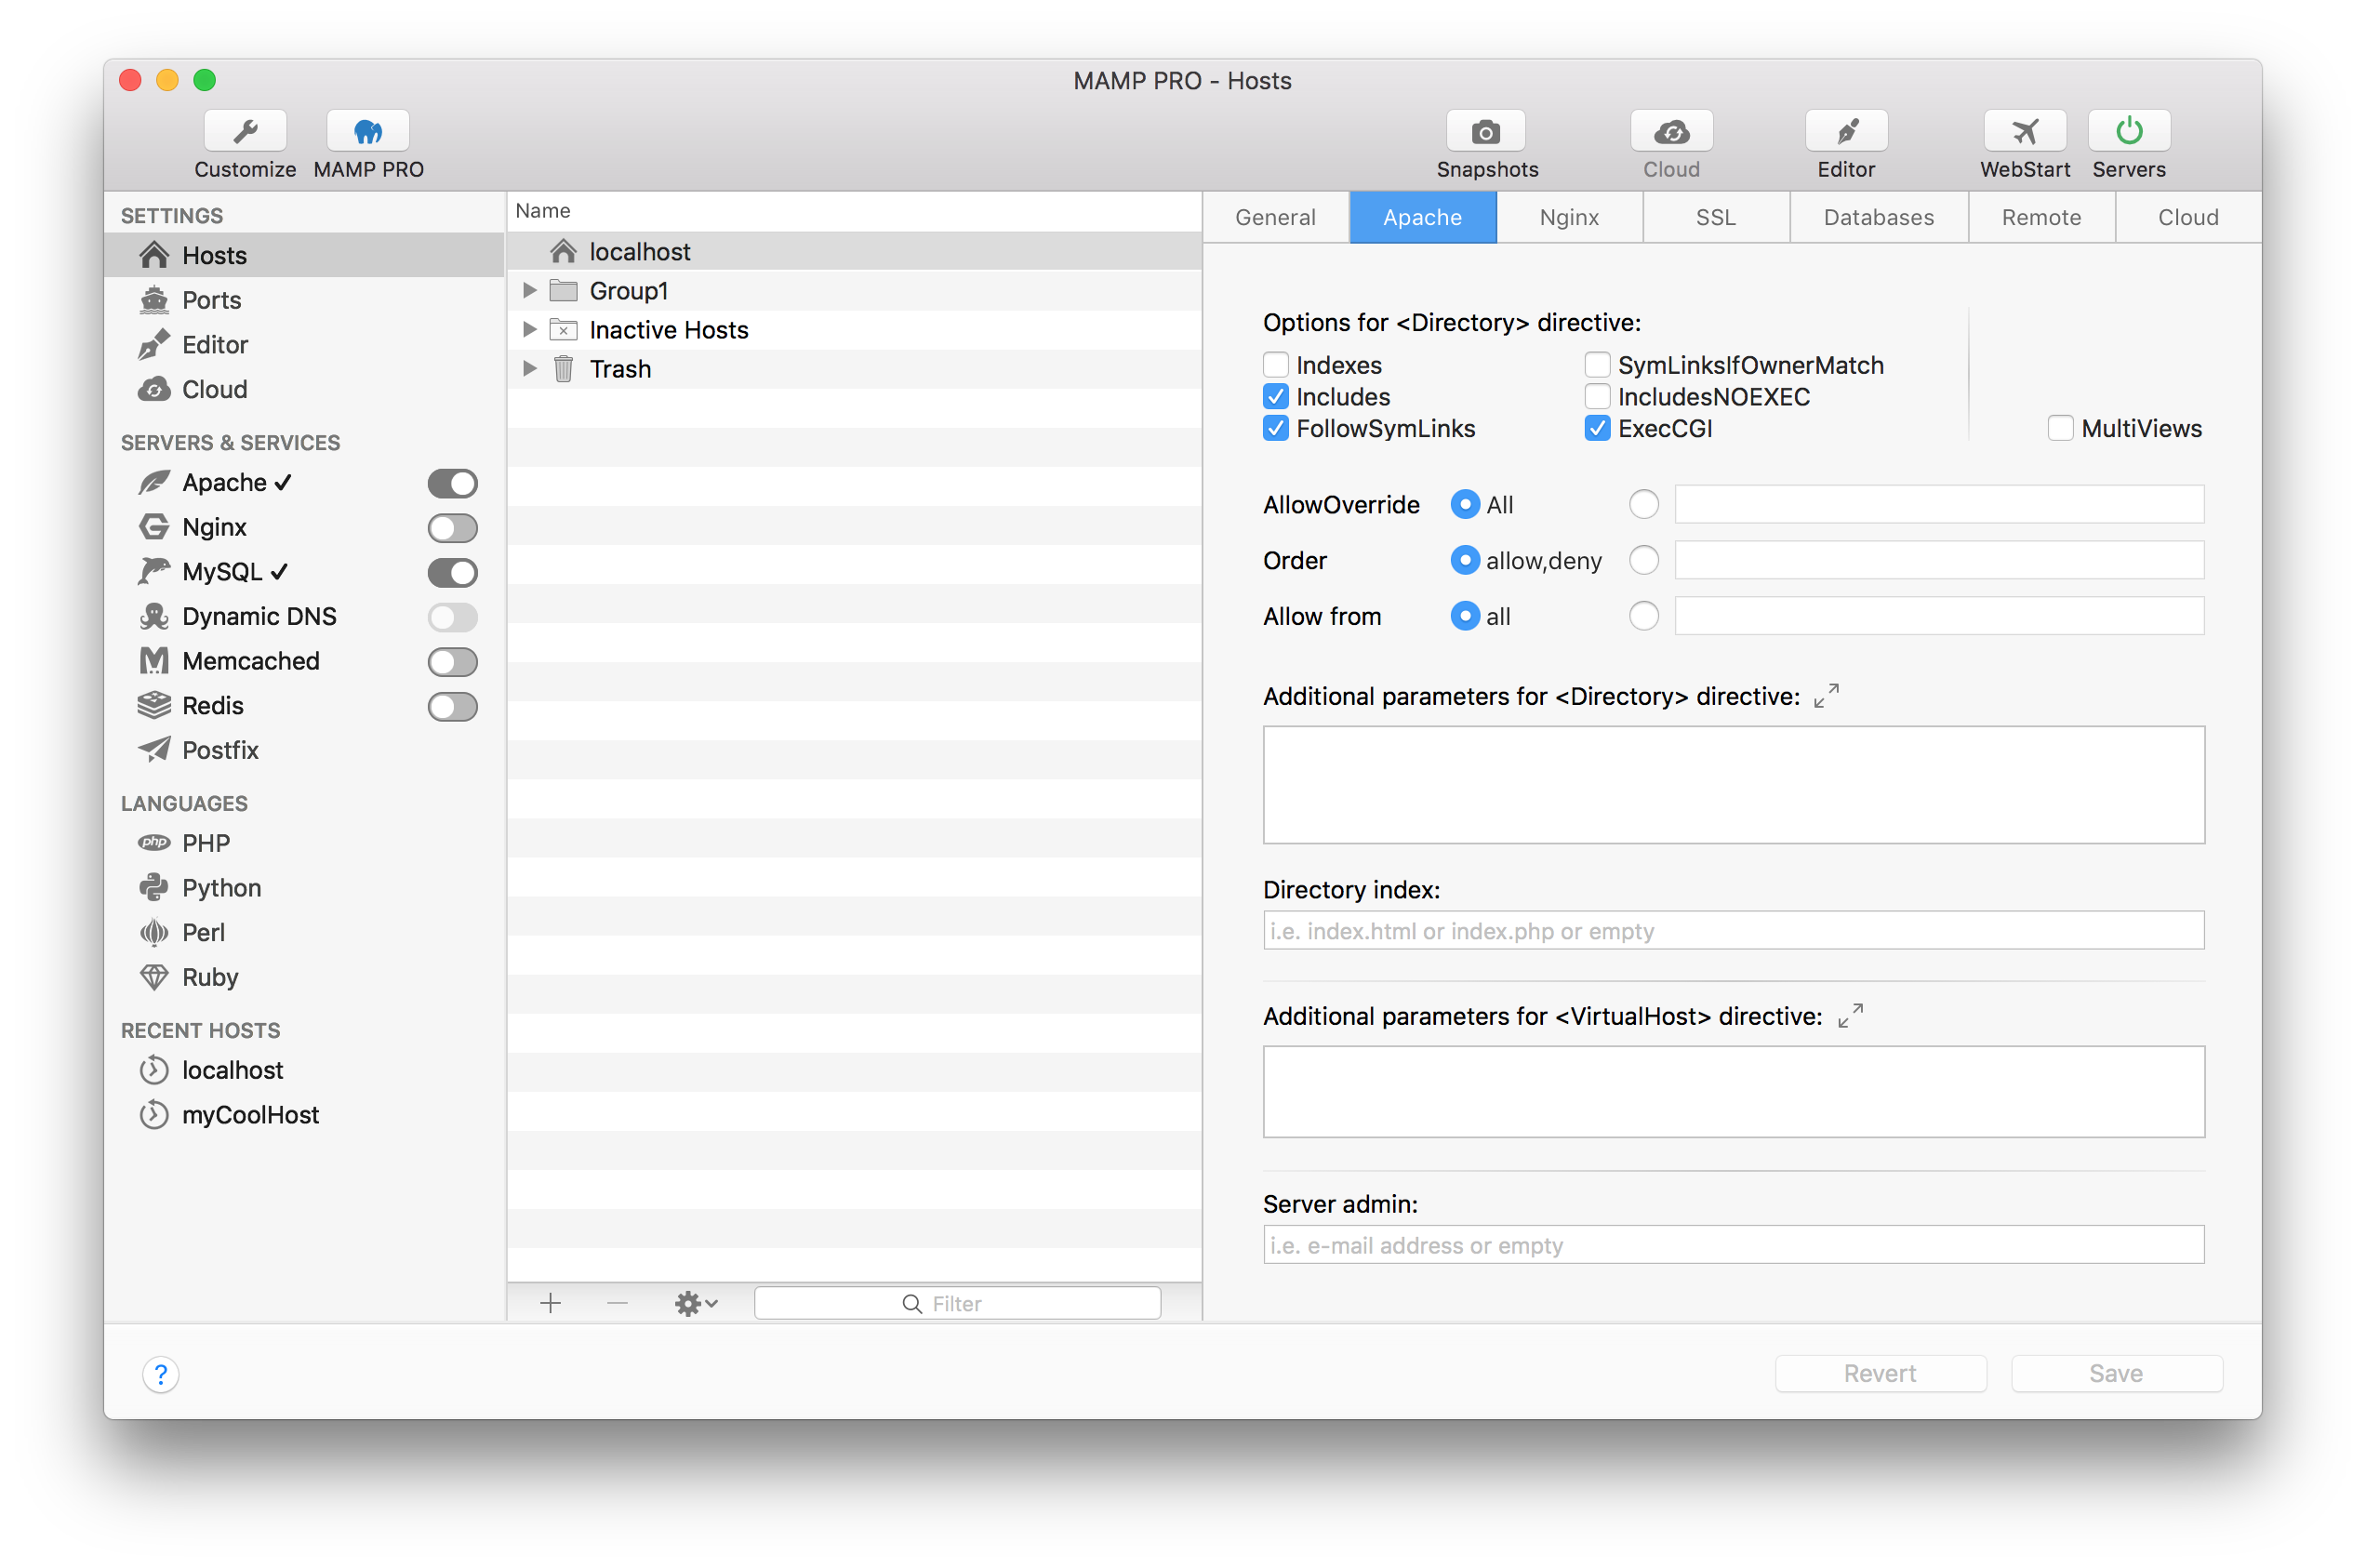
Can I run Apache and MAMP at the same time?
It is not recommended. Both will attempt to bind to the same ports (like 80 or 8888), causing one of them to fail. If you transition to a Homebrew setup, it is best to uninstall MAMP or ensure its servers are completely stopped before starting the Homebrew service.
How do I make my local Apache server accessible to others on my Wi-Fi?
First, find your local IP address in System Settings > Network. Then, ensure your Apache config is set to Listen 80 (not just 127.0.0.1:80). Other devices on your network can then visit http://[Your-IP-Address] to view your site. Ensure your macOS Firewall allows incoming connections to the httpd process.
Summary and Next Actions
Setting up an Apache server on a Mac in 2026 is a rewarding process that provides a professional-grade development environment. By moving away from "built-in" solutions and embracing Homebrew, you gain the ability to customize every aspect of your server stack.
Your next steps should be:
- Install Homebrew and the httpd package.
- Configure your DocumentRoot to a convenient folder in your home directory.
- Set up Virtual Hosts for your active projects.
- Secure your local environment with mkcert to ensure your development workflow matches modern security standards.
By mastering the command-line configuration of Apache, you position yourself to better understand how web servers operate in production environments, making you a more effective and versatile developer.