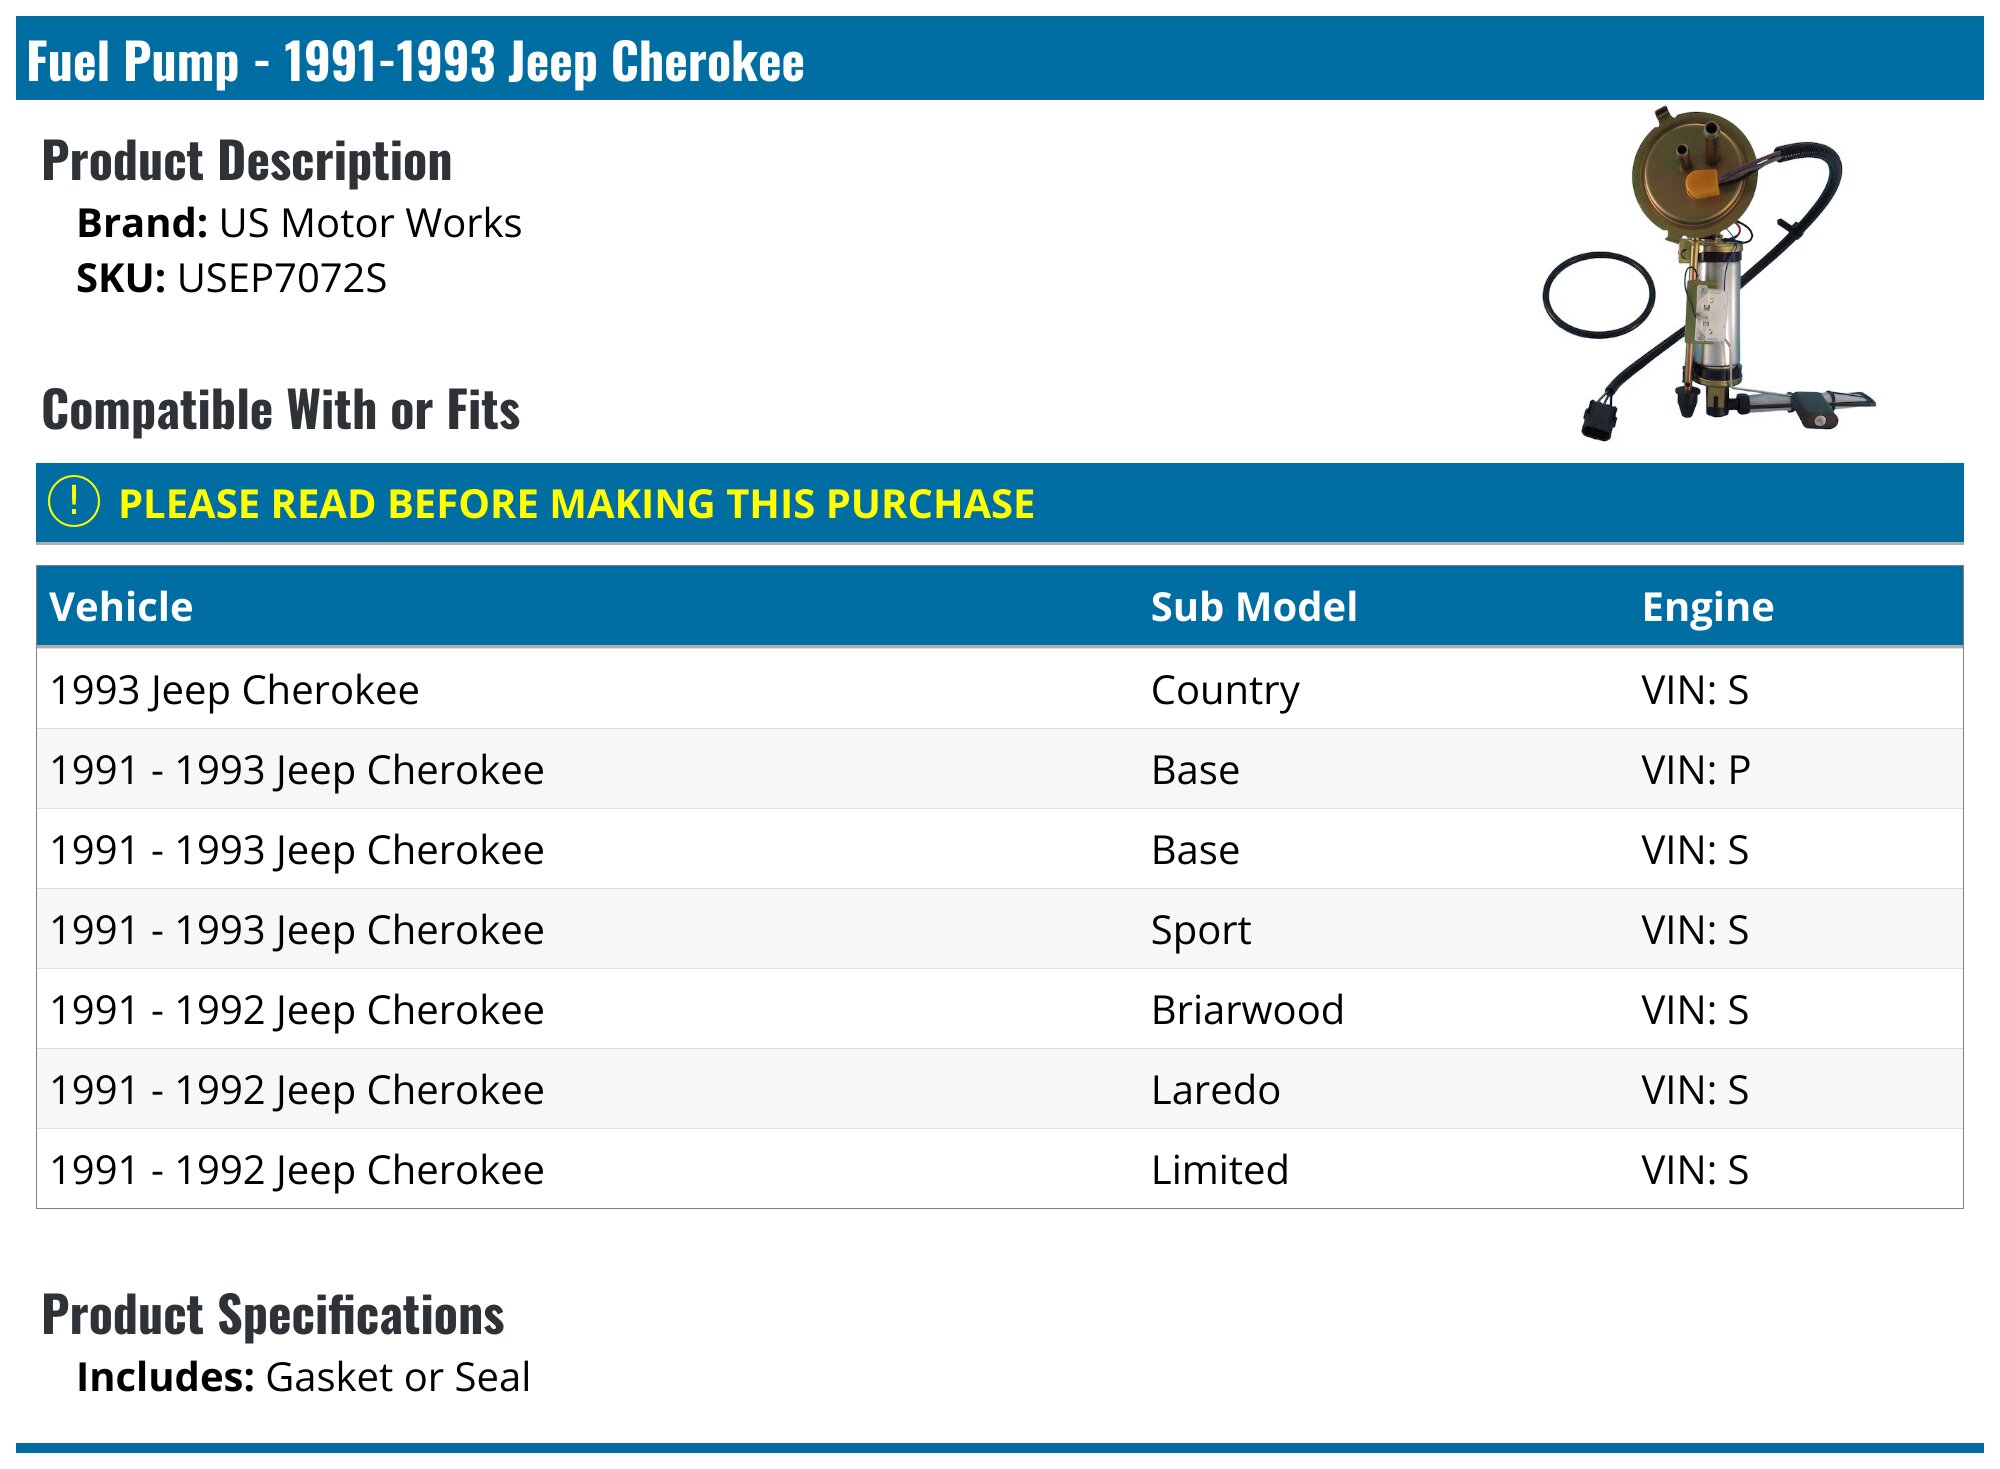
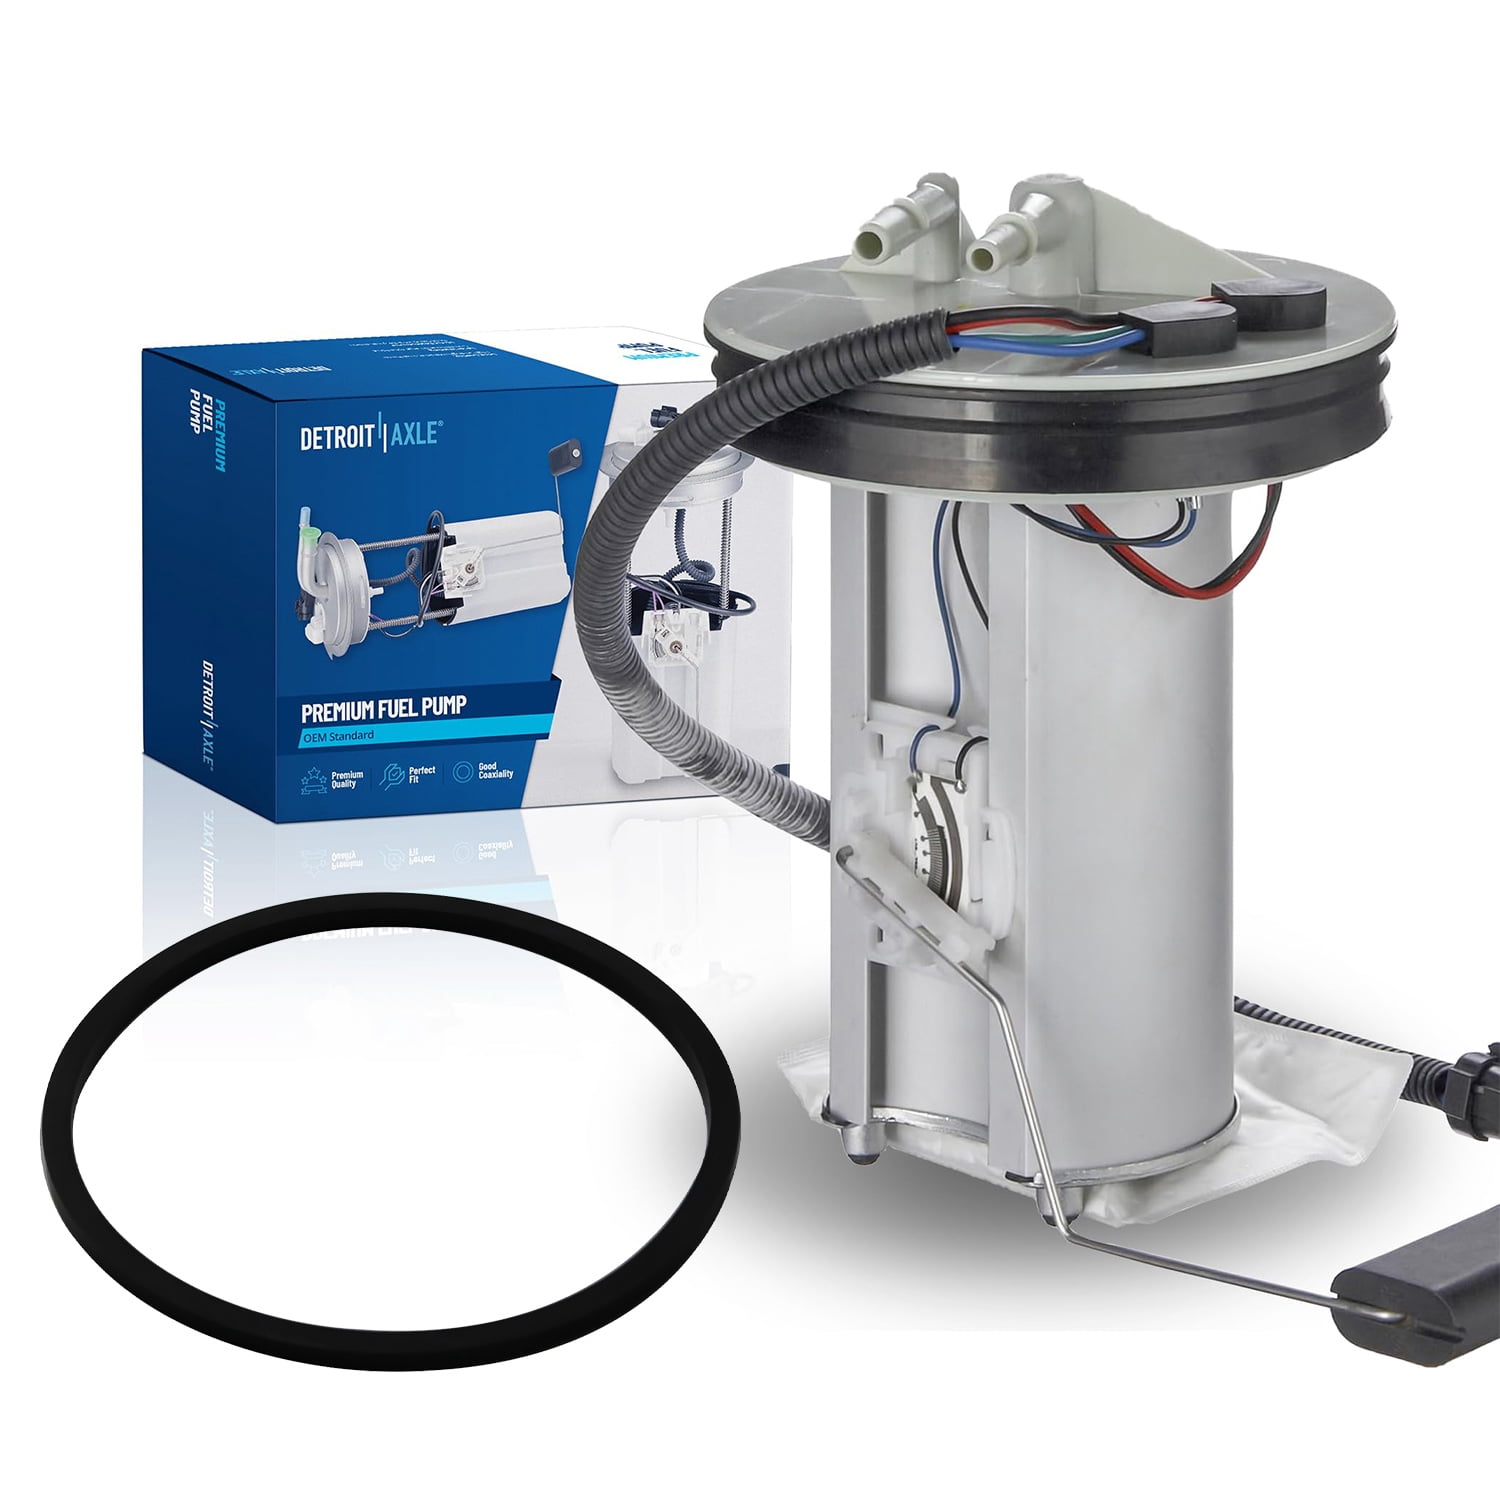
Replacing the fuel pump on a 1998 Jeep Cherokee (XJ) is a critical maintenance task for restoring engine performance and reliability. Because the 1998 model year features a top-mounted pump module, the procedure requires completely lowering the fuel tank from the vehicle. This guide provides the technical specifications, safety protocols, and step-by-step instructions necessary for a successful installation.
Understanding the 1998 Jeep Cherokee Fuel System
The 1998 Jeep Cherokee belongs to the "late-model" XJ era (1997–2001). During this period, Chrysler updated the fuel system from a return-style system to a returnless system. In this configuration, the fuel pressure regulator is integrated into the fuel pump assembly located inside the gas tank.
For owners in 2026, these vehicles are now classic 4x4s. Age-related degradation of the internal pump motor, the integrated plastic housing, and the fuel pressure regulator are the most common causes of failure. Unlike earlier Cherokees where the pump was accessible via the front of the tank, the 1998 design requires the tank to be dropped, as the pump is inserted through the top.
Symptoms of Fuel Pump Failure
Before committing to a replacement, it is essential to confirm that the fuel pump is the root cause of your vehicle's issues. Common symptoms of a failing 1998 XJ fuel pump include:
- Extended Cranking: If the vehicle requires several seconds of cranking before starting, the internal check valve in the pump assembly has likely failed, allowing fuel to drain back into the tank.
- Stalling Under Load: A pump that cannot maintain volume or pressure will cause the engine to sputter or die when accelerating or climbing hills.
- Whining Noise: A loud, high-pitched hum coming from the rear of the vehicle (near the gas tank) often indicates a worn pump motor.
- No-Start Condition: If the engine cranks but shows no signs of combustion, and you cannot hear the pump "prime" for two seconds when the key is turned to the "ON" position, the motor has likely seized or lost electrical power.
Diagnostic Verification
Before removal, perform a fuel pressure test at the Schrader valve located on the fuel rail of the 4.0L I6 or 2.5L I4 engine. For a 1998 model, the fuel pressure should be approximately 49 psi (±5 psi). If the pressure is significantly lower, or if the pressure drops to zero immediately after the engine is turned off, the pump assembly must be replaced.
Required Tools and Materials
Success in this project depends heavily on having the right tools, especially since many 1998 XJs have significant underbody corrosion.
- Safety Gear: Chemical-resistant gloves, safety goggles, and a fire extinguisher rated for Class B (flammable liquids) fires.
- Lifting Equipment: A sturdy floor jack and two jack stands. A transmission jack or a second floor jack is helpful for balancing the fuel tank.
- Hand Tools: A socket set (specifically 1/2", 9/16", and 13mm), a flat-head screwdriver, and pliers.
- Specialty Tools: A fuel line disconnect tool set (for the quick-connect fittings) and a brass punch or a specialized fuel tank lock ring tool.
- Consumables: Penetrating oil (e.g., PB Blaster or WD-40 Specialist), a new fuel pump module assembly, and a new tank seal (O-ring).
Preparation and Safety Protocols
Working with gasoline is inherently dangerous. Follow these protocols strictly:
- Work in a Ventilated Area: Do not perform this task in a closed garage. Fumes can accumulate and ignite.
- Drain the Fuel: It is much easier and safer to handle a tank that is nearly empty. If the tank is more than a quarter full, use a siphon pump to remove as much gasoline as possible into an approved container.
- Relieve Fuel Pressure: Even if the pump is dead, the lines may be pressurized. Remove the fuel pump relay from the Power Distribution Center (PDC) under the hood, then crank the engine for several seconds.
- Disconnect the Battery: Always disconnect the negative battery terminal to eliminate any risk of electrical sparks near the fuel tank.
- Address Corrosion: Several days before the job, spray the J-bolts on the fuel tank straps with penetrating oil. These are notorious for rusting and snapping during removal.
Step-by-Step Replacement Procedure
1. Lifting the Vehicle
Raise the rear of the Jeep using a floor jack placed under the differential or the frame rails. Place jack stands under the frame rails to allow the rear axle to hang slightly, providing more clearance. Ensure the vehicle is stable before crawling underneath.
2. Disconnecting the Filler and Vent Hoses
Locate the fuel filler neck and the vent hose on the driver's side of the vehicle. Loosen the hose clamps using a screwdriver or a socket. Carefully pull the rubber hoses off the plastic nipples of the fuel tank. If the hoses are original (from 1998), they may be brittle; handle them with care to avoid tearing.
3. Supporting the Tank and Removing Straps
Position a floor jack under the center of the fuel tank, using a wide piece of wood (like a 2x4) to distribute the weight and prevent puncturing the plastic tank.
- Locate the two nuts on the J-bolts at the rear of the tank straps.
- Slowly unthread the nuts. If they feel extremely tight, apply more penetrating oil and work the nut back and forth to avoid snapping the J-bolt.
- Once the nuts are removed, lower the straps.
4. Lowering the Tank and Disconnecting Lines
Slowly lower the jack a few inches. Do not drop the tank all the way to the ground yet. Reach over the top of the tank to access the electrical connector and the fuel lines.
- Electrical: Disconnect the wiring harness by sliding the red locking tab (if present) and pressing the release lever.
- Fuel Lines: The 1998 XJ uses quick-connect fittings. Use your fuel line disconnect tool to release the primary fuel line and the EVAP (charcoal canister) vent line.
5. Removing the Pump Module
Once all lines are clear, lower the tank fully and slide it out from under the vehicle.
- Cleaning: Use compressed air or a brush to clean the dirt and debris from the top of the tank. You do not want contaminants falling into the fuel tank when the pump is removed.
- Lock Ring: Use a brass punch and a hammer to rotate the metal lock ring counter-clockwise. A brass punch is used specifically because it is non-sparking.
- Extraction: Carefully lift the pump module out of the tank. Be mindful of the float arm (the fuel level sender); you will need to tilt the assembly to get the float out without bending it.
6. Installing the New Pump
Compare the old pump to the new one to ensure the electrical connectors and hose ports match.
- Seal Placement: Install the new O-ring seal onto the tank opening. Do not use sealant or RTV; the rubber ring provides the seal.
- Insertion: Carefully lower the new pump into the tank, ensuring the float arm moves freely.
- Alignment: Most pump modules have an alignment tab or arrow that must point toward a specific notch on the tank (usually toward the front or side of the vehicle).
- Locking: Place the lock ring over the assembly and rotate it clockwise with the brass punch until it is fully seated and tight.
7. Reinstalling the Tank
Reverse the removal steps to finish the installation.
- Lift the tank back into position with the jack.
- Reconnect the fuel lines (listen for a "click") and the electrical harness.
- Reconnect the filler and vent hoses.
- Tighten the strap nuts until the tank is secure and does not move when shaken.
Technical Specifications and Brand Comparison
Choosing a high-quality pump is vital. In the Jeep XJ community, "store brand" pumps are often criticized for short lifespans and inaccurate fuel gauges.
| Feature | OEM / Bosch | Delphi / Carter | Budget Aftermarket |
|---|---|---|---|
| Reliability | High (Expected 10+ years) | Moderate (5–7 years) | Low (Variable) |
| Check Valve Quality | Excellent (No leak-down) | Good | Poor (Common long-start) |
| Fuel Gauge Accuracy | High | High | Low/Variable |
| Price (2026 Est.) | $280 - $350 | $180 - $240 | $80 - $120 |
| Best For | Daily drivers & Overlanding | Budget-conscious repair | Emergency / Temporary use |
Common Mistakes to Avoid
- Ignoring the J-Bolts: If the J-bolts are heavily rusted, do not force them. If they snap, you cannot secure the tank. It is highly recommended to have a replacement pair of 1/2" J-bolts on hand before starting.
- Pinching Wires: Ensure the electrical harness is routed correctly as you lift the tank. A pinched wire can cause a short circuit or a blown fuse immediately upon startup.
- Dirty Tank: If you see sediment or "mud" at the bottom of the tank once the pump is removed, the tank must be cleaned. Installing a new pump into a dirty tank will clog the new strainer within miles.
- Not Testing Before Lowering: Some mechanics prefer to reconnect the lines and battery to "prime" the pump and check for leaks while the Jeep is still on stands but before the tank is fully strapped in. This saves time if there is a faulty connection.
Frequently Asked Questions
Can I cut an access hole in the floor to replace the pump?
While some owners choose to cut a hole in the cargo floor to avoid dropping the tank, this is generally discouraged. Cutting the floor compromises the structural integrity of the unibody and creates a path for exhaust fumes and moisture to enter the cabin. Dropping the tank is the safer, professional method.
How do I know if it’s the pump or the relay?
Locate the fuel pump relay in the PDC. You can swap it with an identical relay (such as the AC clutch relay) to see if the Jeep starts. If it starts with the swapped relay, the problem was the relay, not the pump. If it still doesn't start, proceed with the fuel pressure test.
Why does my 1998 XJ take so long to start in the morning?
This is usually caused by a failing check valve inside the fuel pump assembly. The valve is supposed to keep fuel in the lines when the engine is off. When it fails, fuel drains back into the tank, and the pump must "re-fill" the lines every time you start the car. Replacing the entire pump module is the standard fix.
Do I need to replace the fuel filter too?
On the 1998 Jeep Cherokee, the fuel filter is not a separate, external component. There is a "sock" (strainer) at the bottom of the pump module and a filter built into the pressure regulator on top of the module. When you replace the entire assembly, you are effectively replacing all fuel filters in the system.
Can I replace just the pump motor and not the whole module?
It is possible to disassemble the plastic housing and replace only the internal electric motor. However, this is not recommended for the 1998 model because the integrated pressure regulator and fuel level sending unit are also common failure points. Replacing the complete module ensures all components are new.
Final Recommendation
For a 1998 Jeep Cherokee, always prioritize a complete fuel pump module assembly from a reputable manufacturer like Bosch or Delphi. Given the labor involved in dropping the tank, using a high-quality part prevents the need to repeat the job. After installation, always perform a final leak check and verify that the fuel gauge reads correctly before taking the vehicle on a long trip. If you find the J-bolts or straps are severely compromised by rust, replace them with heavy-duty aftermarket versions to ensure the tank remains safely secured during off-road use.