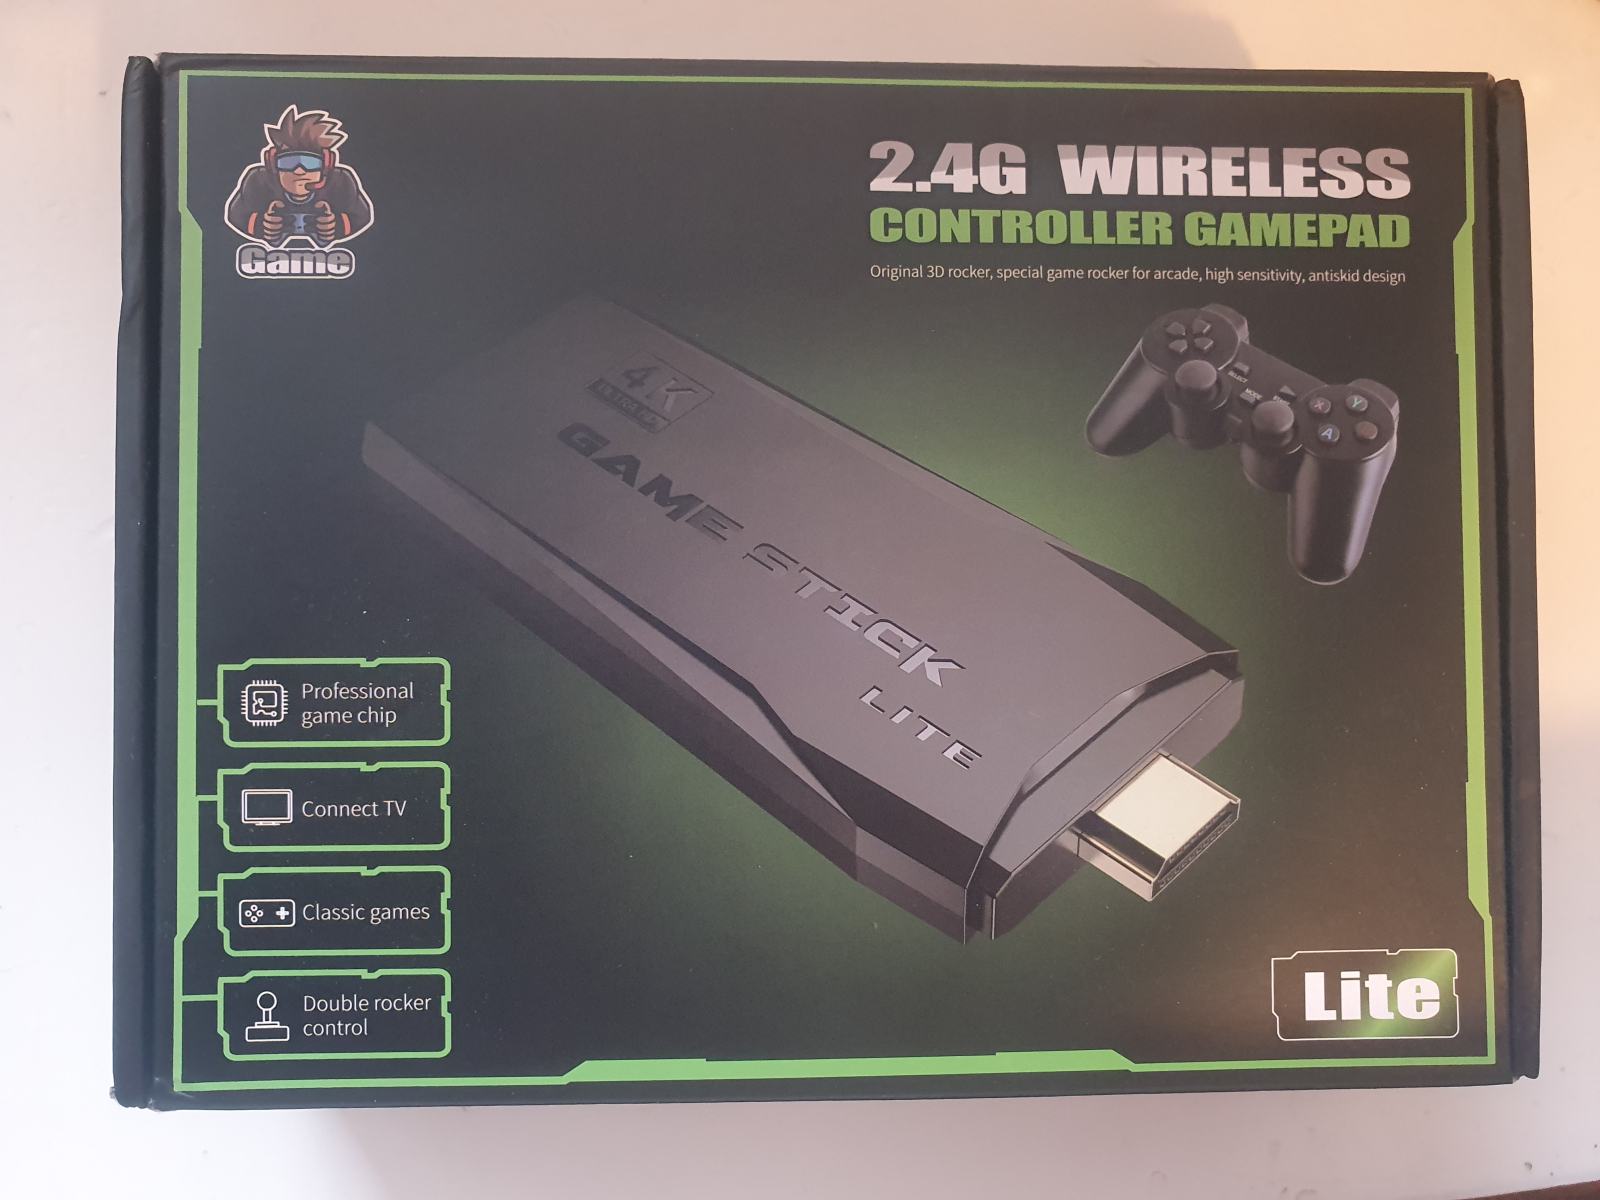
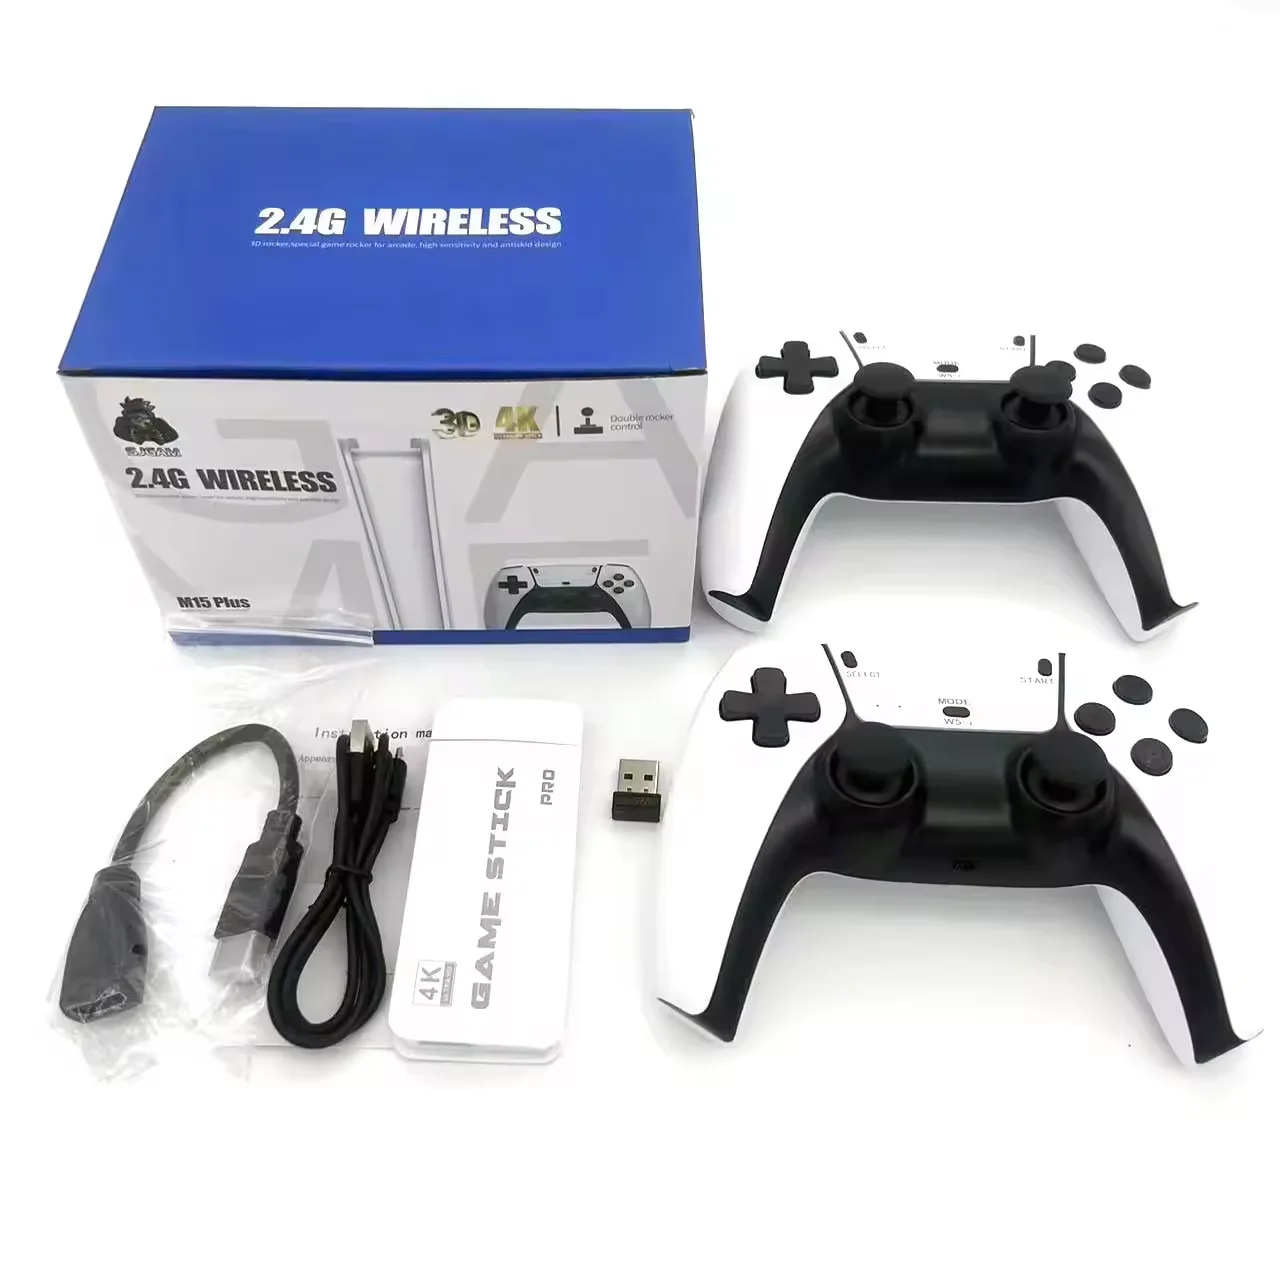
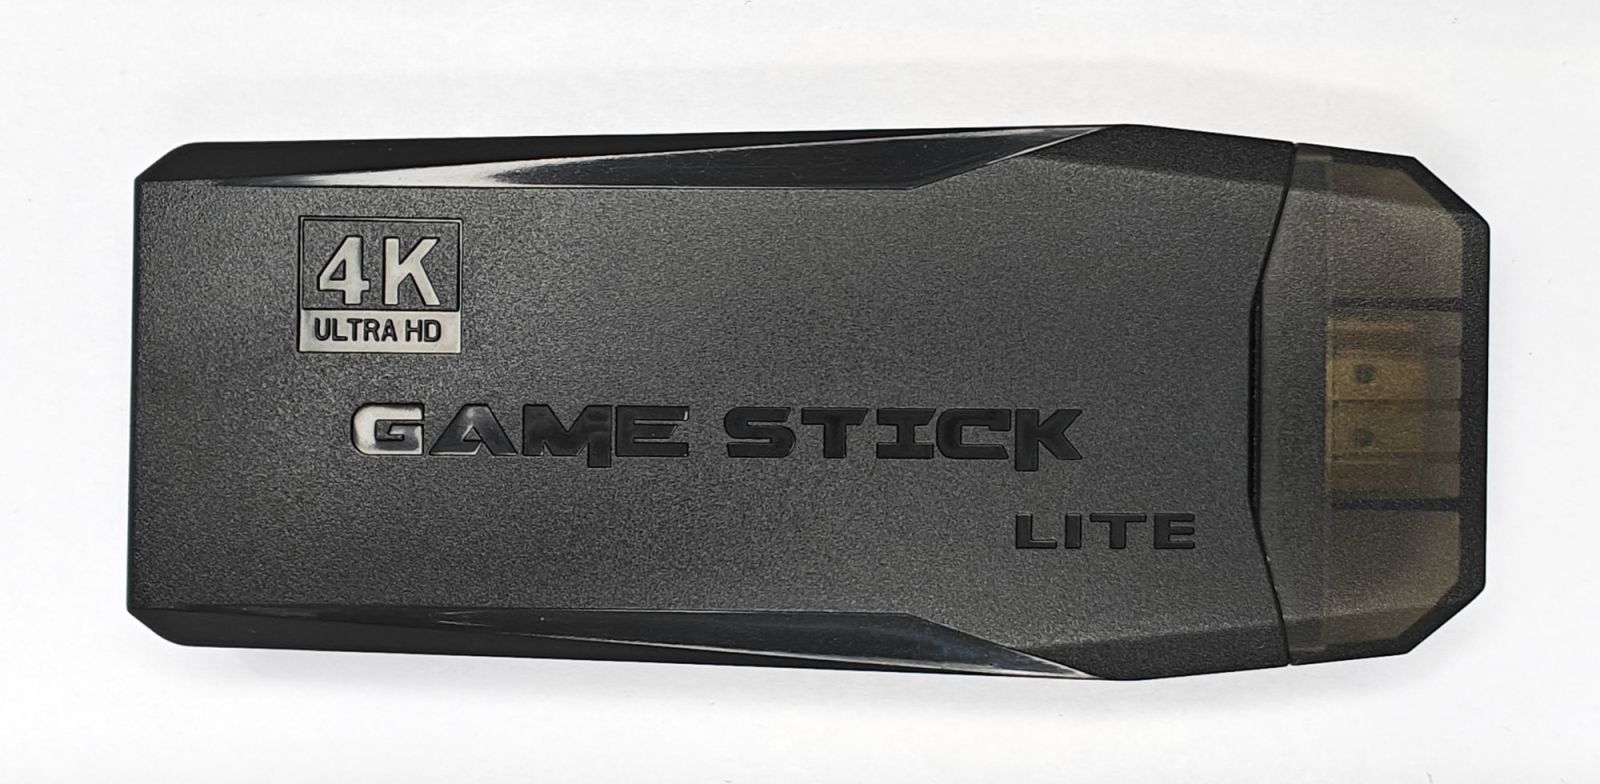
Connecting a wireless controller to a Game Stick Lite 4K requires a specific sequence of actions involving the device’s USB dongle and the controller’s power management. Most models achieve a connection by ensuring the USB receiver is plugged into the stick’s port, inserting fresh batteries into the controller, and synchronizing the two devices via their respective pairing signals.
The Game Stick Lite 4K has emerged as a popular, budget-friendly solution for retro gaming enthusiasts looking to emulate classic console titles on modern displays. Because these systems are often manufactured as white-label hardware by various vendors, the interface and connectivity procedures remain relatively consistent across different iterations. Whether you are setting up your system for the first time or attempting to reconnect a controller that has lost its signal, understanding the physical and logical requirements is essential for a seamless gaming experience.
Understanding the Hardware Architecture
The Game Stick Lite 4K is essentially a small, HDMI-based computer running a customized version of Linux or a similar lightweight operating system designed to host emulators. The hardware consists of the "stick" itself—which plugs directly into the HDMI port of your television or monitor—and the peripheral controllers, which typically communicate via a 2.4GHz radio frequency (RF) signal rather than Bluetooth.
This distinction is crucial. Unlike modern consoles like the PlayStation 5 or Xbox Series X, which pair via Bluetooth protocols, the Game Stick Lite 4K relies on a dedicated USB dongle that must be inserted into the device’s USB port. This dongle acts as a bridge, translating the RF signals from your handheld controller into digital inputs that the game stick interprets as button presses. If the dongle is obstructed, missing, or improperly seated, the controller will fail to communicate with the system, leading to the common assumption that the controller is broken when it is simply disconnected.
Prerequisites for Connectivity
Before attempting to pair your controllers, verify the following prerequisites. Failure to address these basics is the primary cause of connection issues.
- Power Supply: The Game Stick Lite 4K requires a stable 5V power source. Use the provided USB-to-Micro-USB cable. Plugging the cable into a TV’s USB port often results in insufficient power, causing the stick to malfunction or the controller dongle to lose signal stability. Use a dedicated wall adapter, such as a high-quality smartphone charger (rated at 5V/1A or 2A).
- Battery Status: The wireless controllers for these systems typically run on two AAA batteries. Ensure the batteries are brand new or fully charged. Low voltage in the controller can result in erratic input behavior, "ghosting," or an inability to complete the handshake with the USB dongle.
- USB Dongle Placement: The wireless dongle should be inserted into the USB port located on the side of the Game Stick. If you are using an HDMI extender cable to fit the device into tight spaces behind your TV, ensure the USB dongle is attached directly to the stick, not the end of the HDMI extender, as the dongle requires a direct data connection to the stick’s internal motherboard.
- Line of Sight and Interference: While 2.4GHz signals are robust, they can be affected by physical barriers. Avoid placing the game stick behind large metal objects or too close to active Wi-Fi routers, which also operate on the 2.4GHz band and may cause signal interference.
Step-by-Step Pairing Procedure
Once the hardware is prepared, follow this sequence to establish a link between the controller and the console.
- Insert the USB Dongle: With the Game Stick powered off, insert the 2.4GHz wireless receiver dongle into the USB port.
- Power Up the System: Connect the power cable to the Game Stick and plug it into a reliable power outlet. Turn on your television and switch to the correct HDMI input channel.
- Insert Controller Batteries: Place fresh batteries into the back of your controller. Ensure the orientation of the positive (+) and negative (-) terminals matches the diagram inside the battery compartment.
- Initiate the Connection: Most controllers for these devices will have an LED indicator on the front. Once the batteries are inserted, the controller should attempt to scan for the dongle. If the LED does not blink or turn solid, toggle the "On/Off" switch, which is usually located on the top or side of the controller.
- Verify the Link: Once the light on the controller becomes solid (or stops blinking), test the connection by navigating the main game selection menu using the D-pad. If the menu items move in response to your input, the pairing is successful.
Troubleshooting Common Connection Failures
Even when following the procedure correctly, issues can arise. If your controller fails to connect, consider these diagnostic steps.
- Dongle Reseating: Occasionally, the dongle may not make full contact with the USB pins. Gently remove the dongle and reinsert it firmly. Ensure there is no debris inside the USB port that might be preventing a complete connection.
- Controller Reset: Some controllers feature a small reset button (often located inside the battery compartment or recessed into the back of the controller). Use a paperclip to press this button for three to five seconds while the system is powered on to force a reconnection request.
- Port Limitation: If you are using a USB hub to connect multiple controllers, the game stick may only have the bandwidth or power to recognize one dongle at a time. Try connecting only one controller directly to the stick to rule out hub failure.
- Battery Orientation: It is surprisingly common for one of the two AAA batteries to be inserted incorrectly. Double-check that both batteries are positioned according to the internal labels, as even one reversed battery will prevent the controller from powering up.
Comparative Hardware and Configuration
The following table outlines the expected behavior and specifications for standard Game Stick Lite 4K controller connectivity.
| Feature | Standard Configuration | Troubleshooting Indicator |
|---|---|---|
| Connection Type | 2.4GHz RF (Wireless) | No light on controller |
| Power Source | 2x AAA Batteries | Unresponsive buttons |
| Sync Method | Automatic via Dongle | Flashing LED (No Sync) |
| Communication | Direct USB Dongle | Delay/Lag in gameplay |
| Max Range | 8-10 Meters | Disconnecting at distance |
Identifying Controller Faults
In some cases, the problem is not the setup but the peripheral itself. If you have tested fresh batteries and tried reseating the dongle in a different USB port to no avail, the controller might be defective.
One method to verify if the controller is transmitting a signal is to observe the LED light patterns. If the light remains dark despite having fresh batteries, the internal circuitry of the controller may be compromised. If the light flashes continuously but never turns solid, the controller is "searching" but cannot "find" the handshake signal from the USB dongle. This often indicates a mismatch between the controller and the specific frequency of the provided dongle, common in instances where generic replacements are used.
Frequently Asked Questions
Why does my controller disconnect while I am playing? This is usually caused by low battery voltage or signal interference. If your batteries are low, the controller will struggle to maintain a consistent handshake with the USB dongle. Alternatively, ensure that there are no large metal objects between your couch and the TV, as these can block the 2.4GHz signal.
Can I use a wired USB controller with the Game Stick Lite 4K? Most Game Stick Lite 4K models are designed specifically for the included wireless controllers. While some versions of the firmware may support generic USB wired controllers, functionality is not guaranteed. If you attempt this, ensure the controller is "Plug and Play" compatible.
Does the Game Stick Lite 4K support Bluetooth controllers? Generally, no. The standard Game Stick Lite 4K utilizes a proprietary 2.4GHz RF dongle. It does not contain an internal Bluetooth transceiver. Connecting a modern Bluetooth controller (like those from a PS5 or Xbox) is typically not possible without specialized third-party adapters.
How do I know if my USB dongle is broken? If the controller has new batteries and the system is powered on, but the controller never shows a solid LED, the dongle may be damaged. You can test this by plugging the dongle into a PC; if the computer does not register a "USB Device Recognized" notification, the dongle is likely non-functional.
Is it possible to sync two controllers to one Game Stick Lite 4K? Yes, but you must have a separate 2.4GHz dongle for each controller. If your game stick only came with one dongle, you will only be able to use one wireless controller unless you acquire an additional, compatible USB receiver.
Final Recommendation
To ensure a stable experience with your Game Stick Lite 4K, always prioritize a dedicated 5V power supply to prevent signal drops. If you encounter connection issues, start by replacing the AAA batteries with a high-capacity alkaline pair, as these systems are highly sensitive to voltage drops. If you suspect the hardware is failing, perform a "cold start" by unplugging the power and the USB dongle for one minute before reconnecting them in the sequence outlined above. For those experiencing persistent lag, ensure the USB dongle has a clear line of sight to your seating area, as physical obstructions are the most frequent cause of input latency in 2.4GHz wireless setups.