In Dark Souls 3, Estus Shards are critical upgrade materials used to increase the total number of uses provided by your Estus Flask and Ashen Estus Flask. By collecting all 11 hidden shards scattered throughout Lothric and delivering them to Andre the Blacksmith in Firelink Shrine, you can increase your maximum flask charges to 15, significantly improving your survivability and resource management during the game's most challenging encounters.
Step 1: Understand the Estus Shard Mechanic and Initial Allocation
Before you begin your hunt for Estus Shards, it is essential to understand how they function within the Dark Souls 3 ecosystem. Unlike previous entries in the series where flask counts were tied to bonfires or specific stats, Dark Souls 3 utilizes a unified "charge" system that you must manually manage.
When you start the game, you typically possess three Estus Flasks (for HP) and one Ashen Estus Flask (for FP), provided you looted the Ashen Estus Flask from the corpse at the beginning of the Cemetery of Ash. Each Estus Shard you find allows Andre the Blacksmith to add one additional "swig" or charge to your total pool.
The game places a heavy emphasis on resource allocation. Once Andre reinforces your flask using a shard, the new charge is added to your total inventory. However, it does not automatically go toward your health. You must use the "Allot Estus" menu option at Firelink Shrine to decide how many charges are dedicated to healing (orange) versus mana/skill restoration (blue). For players focusing on "Quality" or Strength/Dexterity builds, most shards should be funneled into the standard Estus Flask. Magic-focused builds, such as Sorcerers or Pyromancers, will need a balanced split to ensure they can continue casting spells during long boss phases.
Step 2: Establish Your Hub at Firelink Shrine
The second step in your journey is establishing the relationship with Andre the Blacksmith. You cannot use Estus Shards yourself; they are "raw materials" that require a master’s touch. Andre is located down the right-hand stairs from the entrance of Firelink Shrine.
To turn in a shard, select the "Reinforce Estus Flask" option while speaking to him. If you have a shard in your inventory, he will consume it and increase your total count. It is a common mistake for new players to hold onto shards in their inventory, thinking the effect is passive. Always return to Firelink immediately after finding a shard, as that single extra heal can be the difference between defeating a boss like Pontiff Sulyvahn or losing your progress.
Furthermore, Andre is responsible for more than just quantity. While Estus Shards increase the number of uses, Undead Bone Shards (burned at the Firelink bonfire) increase the potency of each use. To maximize your efficiency in 2026’s competitive PvE and PvP landscape, you must balance the acquisition of both item types.
Step 3: Secure the Early Game Shards (High Wall to Undead Settlement)
The first three shards are arguably the most important, as they double your initial healing capacity and provide the cushion needed to survive the game's early difficulty spikes.
High Wall of Lothric
The first shard is located in the High Wall of Lothric. From the Tower on the Wall bonfire, head down into the building where you encounter the first Lothric Knight. Navigate through the lower levels until you reach a large room guarded by several hollows and a heavy-armored Lothric Knight (patrolling outside). On an anvil in the center of the room, you will find the shard. This room also contains the Cell Key needed to rescue Greirat, making it a high-priority destination.
Undead Settlement
In the Undead Settlement, progress until you reach the large open area where a group of hollows is gathered around a burning tree (presided over by an Evangelist). The shard is sitting right at the base of the burning pile of bodies. You can either fight the entire mob or sprint in, grab the item, and retreat.
Road of Sacrifices
Once you reach the Crucifixion Woods bonfire in the Road of Sacrifices, look for a stone bridge guarded by two Lycanthropes (enemies carrying large wooden crosses). Instead of crossing the bridge toward the Crystal Sage, drop down to the left of the bridge. You will find the shard tucked away in a corner guarded by a few smaller enemies.
Step 4: Navigate the Mid-Game Challenges (Farron Keep to Smouldering Lake)
As you move into the mid-game, shards become more difficult to locate, often hidden behind environmental hazards or illusory walls.
Farron Keep
This shard is located in the poisonous swamp. From the initial Farron Keep bonfire, head out into the muck and look for a collapsed stone bridge/walkway near a large fire. The shard is sitting on a submerged corpse. Be wary of the "Slow" status effect caused by the deep mud and the Rotting Ghouls that inhabit the area.
Cathedral of the Deep
From the Cleansing Chapel bonfire, head outside where the four hollows are praying at a small monument. The shard is located on the monument itself. This is one of the easiest shards to find if you know where to look, but players often overlook it while rushing toward the shortcut doors.
Smouldering Lake
This is the first "secret" shard. In the Demon Ruins area of the Smouldering Lake, you must find an illusory wall. Near the Old King's Antechamber bonfire, there is a wall in the corner of the room that can be struck to reveal a hidden path. Following this path leads to a room where the shard is guarded by several "Slime" enemies on the ceiling.
Step 5: High-Risk Shard Acquisition (Irithyll to Anor Londo)
By this point, you should have around 9 to 10 charges. The remaining shards are guarded by significantly more dangerous foes.
Irithyll Dungeon
In the Irithyll Dungeon, you will find a Mimic chest. After passing the giant’s feet and entering the side corridors filled with rats, look for a chest in a small side room. This is a Mimic; defeat it (or use a Lloyd's Talisman) to receive the Estus Shard.
Anor Londo
Inside the main cathedral of Anor Londo, before you reach the fog gate for Aldrich, Devourer of Gods, look to the left of the giant main doors (from the inside). There is a chest containing a shard. This area is heavily guarded by Deacons and Slimes, so it is best to clear the room before attempting to loot the chest.
Step 6: Explore the Late-Game and Secret Gardens
The final shards require access to late-game areas, including the Consumed King’s Garden and the Grand Archives.
Consumed King's Garden
After defeating the Dancer of the Boreal Valley, head up the ladder and take the left path toward the Consumed King's Garden. As you ride the elevator down, jump off halfway to reach a ledge. On the balcony overlooking the toxic garden, you will find a shard.
Grand Archives
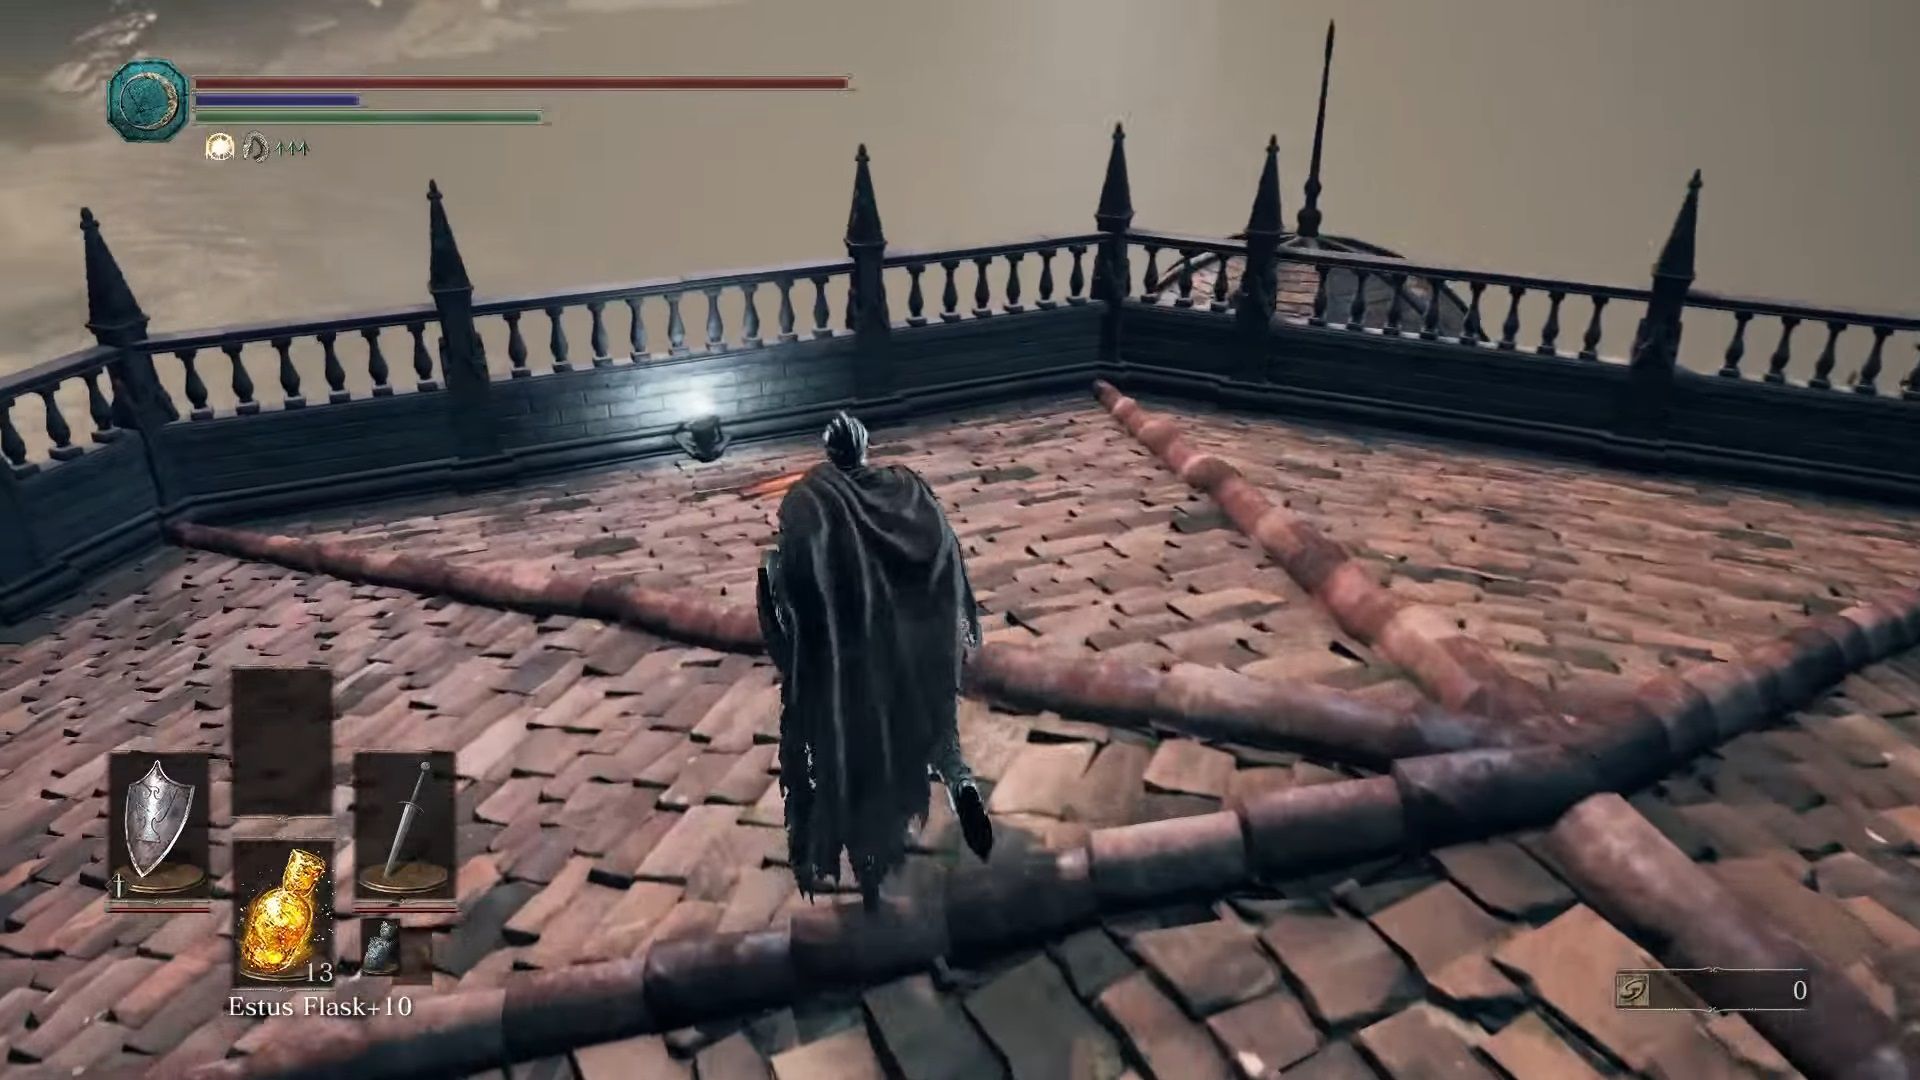
On the rooftops of the Grand Archives, where you encounter the three Golden Winged Knights (the "Ascended Winged Knights"), there is a shard located on the outer perimeter. It is best to defeat the knights first, as they drop a Titanite Slab upon their first death and provide a massive amount of souls, making the rooftop a prime location for end-game preparation.
Step 7: The Final Shard and the Tower Key Investment
The 11th shard is unique because it is technically accessible early in the game but is often skipped due to the cost.
Firelink Shrine (The Tower)
You must purchase the Tower Key from the Shrine Handmaid for 20,000 souls. Once you have the key, go to the top floor of Firelink Shrine and exit through the side door to the tower. Cross the bridge and look for a spot to drop down onto the roof of the Shrine. There is an opening in the roof that leads to the rafters. Carefully walk across the wooden beams to find the final Estus Shard.
| Shard Location | Nearest Bonfire | Accessibility | Hazard Level |
|---|---|---|---|
| High Wall of Lothric | Tower on the Wall | Open Area | Moderate (Knights) |
| Undead Settlement | Undead Settlement | Open Area | Moderate (Mob) |
| Road of Sacrifices | Crucifixion Woods | Hidden Ledge | High (Lycanthropes) |
| Cathedral of the Deep | Cleansing Chapel | Open Area | Low |
| Farron Keep | Farron Keep | Swamp | Moderate (Poison) |
| Smouldering Lake | Old King's Antechamber | Illusory Wall | High (Fire/Slimes) |
| Irithyll Dungeon | Irithyll Dungeon | Mimic Chest | High (Jailers/Rats) |
| Anor Londo | Anor Londo | Chest | High (Deacons) |
| Consumed King's Garden | Lothric Castle | Secret Ledge | Moderate (Gravity) |
| Grand Archives | Grand Archives | Rooftops | Very High (Knights) |
| Firelink Shrine | Firelink Shrine | Rafters | Low (Requires Souls) |
Frequently Asked Questions
Can I get more than 15 Estus Flask uses?
No. The hard cap for total Estus charges in Dark Souls 3 is 15. This is achieved by finding all 11 shards and combining them with the 4 charges you start with (3 regular, 1 ashen). Even if you go into New Game Plus (NG+), you cannot increase this number further. Any additional Estus Shards you find in NG+ will simply sit in your inventory and cannot be used for further upgrades.
Does the Ashen Estus Flask count against my total?
Yes. The 15 charges are a shared pool. For example, you can have 10 Estus Flasks and 5 Ashen Estus Flasks, or 15 Estus Flasks and 0 Ashen Estus Flasks. You can adjust this ratio at any time by talking to Andre the Blacksmith and selecting "Allot Estus."
What happens if I accidentally sell an Estus Shard?
You should never sell an Estus Shard. While the Shrine Handmaid may offer a small amount of souls for them, the utility of a permanent health upgrade far outweighs any temporary currency. If you have already reached the 15-flask limit, extra shards can be traded with Picklepum the Crow on the roof of Firelink Shrine for a Liquid Red Eye Orb or other unique items.
Are there Estus Shards in the DLC areas?
No, the Ashes of Ariandel and The Ringed City expansions do not contain additional Estus Shards. However, they do contain other valuable upgrade materials like Titanite Slabs and +3 versions of rings. Your flask count should be maximized in the base game before venturing into the high-difficulty DLC zones.
Is the Tower Key worth the 20,000 soul cost?
In the early game, 20,000 souls is a significant investment. However, the Tower behind Firelink Shrine contains not only an Estus Shard but also the Covetous Silver Serpent Ring (which increases soul gain), the Estus Ring (which increases HP restored per swig), and access to the Crow trader. It is highly recommended to make this purchase as soon as you have defeated the second or third boss.
Technical Optimization for 2026 Playthroughs
As of 2026, the Dark Souls 3 community has optimized "Shard Runs" to ensure players hit their maximum healing potential as quickly as possible. For the most efficient progression, focus on the "Early Game" shards immediately. Having 7 or 8 flasks by the time you reach the Abyss Watchers will make the fight significantly more manageable.
Once you have acquired a shard, your next action should always be to return to Firelink. Do not risk your current soul count by pushing deeper into a zone with an un-upgraded flask. Furthermore, remember that the Estus Ring, found in the same tower as the 11th shard, synergizes perfectly with your upgraded flask by increasing the amount of HP recovered by 20%. In a game where every hit can be fatal, the combination of high flask quantity and high recovery potency is the most effective strategy for both beginners and veterans alike.