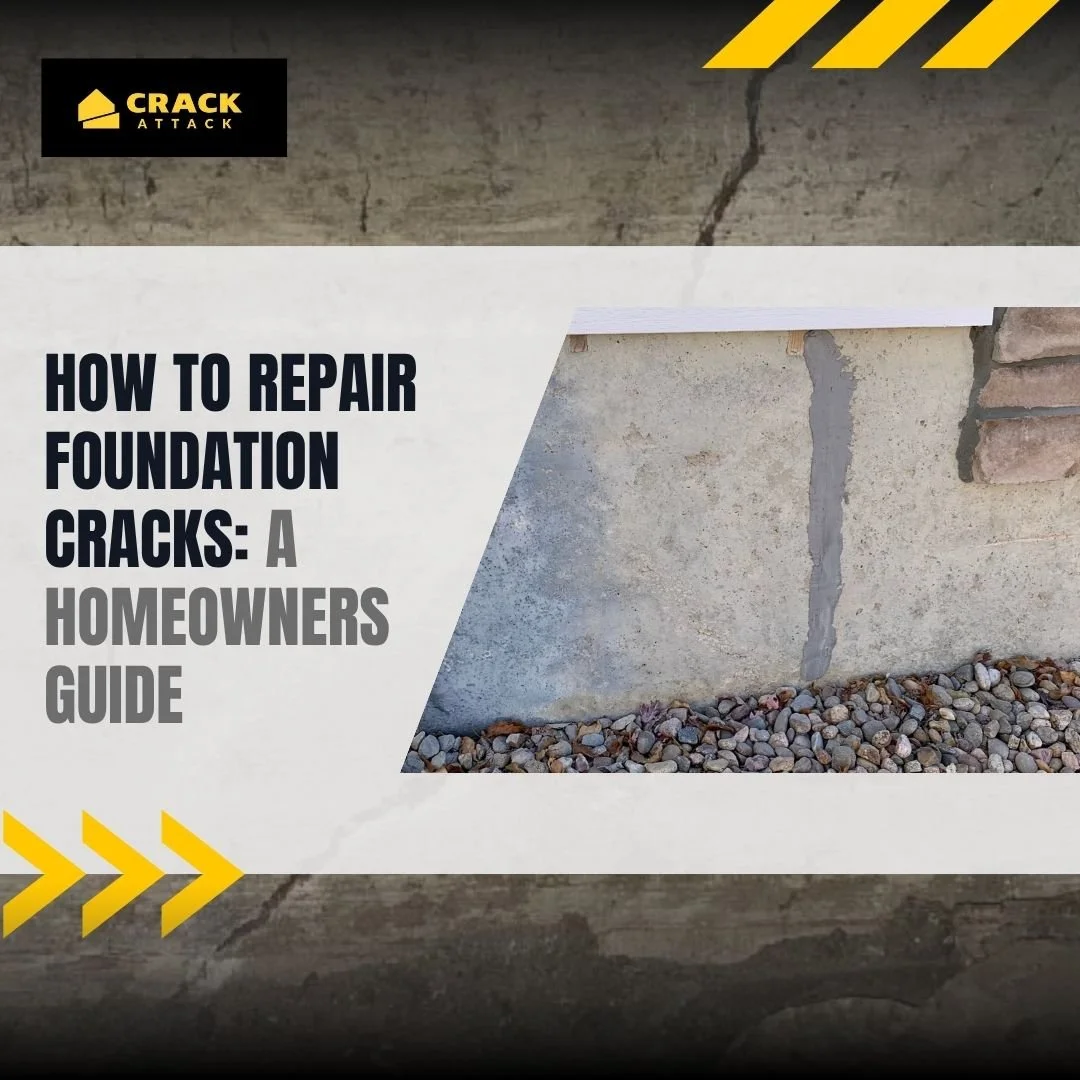
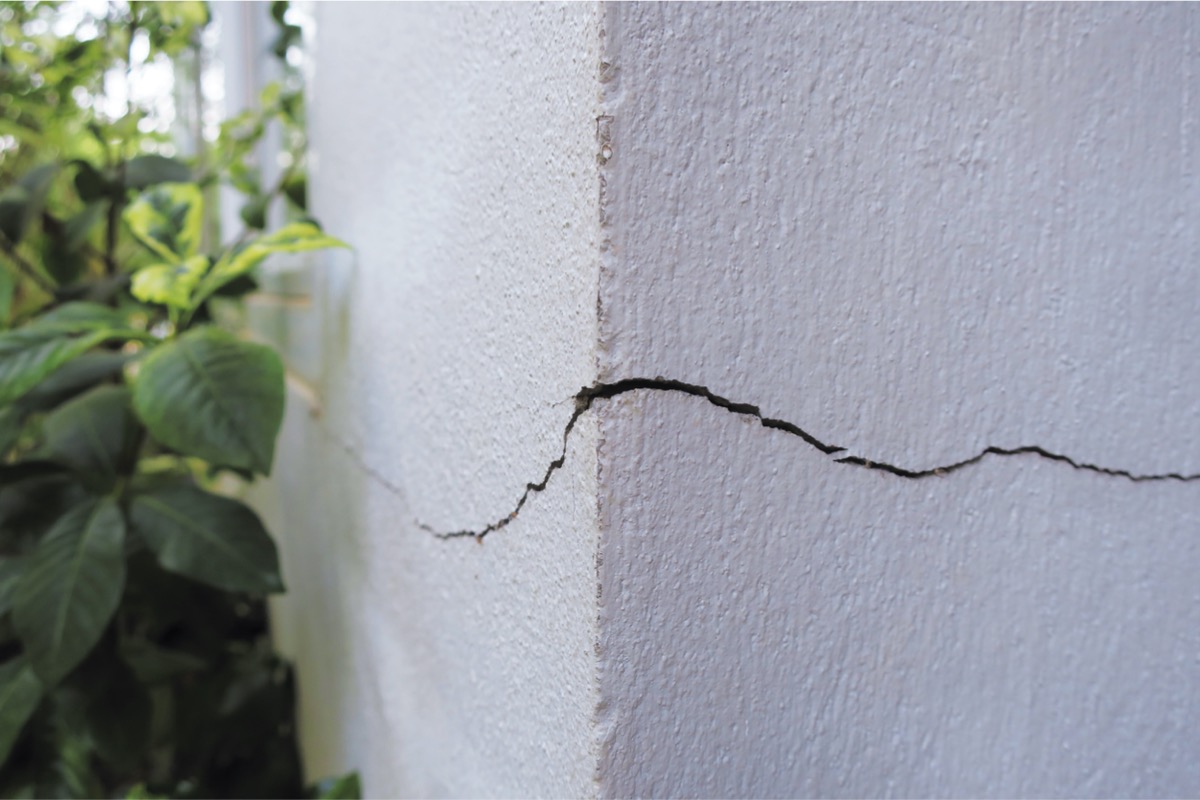
When homeowners notice fissures running along their concrete basement walls or slabs, the immediate panic usually revolves around structural collapse or crippling repair bills. While foundation damage is a serious matter that requires prompt attention, not all cracks are created equal. Finding the single best way to repair foundation cracks depends heavily on whether the crack is structural or non-structural, active or dormant, and wet or dry. For the vast majority of poured concrete foundation cracks—which account for most vertical and diagonal shrinkage fissures—low-pressure epoxy and polyurethane structural crack injection stands out as the definitive, industry-standard best method. This technique permanently welds the concrete back together while creating an impermeable waterproof barrier, avoiding the massive excavation costs associated with exterior fixes.
Understanding how to execute this method correctly requires looking past surface-level patches and examining the underlying physics of concrete foundations, moisture dynamics, and structural load distribution.
Understanding Foundation Cracks: Diagnostics and Types
Before applying any repair methodology, diagnosing the exact nature of the crack is non-negotiable. Misidentifying a structural shear crack as a minor shrinkage fissure can lead to catastrophic failure, while using a rigid epoxy on an actively moving wall will simply cause the concrete to crack right alongside the old repair line.
Non-Structural vs. Structural Cracks
Non-structural cracks typically occur due to the natural curing and drying process of concrete, known as plastic shrinkage or thermal contraction. These cracks are usually hairline in width, run vertically or at a sharp diagonal, and do not show displacement (where one side of the wall sits higher or wider than the other). They do not threaten the structural integrity of the home on their own, but they act as primary pathways for water infiltration and radon gas.
Structural cracks, conversely, indicate that the foundation is experiencing excessive loads, lateral soil pressure, or differential settling. These are frequently horizontal, stair-step cracks in masonry block walls, or wide diagonal fissures wider than one-quarter of an inch. Structural cracks require structural stabilization—such as carbon fiber strips, steel I-beams, or helical piers—before any cosmetic or moisture-sealing injection takes place.
Active vs. Dormant Cracks
An active crack is one that is still moving due to ongoing soil expansion, seasonal freeze-thaw cycles, or ongoing settlement. A dormant crack has stabilized and finished shifting. Injection methods vary based on this distinction: epoxy is ideal for high-strength welding of dormant structural cracks, whereas flexible polyurethane foam is uniquely suited for active cracks or wet environments because it expands and remains pliable under minor subsequent movements.
Why Injection is the Gold Standard
Traditional DIY methods often involve grabbing a tub of hydraulic cement or acrylic latex caulk from a local hardware store and smearing it over the surface of the crack. This approach is fundamentally flawed. Surface patching treats only the symptom, leaving the depth of the concrete wall entirely vulnerable to water seepage. Furthermore, hydraulic cement shrinks as it cures, leaving microscopic gaps through which hydrostatic pressure will eventually push water.
Foundation crack injection solves this problem through pressure physics:
- Full-Depth Penetration: The repair material fills the entire void from the interior face all the way through to the exterior soil line.
- Structural Restoration: High-viscosity structural epoxies cure to a tensile strength significantly higher than the surrounding concrete, effectively making the wall stronger at the repair site than it was originally.
- Permanent Waterproofing: By sealing the entire cross-section of the wall, moisture is blocked completely, eliminating mold growth, efflorescence, and damp basement environments.
Step-by-Step Guide: Executing Structural Epoxy and Polyurethane Injection
Executing a professional-grade crack injection requires patience, precision, and adherence to manufacturer safety guidelines. Below is the step-by-step procedural framework used by professional waterproofing contractors.
- Inspect & Diagnose
- Surface Prep
- Port Placement
- Surface Sealing
- Injection Process
- Trim & Finish
1. Surface Preparation
Begin by thoroughly cleaning the crack. Any loose concrete, dust, paint, efflorescence, or waterproofing coatings must be removed to expose bare, porous concrete. Use a wire brush, an angle grinder with a masonry wheel, or a chipping hammer. Vacuum the crack completely. If moisture is actively flowing through the crack, use a wire brush and flush the channel; you may need to use hydraulic cement temporarily to stem rushing water if you are using epoxy, though polyurethane can handle damp conditions.
2. Installing Injection Ports
Surface-mounted injection ports (usually plastic or brass bases with tubular stems) allow the injection nozzle to lock securely into the crack line. Starting at the bottom of the crack and moving upward, space the ports approximately 8 to 12 inches apart. For very narrow cracks, space them closer together. Affix the ports directly over the center of the crack using a rapid-setting structural epoxy paste.
3. Applying Surface Paste Seal
Using the same structural epoxy paste, apply a thick layer (about 1/8 to 1/4 inch thick and 2 inches wide) directly over the entire length of the crack, embedding the bases of the injection ports as you go. Smooth the paste flat with a putty knife. This surface seal acts as a gasket, trapping the injection resin inside the wall so it cannot escape when pressurized. Allow this paste to cure completely according to the manufacturer's specifications—typically 2 to 4 hours depending on ambient temperature.
4. The Injection Process
The injection sequence depends on the orientation of the crack:
- Vertical Cracks: Always begin injecting at the lowest port and work your way up.
- Horizontal Cracks: Begin at one end and move progressively toward the other.
Attach the injection hose or cartridge nozzle to the lowest port. Slowly pump the resin (epoxy or polyurethane) into the port until the resin begins to flow freely out of the port immediately above it. Once this happens, crimp or cap the lower port, move the injection nozzle to the newly flowing port, and repeat the process. Continue this until the entire length of the crack is fully saturated.
5. Curing and Finishing
Allow the resin to cure fully, usually 24 hours. Once hardened, use a hammer and chisel or an angle grinder to knock off the surface ports and shave away the hardened surface epoxy paste. If desired, the remaining flush line can be painted or coated with a masonry sealer to blend seamlessly with the rest of the basement wall.
Epoxy vs. Polyurethane: Choosing the Right Material
Selecting the correct injection resin is critical to the longevity of the repair. Using the wrong material can result in recurring leaks or failed structural bonds.
| Material Feature | Low-Viscosity Structural Epoxy | Hydrophilic Polyurethane Foam |
|---|---|---|
| Primary Purpose | Structural welding and high-strength bonding. | Water-stopping and flexible crack sealing. |
| Flexibility | Rigid; zero flexibility after curing. | Flexible; accommodates minor wall movement. |
| Moisture Tolerance | Requires dry or damp surfaces; fails in running water. | Reacts with water to expand; ideal for wet cracks. |
| Cure Strength | Exceeds the compressive strength of concrete. | Lower structural strength; designed primarily as a seal. |
| Best Used For | Dormant, structural, or dry non-structural cracks. | Active, leaking, or damp shrinkage cracks. |
Evaluating Alternative Foundation Repair Methods
While low-pressure injection is the best method for standard wall cracks, other scenarios demand alternative or supplementary interventions.
Carbon Fiber Stitching
When a crack is structural and showing signs of lateral movement or bowing, injection alone is insufficient. Contractors apply high-tensile carbon fiber straps perpendicular to the crack, bonding them to the wall with industrial structural epoxy. This distributes the load across a wider surface area and prevents the wall from bowing further inward.
Exterior Excavation and Waterproofing Membranes
If a foundation suffers from severe, widespread water infiltration or structural failure where injection is impractical, exterior excavation may be necessary. This involves digging down to the footing, sealing the exterior wall with heavy-duty rubberized membranes, installing perimeter drainage tiles (French drains), and backfilling with clean gravel. While highly effective, this method is significantly more labor-intensive and expensive than interior injection.
Common Mistakes to Avoid During Crack Repair
DIY enthusiasts and inexperienced contractors often make preventable errors that compromise the integrity of the repair.
- Skipping Surface Preparation: Failing to remove paint, efflorescence, or loose debris prevents the surface paste and injection resin from bonding to the concrete substrate, leading to immediate delamination under pressure.
- Injecting from the Top Down: Starting at the top port traps air pockets inside the wall and prevents complete saturation of the lower sections of the crack. Always pump from the bottom up.
- Ignoring Root Causes: Repairing a crack without addressing exterior grading, overflowing gutters, or poor downspout drainage ensures that hydrostatic pressure will simply create new cracks nearby.
- Rushing the Cure Time: Removing surface seals or subjecting the wall to stress before the epoxy or polyurethane has fully cross-linked will ruin the seal.
Frequently Asked Questions
Can I repair foundation cracks from the inside, or do I need to dig up my yard?
For the vast majority of vertical and diagonal shrinkage cracks, interior low-pressure injection is completely sufficient and eliminates the need for exterior excavation. It seals the crack through the entire thickness of the concrete wall from the inside out.
How much does professional foundation crack injection cost?
Professional injection typically ranges from $350 to $800 per crack, depending on the length, width, and severity of the damage. DIY kit options generally cost between $150 and $300 for materials, though professional execution guarantees proper port placement and pressure management.
Will a painted basement wall interfere with crack injection?
Yes. Paint, sealers, and waterproofing coatings act as a barrier that prevents the surface epoxy paste from adhering to the concrete. All coatings directly over and adjacent to the crack must be completely ground off down to bare concrete before installation begins.
Are all foundation cracks dangerous?
No. Hairline shrinkage cracks caused by concrete curing are very common and structurally benign, though they do let water in. However, wide cracks, horizontal cracks, and stair-step cracks in masonry block walls indicate structural movement and require professional engineering evaluation.
How long does a professional crack injection last?
When executed correctly using high-grade epoxy or polyurethane resins, an injection repair is a permanent fix. The bonded concrete will typically outlast the lifespan of the surrounding structure, provided exterior drainage issues are properly managed to control future hydrostatic pressure.
Final Recommendations and Next Actions
Before purchasing materials or hiring a contractor, inspect your foundation thoroughly during a heavy rainstorm to identify whether water is actively flowing or merely weeping through the crack. If the crack is dry or only damp, invest in a structural two-part epoxy injection kit. If water is actively streaming through the fissure, opt for a expanding polyurethane foam system designed to react with moisture. Always address exterior water management—such as extending downspouts at least six feet away from the foundation and sloping soil away from the house—to ensure the longevity of your repair and protect your home's structural health for years to come.