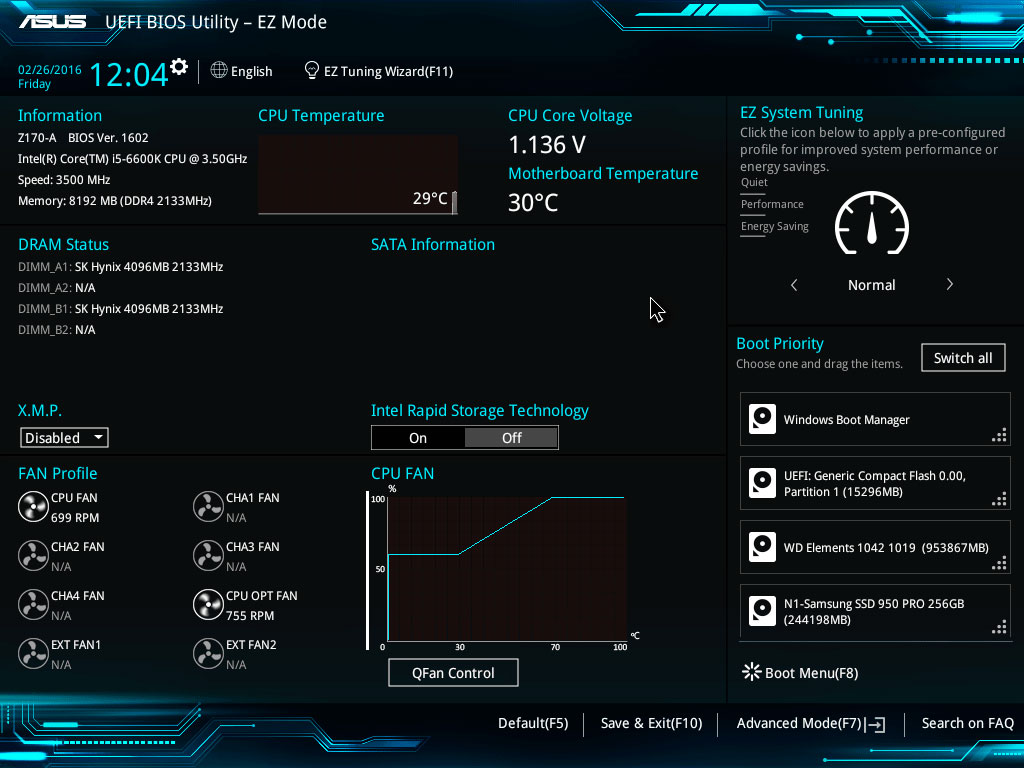
Accessing the BIOS on a Windows 10 system is most reliably achieved through the Advanced Startup menu within the operating system. By navigating to Settings > Update & Security > Recovery and selecting "Restart now" under Advanced Startup, you can enter the UEFI Firmware Settings, which serves as the modern interface for BIOS management.
Understanding the Evolution of BIOS and UEFI in Windows 10
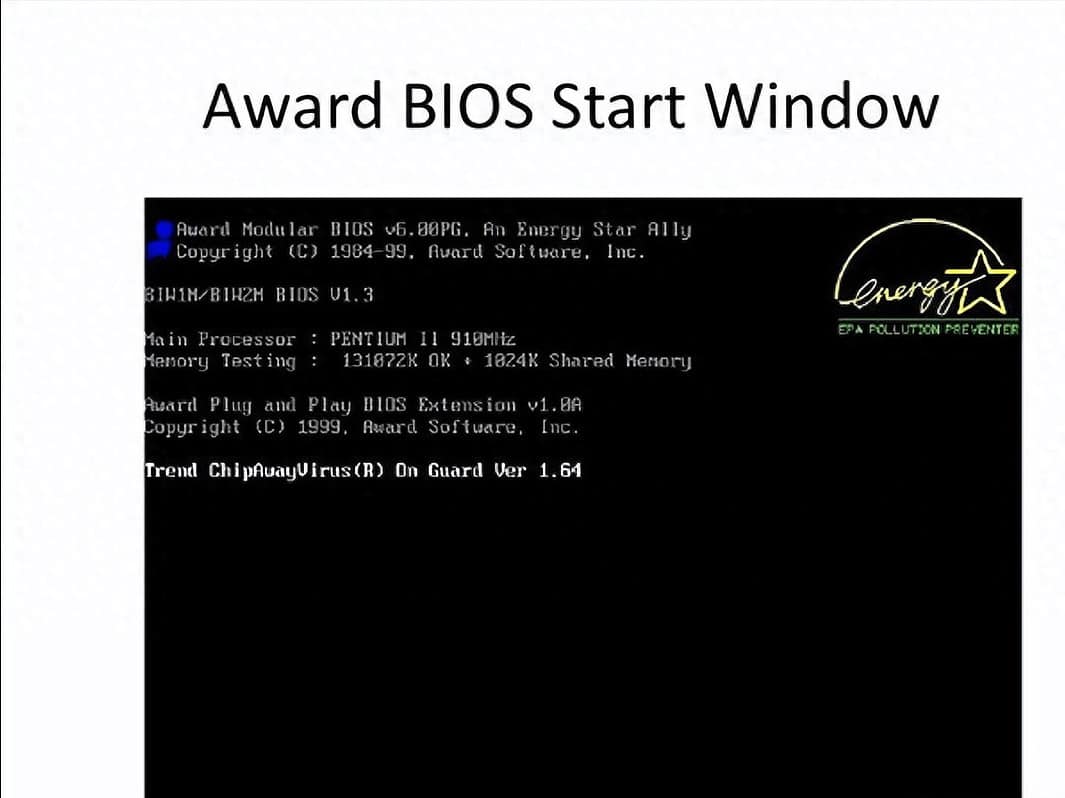
Before proceeding with the technical steps, it is essential to distinguish between the traditional BIOS (Basic Input/Output System) and the modern UEFI (Unified Extensible Firmware Interface). While the term "BIOS" is still used colloquially in 2026, almost all hardware running Windows 10 utilizes UEFI.
The BIOS is a firmware interface that initializes your computer's hardware during the booting process. It acts as a bridge between the operating system and the hardware components like the CPU, RAM, and storage drives. UEFI is the successor to BIOS, offering faster boot times, support for larger hard drives (over 2.2 TB), and enhanced security features like Secure Boot. In Windows 10, the "BIOS" is deeply integrated with the OS, which is why the most reliable way to access it is through the Windows interface rather than the old method of "mashing" a key during startup.
Why You Might Need to Access the BIOS
There are several hardware-level configurations that cannot be adjusted within Windows 10 itself. Common reasons for entering the BIOS/UEFI include:
- Changing Boot Order: If you need to reinstall Windows or run a Linux live environment from a USB drive, you must tell the firmware to prioritize the USB port over the internal SSD.
- Enabling Virtualization: Features like Windows Sandbox, Hyper-V, or third-party emulators require VT-x (Intel) or AMD-V (AMD) to be enabled at the firmware level.
- Overclocking and Performance: Advanced users may visit the BIOS to adjust CPU voltages, memory timings (XMP/DOCP profiles), or fan curves to manage thermal performance.
- Security Settings: Managing Trusted Platform Module (TPM) settings or Secure Boot is often necessary for software compatibility or security hardening.
- Hardware Diagnostics: Many modern motherboards include built-in tools within the UEFI to test the integrity of the RAM or storage drives before the OS even loads.
Prerequisites for Entering BIOS via Windows 10
Accessing the firmware via the operating system is the most "official" method, but it requires the system to be functional enough to reach the desktop or the login screen. Before you begin the 7-step process, ensure the following:
- Administrative Privileges: You must be logged into an account with administrative rights to trigger a recovery restart.
- BitLocker Awareness: If your drive is encrypted with BitLocker, have your recovery key ready. Occasionally, changing firmware settings can trigger a BitLocker recovery prompt upon the next boot.
- Power Connection: If you are using a laptop or tablet, ensure it is plugged into a power source. Firmware updates or prolonged BIOS sessions can drain the battery, and a power loss during firmware modification can "brick" the motherboard.
- Save Your Work: The process involves a full system restart that bypasses the standard "Close programs" prompts. Ensure all documents and applications are closed before starting.
The 7 Steps to Open BIOS in Windows 10
The following method uses the Advanced Startup sequence. This is the most consistent method because modern PCs boot so quickly (thanks to SSDs and Fast Startup) that the traditional window to press a keyboard shortcut is often less than half a second.
Step 1: Open the Windows Settings Menu
Click on the Start button in the bottom-left corner of your taskbar and select the Settings icon (shaped like a gear). Alternatively, you can press the keyboard shortcut Windows Key + I to open the Settings app immediately. This is the central hub for all Windows 10 configuration and recovery options.
Step 2: Navigate to Update & Security
In the Settings window, locate and click on the Update & Security tile. This section handles Windows Updates, security features, and, most importantly for our task, the recovery environment that allows communication with the motherboard firmware.
Step 3: Select the Recovery Tab
On the left-hand sidebar of the Update & Security screen, click on Recovery. This page provides options for resetting the PC or performing an advanced startup. In 2026, Windows 10 systems still rely on this menu as the primary gateway for troubleshooting hardware-level issues.
Step 4: Initiate Advanced Startup
Look for the section titled Advanced startup. Underneath the description, click the Restart now button. Your computer will not perform a standard restart; instead, it will close your session and load a light blue screen known as the Windows Recovery Environment (WinRE).
Step 5: Choose "Troubleshoot"
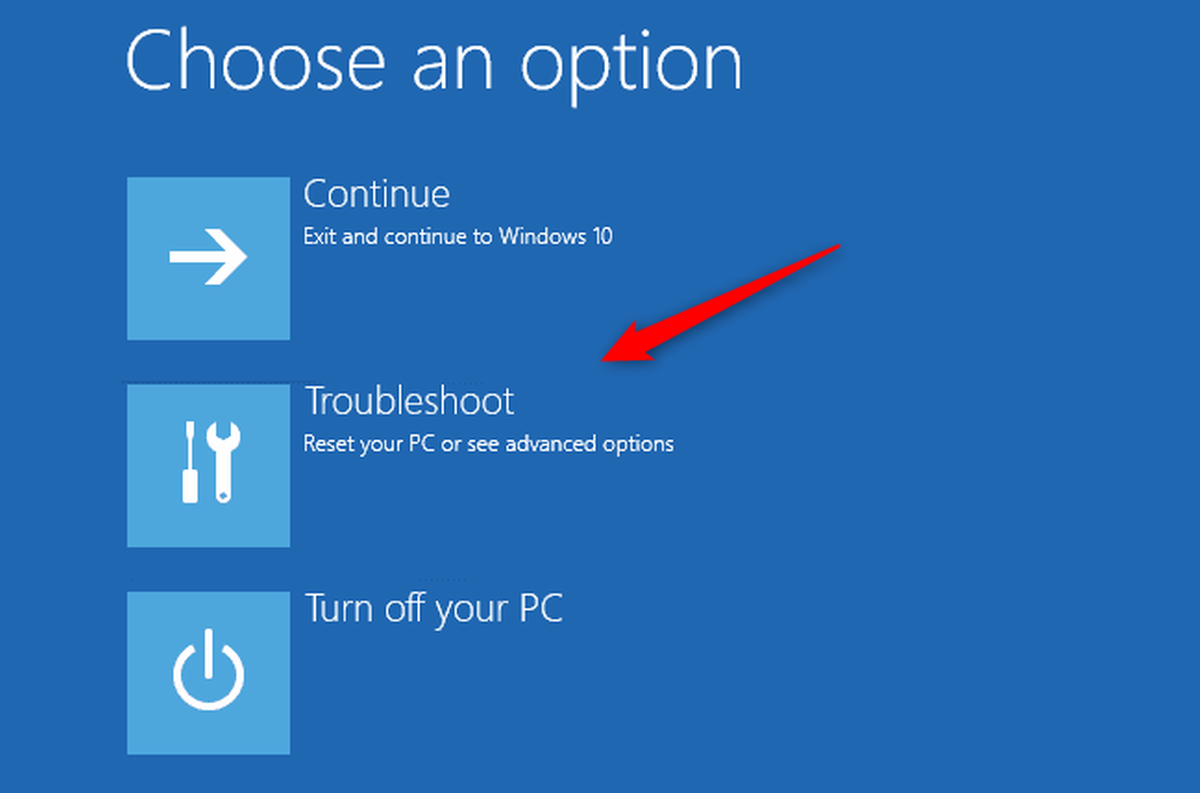
Once the blue "Choose an option" screen appears, do not select "Continue" or "Turn off your PC." Instead, click on the Troubleshoot option. This menu is designed for fixing problems that prevent Windows from starting correctly or for accessing advanced configuration tools.
Step 6: Access Advanced Options and UEFI Settings
Inside the Troubleshoot menu, click on Advanced options. This will reveal a grid of various tools, such as System Restore and Startup Repair. Locate and click on UEFI Firmware Settings. If you do not see this option, it is likely that your computer is using a legacy BIOS instead of UEFI, or Windows was installed in Legacy mode.
Step 7: Final Restart into BIOS
After selecting UEFI Firmware Settings, Windows will present a screen titled "Restart to change UEFI firmware settings." Click the Restart button. Your computer will reboot one final time and, instead of loading Windows 10, it will automatically open the BIOS/UEFI interface.
Alternative Method: Using the Command Prompt Shortcut
For users who prefer a faster, text-based approach, or for IT administrators managing systems remotely, the Command Prompt provides a direct shortcut to the BIOS. This method bypasses several of the manual clicks in the Settings menu.
- Type cmd in the Windows search bar.
- Right-click "Command Prompt" and select Run as Administrator.
- Type the following command:
shutdown /r /fw /t 0 - Press Enter.
Breakdown of the command:
/r: Tells the computer to restart./fw: Directs the restart to the "firmware" (BIOS/UEFI) instead of the OS./t 0: Sets the time delay to zero seconds, causing an immediate restart.
Note: This command only works if your hardware supports UEFI and the OS is installed in UEFI mode. If you receive an error stating "The system could not find the environment option," your system likely uses a legacy BIOS.
Comparison of Methods to Access BIOS
| Method | Speed | Difficulty | Use Case |
|---|---|---|---|
| Settings (7 Steps) | Moderate | Easy | Standard users; most reliable for modern PCs. |
| Command Prompt | Fast | Moderate | Advanced users; avoids navigating menus. |
| Shift + Restart | Fast | Easy | Quickest way to reach the Blue Recovery screen. |
| Hotkey (F2/Del) | Immediate | Hard | Used when Windows won't boot or for legacy hardware. |
Troubleshooting Common Access Issues
Even with the correct steps, you might encounter hurdles when trying to open the BIOS in Windows 10. Here is how to resolve the most frequent problems.
The "UEFI Firmware Settings" Option is Missing
If you reach the "Advanced options" screen but the UEFI tile is nowhere to be found, your system is likely running in Legacy BIOS mode. This happens on older hardware or when Windows 10 was installed on a drive using the MBR (Master Boot Record) partition style instead of GPT (GUID Partition Table). In this case, you cannot enter the BIOS through Windows; you must use the traditional hotkey method during the initial power-on sequence.
Fast Startup Blocking Entry
Windows 10 uses a feature called "Fast Startup" (a type of hybrid hibernation) that prevents the computer from fully shutting down. This often skips the "POST" (Power-On Self-Test) screen where keyboard inputs like F2 or Del are recognized. To fix this, you can disable Fast Startup in Control Panel > Power Options > Choose what the power buttons do.
Keyboard Not Responding
If you are using a wireless Bluetooth keyboard, it may not connect to the computer early enough in the boot process to register key presses. For BIOS work, it is always recommended to use a wired USB keyboard or the built-in keyboard on a laptop. Furthermore, some high-end mechanical keyboards have a "BIOS mode" switch or require a specific polling rate to be recognized by the motherboard firmware.
BitLocker Lockout
As mentioned in the prerequisites, changing certain firmware settings (like Secure Boot or TPM state) can alter the hardware "fingerprint" that BitLocker uses to verify system integrity. If BitLocker detects this change, it will lock the drive and demand a 48-digit recovery key. Always ensure you have access to your recovery key (stored in your Microsoft account or printed) before making BIOS changes.
Navigating the BIOS/UEFI Environment
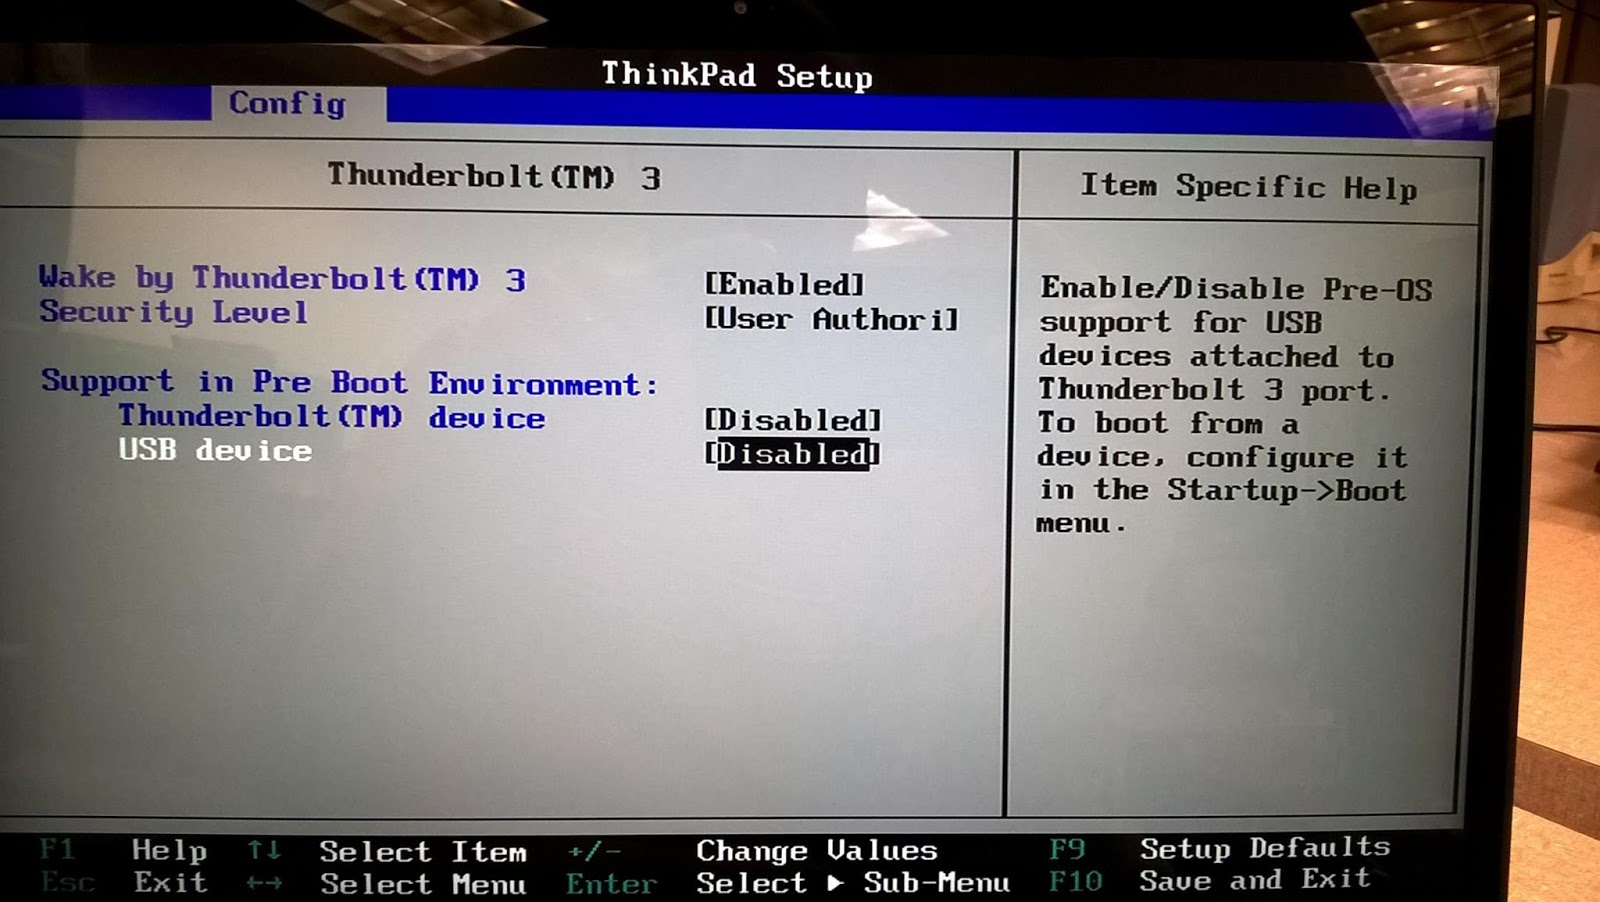
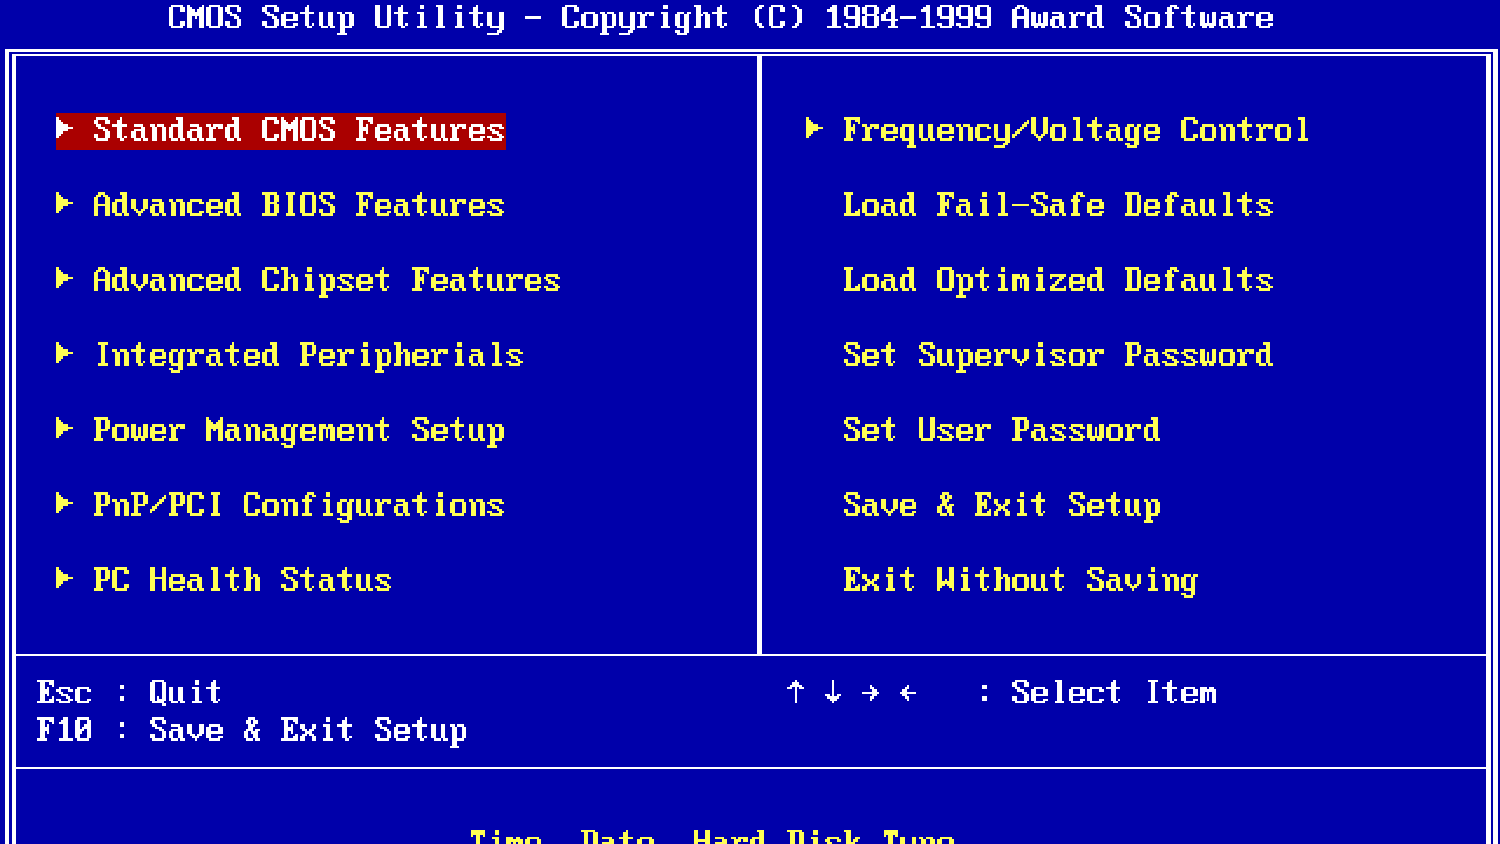
Once you have successfully followed the 7 steps and entered the BIOS, the interface will look different depending on your motherboard manufacturer (e.g., ASUS, MSI, Dell, HP, or Lenovo). However, the general layout usually includes several key tabs:
- Main/Information: Displays your CPU model, BIOS version, and total RAM.
- Advanced: Where you enable virtualization, adjust onboard peripherals (like disabling the onboard audio or Wi-Fi), and configure SATA/NVMe settings.
- Boot: This is where you change the boot priority list. If you want to boot from a USB drive, move "USB Storage" or the specific name of your flash drive to the top of the list.
- Security: Allows you to set a BIOS supervisor password to prevent unauthorized changes to the firmware.
- Exit: This tab is crucial. You must select "Save Changes and Reset" for your adjustments to take effect. If you made a mistake and aren't sure what you changed, select "Discard Changes and Exit" to reboot back into Windows safely.
Frequently Asked Questions
Can I enter BIOS if I can't log into Windows 10?
Yes. On the Windows login screen, look at the power icon in the bottom-right corner. Hold down the Shift key on your keyboard and click Restart. This will force the computer into the same blue Recovery Environment described in Step 5, allowing you to navigate to the UEFI Firmware Settings without ever logging in.
Why is the BIOS screen different on every computer?
BIOS/UEFI is written by the motherboard manufacturer, not Microsoft. While Windows 10 provides the path to get there, the "destination" is created by companies like American Megatrends (AMI), Phoenix, or the PC vendor (Dell, HP, etc.). Consequently, the menus, colors, and available options will vary significantly between a gaming laptop and an office desktop.
Is it dangerous to change BIOS settings?
It can be. While most settings are safe to explore, modifying "Overclocking," "Voltage," or "CPU Frequency" can lead to system instability or hardware damage if done incorrectly. Additionally, disabling the primary boot drive will prevent Windows from loading. If you find yourself in a situation where the PC won't boot after a BIOS change, look for an option to "Load Optimized Defaults" or "Reset to Factory Settings" within the BIOS.
Does Windows 10 require BIOS for updates?
Generally, no. Windows 10 handles its own software updates. However, certain "Firmware Updates" delivered through Windows Update may require the system to restart and enter a temporary BIOS-update mode. In 2026, these are usually automated, but a stable BIOS configuration is essential for these updates to apply correctly.
Can I access BIOS from a remote desktop connection?
No. Remote desktop protocols (like RDP or TeamViewer) operate within the Windows environment. When the computer restarts to enter BIOS, the OS shuts down, and the network drivers are unloaded, severing the remote connection. To manage BIOS remotely, you would need hardware-level remote management tools like Intel vPro/AMT or an external KVM-over-IP device.
Final Recommendation
When attempting to open the BIOS in Windows 10, the Advanced Startup method is your safest and most reliable bet. It eliminates the guesswork of timing keyboard presses and works across almost all modern hardware. Once inside the BIOS, always take a photo of your original settings with a smartphone before making changes. This provides a reference point if you need to revert the system to its original state. For most users, unless you are troubleshooting a specific hardware failure or enabling virtualization, the default BIOS settings provided by the manufacturer are optimized for both stability and performance.