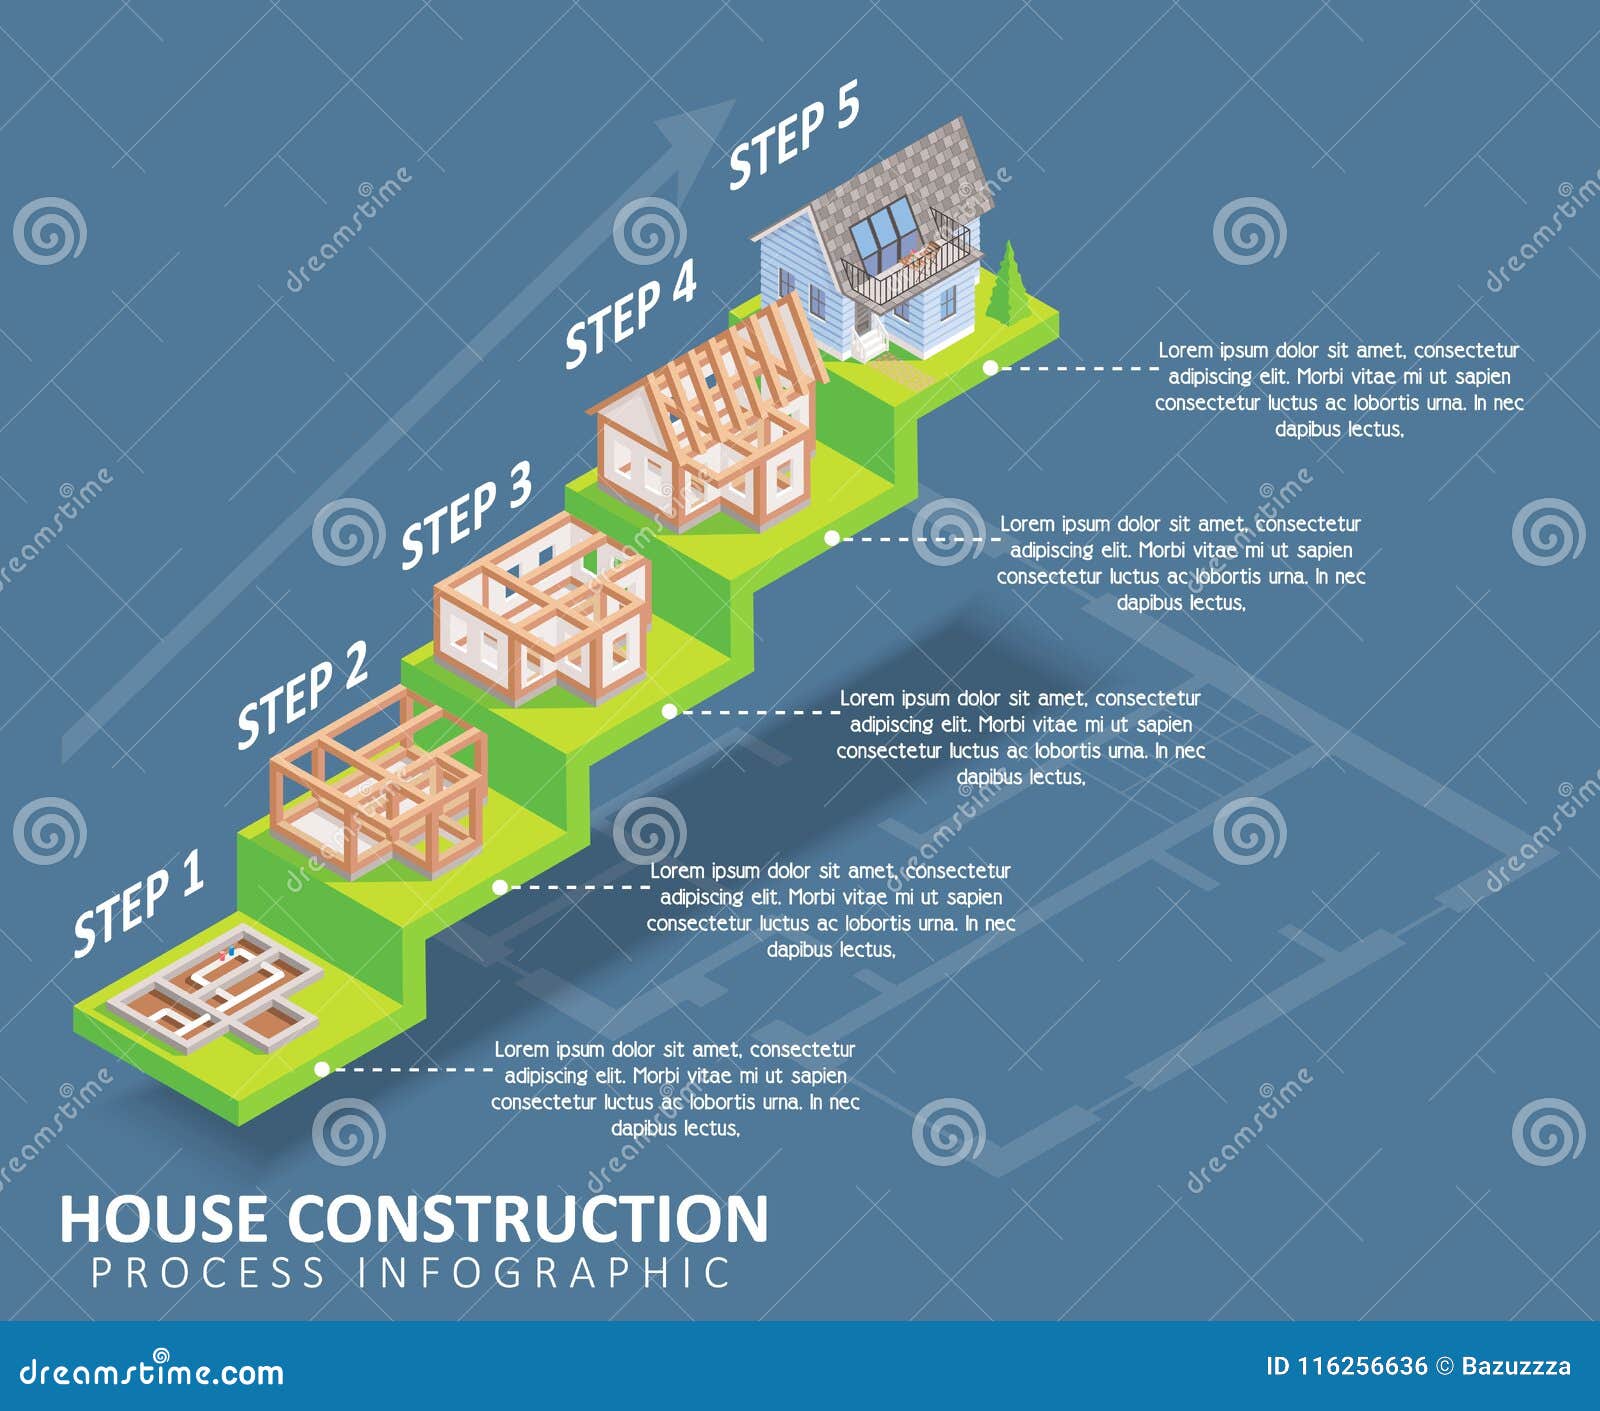
Building a house from the ground up is a structured seven-step process that begins with meticulous planning and land acquisition, followed by site preparation, foundation laying, framing, the installation of mechanical systems, interior and exterior finishing, and a final inspection. In 2026, this journey typically requires eight to twelve months of active construction, navigating modern energy codes and sophisticated supply chains to transform a vacant lot into a move-in-ready home.
The decision to build a custom home is often driven by the desire for a personalized layout, modern energy efficiency, and the peace of mind that comes with a full structural warranty. However, the complexity of managing subcontractors, permits, and fluctuating material costs requires a clear roadmap. This guide details the essential phases of residential construction, providing the technical depth needed to navigate the process in the current 2026 market.
Step 1: Pre-Construction Planning, Design, and Financing
The most critical phase of building a house occurs before any dirt is moved. Preparation involves three major pillars: securing the land, finalizing the architectural design, and establishing a robust financial framework.
Land Acquisition and Feasibility
Finding a lot involves more than just a scenic view. In 2026, land scarcity in high-demand areas has made feasibility studies indispensable. A buyer must evaluate zoning laws, which dictate setbacks (how far the house must be from the property line) and height restrictions. Technical assessments, such as soil testing (geotechnical reports), are necessary to determine if the ground can support a foundation or if it requires expensive remediation like piers or pilings. Additionally, the availability of utilities—sewer, water, electricity, and high-speed fiber—can significantly impact the "soft costs" of the project.
Architectural Design
Working with an architect or a professional designer allows you to create a "bluebook" or set of construction drawings. These plans must adhere to the International Residential Code (IRC) and any local amendments. Modern 2026 designs frequently prioritize "passive house" principles, maximizing natural light and thermal mass to reduce long-term energy costs. The blueprints must include floor plans, elevations, electrical schematics, and structural details that a builder can follow precisely.
Budgeting and Construction Loans
Construction financing differs from a standard mortgage. Most lenders use a Construction-to-Permanent loan, which pays for the build in "draws" as specific milestones are met. As of 2026, it is standard practice to include a 10% to 15% contingency fund to cover unforeseen expenses, such as price spikes in raw materials like lumber or specialized glazing.
Step 2: Permitting and Site Preparation
Once the plans are finalized, the project moves into the administrative and physical preparation phase. This step bridges the gap between the theoretical design and the physical reality of the site.
Navigating the Permit Process
A builder must obtain a master building permit from the local municipality. This usually requires submitting the architectural plans for review to ensure they meet safety, fire, and environmental standards. Depending on the location, you may also need separate permits for electrical, plumbing, and mechanical work, as well as environmental permits if the land is near wetlands or protected habitats.
Clearing and Grading
Site preparation begins with "clearing and grubbing"—removing trees, rocks, and debris from the building envelope. Following this, the site is graded. Grading involves leveling the ground and ensuring proper drainage away from the future foundation. This is a critical technical step; improper grading is a leading cause of basement flooding and foundation cracks years down the line. Surveyors will then "stake out" the house's footprint, providing the exact coordinates for the excavation crew.
Step 3: Foundation Construction
The foundation is the most important structural element of the home, responsible for transferring the weight of the building to the earth.
Excavation and Footings
Excavators dig trenches for the footings—the wide bases that support the foundation walls. In colder climates, these must be placed below the frost line to prevent the ground from heaving and cracking the structure. Once the footings are poured with concrete and reinforced with rebar (steel rods), they are inspected by local officials before the walls are built.
Types of Foundations
The choice of foundation usually depends on the region's geography and the homeowner's budget:
- Slab-on-Grade: A thick layer of concrete poured directly on the ground, common in warmer climates.
- Crawl Space: A raised foundation that provides a small area for access to plumbing and electrical lines.
- Full Basement: Deeply excavated walls that create an entire additional floor of living or storage space.
After the foundation cures, it is often waterproofed with a specialized membrane or spray, and "French drains" (perforated pipes) are installed to direct groundwater away from the structure.
Step 4: Rough Framing and the "Dried-In" Phase
Framing is the stage where the house finally takes a recognizable shape. This is often referred to as the "bones" of the home.
The Structural Skeleton
Using the architectural plans, the framing crew builds the floor joists, the wall studs, and the roof rafters. In 2026, many builders utilize engineered lumber or Laminated Veneer Lumber (LVL) for longer spans and greater strength. Once the skeleton is complete, the exterior walls and roof are covered with sheathing (typically OSB or plywood).
Reaching the "Dried-In" Milestone
A house is considered "dried-in" once the windows, exterior doors, and roof shingles (or metal roofing) are installed. This is a major milestone because it allows the interior work to begin without the risk of water damage from rain or snow. At this point, a house wrap (a breathable moisture barrier) is applied to the exterior to prevent rot while allowing interior moisture to escape.
Step 5: Rough-In Mechanicals, Electrical, and Plumbing
While the house is just a shell, specialized tradespeople enter to install the "veins and arteries" of the building. This phase is known as the "rough-in" because the components are installed behind where the walls will eventually be.
Plumbing and HVAC
Plumbers run supply lines for water and drain pipes for waste. Simultaneously, HVAC (Heating, Ventilation, and Air Conditioning) technicians install ductwork or refrigerant lines for heat pumps. Given the 2026 emphasis on air quality, many new homes now include Energy Recovery Ventilators (ERVs) to ensure a constant supply of fresh, filtered air.
Electrical and Smart Home Integration
Electricians pull wires from the main breaker panel to outlets, switches, and light fixtures. This is also when "low-voltage" wiring is installed for security cameras, mesh Wi-Fi systems, and smart home hubs. Once these systems are in place, a "rough-in inspection" is required. An inspector verifies that all wiring and piping meet the National Electrical Code (NEC) and local plumbing codes before the walls are sealed.
Step 6: Insulation, Drywall, and Exterior Finishes
With the internal systems verified, the house can be closed up. This phase focuses on thermal efficiency and the aesthetic "skin" of the home.
Insulation and Airtightness
Insulation is installed in the wall cavities and attic. Common materials in 2026 include spray foam (which provides an airtight seal), fiberglass batts, or mineral wool. Builders often perform a Blower Door Test at this stage to identify any air leaks, ensuring the home meets modern energy-efficient standards.
Drywall and Interior Texture
Drywall panels are hung and then "taped and mudded." This involves applying several layers of joint compound over the seams and sanding them smooth to create a seamless wall surface. While the drywall dries, exterior crews typically finish the siding, which may consist of fiber cement, brick, or modern composite materials designed for durability and fire resistance.
Step 7: Interior Finishes, Fixtures, and Final Inspection
The final stage is the most detail-oriented, turning a construction site into a livable space.
Flooring and Millwork
Interior doors, baseboards, window casings, and crown molding are installed. This is followed by the installation of cabinets in the kitchen and bathrooms. Once the "dusty" work is done, flooring—whether hardwood, luxury vinyl plank (LVP), or tile—is laid down.
Fixture Installation and Painting
Countertops are templated and installed, followed by the "trim out" of mechanicals. This is when the final sinks, toilets, faucets, light switches, and light fixtures are connected. The interior is then painted, and appliances are moved into place.
The Final Walkthrough and Certificate of Occupancy
The local building department conducts a final inspection to ensure the home is safe and meets all codes. If it passes, a Certificate of Occupancy (CO) is issued. The homeowner then performs a "punch list" walkthrough with the builder to identify any minor defects—such as a scratched cabinet or a missing piece of trim—that must be repaired before the final payment is released and the keys are handed over.
Summary of Construction Phases and Estimated Timelines
The following table provides a generalized breakdown of the time and primary trades involved in each phase of a standard 2,500-square-foot home build in 2026.
| Phase | Estimated Duration | Primary Trades Involved | Key Milestone |
|---|---|---|---|
| 1. Planning & Design | 2–6 Months | Architect, Lender, Surveyor | Final Blueprints |
| 2. Permitting & Prep | 1–3 Months | Excavator, Civil Engineer | Building Permit Issued |
| 3. Foundation | 2–4 Weeks | Concrete Contractor | Foundation Cure |
| 4. Framing | 4–8 Weeks | Framing Crew, Roofer | Dried-In Status |
| 5. Rough-In MEP | 3–5 Weeks | Plumber, Electrician, HVAC | Rough-In Approval |
| 6. Insulation & Drywall | 3–4 Weeks | Drywallers, Insulators | Finished Walls |
| 7. Final Finishes | 6–10 Weeks | Finish Carpenter, Painter, Tiler | Certificate of Occupancy |
Frequently Asked Questions
What is the average cost per square foot to build a house in 2026?
In 2026, the national average for custom home construction typically ranges from $175 to $350 per square foot, excluding the cost of land. These figures vary wildly based on regional labor rates, the complexity of the design, and the quality of finishes. High-end custom homes in metropolitan areas can easily exceed $500 per square foot.
Can I act as my own General Contractor (GC)?
Yes, "owner-builder" projects are legal in most jurisdictions, but they are technically demanding. As an owner-builder, you are responsible for hiring subcontractors, scheduling inspections, and ensuring all work meets code. While this can save you the 10% to 25% markup a GC charges, it often leads to longer timelines and higher material costs since you lack the bulk purchasing power of an established firm.
How do I find a reputable builder for a 2026 project?
A reputable builder should be licensed, insured, and able to provide a list of recently completed projects and client references. In 2026, it is also important to look for builders with certifications in sustainable building (such as LEED or Passive House) and those who use modern project management software that allows you to track progress and budget changes in real-time.
What is a "punch list," and why is it important?
A punch list is a document created at the end of the project that lists every small item that still needs attention. It includes things like paint touch-ups, adjusting a door that sticks, or replacing a cracked tile. It is vital because it serves as the final checklist before the builder is considered "done" and the final retainage fee is paid.
How does the 2026 supply chain affect building timelines?
While many of the extreme delays of the early 2020s have stabilized, specific high-tech components—such as smart electrical panels, specialized HVAC units, and custom-ordered windows—can still have lead times of 12 to 20 weeks. Planning and ordering these long-lead items during Step 1 or Step 2 is essential to avoid stalling the project during Step 5.
Practical Recommendation for Next Actions
The first concrete step for anyone considering building a home from the ground up is to determine your total borrowing capacity. Before looking at land or floor plans, speak with a specialized construction lender to understand your debt-to-income ratio and the down payment requirements for a construction-to-permanent loan, which are often higher (20-25%) than standard mortgages. Once your budget is established, your next action should be to hire a local surveyor or civil engineer to perform a preliminary site assessment on any lot you are considering, as unforeseen site conditions are the primary cause of budget overruns in residential construction.