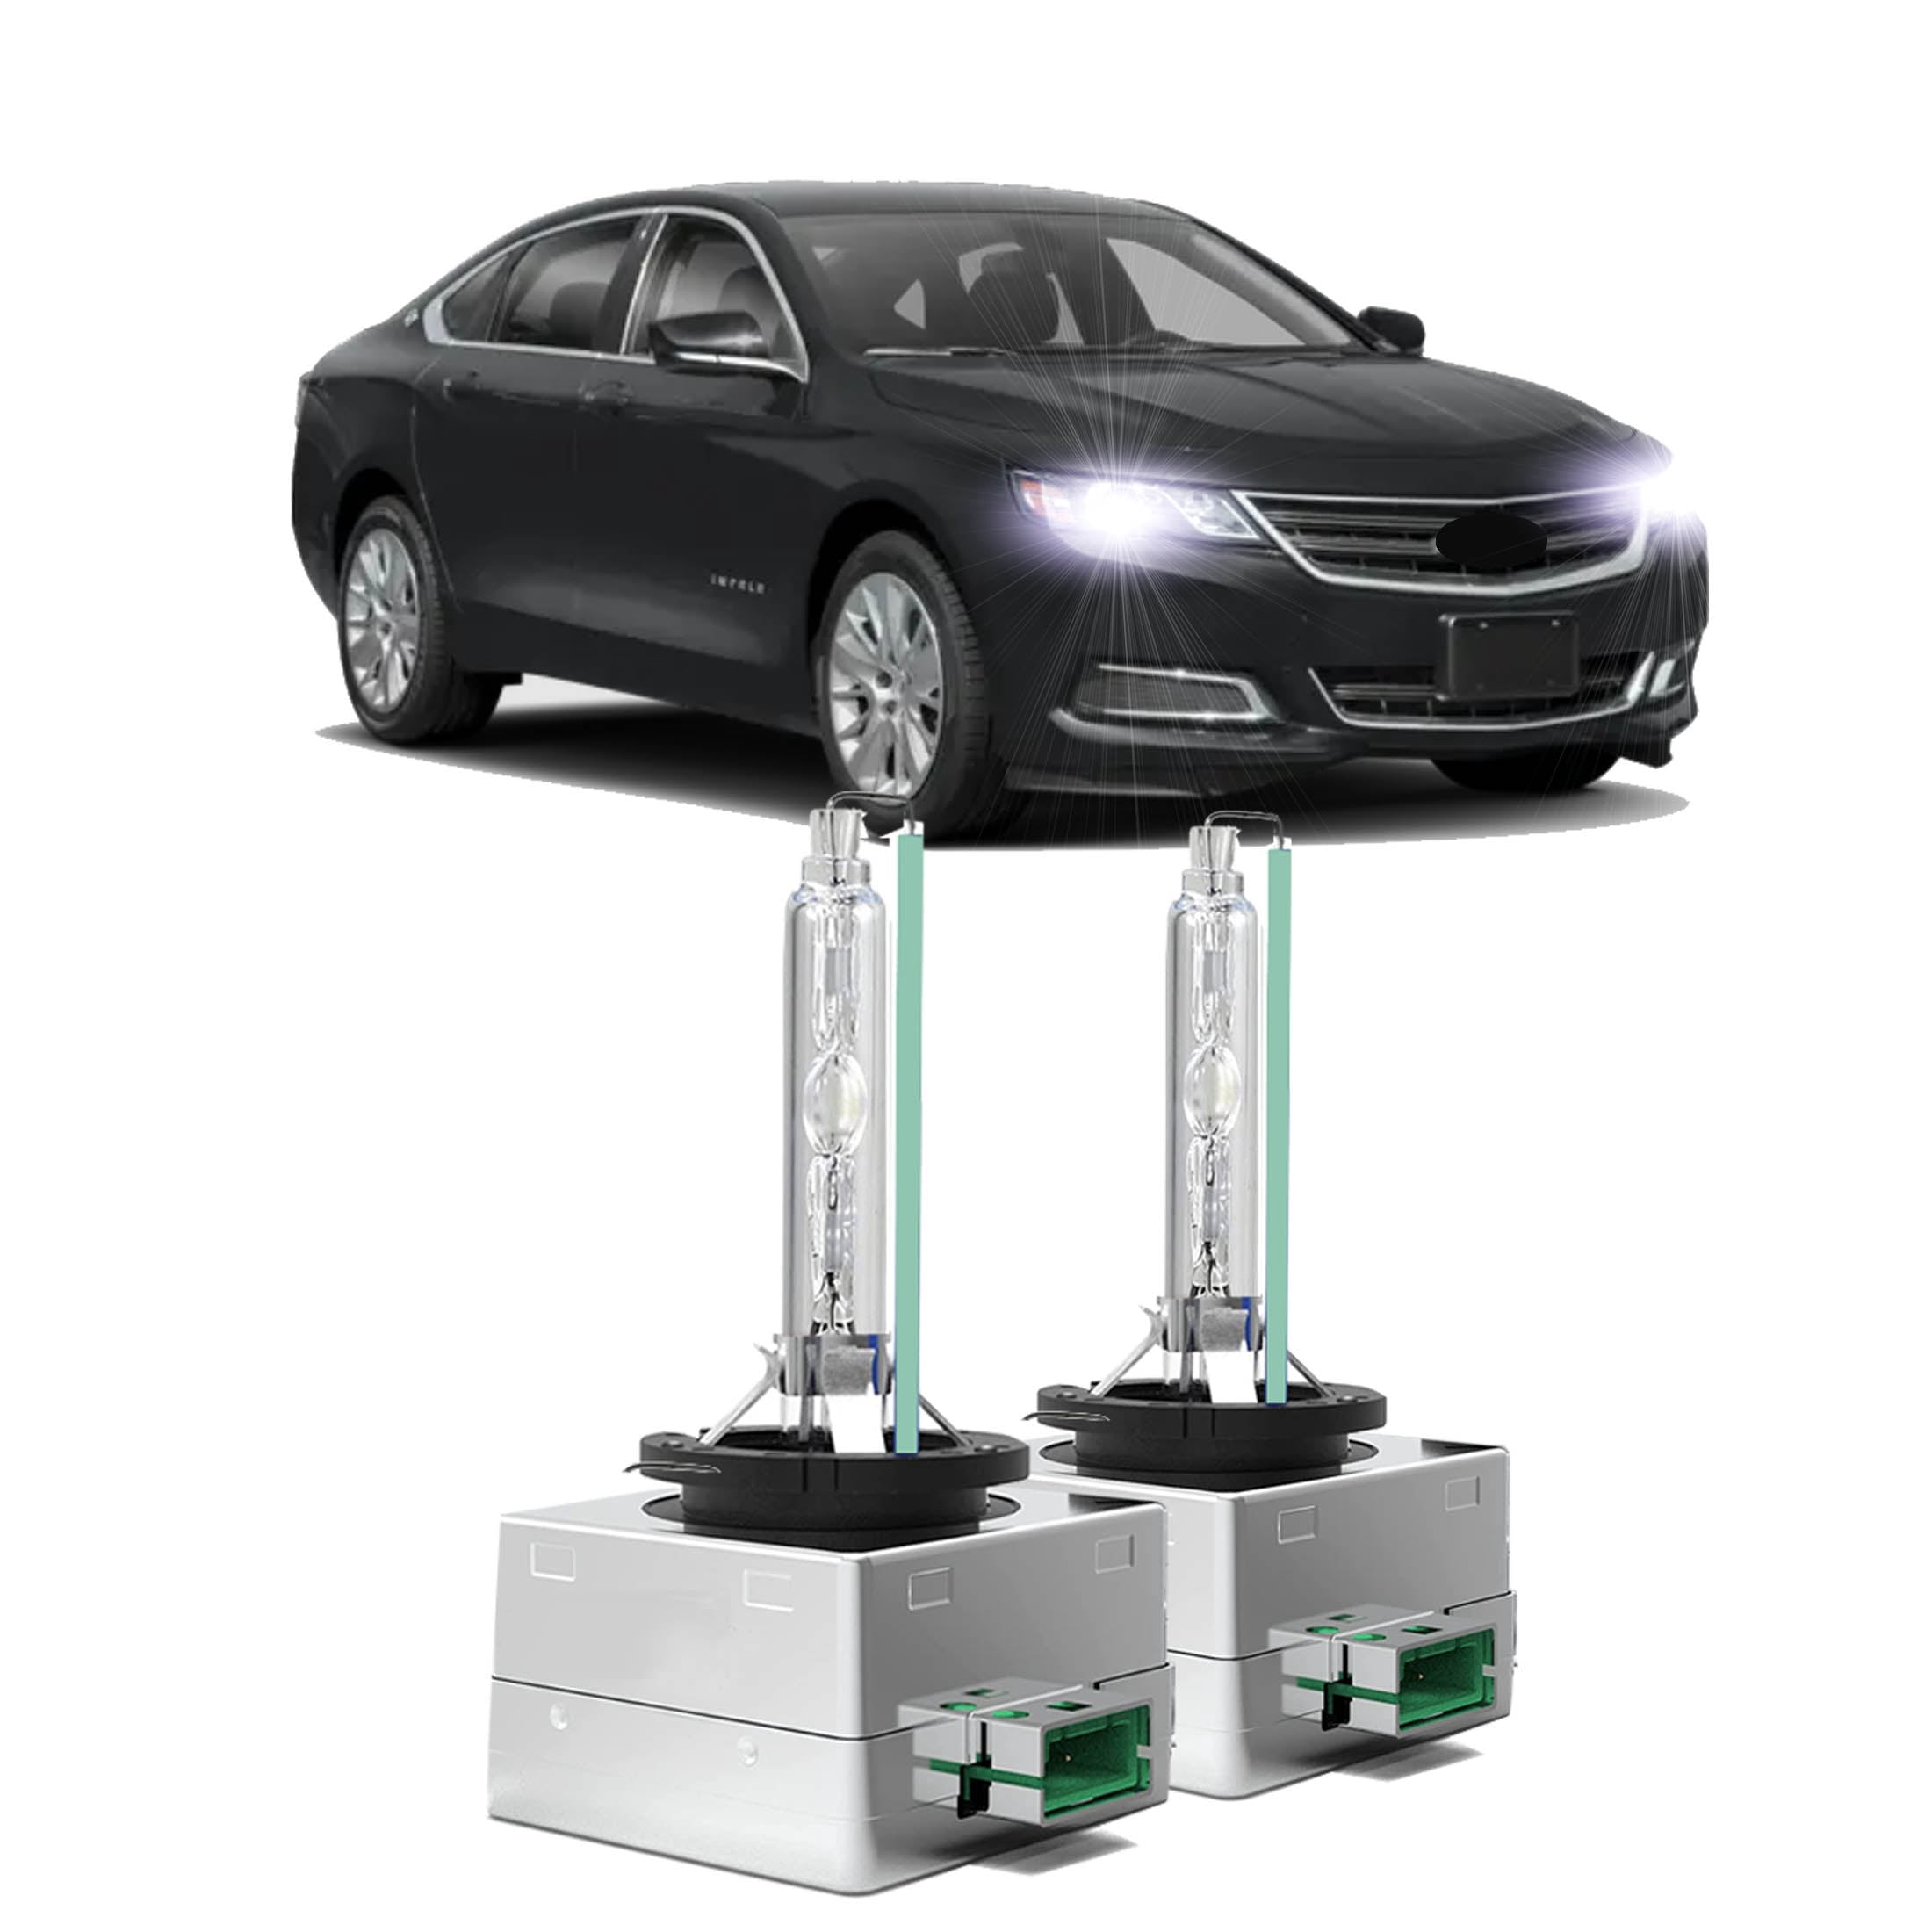
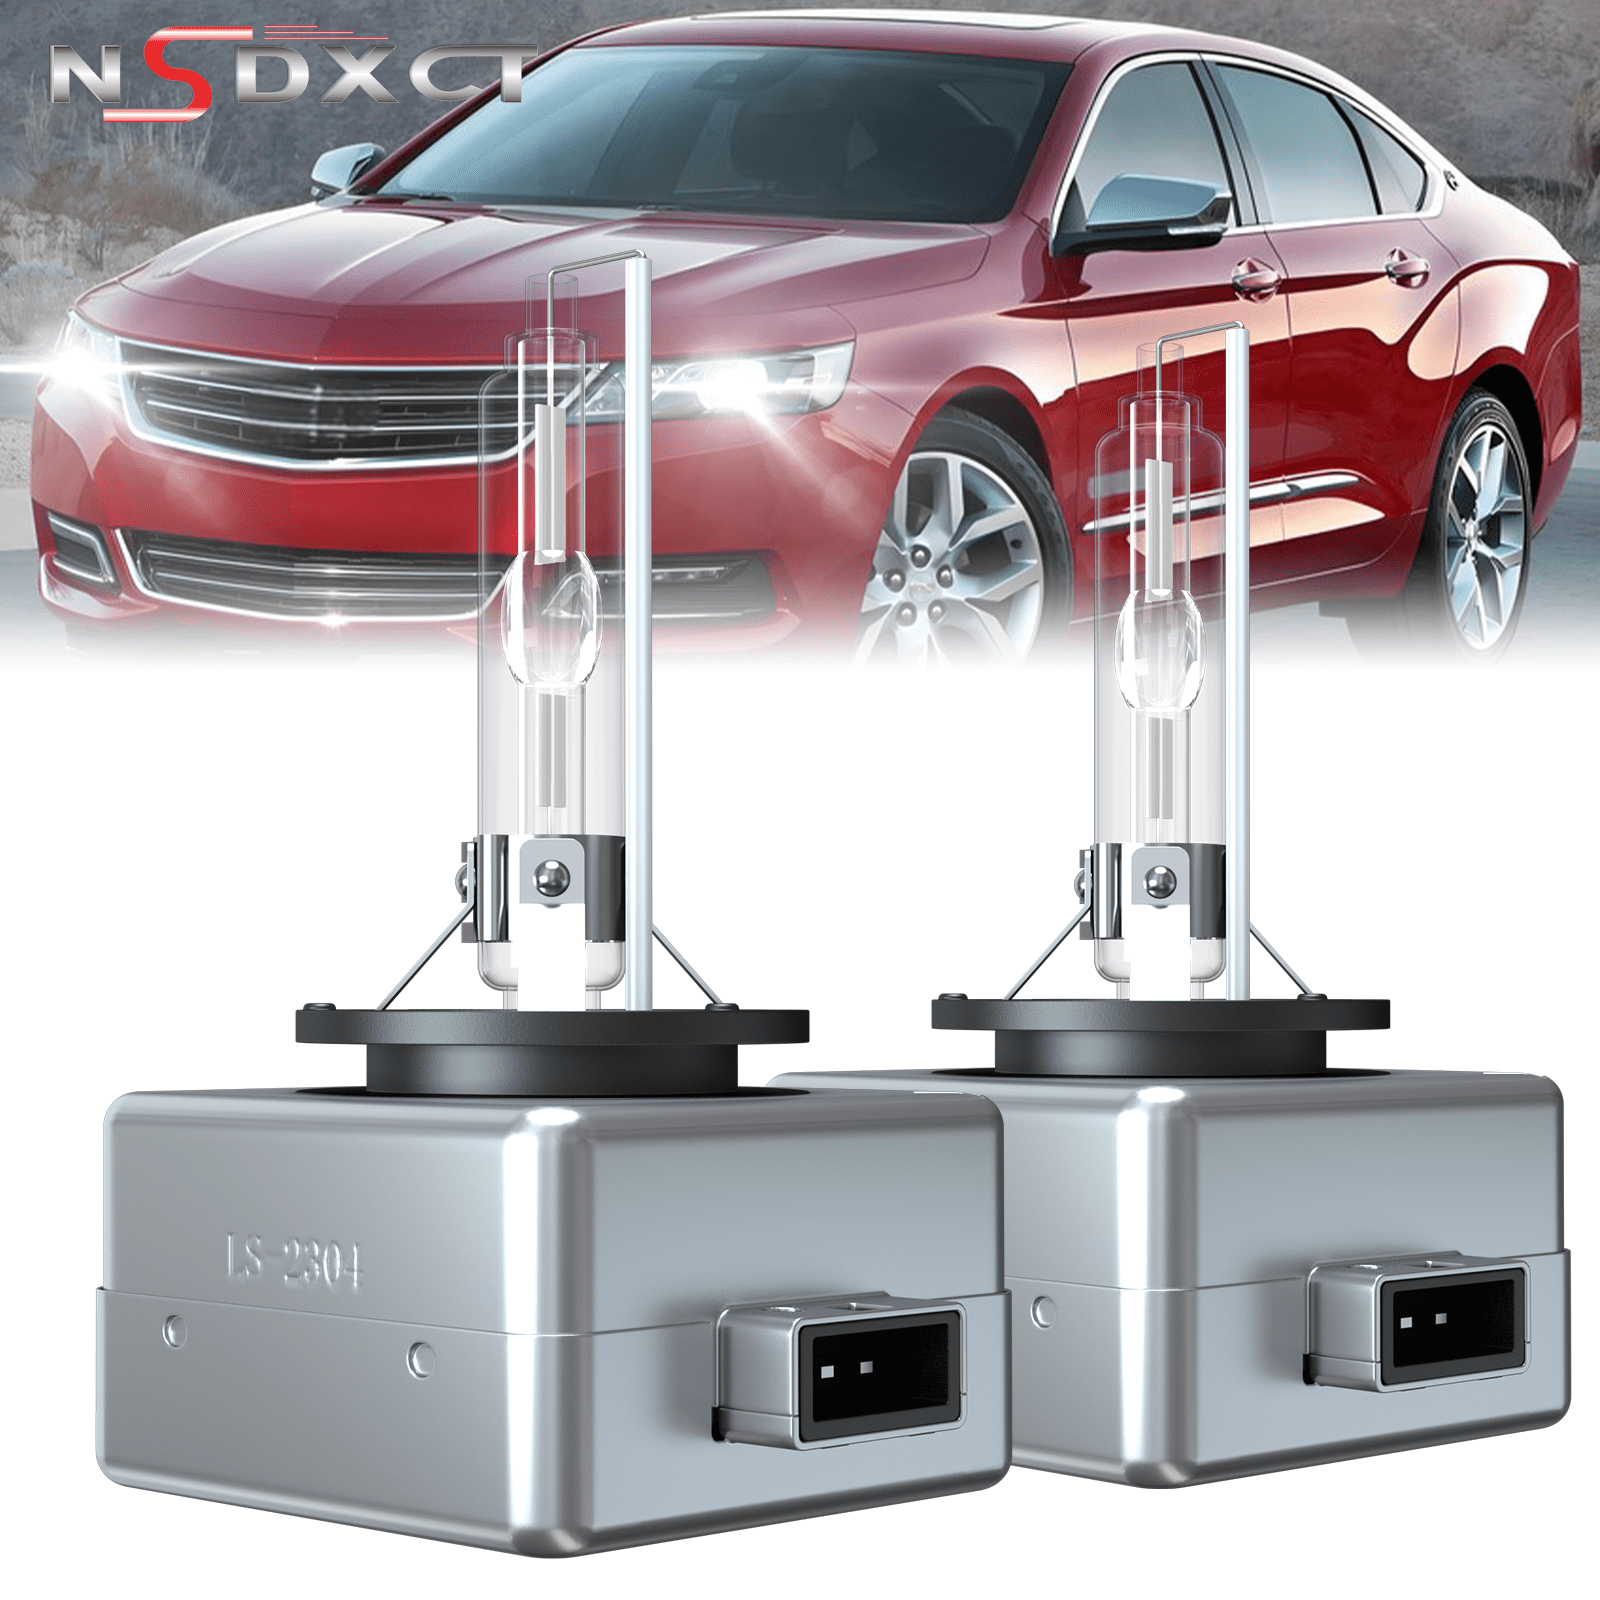
Replacing a headlight bulb on a 2014 Chevrolet Impala involves identifying your specific vehicle body style—the redesigned 10th-generation model or the 9th-generation Impala Limited—and choosing the correct bulb size (typically H11 for low beams and 9005 for high beams). Depending on trim and engine bay clearance, replacement requires working through the wheel arch liner, removing under-hood trim, or pulling retaining pins.
Identifying Your 2014 Chevy Impala Model Variant
Before purchasing replacement parts or unbolting components, you must determine which version of the 2014 Chevrolet Impala you own. Chevrolet sold two distinct body styles during the 2014 model year:
- 10th-Generation Redesigned Impala (New Body Style): Built on GM's Epsilon II platform, this modern design features sharp body lines, a wide front grille, and projector-style headlight assemblies. It was available in LS, LT, and LTZ trim levels.
- 9th-Generation Impala Limited (Previous Body Style): Built on the older W-body platform, this model was sold alongside the redesign primarily for fleet, rental, and commercial customers. It retains rounded front-end styling and standard reflector headlight housings.
The physical steps to change a headlight bulb differ significantly between these two vehicles. The 2014 Impala Limited allows complete headlight assembly removal from the top using metal retention pins. The 10th-generation redesign requires accessing the rear of the headlight housing through the front wheel arch liner or by clearing components inside the engine bay.
2014 Chevy Impala Bulb Size Specifications
Selecting the correct replacement bulb depends on your trim level and headlight housing type. The 10th-generation Impala uses halogen projector housings on LS and LT trims, while the high-spec LTZ trim often includes factory-installed High-Intensity Discharge (HID/Xenon) lights.
| Vehicle Model & Trim | Beam Application | Factory Bulb Type | Power Rating | Notes |
|---|---|---|---|---|
| 10th Gen (LS, LT) | Low Beam | H11 / H11LL | 12V, 55W | Standard Halogen Projector |
| 10th Gen (LS, LT) | High Beam | 9005 / HB3 | 12V, 65W | Standard Halogen Reflector |
| 10th Gen (LTZ Optional) | Low / High Beam | D3S | 42V, 35W | Factory High-Intensity Discharge (HID) |
| 9th Gen Impala Limited | Low Beam | H11 / H11LL | 12V, 55W | Standard Halogen Reflector |
| 9th Gen Impala Limited | High Beam | H9 | 12V, 65W | Standard Halogen Reflector |
| All Trims | Front Turn Signal / Parking Light | 7444NA / 7443 | 12V Dual Filament | Amber Bulb |
Note: Always consult your owner's manual to confirm specific bulb fitments, as regional packages and production runs may vary.
Required Tools and Safety Equipment
Gathering the correct tools before starting ensures a smooth installation and prevents damage to fragile plastic clips and electrical connectors.
- Nitrile or Latex Gloves: Bare skin oils create localized hot spots on quartz glass, leading to premature bulb failure.
- Safety Glasses: Protects your eyes from debris, dirt, and road grime underneath the wheel wells.
- T20 Torx Driver & 7mm Socket/Rachet: Necessary for removing fender liner screws on 10th-generation models.
- Trim Removal Tool or Flathead Screwdriver: Used to pry up plastic push-rivets along the inner fender arch and plastic radiator cover.
- Dielectric Grease: Optional coating applied to electrical connector plastic outer casings to resist moisture and corrosion.
- Microfiber Cloth and Isopropyl Alcohol: Essential for cleaning the outer glass of the new bulb if accidental contact occurs.
Step-by-Step Guide: 10th-Gen 2014 Chevy Impala (New Body Style)
For standard 10th-generation models (LS and LT), access to the back of the headlight unit is tight. The recommended method is accessing the bulb housing from inside the front wheel arch liner.
Method 1: Accessing Bulbs via the Front Wheel Arch Liner
- Park on a Level Surface and Secure the Vehicle: Turn off the ignition, engage the parking brake, and remove the key or remote fob from the cabin.
- Turn the Front Wheels: If replacing the driver-side bulb, turn the steering wheel all the way to the right. If replacing the passenger-side bulb, turn the steering wheel all the way to the left. This creates maximum clearance between the tire and the front portion of the inner fender liner.
- Remove Fender Liner Fasteners: Locate the three to four T20 Torx screws (or 7mm hex-head screws) along the forward edge of the wheel arch liner. Use a trim removal tool to unfasten any plastic push-pin fasteners holding the splash shield to the bumper fascia.
- Peel Back the Fender Liner: Carefully pull the plastic splash liner away from the bumper cover toward the tire. Fold it backward to expose the rear backboard of the headlight assembly.
- Remove the Dust Cover Cap: Locate the round, plastic weather-seal dust cap on the rear of the headlight housing. Twist the cap counter-clockwise approximately a quarter turn to unlatch and remove it.
- Disconnect the Electrical Harness: Reach inside the housing opening, locate the wiring harness plug attached to the base of the bulb, and depress the plastic locking tab. Pull the harness downward off the bulb pins.
- Remove the Old Bulb: Turn the base of the bulb counter-clockwise (approximately 45 degrees) until the locking tabs align with the slots in the housing. Carefully slide the old bulb straight back out of the projector socket.
- Install the New Bulb: Put on clean gloves. Insert the new H11 (low beam) or 9005 (high beam) bulb into the socket, aligning its three metal tabs with the housing slots. Press gently inward and rotate clockwise until it firmly locks into position.
- Reconnect Wiring and Test: Push the electrical harness connector back onto the bulb base until you hear a distinct click. Before reassembling the trim, turn on the vehicle headlights to confirm the new bulb lights up properly.
- Reattach Dust Cap and Fender Liner: Reinstall the plastic dust cover by pressing it into place and turning clockwise to seal against moisture. Push the inner fender liner back into position, securing all T20 Torx screws and push-rivets securely.
Method 2: Accessing Bulbs via the Engine Bay
If you prefer not to work inside the wheel arch, you can access the rear of the housings from under the hood, though clearance is limited.
10th GEN ENGINE BAY ACCESS
- Driver Side Access:
- Remove 3 plastic push pins.
- Lift upper air intake duct.
- Unclip air filter box lid.
- Move box aside for space.
- Passenger Side Access:
- Locate washer fluid neck.
- Unbolt upper neck bolt.
- Pull filler neck upward.
- Gain rear cap clearance.
Driver-Side Clearance:
- Pop the hood and locate the main engine air cleaner box directly behind the driver-side headlight.
- Remove the plastic retainers holding the upper air duct.
- Unclip the airbox cover clamps and push the duct hose slightly backward to create hand space behind the headlight frame.
- Reach down behind the housing to remove the circular dust cover, disconnect the harness, and twist out the bulb.
Passenger-Side Clearance:
- Locate the windshield washer fluid neck running alongside the passenger fender.
- Undo the top retaining bolt securing the filler neck to the chassis bracket.
- Gently pull the neck upward to detach it from the reservoir tank, opening up space behind the passenger headlight housing.
- Reach inside, remove the dust cap, replace the bulb, and reattach the filler neck, ensuring its rubber seal seats tightly to prevent leaks.
Step-by-Step Guide: 2014 Chevy Impala Limited (9th Gen Body Style)
The 2014 Impala Limited features a straightforward removal design. Rather than working in tight spaces behind the frame, you can remove the entire headlight housing from the vehicle in minutes.
- Open the Hood and Turn Off Power: Turn off the engine and open the hood completely.
- Locate Retaining Pins: Look directly above the headlight assembly on the upper radiator support bar. You will find two long vertical metal retention sliders (locking pins) holding the housing in place.
- Release the Pins: Pull each metal pin straight upward. You may need to wiggle them slightly or press downward on the headlight housing to relieve pressure on the locking notches. Set the pins aside.
- Extract the Headlight Assembly: Grab the sides of the plastic headlight assembly and pull it straight forward away from the body grille.
- Disconnect the Main Harness Plug: Before pulling the housing too far, reach behind to locate the primary electrical connector. Squeeze the locking tab and pull the harness free. Move the assembly to a clean workbench.
- Access and Replace the Bulb:
- Peel back the rubber dust boot protecting the low (H11) or high (H9) beam socket.
- Depress the wire locking clip or rotate the bulb base counter-clockwise to pull the bulb from the socket.
- Disconnect the bulb wiring plug.
- Insert the replacement bulb, lock it in place, and press the rubber dust boot back down securely around the opening.
- Reinstall Housing: Align the bottom indexing tracks of the headlight assembly with the body slots, push the unit back into position, and slide both vertical metal pins down until they lock flat.
HID (Xenon) Bulb Replacement on LTZ Trims
If your 10th-generation 2014 Impala LTZ came equipped with factory High-Intensity Discharge (HID) lighting, special handling is required. HID systems utilize a high-voltage ballast that generates thousands of volts during ignition.
CRITICAL SAFETY NOTICE: FACTORY HID LIGHTS HID systems operate on high voltage. Always disconnect the negative battery cable and wait at least 5 minutes before touching high-voltage ballasts, igniters, or D3S bulbs.
Steps for Replacing D3S HID Bulbs:
- Disconnect Battery: Disconnect the negative (-) battery terminal clamp and wait 5 to 10 minutes to allow residual voltage in the capacitors to dissipate.
- Access Housing: Access the rear housing via the wheel arch liner method detailed above.
- Remove Dust Boot: Remove the large circular dust cap marked with a high-voltage warning symbol.
- Disconnect Igniter Plug: Turn the silver metal igniter base / D3S bulb socket counter-clockwise 45 degrees, unclip the heavy-duty shielded cable from the bottom of the metal igniter, and lift the assembly straight out.
- Insert New D3S Bulb: Do not touch the glass capsule. Align the notches on the new D3S bulb base with the projector ring, seat it firmly, and twist clockwise to lock. Connect the heavy-duty power plug back into the bulb base before replacing the seal.
Upgrading to LED or High-Output Halogen Bulbs
Many drivers choose to replace standard H11 halogen bulbs with aftermarket options for improved brightness and modern color temperatures.
HALOGEN VS. LED UPGRADE COMPARISON
| Feature | Standard Halogen | Aftermarket LED Kit |
|---|---|---|
| Luminance Output | ~1,200 - 1,400 lm | ~3,000 - 6,000 lm (varies) |
| Color Temperature | ~3,200K (Warm) | ~6,000K (Cool White) |
| Lifespan | 500 - 1,000 hours | 10,000+ hours (fan-dependent) |
| Beam Pattern Match | 100% Factory Matched | May scatter without adjustment |
| Canbus / Error | No Errors | May require resistor decoders |
Key Considerations for LED Upgrades:
- Projector Alignment: The 10th-gen Impala uses projector housings for halogen low beams, which focus light better than open reflectors. However, LED bulbs must have diode chips aligned horizontally at the 3 o'clock and 9 o'clock positions inside the housing to maintain a sharp beam cutoff and prevent blinding oncoming traffic.
- Rear Dust Cap Clearance: LED bulbs feature rear cooling fans or metal heat sinks that extend further out than halogen bases. Ensure your aftermarket LED bulb fits completely inside the headlight housing so the factory dust cap can seal correctly. Leaving dust caps off allows moisture, dirt, and road salt into the housing, causing fogging and electrical corrosion.
- CANBus & Flicker Issues: Some LED kits draw lower wattage than standard 55W halogen bulbs, triggering bulb-out warnings on the dashboard or causing light flickering. Installing CANBus decoders or anti-flicker harnesses inline resolves this issue.
Troubleshooting Common Post-Installation Issues
If your new headlight bulb does not light up or performs poorly after reassembly, work through these diagnostic steps:
1. The Bulb Fails to Turn On
- Check Harness Polarity: LED bulbs and certain HID ballasts are polarity-sensitive. Unplug the electrical connector, flip it 180 degrees, and plug it back in.
- Inspect the Filament/Glass: Remove the bulb and inspect it visually. A dark burn mark or broken tungsten filament indicates a blown bulb.
- Check Under-Hood Fuses: Inspect the main fuse block located in the engine compartment. Locate the fuses labeled
HDLP LT(Left Headlamp) orHDLP RT(Right Headlamp) and replace any blown fuses with the exact rated amperage.
2. Moisture or Condensation Inside the Headlight Assembly
- Verify Dust Cap Seal: Ensure the circular rubber O-ring on the rear plastic dust cover is lubricated and seated properly into the housing channel.
- Check Housing Vents: Headlights feature small breather tubes on the bottom and back of the housing to equalize pressure. Ensure these vent tubes are clean and free of mud or spider webs.
3. The Headlight Beam Pattern Is Uneven or Blinding
- Confirm Bulb Alignment: If a bulb is installed tilted or not fully rotated into its locking tabs, the focal point shifts, causing a scattered beam pattern. Remove the bulb and verify all three locking tabs seat flat inside the housing socket slots.
- Re-Aim Headlights: If the headlight assembly was completely removed (especially on Impala Limited models), park 25 feet away from a flat wall on a level surface. Check that the top edge of the bright beam pattern sits level with the height of the headlight lenses on the car. Adjust the vertical aiming screw on top of the housing using a socket wrench if necessary.
Frequently Asked Questions
What headlight bulb size fits a 2014 Chevy Impala low beam?
Standard halogen models of the redesigned 10th-generation 2014 Chevy Impala (LS and LT) as well as the 9th-generation Impala Limited use an H11 (or H11LL long-life) bulb for the low-beam lights. Higher-end 10th-generation LTZ models equipped with factory HID lighting use a D3S HID bulb.
Do I need to remove the front bumper to change the headlights on a 2014 Impala?
No, complete bumper removal is not required for routine bulb replacements. On the 10th-generation redesigned Impala, you can reach the bulb housings by peeling back the front wheel arch liner or working down from inside the engine bay. On the 2014 Impala Limited, the assembly slides out forward once the two metal locking pins on top are pulled upward.
Why do headlight bulbs keep burning out quickly on my Impala?
Premature bulb failure is most frequently caused by touching the glass with bare hands during installation, which transfers oils that overheat the quartz envelope. Vibration from loose headlight mounting hardware or degraded wheel arch liners can also shorten bulb life. Lastly, check your vehicle's charging voltage with a multimeter; an overcharging alternator producing over 14.8 volts will cause bulbs to burn out quickly.
Can I replace my 2014 Impala halogen bulbs with LEDs without modifying wiring?
Yes, plug-and-play H11 LED conversion kits are widely available. However, you must choose an LED bulb that includes an integrated or inline CANBus driver to avoid dashboard warnings or flickering. Additionally, verify that the rear cooling fan on the LED bulb fits inside the housing cover so you can reattach the dust seal properly.
How do I know if my 2014 Impala LTZ has HID or Halogen lights?
Turn on your headlights while looking at the vehicle from the front. If the lights immediately illuminate at full brightness with a warm yellow hue (~3200K), your vehicle uses standard halogen bulbs. If the lights ignite with a quick pulse, start slightly blue, and take 5 to 10 seconds to warm up into an intense cool-white light (~4300K–6000K), your vehicle is equipped with factory D3S HID lights.
Conclusion and Recommended Next Actions
Replacing your 2014 Chevy Impala's headlight bulbs is an accessible DIY project when approached with the correct technique for your vehicle's specific body style. Always verify whether you have a 10th-generation redesign or 9th-generation Impala Limited before purchasing parts. For long-term reliability and safety:
- Replace headlight bulbs in pairs to maintain consistent brightness, beam pattern, and color balance across both sides of the road.
- Always wear clean gloves to keep skin oils off replacement glass surfaces.
- Verify that the plastic dust caps seat tightly after installation to protect the assembly from water and road dust.
If your lights remain inoperative after installing fresh bulbs, inspect the under-hood headlamp fuses and check for electrical ground issues before replacing expensive housing components or control modules.