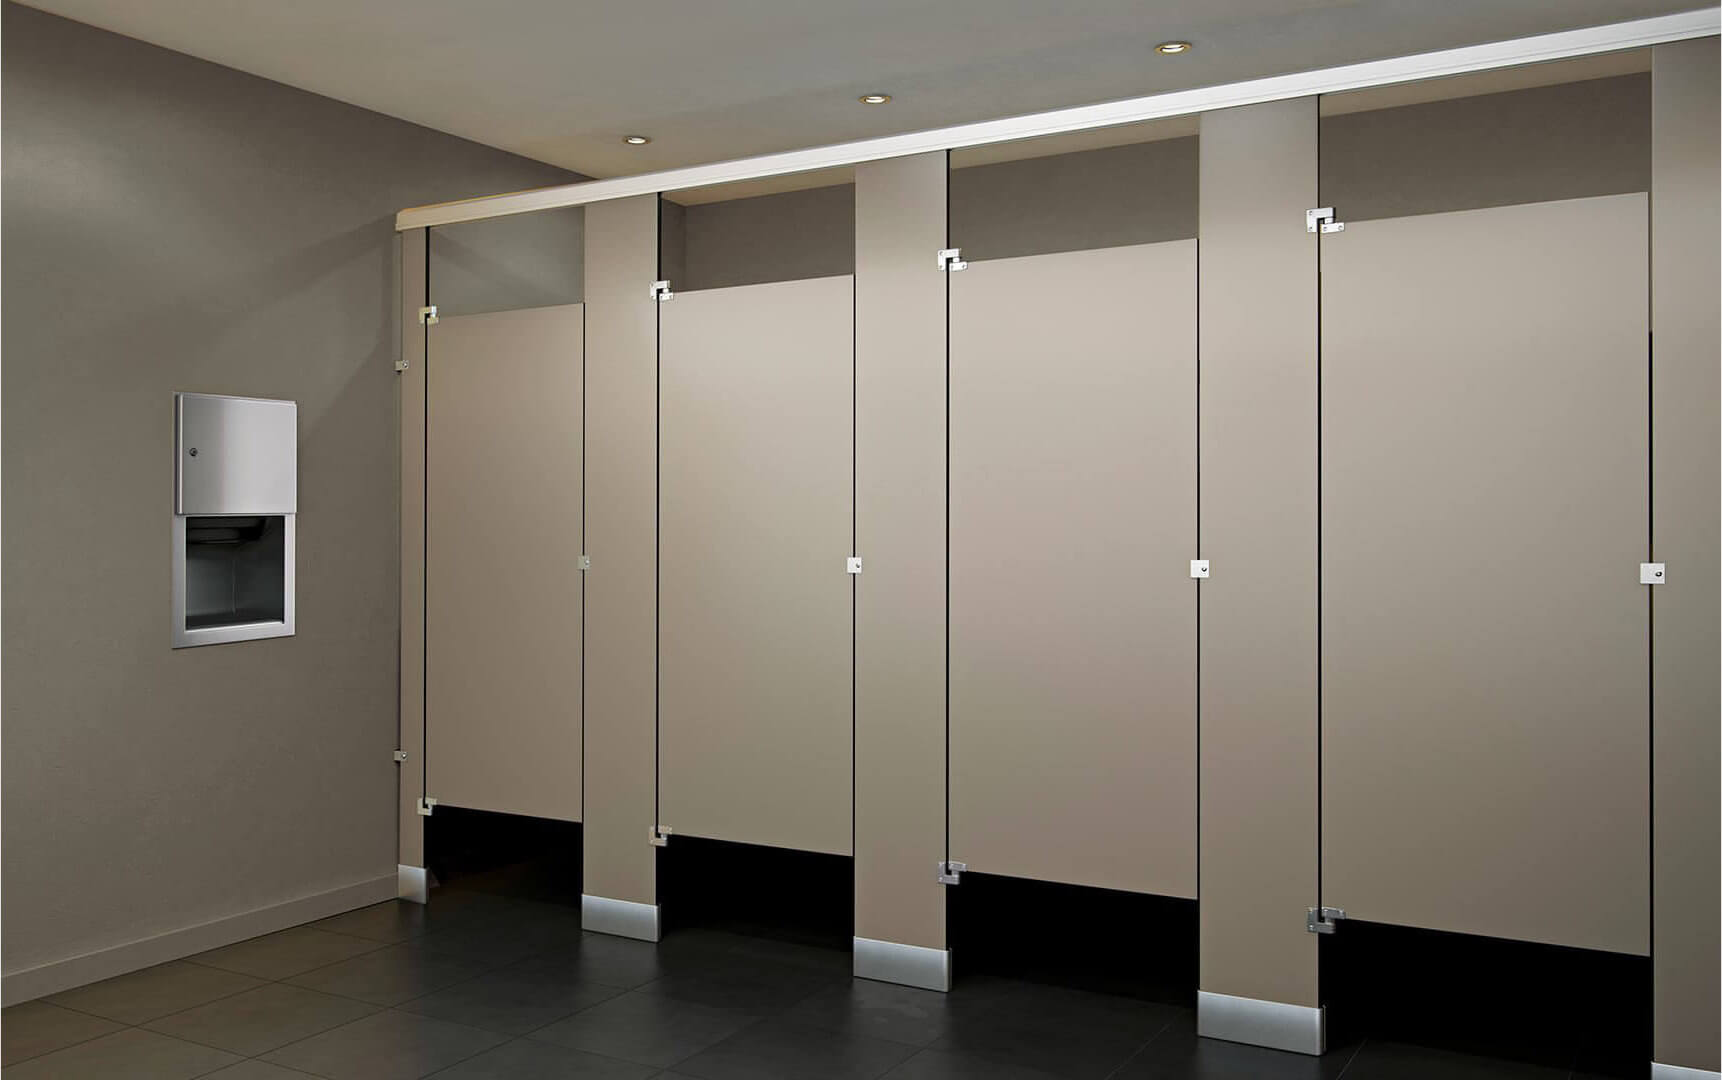
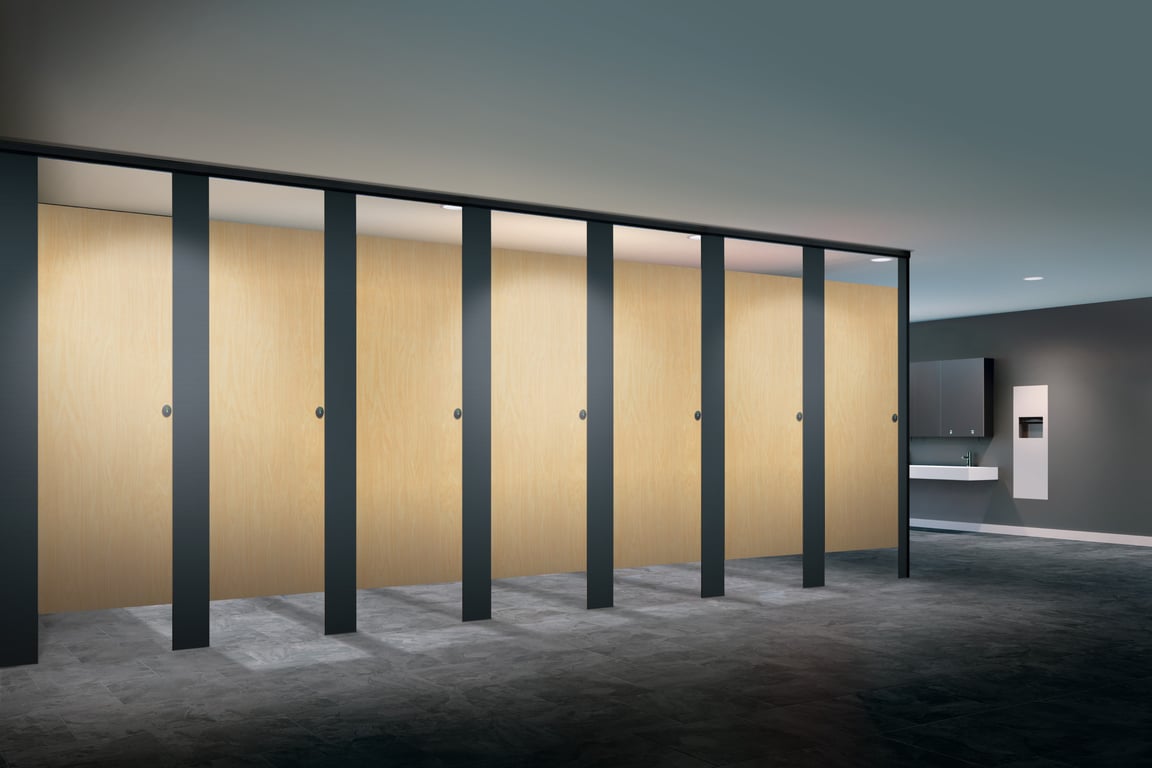
ASI Group bathroom partitions serve as a standard in commercial restroom design, providing durable, code-compliant, and aesthetically versatile solutions for high-traffic environments. Selecting the appropriate system requires an understanding of material performance, privacy requirements, mounting styles, and adherence to accessibility standards mandated for public and private facility construction.
Understanding ASI Group’s Market Position
ASI Group, which includes brands such as Accurate Partitions and Global Partitions, provides an extensive range of toilet partition systems. These products are engineered for longevity, featuring varied material compositions designed to withstand the physical and environmental demands of commercial restrooms. When specifying these partitions, architects and facility managers must evaluate the core material against the facility’s maintenance capabilities, moisture levels, and susceptibility to vandalism.
The primary objective of installing ASI partitions is to create a secure, private, and ADA-compliant environment. Unlike residential bathroom fixtures, commercial partitions must support heavy usage, facilitate rapid cleaning, and withstand chemical cleaners without degrading the core or the finish.
Material Selection and Performance Characteristics
The durability of a bathroom partition is dictated primarily by the material chosen. ASI offers several standard options, each with distinct advantages based on the intended use case.
Powder-Coated Steel
This is the most common and cost-effective option for indoor facilities. It consists of galvanized steel with a powder-coated finish. It offers a wide color palette, making it suitable for design-heavy interiors. However, it is susceptible to rust if the finish is scratched, making it less ideal for high-humidity areas like showers or pools.
Solid Plastic (HDPE)
High-Density Polyethylene (HDPE) is the industry standard for high-traffic and high-humidity environments. It is essentially vandal-resistant, as it is solid throughout, meaning scratches are less visible and the material does not corrode. It is non-porous, making it immune to mold, mildew, and common cleaning chemicals.
Plastic Laminate
Typically used for decorative applications, plastic laminate provides a premium appearance with high-pressure laminate bonded to a particleboard core. While it offers superior aesthetic variety, it is not recommended for wet areas due to the potential for core swelling if moisture penetrates the edge bands.
Stainless Steel
Stainless steel provides a modern, high-end aesthetic often seen in corporate offices and high-end retail. It is highly resistant to corrosion and easy to clean, though it is prone to fingerprints and potential denting if hit with significant force.
Mounting Configurations and Structural Integrity
The installation style determines not only the look of the restroom but also the structural requirements of the floor and ceiling.
- Floor-Anchored: This is the most common installation method, where pilasters are secured directly into the floor. It is stable and straightforward to install, though it requires a concrete floor of sufficient thickness to hold the anchors.
- Ceiling-Hung: By eliminating floor obstructions, this style simplifies floor cleaning and maintenance. However, it requires a reinforced structural ceiling to support the weight of the partitions, which often necessitates extra planning during the construction phase.
- Floor-to-Ceiling: This configuration offers the highest level of stability. Because the pilasters are anchored at both the floor and the ceiling, they are exceptionally rigid and ideal for restrooms subject to heavy physical abuse.
- Floor-Anchored Overhead-Braced: This is the most versatile solution for standard construction. It is highly stable and does not require special ceiling reinforcement, making it a cost-effective choice for retrofits and new builds alike.
Comparison of ASI Partition Materials
| Material | Durability | Best Environment | Maintenance Effort | Cost Level |
|---|---|---|---|---|
| Powder-Coated Steel | Moderate | Office/Retail | Low | $ |
| Solid Plastic | High | Schools/Parks/Pools | Very Low | $$$ |
| Plastic Laminate | Low | Upscale Commercial | Moderate | $$ |
| Stainless Steel | High | Executive/Modern | Low | $$$$ |
Accessibility and ADA Compliance
In 2026, accessibility remains the most critical legal requirement for restroom design. ASI partitions are designed to meet the technical specifications of the Americans with Disabilities Act (ADA) and the ICC A117.1 standard.
Turning Space and Clearance
Accessible stalls must provide adequate maneuvering room. This usually requires a minimum of a 60-inch diameter circular space for a wheelchair to turn. The door opening must be clear and unobstructed, and hardware—such as latches and pulls—must be operable with one hand and require no tight grasping, pinching, or twisting of the wrist.
Grab Bars and Accessories
The partition system must be structurally reinforced to accommodate the installation of grab bars. The location of these bars is strictly regulated, with horizontal positions and heights designed to support weight for individuals transitioning from a wheelchair to the toilet. Ensure that the specified partition manufacturer provides the necessary internal bracing for these accessories, as retrofitting them onto standard panels after installation is often structurally inadequate.
Installation and Maintenance Best Practices
Proper installation is as vital as the quality of the product itself. Misaligned pilasters or improperly leveled doors will lead to premature failure of the hardware and stress on the hinges.
The Installation Sequence
- Site Preparation: Verify that floor surfaces are level. If the floor is sloped for drainage, special shims or custom-height pilasters must be ordered.
- Layout and Marking: Use a laser level to establish exact points for wall brackets and pilaster anchors.
- Hardware Check: Ensure that all provided hardware (brackets, hinges, and latches) is accounted for. ASI products often feature tamper-resistant fasteners that require specific tools for installation and future maintenance.
- Final Alignment: Once the panels are hung, adjust the hinges to ensure doors remain in the desired position (often set to rest slightly open or closed).
Routine Maintenance
To extend the life of ASI partitions, establish a consistent cleaning schedule. For powder-coated and stainless steel surfaces, avoid abrasive scouring pads that can scratch the protective finish. For solid plastic, pressure washing is often an option, though detergents should remain within the pH range recommended by the manufacturer to prevent surface dulling.
Common Specification Mistakes
Architects and facility managers frequently encounter issues due to oversight during the procurement stage. One common error is failing to account for the thickness of the material when calculating the total width of a row of stalls. A change from powder-coated steel (typically 1 inch) to solid plastic (often 1 inch or 1.25 inches) can impact the cumulative layout of a row of stalls, potentially resulting in a final stall that does not fit the allotted space.
Another frequent oversight is neglecting the "privacy" requirement. In 2026, there is a strong trend toward "no-sightline" privacy partitions. These systems feature rebates or overlapping edges that eliminate the gaps between doors and pilasters. If your project requirements specify maximum privacy, ensure the specific ASI product line selected supports these extended edge features.
Addressing Frequent Challenges
How do I handle a restroom with uneven flooring?
For floors that are not perfectly level, floor-anchored or floor-to-ceiling partitions can be problematic. The best solution is to request custom pilaster lengths during the initial order. Attempting to compensate with large shims at the base is structurally unsound and often fails to pass local building inspections.
Can I repair a dented powder-coated steel panel?
Once the protective powder coating is compromised, the steel is exposed to oxidation. While touch-up paint kits are available, a deep dent that breaches the metal often requires a panel replacement. For areas prone to high impact, consider replacing damaged steel panels with solid plastic to prevent recurring maintenance issues.
What should I look for in partition hardware?
Prioritize stainless steel or high-strength zinc die-cast hardware. Avoid plastic hinges if possible, as they are the first point of failure in high-traffic settings. Ensure the latch mechanism provides a clear "Occupied/Vacant" indicator to reduce unnecessary force on the door by users testing the latch.
FAQs
Are ASI bathroom partitions compatible with other manufacturers’ hardware?
While some components may be interchangeable, it is highly recommended to use the hardware supplied by the manufacturer for the specific partition line. Mixing hardware can void the warranty and lead to improper load distribution on the hinges.
What is the standard height for an ASI toilet partition?
The standard height is typically 58 inches for the door and panel, with a 12-inch floor clearance, totaling 70 inches. However, "privacy height" options are available that reach 72 inches or more, extending closer to the floor and ceiling for maximum visual privacy.
Do I need special structural support in the ceiling for ceiling-hung partitions?
Yes. Ceiling-hung partitions require heavy-duty structural steel channels embedded in the ceiling to carry the load of the pilasters. This must be coordinated with the structural engineer during the design phase of the building.
How do I address vandalism in public restrooms?
For areas with a high risk of vandalism, specify solid plastic (HDPE) partitions with tamper-proof, stainless steel hardware. These materials are difficult to mark permanently and are resistant to damage from heavy impacts or attempts to pry panels apart.
Next Steps for Project Implementation
Before purchasing, compile a complete set of field dimensions for your restroom space. Note the location of all plumbing fixtures, existing wall materials, and door swings. Consult the specific technical data sheets provided by the ASI Group for the product line you are considering to ensure the wall-bracket mounting requirements match your substrate (e.g., masonry vs. drywall with wood blocking). Always confirm your layout against local building codes regarding stall depth and ADA-compliant maneuverability to avoid costly adjustments after delivery.