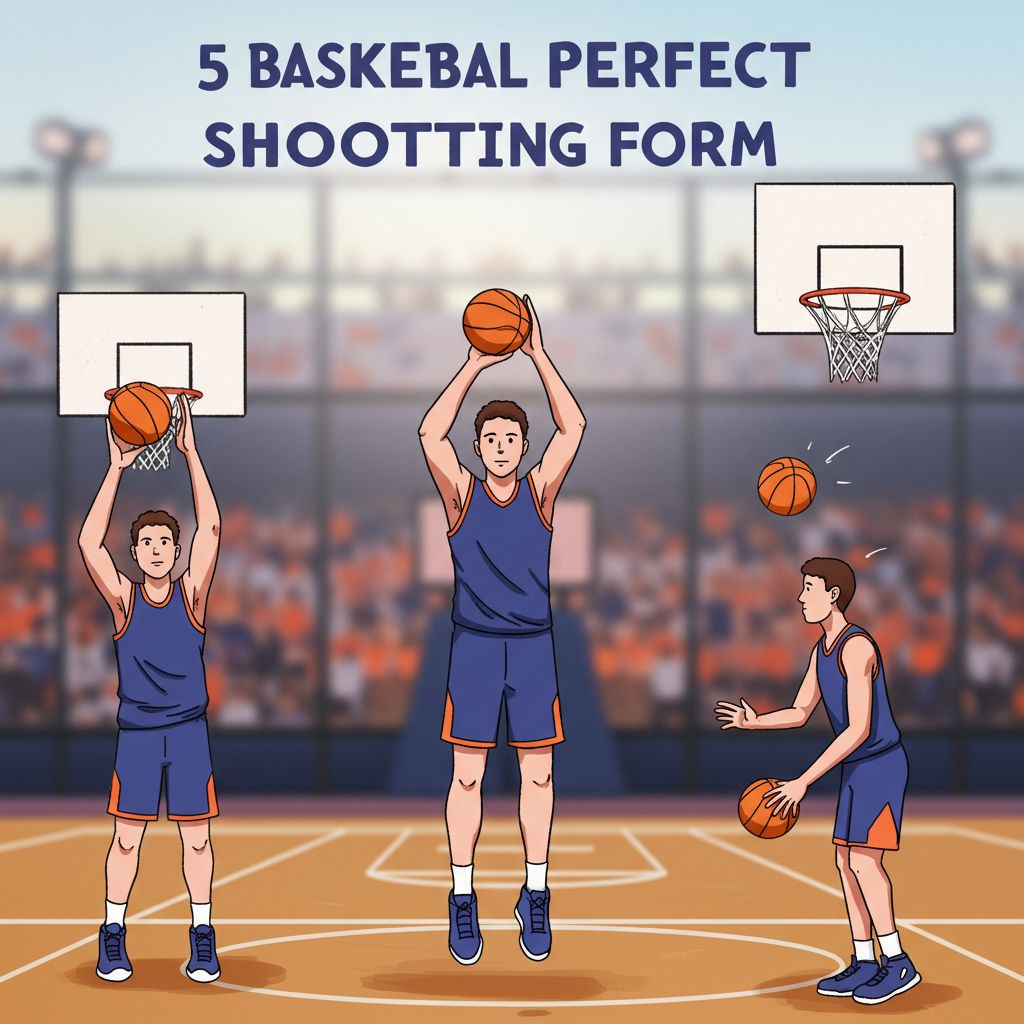
To master advanced basketball shooting, you must evolve beyond basic form and focus on the optimization of the kinetic chain, fluid energy transfer, and high-level neurological processing. This involves mastering the "shot dip" for rhythm, optimizing arc physics for a larger margin of error, and utilizing specialized footwork to maintain balance under defensive pressure.
In the modern basketball landscape of 2026, the distinction between a good shooter and an elite one is no longer just about the number of repetitions. It is about the scientific application of biomechanics and the psychological ability to perform under extreme cognitive load. While foundational concepts like "BEEF" (Balance, Eyes, Elbow, Follow-through) provide a starting point for beginners, they often fail to account for the dynamic, high-speed nature of competitive play.
The following seven tips delve into the technical nuances used by professional players to achieve consistent, high-percentage shooting from any point on the court.
1. Master the Kinetic Chain and the "One-Motion" Flow
The most significant difference between traditional shooting instruction and elite modern shooting is the transition from a "two-motion" shot to a "one-motion" flow. A two-motion shot involves a distinct pause at the set point (often seen in mid-range specialists), whereas a one-motion shot utilizes a continuous upward path from the start of the shot to the release.
To optimize the kinetic chain, you must focus on the sequencing of energy. The power for a jump shot starts in the balls of your feet, travels through your calves, into your quads, and is transferred through the core into the upper body. If there is a hitch or a pause in this movement, the energy is "leaked," forcing the shooter to rely on their arms and shoulders to generate force. This results in inconsistency, especially from the three-point line.
In 2026, trainers emphasize the "Dip." Contrary to old-school coaching that taught players to catch the ball high and keep it high, elite shooters dip the ball to their waist or thigh area upon the catch. This dip acts as a mechanical "timing mechanism," synchronizing the extension of the legs with the lift of the ball. By mastering the dip, you create a rhythmic, effortless release that remains stable even when you are fatigued late in the fourth quarter.
2. Optimize the Arc and the Physics of "Soft" Rotation
The physics of a basketball shot are unforgiving. A ball thrown at a flat trajectory has a much smaller "target window" than a ball with a higher arc. When a ball enters the rim at a 30-degree angle, the rim's 18-inch diameter effectively shrinks to less than 10 inches relative to the ball's path. However, at a 45-to-50-degree angle, the rim appears much larger to the ball.
Advanced shooters aim for an entry angle between 45 and 52 degrees. To achieve this consistently, you must focus on the "release height" and the "follow-through peak." Your elbow should finish above your eye line. If your elbow finishes level with your forehead, your shot will likely be flat.
Furthermore, the quality of the backspin (rotation) is critical. Backspin is not just for aesthetics; it utilizes the Magnus Effect to stabilize the ball's flight path against air resistance. More importantly, a ball with high-RPM backspin loses energy upon contact with the rim or backboard, making it more likely to "crawl" into the net rather than bouncing out. To improve this, focus on the "flick" of the wrist, ensuring the ball rolls off the pads of your index or middle finger last.
3. Implement the "Sway" for Shoulder Tension Relief
Traditional coaching often demands that shooters jump and land in the exact same spot, keeping their bodies perfectly vertical. However, biomechanical analysis of the world's greatest shooters shows that many utilize a forward "sway."
The sway occurs when a shooter’s feet sweep forward during the jump, causing the shoulders to tilt slightly backward. This is not a "fadeaway"; it is a natural release of tension. By allowing the feet to move forward, you align your hips and shoulders in a way that removes strain from the deltoid and rotator cuff. This alignment creates a much more relaxed and repeatable "shooting pocket."
When practicing the sway, do not force the movement. Instead, focus on being relaxed in the air. If you are jumping for a long-distance shot, your feet should naturally land 6 to 12 inches in front of where you took off. This forward momentum assists in the power generation for the shot while keeping your shooting arm on a straight, vertical plane.
4. Refine Release Finger Dominance
Most players are never taught which finger should be the final point of contact with the ball. This is a crucial "advanced" detail. There are generally two elite release styles:
- The Index Finger Release: The index finger is centered on the ball, providing maximum directional control.
- The Split Release: The ball leaves the index and middle fingers simultaneously (the "V" shape).
In 2026, advanced shooting coaches often suggest the Index Finger Release for players struggling with a "left-right" miss. Because the index finger is the strongest and most dexterous, using it as the final touchpoint creates a more centered axis of rotation.
To test this, practice "form shooting" just two feet from the basket. Observe which finger the ball rolls off of. If your shot consistently misses to the left or right, you are likely having "finger interference" from your ring finger or a "thumb flick" from your guide hand. Your guide hand should stay completely passive, acting only as a stabilizer until the moment of release.
5. Master the "Negative Step" and Footwork Versatility
Elite shooting isn't just about what you do with your hands; it’s about how you get into your shot. While the "1-2 step" is the standard, advanced players must master the "Negative Step" (or replacement step) to create space.
The negative step involves a quick, subtle step backward or laterally right before the shooting motion begins. This allows a shooter to "load" their hips while moving away from a defender. Additionally, you should master the "Hop" vs. "1-2" distinction.
- The Hop: Both feet land simultaneously. This is faster and allows for a quicker release on catch-and-shoot opportunities.
- The 1-2 Step: Provides better balance and is often preferred for shooting off the dribble or coming off screens.
Comparison of Footwork Techniques
| Technique | Primary Benefit | Best Usage | Difficulty Level |
|---|---|---|---|
| 1-2 Step | Stability & Power | Off-dribble, Mid-range | Intermediate |
| The Hop | Release Speed | Catch-and-Shoot, 3-pointers | Advanced |
| Negative Step | Space Creation | Creating separation from defenders | Elite |
| Turn/Sway | Tension Relief | Long-distance shooting | Advanced |
6. Target Acquisition and Eye Discipline
Where should you look when shooting? While "look at the rim" is common advice, advanced shooters utilize specific target acquisition points. Instead of looking at the entire hoop, aim for the "back iron" or the specific "loops" of the net on the front of the rim.
The timing of target acquisition is even more important. Many shooters "track" the ball with their eyes after it leaves their hand. Elite shooters keep their eyes locked on the target until the ball goes through the net. This is known as eye discipline.
Furthermore, you must practice "Late Target Acquisition." In game situations, you won't always be looking at the rim when you catch the ball. Drills should involve turning your head and finding the rim at the last possible microsecond before the release. This trains the brain to calculate distance and trajectory instantly, a skill essential for shooting off movement.
7. Training Under Cognitive Load and Variable Practice
The final tip for advanced shooting is changing how you practice. Most players perform "blocked practice"—shooting 50 shots from the same spot. While this builds "form," it does not build "skill" that transfers to a game.
To reach an elite level in 2026, you must utilize Variable Practice and Cognitive Load.
- Variable Practice: Never take the same shot twice in a row. Change the distance, the angle, and the footwork for every single repetition. This forces the brain to "re-map" the shot every time, leading to deeper motor learning.
- Cognitive Load: Add a mental task to your shooting drills. For example, have a partner hold up numbers that you must call out, or perform mental math while shooting.
By adding these "distractions," you simulate the chaotic environment of a real game. If you can maintain your shooting mechanics while your brain is busy processing other information, your shot will be "bulletproof" during high-pressure moments in a match.
Frequently Asked Questions
Is "the dip" bad for a quick release?
Contrary to older coaching philosophies, dipping the ball does not necessarily slow down your shot; it actually makes it more powerful and rhythmic. For most elite shooters, the dip happens simultaneously with the knee bend. Because the ball and the body move together, the overall "release time" is often faster than a player who catches the ball high but has to "reset" their feet to find power.
How do I stop my guide hand thumb from interfering with my shot?
The "thumb flick" is a common problem where the guide hand thumb pushes the ball, adding side-spin and causing left-right misses. To fix this, practice shooting one-handed "form shots" to build strength. When you add the guide hand back, focus on keeping the guide hand palm flat and the thumb tucked away from the ball. Some players find success by literally keeping their guide hand thumb tucked against their index finger during practice.
What is the ideal amount of backspin (RPM) on a shot?
While there isn't a single "perfect" number, sports science data suggests that elite shooters produce between 2 and 3 complete rotations of the ball before it reaches the rim. This equates to roughly 120–150 RPM. If the ball is "knuckling" (no spin), it is usually due to a "flat" hand release where the fingers aren't snapping downward.
Should I always square my feet to the basket?
No. Many of the greatest shooters in history, including those in 2026, use a "ten-to-two" stance or a slight "tilt." For a right-handed shooter, this means the feet are aimed slightly to the left (toward 10 or 11 o'clock on a clock face). This tilt aligns the shooting shoulder, elbow, and hip with the basket, reducing the amount of "internal rotation" required in the shoulder and making the shot path more natural.
How much arc is "too much"?
While a high arc increases the effective size of the rim, an excessively high arc (above 55 degrees) becomes difficult to control. The higher the ball goes, the more sensitive it becomes to slight errors in release power and wind (if outdoors). The "sweet spot" remains 45 to 52 degrees. If you find your shots hitting the front of the rim frequently, increase your arc; if they are "long" and "flat," you need more lift.
Practical Recommendation for Next Actions
To implement these advanced tips, do not attempt to change everything at once. Start by recording yourself from the side and the front to establish a baseline. Focus first on the Kinetic Chain (Tip 1) and the Arc (Tip 2), as these provide the foundation for power and accuracy.
Once your energy transfer is fluid, introduce Variable Practice (Tip 7) into your daily routine. Instead of stationary shooting, move to "game-speed" drills that require you to find your footwork and target quickly. Consistency at the elite level is built through the marriage of sound biomechanics and the ability to execute those mechanics under the physical and mental stress of live competition.