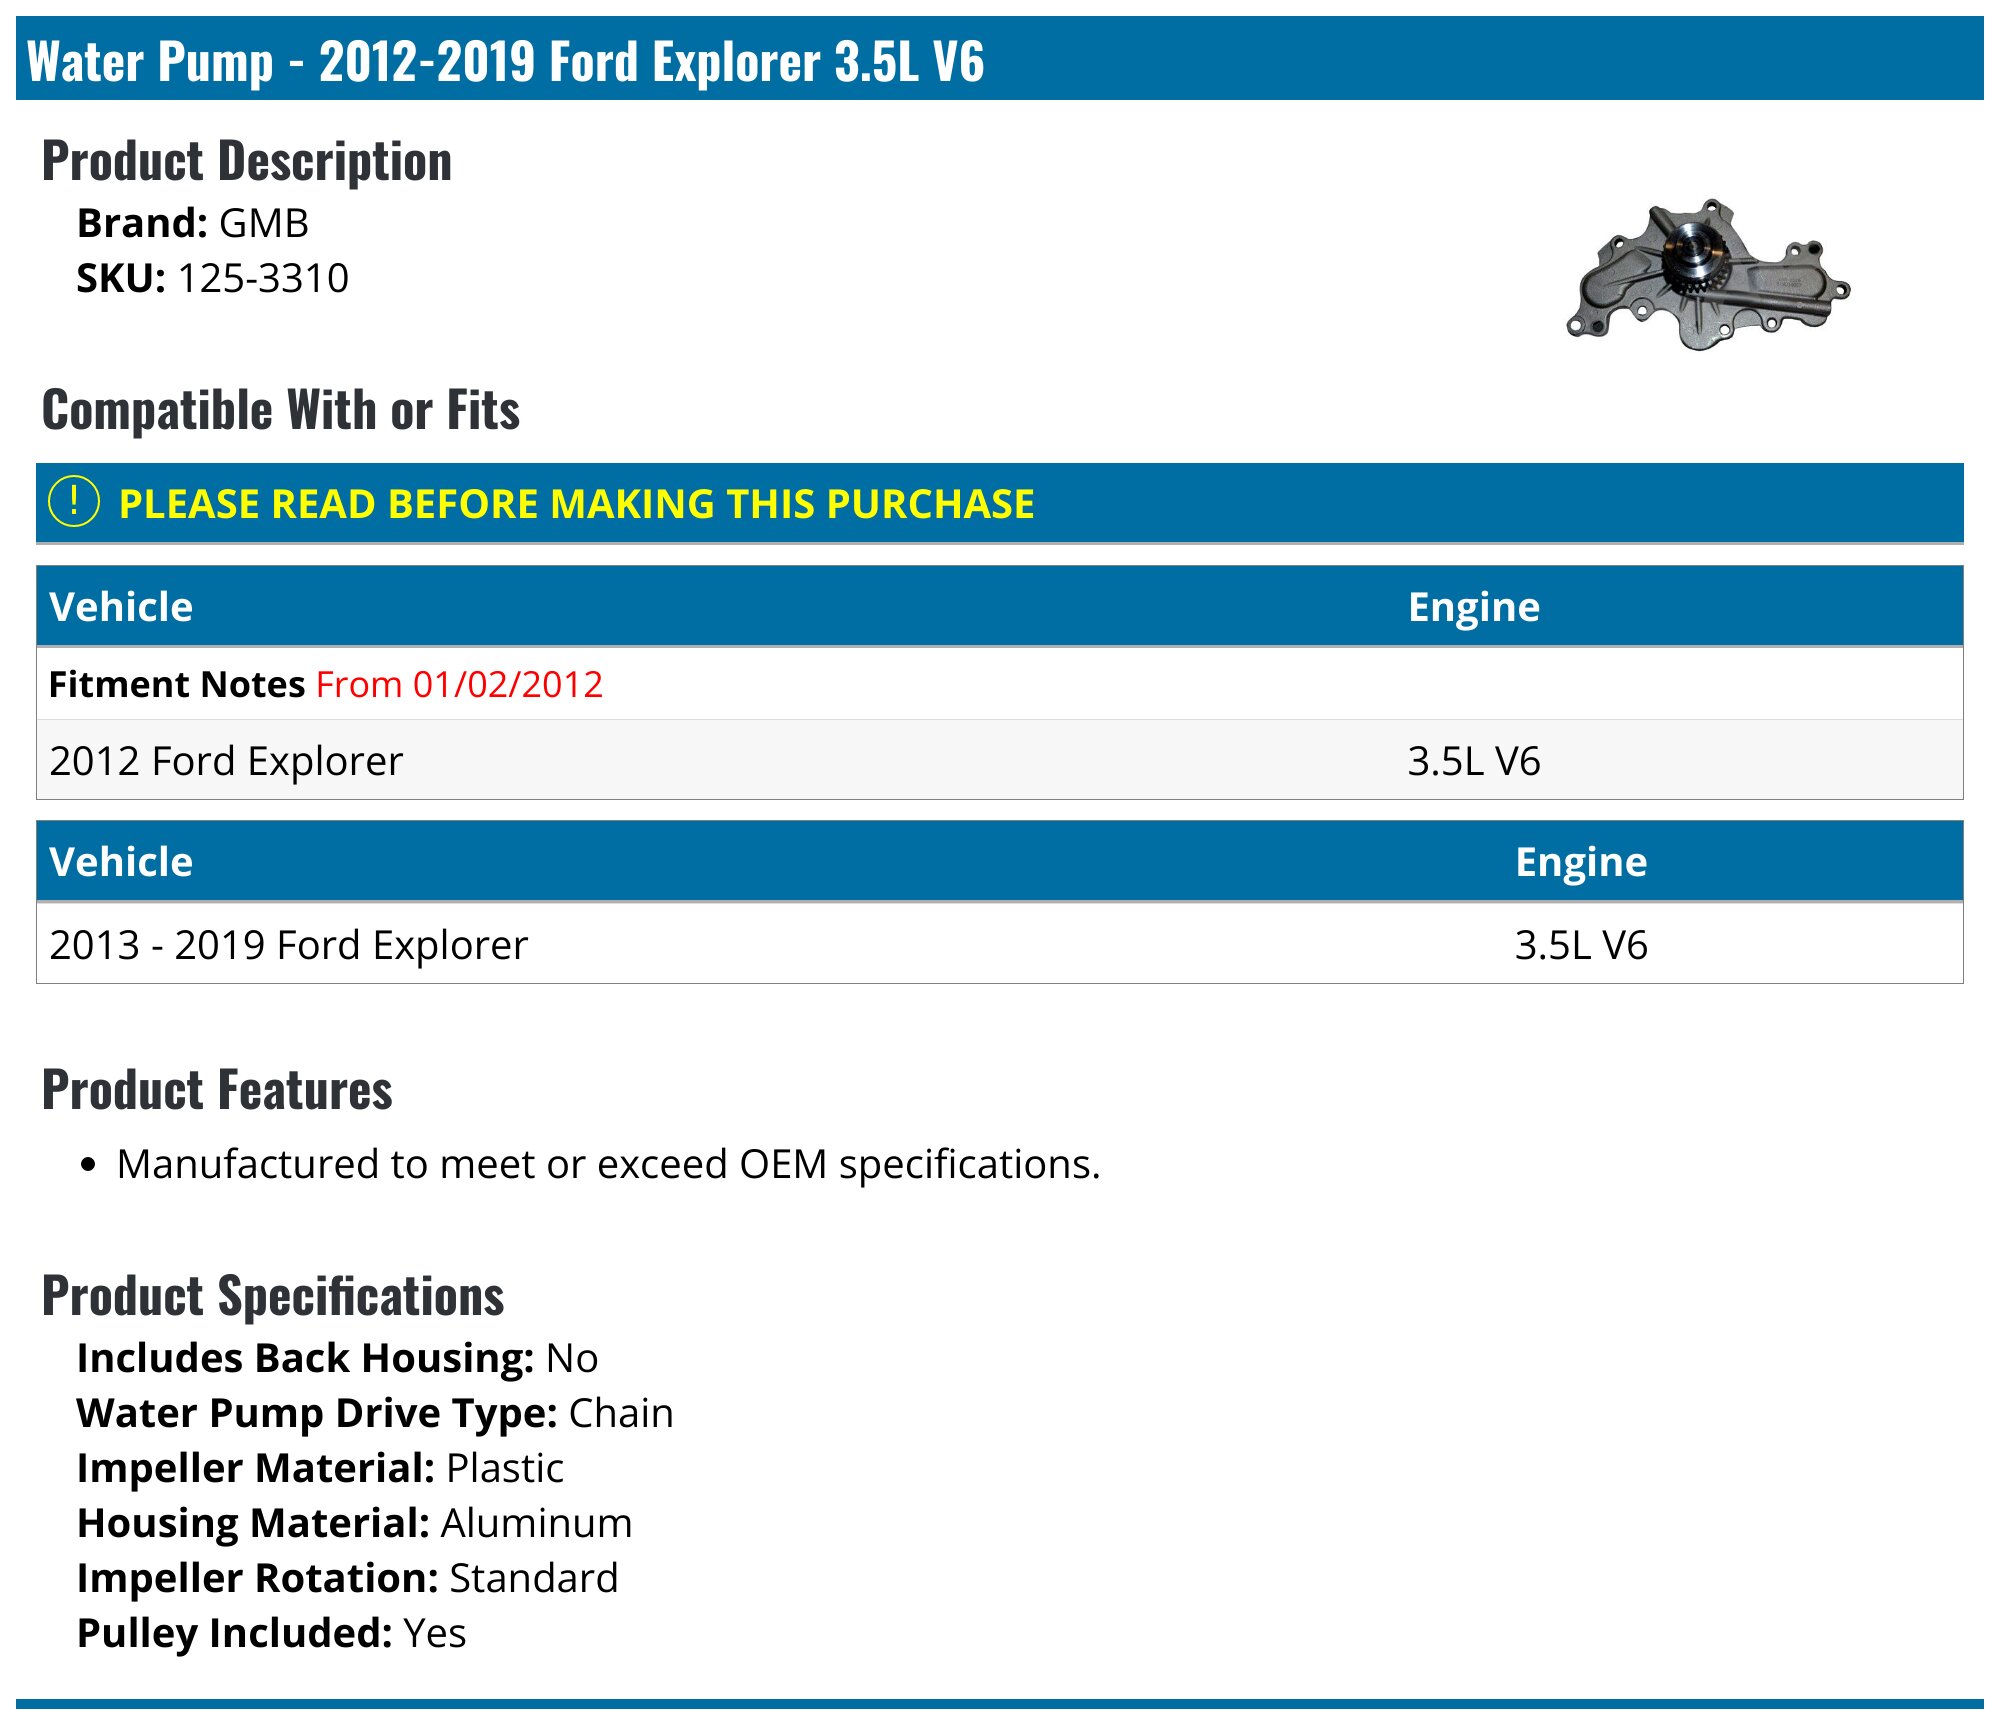
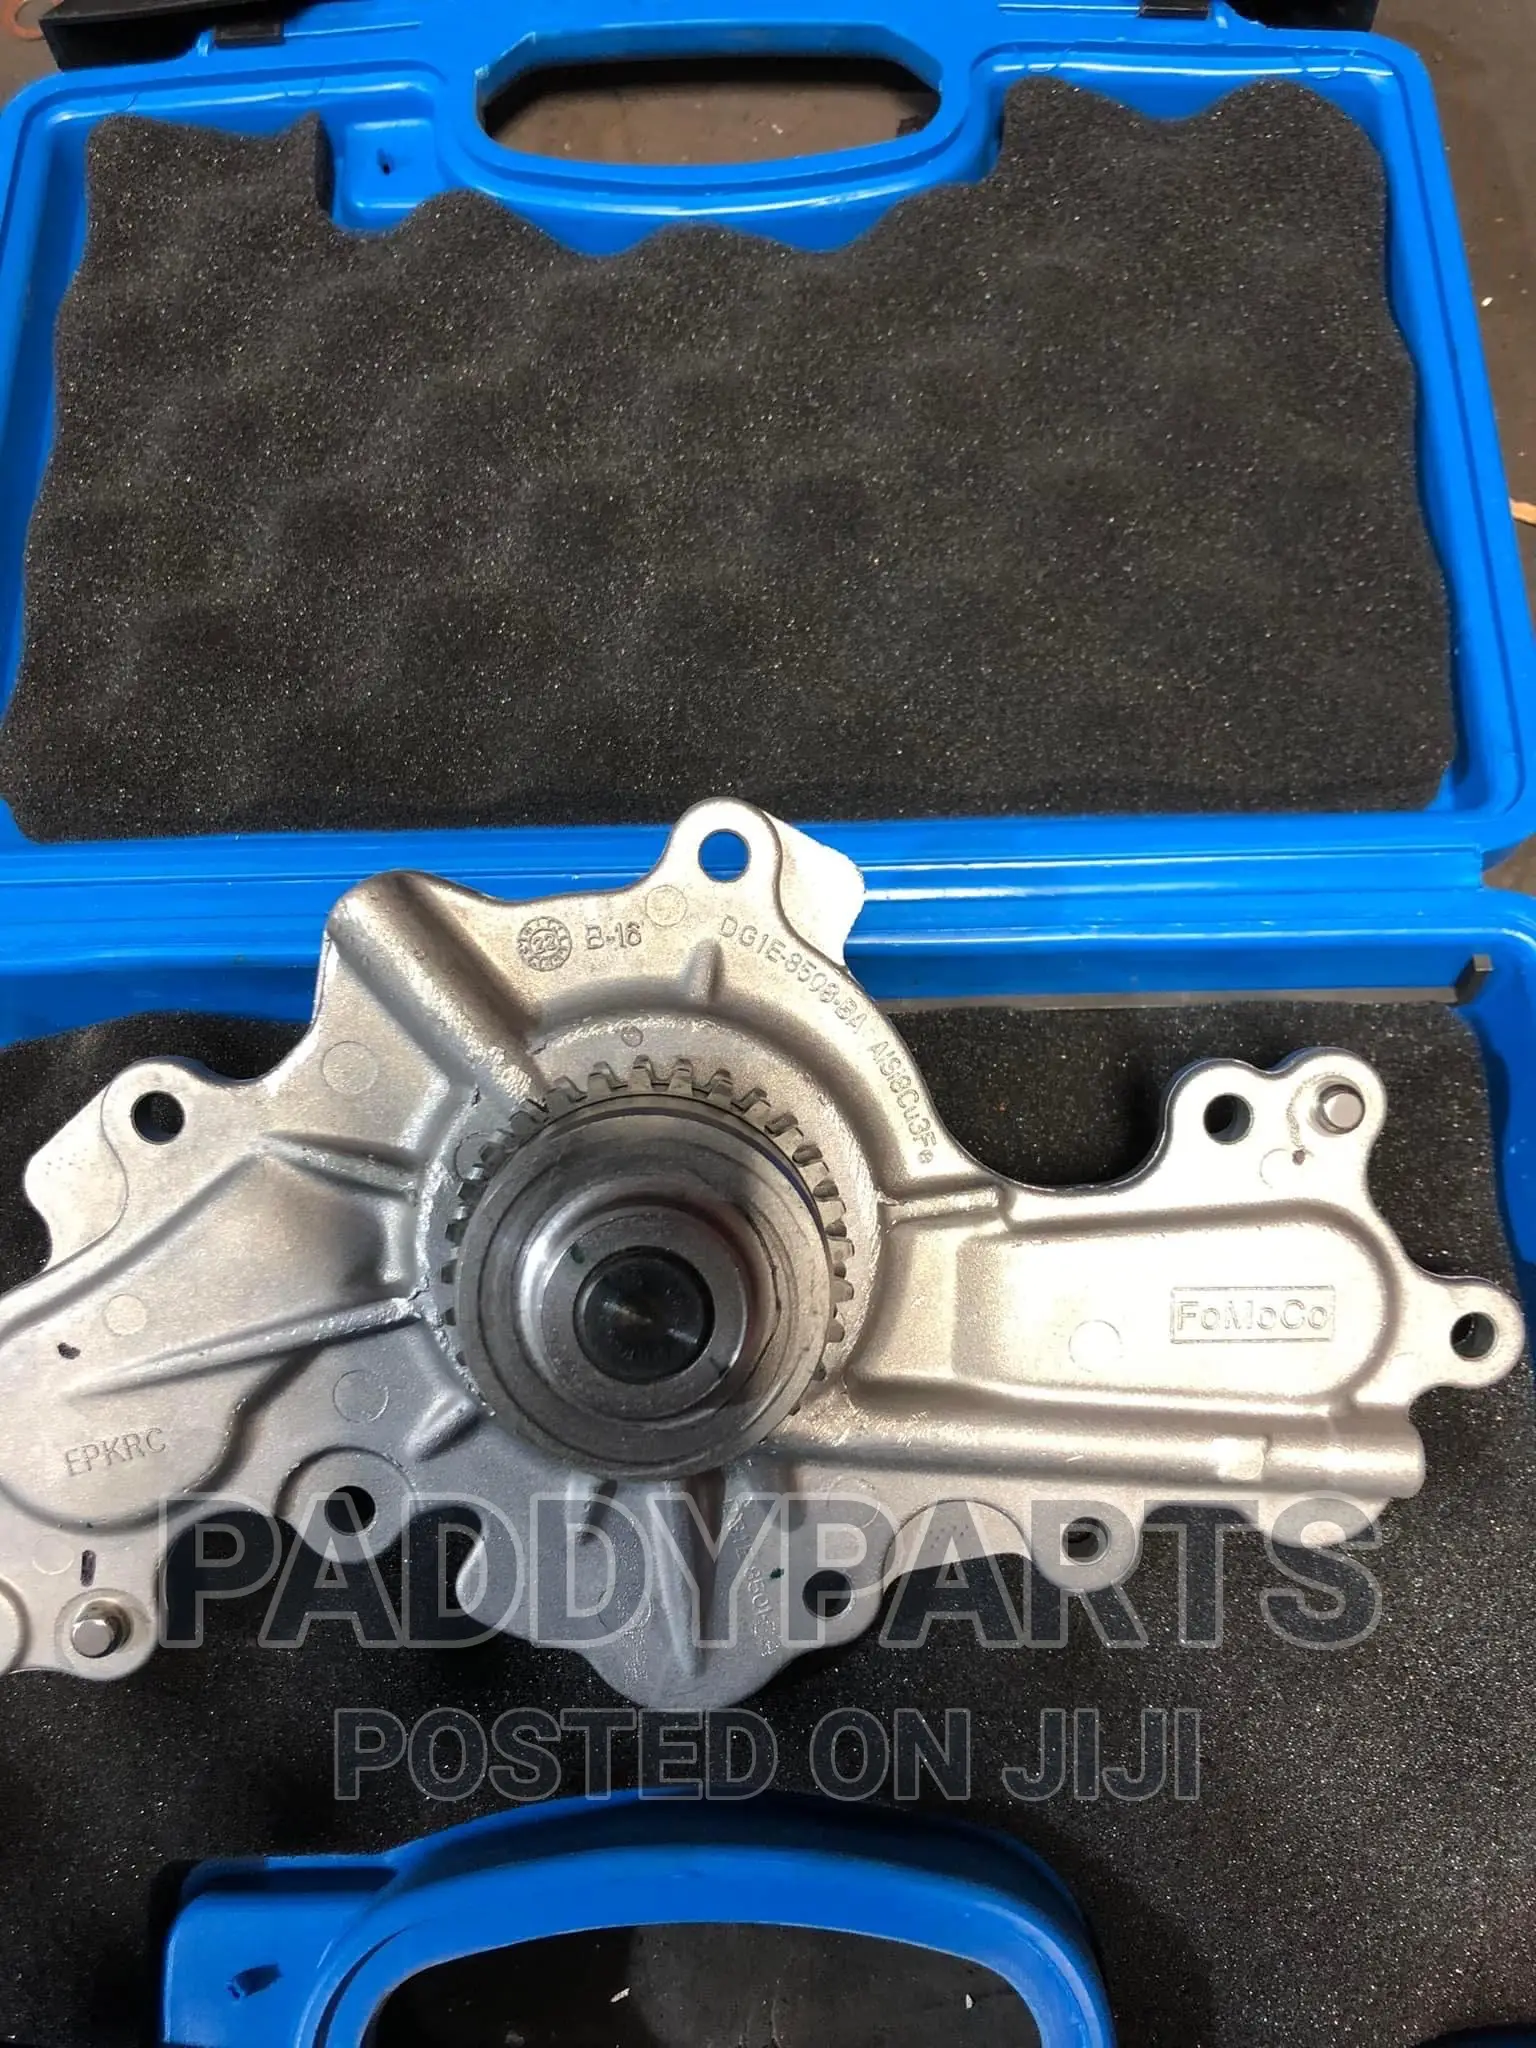
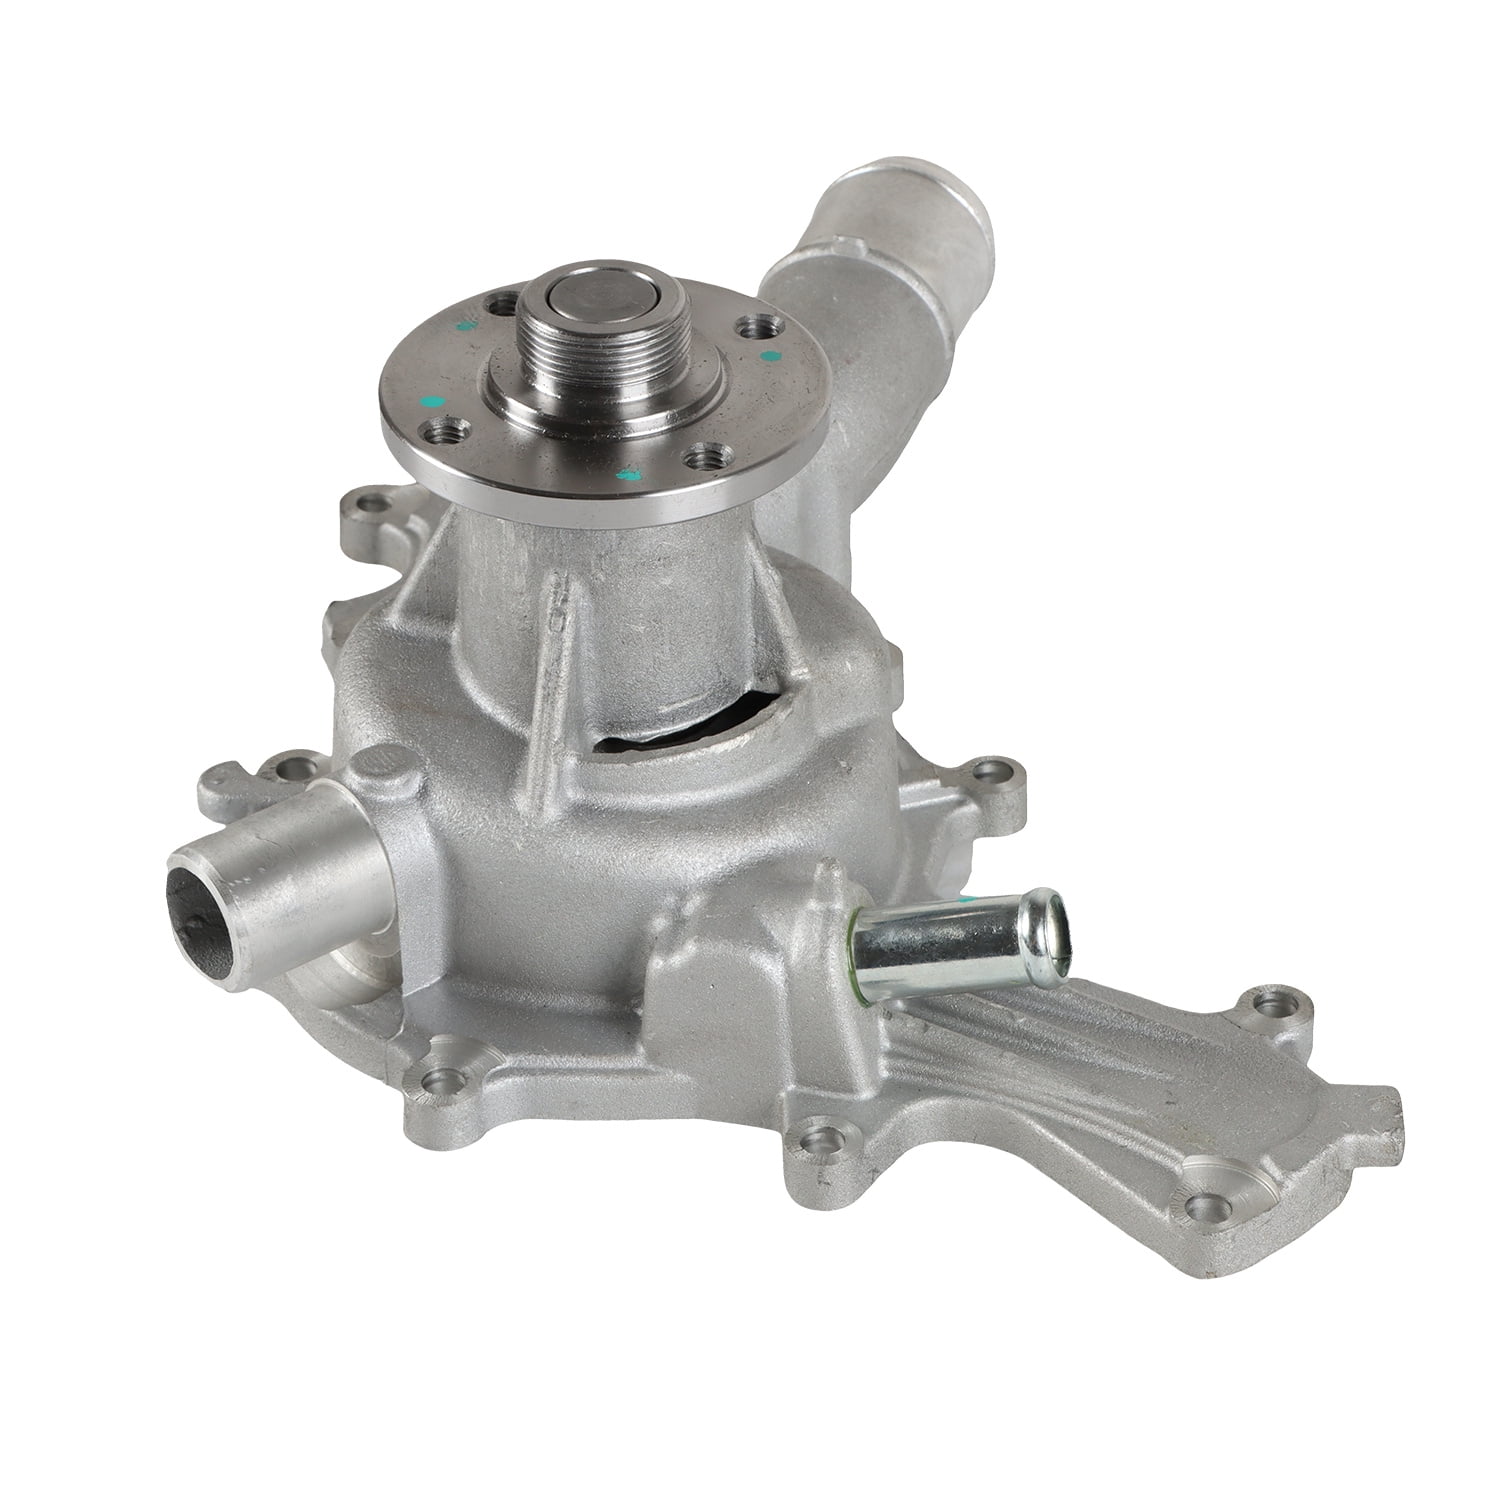
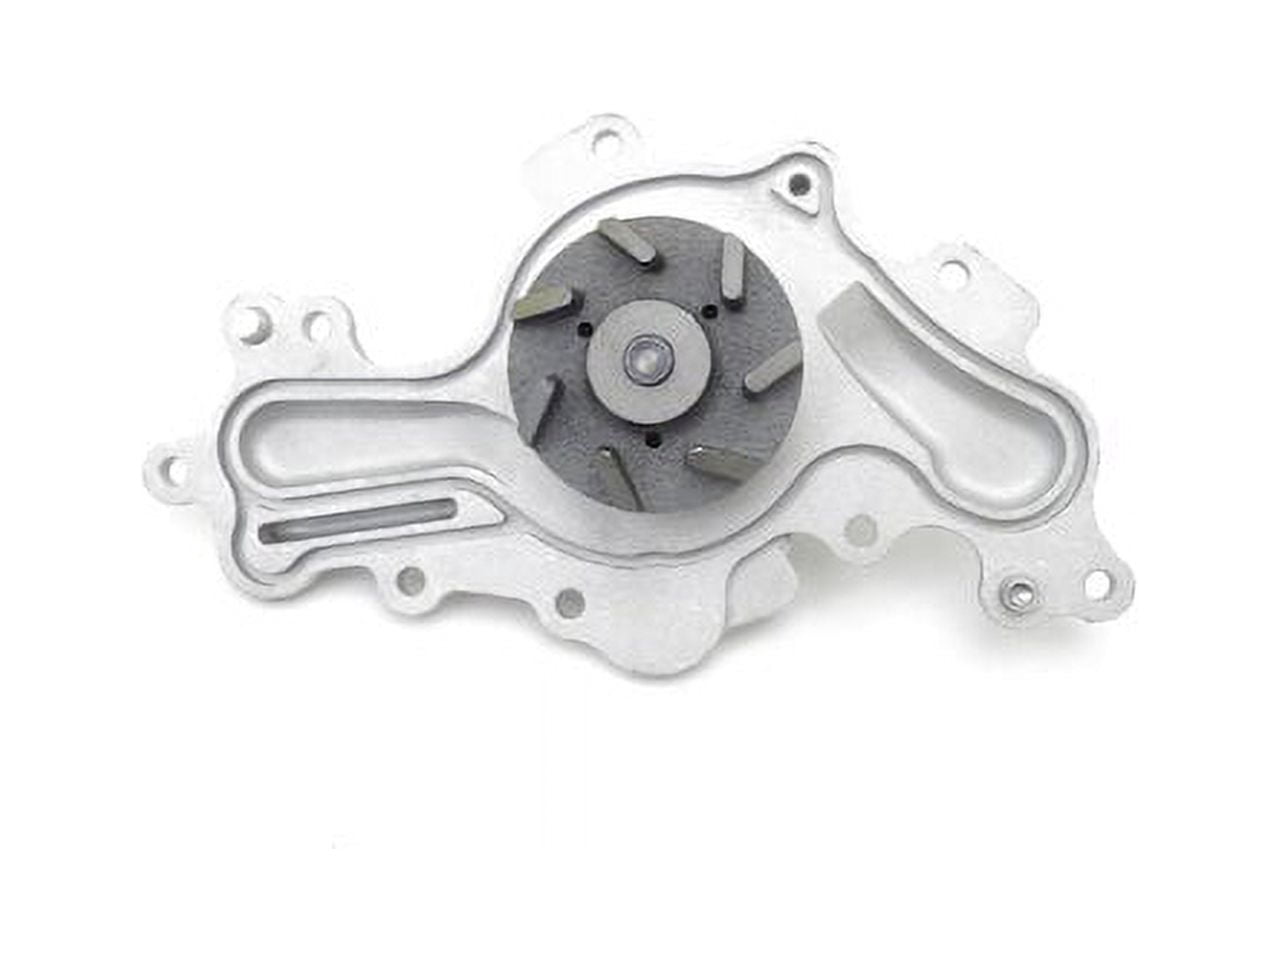
Replacing a water pump on a 2014 Ford Explorer is one of the most challenging and labor-intensive maintenance tasks an owner or technician can face for this vehicle generation. Unlike traditional engine designs where the water pump is mounted externally and driven by the accessory serpentine belt, the 3.5L V6 engine (both naturally aspirated and EcoBoost variants) utilizes an internal, chain-driven water pump design. Because the pump is housed inside the timing chain cover, replacing a failed unit requires dismantling a significant portion of the engine bay, creating high labor costs and complex mechanical hurdles.
Understanding the mechanics, failure signs, diagnostic procedures, replacement steps, and cost considerations is essential for anyone tackling this project. This comprehensive guide outlines everything you need to know about navigating a 2014 Ford Explorer water pump replacement.
Understanding the Engine Architecture and the Internal Water Pump Design
To appreciate why a water pump replacement on a 2014 Ford Explorer is such a major undertaking, one must first understand the layout of the 3.5L Cyclone V6 engine. Ford engineered this engine family with a water pump located deep within the front engine cover.
Why Is It Internal?
In modern automotive engineering, packaging constraints under the hood often force designers to make compromises. By integrating the water pump into the block and driving it via the internal timing chain, manufacturers can achieve a more compact engine footprint. Furthermore, internal placement allows for direct coolant routing and eliminates an external pulley, which some engineers argue reduces accessory drive strain.
The Critical Design Flaw: Coolant Contamination
While the internal design saves space, it introduces a severe catastrophic risk: internal coolant leaks.
The water pump relies on a mechanical seal and a bearing shaft to keep coolant separate from engine oil. Over time, heat cycles, cavitation, and normal wear cause this seal to degrade. When an external water pump fails, it typically leaks onto the ground through a weep hole. When the 2014 Ford Explorer water pump fails internally, the leaking coolant has nowhere to go except directly past the shaft seals and into the crankcase, where it mixes with the engine oil.
Coolant is hostile to engine bearings, piston rings, and camshaft journals. It strips away lubrication and turns engine oil into a milky, abrasive sludge. If a failing water pump goes unnoticed for even a short period, the resulting oil contamination can destroy the engine's main bearings, requiring a complete engine replacement or rebuild rather than just a simple pump swap.
Recognizing the Warning Signs of Water Pump Failure
Catching a failing water pump early can mean the difference between a routine (albeit difficult) repair and total engine failure. Owners should be vigilant for several distinct symptoms.
1. The Weep Hole Drain (External Leak)
Before a total internal failure occurs, the pump may begin leaking out of its external weep hole, which is located behind the timing cover. While you cannot see the weep hole directly without a borescope or mirror, you might notice small puddles of coolant pooling underneath the passenger side of the vehicle, near the front wheel well. Never ignore mystery coolant loss.
2. Milky Engine Oil
One of the most reliable indicators of a failing internal water pump is contaminated engine oil. During routine oil changes, or if you pull the oil dipstick and notice that the oil looks frothy, light brown, or resembles a milkshake, stop driving immediately. This color change occurs when glycol-based coolant mixes with petroleum-based engine oil.
3. Coolant Level Drops Without Visible Leaks
If you find yourself constantly topping off your coolant reservoir but never see puddles on your driveway or white smoke from the exhaust, the coolant is likely burning off slowly or leaking directly into the oil pan. Check your oil level; if it is abnormally high, coolant is diluting the crankcase.
4. Engine Overheating
As the water pump impeller erodes or the internal seals seize, coolant flow through the block and radiator drops drastically. This restriction leads to rapid engine overheating. Continuing to drive an overheating 2014 Ford Explorer will warp aluminum cylinder heads and blow head gaskets.
5. Unusual Noise from the Timing Cover
A failing water pump bearing can produce a distinct whining, grinding, or growling noise originating from the passenger-side front of the engine. This noise typically changes pitch with engine RPM as the timing chain spins the failing pulley shaft.
2014 Ford Explorer Water Pump Replacement Comparison
| Feature / Aspect | Naturally Aspirated 3.5L V6 | 3.5L EcoBoost V6 (Turbo) |
|---|---|---|
| Engine Layout | Standard V6 configuration | Twin-turbocharged V6 configuration |
| Access Difficulty | High (Tight engine bay clearance) | Extreme (Intercooler piping, turbos, and downpipes obstruct workspace) |
| Estimated Shop Labor Time | 8 to 11 hours | 10 to 14 hours |
| Average Repair Cost (Shop) | $1,500 – $2,500 | $2,000 – $3,500+ |
| Secondary Risks | Timing chain stretch, oil contamination | Timing chain stretch, oil contamination, turbo oil line wear |
Preparation and Safety Prerequisites
Before diving into a DIY replacement or dropping your vehicle off at a repair shop, you must prepare for the scope of the project. This is not a weekend driveway project for novice mechanics; it requires professional-grade tools, engine support fixtures, and advanced mechanical competence.
Required Tools and Equipment
- Engine Support Bar: Because the engine mounts and timing cover must be removed, the engine must be suspended securely from above.
- Timing Chain Locking Tools: Essential for holding the camshafts and crankshaft in exact alignment when removing the timing chains and tensioners. Allowing the cams to snap out of position will cause valve-to-piston contact.
- Socket Set, Breaker Bars, and Torque Wrenches: A comprehensive metric socket set ranging from deep wells to Torx and E-Torx bits.
- High-Quality RTV Silicone / Gasket Maker: Used to seal the timing cover back against the engine block.
- Fresh Fluids: Brand new engine oil, oil filter, and Ford-specification coolant (Motorcraft Specialty Orange or compatible DEX-COOL type depending on service history).
- Drain Pans, Shop Rags, and Brake Cleaner: For cleaning mating surfaces and catching fluids.
Safety Precautions
- Relieve Pressure: Never open the cooling system while the engine is hot. Scalding coolant can cause severe burns.
- Disconnect the Battery: Prevent accidental starter engagement or electrical shorts while working around accessory wiring and the alternator.
- Ventilation: Ensure you are working in a well-ventilated area when dealing with chemical cleaners and draining coolant.
Step-by-Step Replacement Procedure Overview
While every repair manual provides specific torque specs and bolt patterns, the general workflow for replacing a 2014 Ford Explorer water pump follows a strict sequence.
Step 1: Disassembly and Fluid Draining
- Disconnect the negative battery terminal.
- Drain the engine coolant completely via the radiator petcock.
- Drain the engine oil and remove the oil filter (crucial if coolant has contaminated the oil).
- Remove all accessory components blocking access to the passenger side and front of the engine:
- Air intake ducting and filter housing.
- Serpentine belt and belt tensioner.
- Alternator, power steering pump (if hydraulic), and A/C compressor (unbolted and moved aside without discharging lines).
- Inner fender liner on the passenger side to access the crankshaft pulley.
Step 2: Supporting the Engine and Removing the Valve Covers
- Install the overhead engine support fixture and secure it to the designated lifting points on the engine block.
- Unbolt and remove the passenger-side motor mount, as it blocks the timing chain cover.
- Remove the ignition coils and valve covers from both cylinder heads. Removing the valve covers is mandatory because the timing cover bolts are sealed underneath, and you must access the timing chains directly.
Step 3: Setting Top Dead Center (TDC) and Locking Cams
- Rotate the crankshaft clockwise using a socket on the crank pulley bolt until cylinder number one is at Top Dead Center (TDC).
- Verify alignment marks on the camshaft phasers.
- Install the specialized camshaft holding tools to lock the camshafts in place, preventing them from rotating under valve spring pressure when the chains are disconnected.
Step 4: Removing the Timing Chain System
- Remove the crankshaft vibration damper/pulley using a suitable puller tool.
- Unbolt and remove the front timing chain cover. Note: This step requires care, as the cover is sealed with RTV silicone and often stuck tight to alignment dowels. Pry gently to avoid cracking the aluminum.
- Release tension on the primary and secondary timing chains by removing the chain tensioners and guide rails.
- Slide the timing chains and sprockets off the camshaft phasers and crankshaft. Inspect all chains, guides, and tensioners for wear; given the labor involved, it is standard practice to replace the entire timing chain kit alongside the water pump.
Step 5: Replacing the Water Pump
- Unbolt the old water pump from its mounting position inside the block.
- Scrape away all old gasket material and clean the mating surface meticulously. Any debris left behind will cause a coolant leak.
- Install the new water pump using a fresh gasket or approved sealant as specified by the pump manufacturer. Torque all mounting bolts to factory specifications in a criss-cross pattern.
Step 6: Reassembly and Timing Alignment
- Reinstall the timing chains, aligning the colored links with the timing marks on the crankshaft and camshaft phasers precisely.
- Reinstall chain guides and tensioners, ensuring tension is properly applied.
- Clean the timing cover mating surfaces thoroughly and apply a continuous, even bead of high-temp RTV silicone.
- Carefully guide the timing cover back into place over the alignment dowels and torque the bolts in the manufacturer's specified sequence.
- Reinstall the valve covers, motor mount, accessory components, and harmonic balancer.
- Fill the engine with fresh oil and a new filter. Refill the cooling system with the correct coolant mixture.
Testing and Post-Repair Verification
Once everything is reassembled, do not immediately take the vehicle on a highway test drive. Proper verification prevents secondary damage.
- Initial Crank (No Start): Disable the fuel pump or ignition, then crank the engine for a few seconds to build oil pressure and circulate oil through the fresh filter.
- Startup and Idle Check: Start the engine and let it idle. Listen closely for any abnormal mechanical rattles, which would indicate incorrect timing alignment.
- Monitor Temperatures: Watch the temperature gauge closely. Allow the thermostat to open, ensuring the cooling system purges air pockets and the electric cooling fans kick on normally.
- Leak Inspection: Use a flashlight and inspection mirror to check the front of the engine, timing cover seams, and oil dipstick. Verify there is no external coolant weeping and that the engine oil remains clean.
- Road Test: Take the vehicle on a short test drive at varying speeds, then re-inspect the engine bay for any developing leaks or warning lights.
Frequently Asked Questions
Can I replace the water pump on a 2014 Ford Explorer without removing the timing chain?
No. Because the water pump is driven directly by the timing chain and housed behind the front engine cover, you must remove the accessory drive belt, harmonic balancer, valve covers, and timing chain cover to physically access and unbolt the pump.
What happens if I keep driving with a leaking internal water pump?
If coolant leaks past the pump seals into the crankcase, it destroys the viscosity of the engine oil. This quickly ruins the engine's rod bearings, main bearings, and camshaft journals, leading to complete engine seizure and total failure.
Should I replace the timing chain kit at the same time?
Yes. Because accessing the water pump requires removing the entire timing chain assembly, labor duplication is eliminated by replacing the chains, guides, tensioners, and phasers simultaneously. Parts kits that bundle the water pump and timing components together are widely available and cost-effective insurance.
Is a DIY water pump replacement recommended for beginners?
No. This repair is rated as an advanced-level mechanical job. It requires specialized locking tools, precise torque specifications, heavy engine support equipment, and deep familiarity with timing components. Mistakes can result in catastrophic engine damage.
How long does a professional shop take to replace this water pump?
An experienced automotive technician typically takes between 8 and 12 hours of labor to complete the job on a naturally aspirated 3.5L V6, while EcoBoost models can take slightly longer due to turbocharger packaging and plumbing obstructions.
Conclusion and Next Actions
Replacing the water pump on a 2014 Ford Explorer is a daunting, expensive maintenance milestone, but ignoring early warning signs guarantees engine destruction. If you notice milky oil, unexplained coolant loss, or unusual noises from the timing cover, address the issue immediately. Evaluate whether you possess the advanced mechanical skill and specialized tools required for a DIY repair, or budget for professional service from a qualified technician equipped to handle internal timing cover rebuilds.