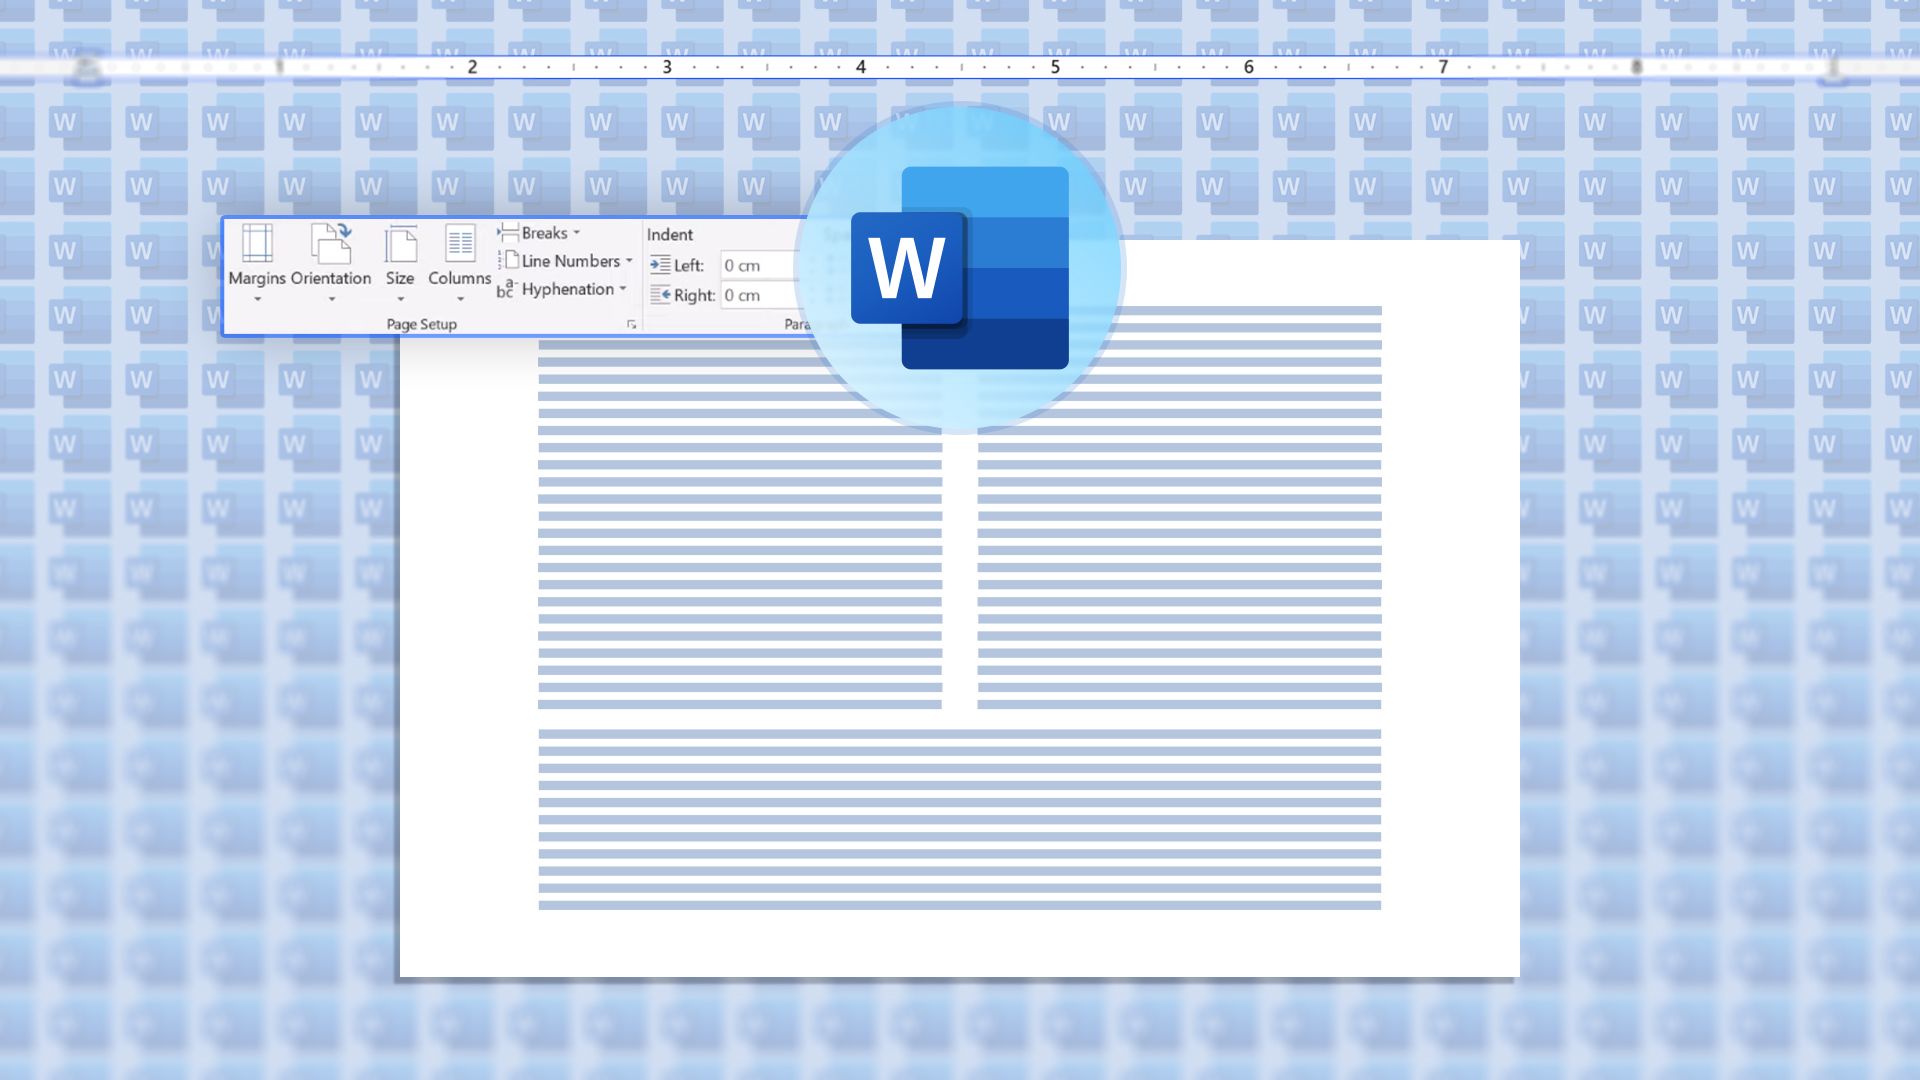
A two-column layout in Microsoft Word divides a single page into two vertical sections side-by-side, mimicking a newspaper or newsletter format. This structure is easily created by navigating to the Layout tab, clicking Columns, and selecting Two, allowing users to present information concisely and professionally.
Structuring documents effectively is a foundational skill for technical writers, administrative professionals, and students alike. While standard single-column text works well for academic papers, letters, and straightforward reports, alternative layouts are often required for modern professional communication. A 2 column word document is a staple design choice for newsletters, brochures, academic journal articles, resumes, menus, and conference proceedings. By splitting a single page into two vertical sections, you can dramatically improve readability, utilize whitespace more efficiently, and fit more information onto a single sheet of paper without making the text feel cramped.
Mastering the mechanics of multi-column formatting in Microsoft Word involves much more than simply clicking a button. It requires a firm grasp of page breaks, section breaks, column balancing, gutter adjustments, and precise typography. This guide explores every facet of designing, formatting, and troubleshooting a two-column Microsoft Word document, equipping you with the technical expertise needed to produce publication-quality output.
Understanding the Purpose and Use Cases of Multi-Column Layouts
Before applying a multi-column structure, it is helpful to understand why and when this design format should be used. In typography and graphic design, column width is directly tied to reading speed and comprehension. Human eyes struggle to track lines of text that stretch too far horizontally. Optimal line length for reading comprehension generally falls between 45 and 75 characters per line (including spaces).
When working with standard letter-sized paper (8.5 by 11 inches) with standard one-inch margins, a single-column layout results in a line length well over 80 characters. This can cause the reader's eye to lose its place when transitioning from the end of one line to the beginning of the next.
Common Applications
- Newsletters and Internal Publications: Internal company newsletters and community bulletins use multi-column layouts to break up long-form articles, incorporate sidebars, and make dense text blocks visually engaging.
- Academic Papers and Journals: Many scientific journals and conference proceedings mandate a two-column format to comply with publication standards and maximize space efficiency for dense research data.
- Resumes and Curriculum Vitae: A hybrid layout featuring a narrow side column for contact information, skills, and certifications alongside a wider column for professional experience is increasingly popular.
- Menus and Program Guides: Event programs, wedding itineraries, and restaurant menus rely on multi-column or multi-panel designs to organize discrete categories of items clearly.
Step-by-Step Instructions for Creating a Two-Column Word Document
Setting up a basic two-column document in Microsoft Word is a straightforward process, provided you understand how Word handles document scoping. You can apply columns to an entire document or restrict them to specific sections.
Method 1: Applying Two Columns to the Entire Document
If you are starting a new document and want every page to feature a two-column layout, follow these steps:
- Open Microsoft Word and select Blank Document.
- Navigate to the top ribbon and click on the Layout tab (in older versions of Word, this may be labeled Page Layout).
- Locate the Page Setup group and click the Columns drop-down menu.
- A menu of preset configurations will appear. Click Two.
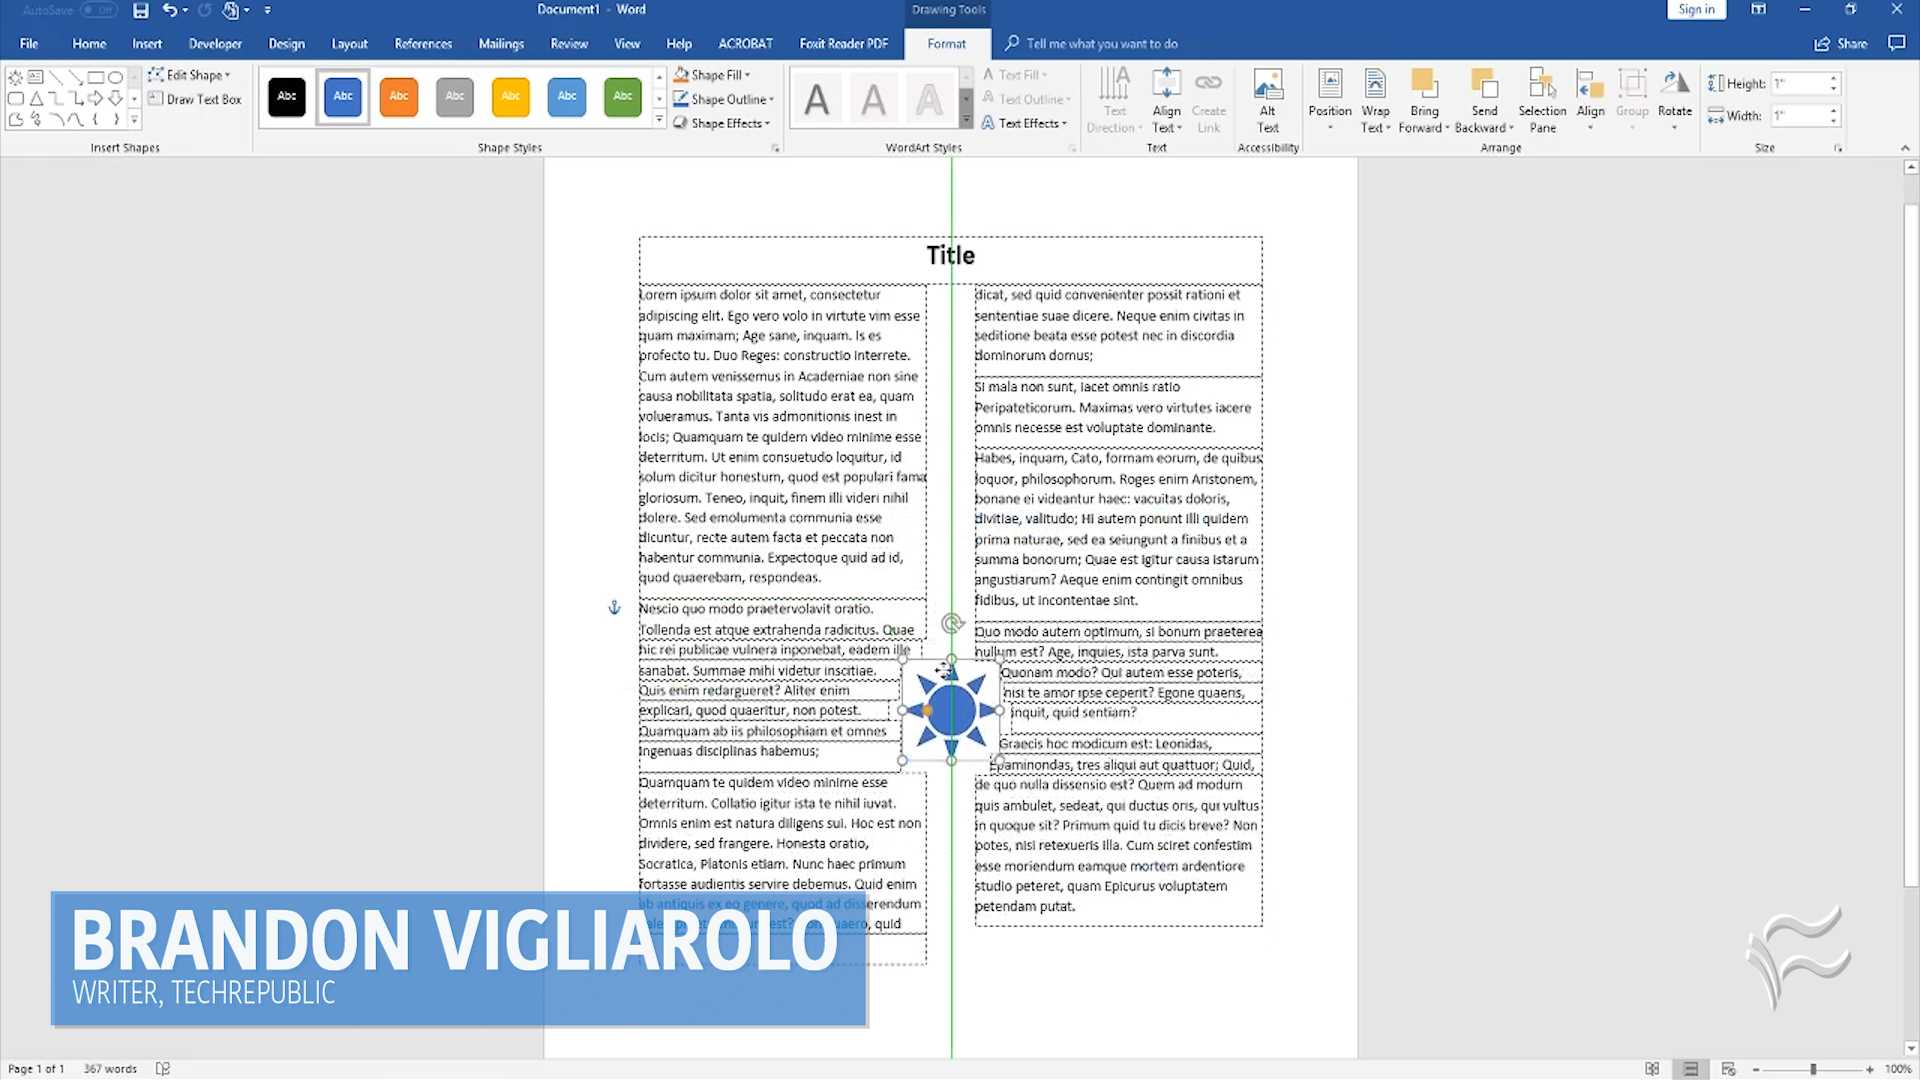
- Your cursor will remain in the first column. As you type text and reach the bottom margin, Word will automatically flow the text to the top of the second column on the same page before moving to the next page.
Method 2: Applying Two Columns to Specific Sections
Often, you will want a traditional single-column title, abstract, or header at the top of the page, followed by a two-column body. To achieve this, you must use section breaks.
- Place your cursor at the exact point in the document where you want the two-column layout to begin.
- Go to the Layout tab on the ribbon.
- Click the Breaks drop-down menu in the Page Setup group.
- Under the Section Breaks category, select Continuous. This inserts a section break without forcing a page break, allowing your new layout to start on the same page.
- With your cursor positioned in the new section, click Columns on the Layout tab and select Two.
- If you want the document to return to a single-column format further down (such as for a concluding summary or footer note), repeat the process: insert a Continuous section break, go to Columns, and select One.
| Layout Method | Best Used For | Key Requirement |
|---|---|---|
| Whole Document | Newsletters, simple flyers, brochures | Apply before typing or select all text first |
| Section-Based | Research papers, hybrid resumes, reports with headers | Requires manual insertion of Continuous Section Breaks |
| Selected Text | Modifying an existing draft paragraph or block | Highlight target text before applying column settings |
Advanced Formatting and Customization
Standard presets are rarely sufficient for professional publishing. Microsoft Word provides robust customization tools that let you control column width, spacing, separator lines, and text flow.
Adjusting Column Width and Spacing
To modify how much space your columns occupy, open the Columns drop-down menu from the Layout tab and select More Columns... at the bottom of the list. This opens the Columns dialog box, where you can:
- Manually enter precise measurements for Width and Spacing for each column.
- Uncheck the Equal column width box if you want to create asymmetric layouts (such as a 2-inch sidebar column next to a 4.5-inch main column).
- Fine-tune the gutter space (the blank area separating the columns) to prevent text from crowding the center fold.
Adding Vertical Separator Lines
For formal documents, newsletters, or structured reports, adding a thin vertical line between the two columns can enhance visual separation.
- Go to Layout > Columns > More Columns... to open the Columns dialog box.
- Check the box labeled Line between.
- Click OK. Word will automatically insert a vertical dividing line down the center of the column gap for that specific section.
Controlling Text Flow with Column Breaks
By default, Word automatically determines when text spills over from the first column into the second. However, you may want to manually force text to jump to the top of the next column—for instance, when starting a new subheading or placing a concluding thought at the bottom of a page.
- Place your cursor immediately before the text you want to move to the next column.
- Navigate to Layout > Breaks.
- Select Column.
This inserts a hard column break, ensuring that subsequent text starts at the top of the neighboring column regardless of how much blank space remains in the previous column.
Balancing Columns on a Page
One of the most common visual flaws in a multi-column document is uneven column lengths at the end of a section or page, where one column is completely filled while the adjacent column contains only a few lines of text.
To clean up the end of a section and distribute text evenly across both columns, insert a Continuous Section Break immediately after the final line of text in that section. Word will automatically calculate the total text volume and balance the height of the two columns, creating a clean, professional finish.
Comparison of Single-Column vs. Two-Column Layouts
Choosing the correct document architecture depends entirely on your content type, audience expectations, and distribution medium.
| Feature / Metric | Single-Column Layout | Two-Column Layout |
|---|---|---|
| Primary Use Cases | Essays, legal contracts, formal letters, invoices | Newsletters, academic journals, menus, resumes |
| Line Length (Characters) | High (often 80–100+ characters per line) | Optimal (typically 40–55 characters per line) |
| Space Efficiency | Moderate; can feel sparse with large pages | High; maximizes text density per page |
| Graphics Integration | Simple inline images; easy to anchor | Requires careful text wrapping and sizing |
| Formatting Complexity | Low; minimal setup required | Moderate; requires managing section breaks |
Common Troubleshooting and Best Practices
Working with multi-column layouts in Word can occasionally lead to formatting quirks. Applying industry best practices helps you avoid common pitfalls.
Fixing Runaway Formatting
If changing your column layout unexpectedly alters the entire document instead of just a specific paragraph, you likely failed to insert proper section breaks. Always verify your section boundaries by turning on formatting marks (press Ctrl + Shift + 8 on Windows or Cmd + 8 on Mac) to see where section and page breaks are located.
Managing Headers, Footers, and Page Numbers
When dealing with multiple sections, page numbering and headers can become disconnected or restart unexpectedly. To maintain consistency, double-click your header or footer area, navigate to the Header & Footer Design tab, and ensure that the "Link to Previous" toggle is enabled if you want continuous numbering throughout your document.
Handling Images, Tables, and Shapes
Large graphics and tables can disrupt multi-column flow. If you insert a wide table or image into a two-column section, it may clip off the edge of the page. To resolve this:
- Insert a Continuous Section Break before and after the graphic.
- Change the isolated section to a single-column layout (Layout > Columns > One).
- Insert your table or image into that single-column space, where it will have the full width of the page.
- Insert another continuous section break after the graphic if you wish to resume the two-column layout below it.
Frequently Asked Questions
Can I apply a two-column format to only one page of my Word document?
Yes. You can isolate a two-column layout to a single page by inserting a Continuous Section Break at the very beginning of the page, changing the columns to two, and then inserting another Continuous Section Break at the end of that page before returning the layout setting to one column.
Why is my text jumping to the next page instead of the second column?
This usually happens because you inserted a Page Break or a Next Page Section Break instead of a Column Break. Check your hidden formatting marks to ensure you have not accidentally introduced a page-level break when you only intended to shift text to the neighboring column.
How do I prevent hyphenation from looking messy in narrow columns?
Narrow columns frequently cause awkward word spacing and excessive hyphenation. To fix this, select your text, go to the Layout tab, click Hyphenation, and select Automatic. You can also adjust your justification settings—left-aligned text often looks much cleaner in narrow columns than fully justified text, which can create large gaps between words.
Can I make one column wider than the other in Word?
Yes. Open the Columns dialog box by navigating to Layout > Columns > More Columns..., uncheck the box for Equal column width, and manually enter your desired widths for Column 1 and Column 2 along with your preferred spacing width.
Conclusion and Next Actions
Mastering the creation and formatting of a two-column Word document transforms basic drafts into polished, professional publications. By combining proper section breaks, intentional column widths, balanced text distribution, and clean handling of graphics, you can produce visually appealing layouts for newsletters, reports, and academic papers. Review your document's section breaks and text flow to ensure your layout supports your content effectively.