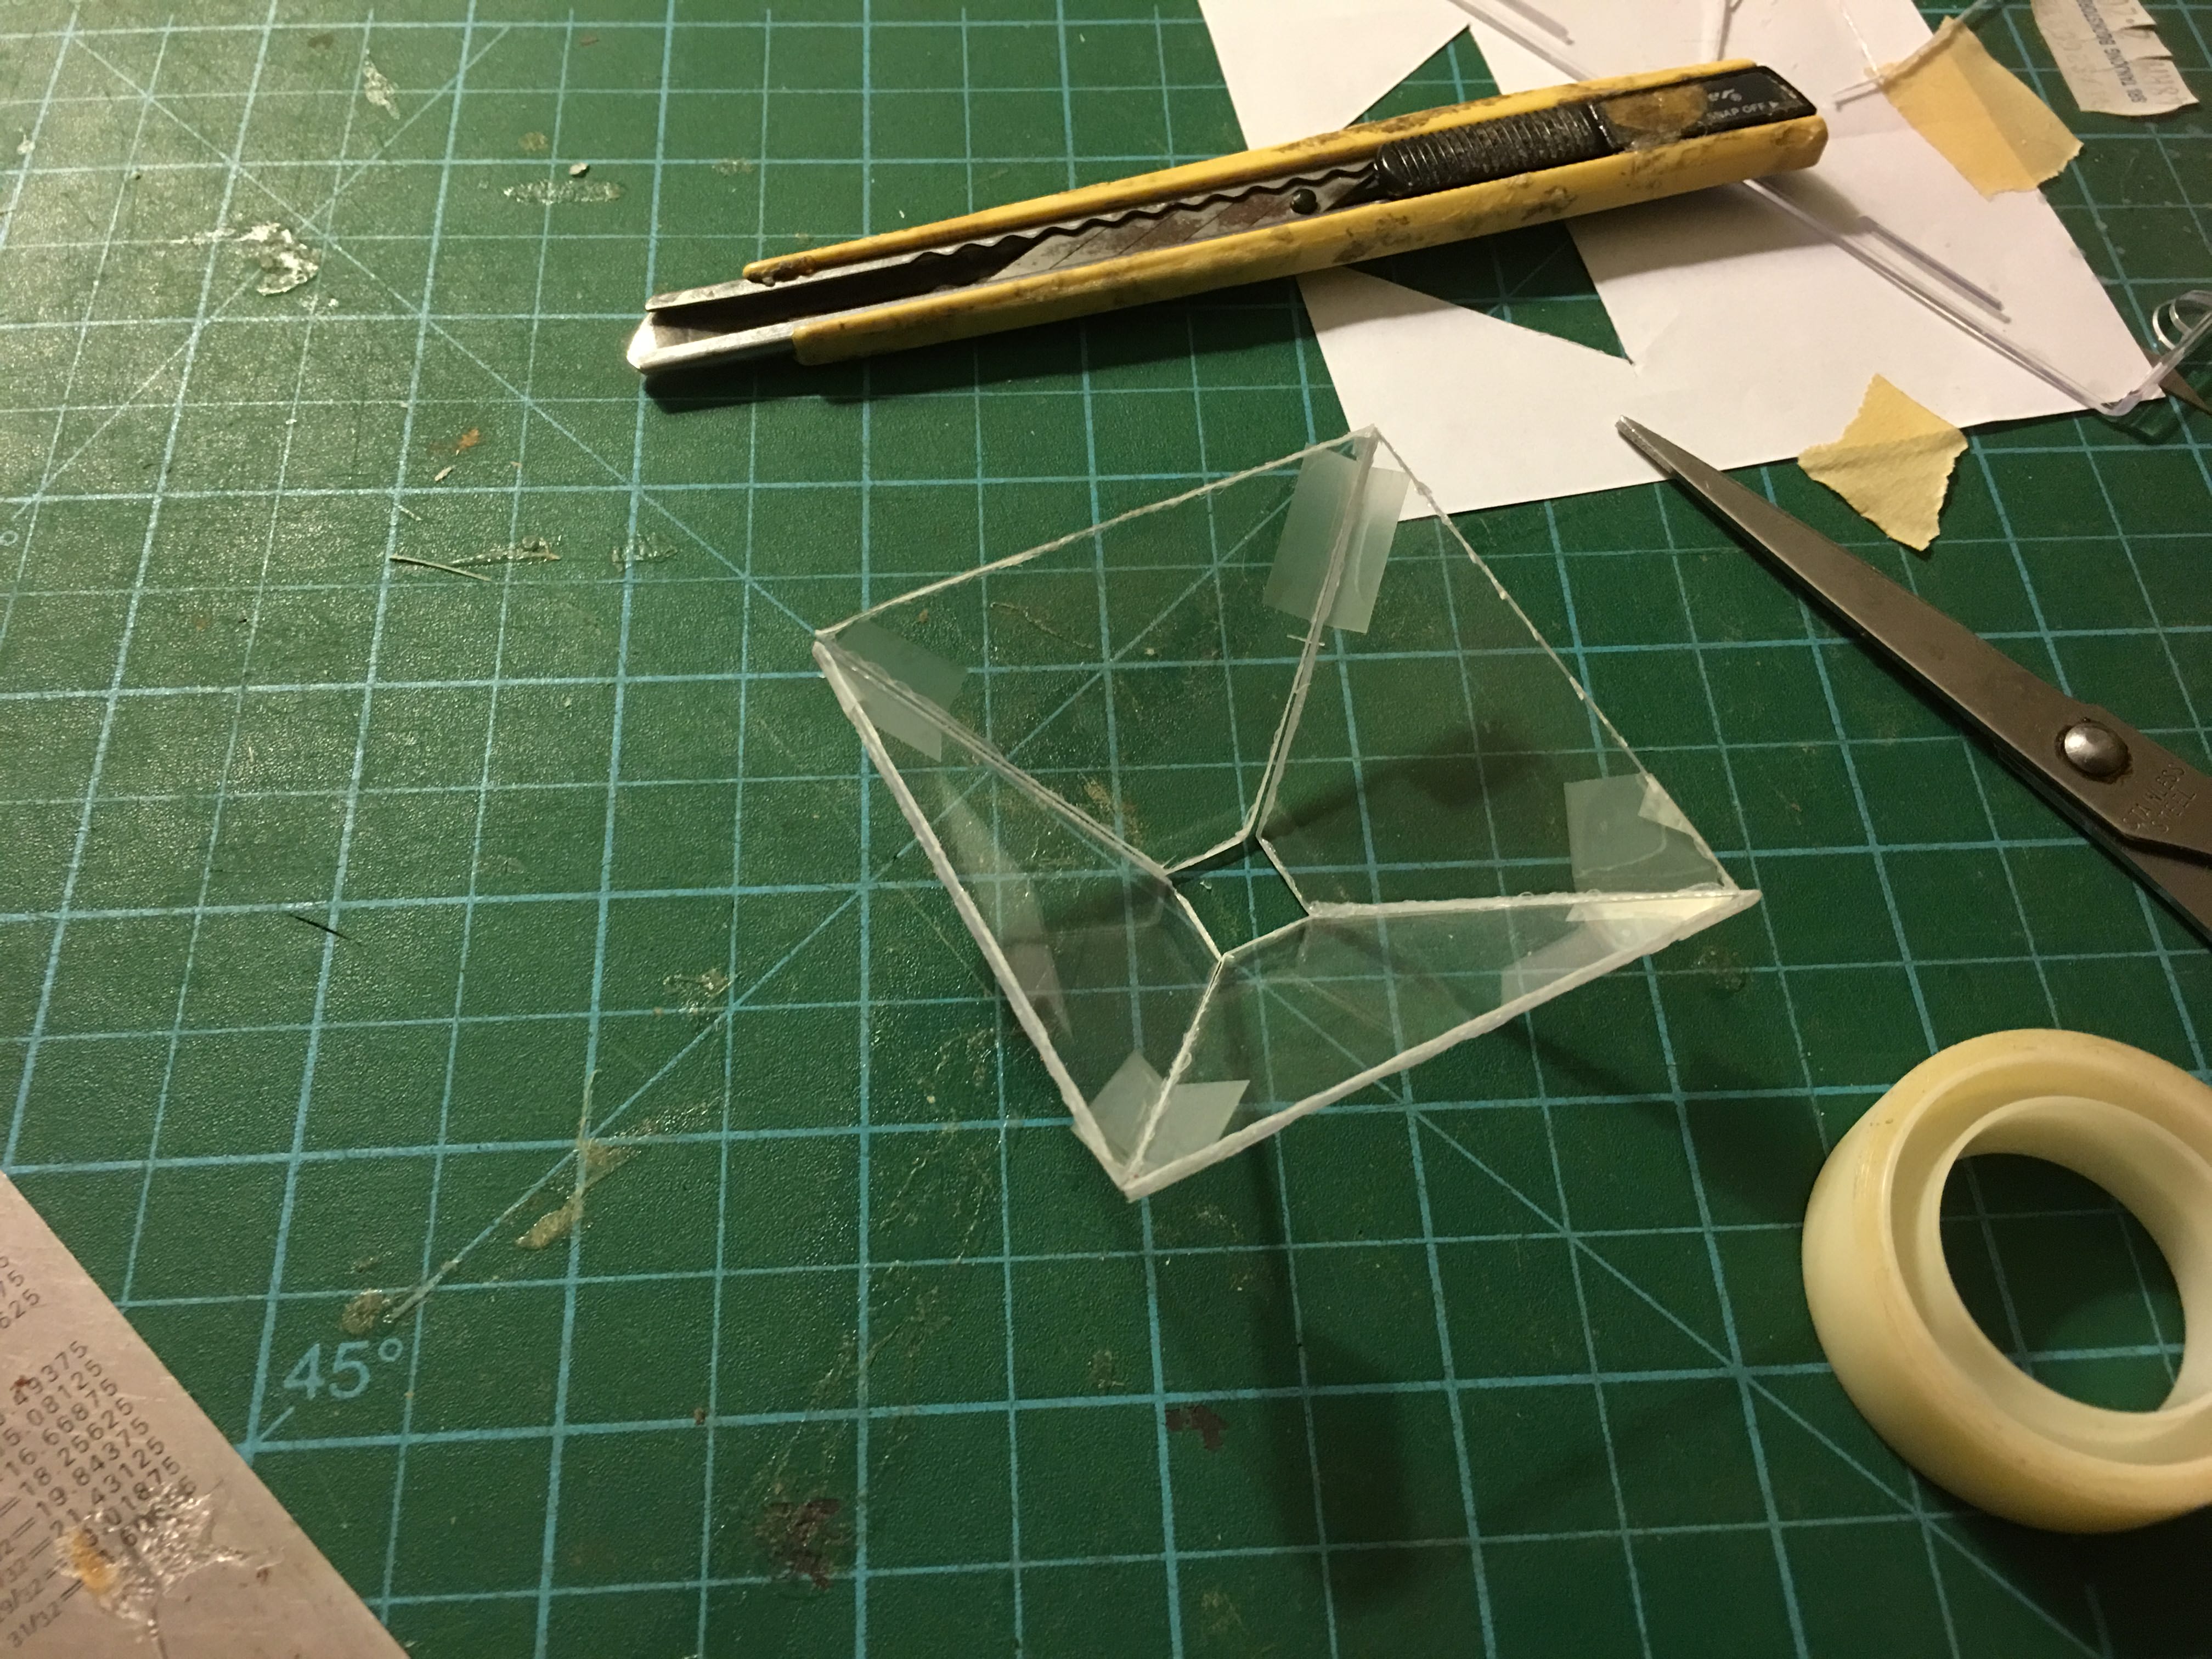
Creating a 3D hologram at home is an engaging, accessible optical illusion project that transforms a smartphone, tablet, or computer monitor into a floating volumetric display. By using transparent, angled plastic and precise geometric reflection principles—commonly known as the Pepper's Ghost illusion—you can project specially formatted four-way split video content into a suspended, luminous visual floating in mid-air. This guide covers everything required to design, cut, assemble, and operate your own DIY 3D hologram projector using household items or precision materials.
Understanding the Physics of the Pepper's Ghost Illusion
The technology behind most modern DIY smartphone holograms is not actually a true interference-based laser hologram. Instead, it relies on a centuries-old theatrical illusion called Pepper's Ghost. Originally popularized in Victorian theaters to make ghosts appear on stage, the technique uses a transparent sheet of glass or plastic angled at 45 degrees relative to an audience and a hidden light source.
When applied to digital screens, the setup involves a pyramid or truncated cone made of transparent, highly reflective plastic. Each side of the pyramid acts as a plane mirror that reflects an image shown on a flat display screen lying flat beneath it.
Because the plastic is transparent, the human eye perceives two things simultaneously:
- The real-world background behind or inside the projection frame.
- The virtual reflection of the bright shapes moving on the horizontal screen.
When four identical or perspective-matched video feeds are displayed on the four quadrants of the screen, the reflections overlap in the center of the pyramid. This creates a convincing illusion of a 360-degree, three-dimensional floating object. The human brain blends these disparate reflections into a single volumetric form, especially when viewed against a pitch-black background which hides the physical edges of the plastic transparent medium.
Materials and Tools Required
Building an effective DIY 3D hologram projector requires careful selection of materials. The primary variable determining image clarity is the refractive index and transparency of the reflecting medium.
Choosing Your Reflective Medium
- CD/DVD Jewel Cases: The clear, hard plastic covers of standard media cases are the classic choice for beginners. They are free, rigid, and easy to score and snap. However, they often have minor surface scratches and slight manufacturing textures that can scatter light.
- Acrorylate / Clear Acetate Sheets: Flexible, thin, and easy to cut with standard craft scissors. While inexpensive, thin plastic sheets tend to warp, causing the reflected image to appear wavy or distorted.
- Rigid Acrylic Sheets (1mm to 2mm thickness): The gold standard for crisp, high-definition DIY holograms. Rigid acrylic provides a flat reflective surface that maintains sharp focus and resists bending.
Essential Tool Checklist
- Craft knife or utility knife with a sharp blade
- Metal straight edge or steel ruler
- Cutting mat to protect work surfaces
- Fine-grit sandpaper (400 to 600 grit) for smoothing edges
- Clear adhesive tape, transparent drying craft glue, or a low-temperature hot glue gun
- Microfiber cleaning cloth and isopropyl alcohol (for removing fingerprints and dust)
- Graph paper and pencil for drawing templates
Step-by-Step Construction Guide
Precision is critical when building a pyramid projector. Even minor geometric discrepancies will cause the four reflected images to misalign, destroying the illusion.
Step 1: Selecting the Dimensions
Scale your pyramid to fit your specific device screen. A standard smartphone screen (approx. 5 to 6 inches) works best with a pyramid featuring a 1-centimeter top base, a 6-centimeter bottom base, and a 3.5-centimeter height (slant height). If you are using a larger tablet, scale these measurements up proportionally.
Step 2: Creating the Template
Draw an isosceles trapezoid on graph paper using your chosen dimensions.
- Top width: 1 cm
- Bottom width: 6 cm
- Height: 3.5 cm
Cut out this paper template carefully. This will serve as your cutting guide for the plastic material.
Step 3: Cutting the Plastic
Place your template onto your chosen plastic sheet (such as a dismantled CD jewel case or rigid acrylic). Secure it with low-tack tape so it does not slip.
- Using a metal ruler and a utility knife, score along the edges of the template multiple times until you penetrate halfway through the plastic.
- If using thin acetate, heavy-duty craft scissors will suffice.
- Snap the scored plastic along the line, then use fine-grit sandpaper to smooth the edges and eliminate sharp burrs.
- Repeat this process until you have four identical trapezoidal panels.
Step 4: Assembling the Pyramid
Lay the four trapezoid pieces flat on a table in a row, side by side, with their long bottom edges aligned horizontally and a microscopic gap (about 0.5 mm) between each sloping side to allow for folding.
- Apply strips of clear transparent tape along the seams connecting the panels on the outside face.
- Carefully fold the panels upward into a closed 3D pyramid shape.
- Secure the final vertical seam with tape or a tiny drop of clear craft glue along the interior edge. Avoid getting glue on the viewing surfaces.
- Clean the completed pyramid thoroughly with isopropyl alcohol and a microfiber cloth to remove oils, dust, and fingerprints.
Sourcing and Formatting Content for Your Hologram
A physical projector is useless without the correct visual media. Standard videos will not appear three-dimensional; they must be formatted specifically for multi-angle pyramid projection.
Understanding 4-Way Split Video Formats
Hologram-compatible videos feature a black background containing four identical animations arranged in a cross or circular pattern pointing toward the center. Each quadrant corresponds to one side of your physical plastic pyramid:
- Top panel reflection: Shows the front view of the subject.
- Bottom panel reflection: Shows the back view.
- Left and right panels: Show the respective profile views.
Where to Find Hologram Videos
- YouTube: Search platforms for terms like "3D hologram video 4-way" or "hologram pyramid test video" to find hundreds of pre-rendered clips featuring swirling planets, jellyfish, digital clocks, and sci-fi sci-fi character animations.
- Custom Creation: Advanced users can render their own 3D content using software like Blender, Maya, or After Effects by setting up four virtual cameras facing a central model from orthogonal angles (North, South, East, West) and rendering them onto a single composite black frame.
Troubleshooting Common Hologram Quality Issues
Even with careful construction, you may encounter optical artifacts that degrade the final projection. Review this troubleshooting matrix to diagnose and resolve common issues.
| Symptom / Issue | Primary Root Cause | Corrective Action |
|---|---|---|
| Double images or ghosting | The plastic sheet is too thick, causing internal light refraction through the glass/acrylic medium. | Switch to a thinner material (e.g., 0.5mm clear acetate) or ensure you are viewing the projection from directly overhead. |
| Faint or washed-out projection | Ambient room light is competing with the reflections, or screen brightness is too low. | Turn off overhead lights, close window blinds, and maximize your device screen brightness setting. |
| Misaligned or skewed floating image | The pyramid base is uneven, or the cut angles of the trapezoids are imprecise. | Re-measure your template and sand the edges of the panels so they form a symmetrical, tight-fitting pyramid. |
| Smudged, blurry visuals | Fingerprint oils, dust particles, or micro-scratches on the plastic surfaces. | Clean the pyramid inside and out using isopropyl alcohol and a lint-free microfiber cloth. |
Advanced Variations and Scaling Projects
Once you master the basic smartphone-scale pyramid, you can scale the concept up for larger displays or specialized installations.
Tablet and Monitor Scale Projects
Scaling up requires thicker acrylic sheets (3mm to 5mm) to support the larger structural weight and maintain rigidity. A standard desktop computer monitor can project large-scale holograms when placed flat on a table beneath a large inverted pyramid suspended from a custom wooden or 3D-printed frame.
Lighting and Environmental Control
The single most important factor for a convincing holographic illusion is environmental darkness. Professional Pepper's Ghost installations use black velvet lining inside the projection chamber to absorb stray light and prevent reflections of the physical enclosure. For home setups, using a dark box or viewing the device inside a dimly lit room dramatically enhances contrast and visual depth.
Frequently Asked Questions
What makes an object look like a 3D hologram instead of a flat reflection?
The illusion works because the four separate perspectives projected onto the pyramid walls merge in the center of the empty space. Your brain interprets parallax cues from the four slightly different viewing angles, creating the optical illusion of a solid, volumetric object suspended in air.
Can I use a normal video file without modifying it?
No. Standard videos will only reflect a flat, two-dimensional image that appears distorted and sideways on the pyramid walls. You must use specialized 4-way split videos designed specifically for pyramid projection.
Why does a black background matter so much?
Transparent plastic acts as a partial mirror reflecting light, but it also allows light from behind it to pass through. If the video background is white or colored, the physical screen and edges of the plastic become clearly visible, breaking the illusion. A pure black background emits no light, making the screen invisible in a dark room.
Is it possible to build a 360-degree interactive hologram?
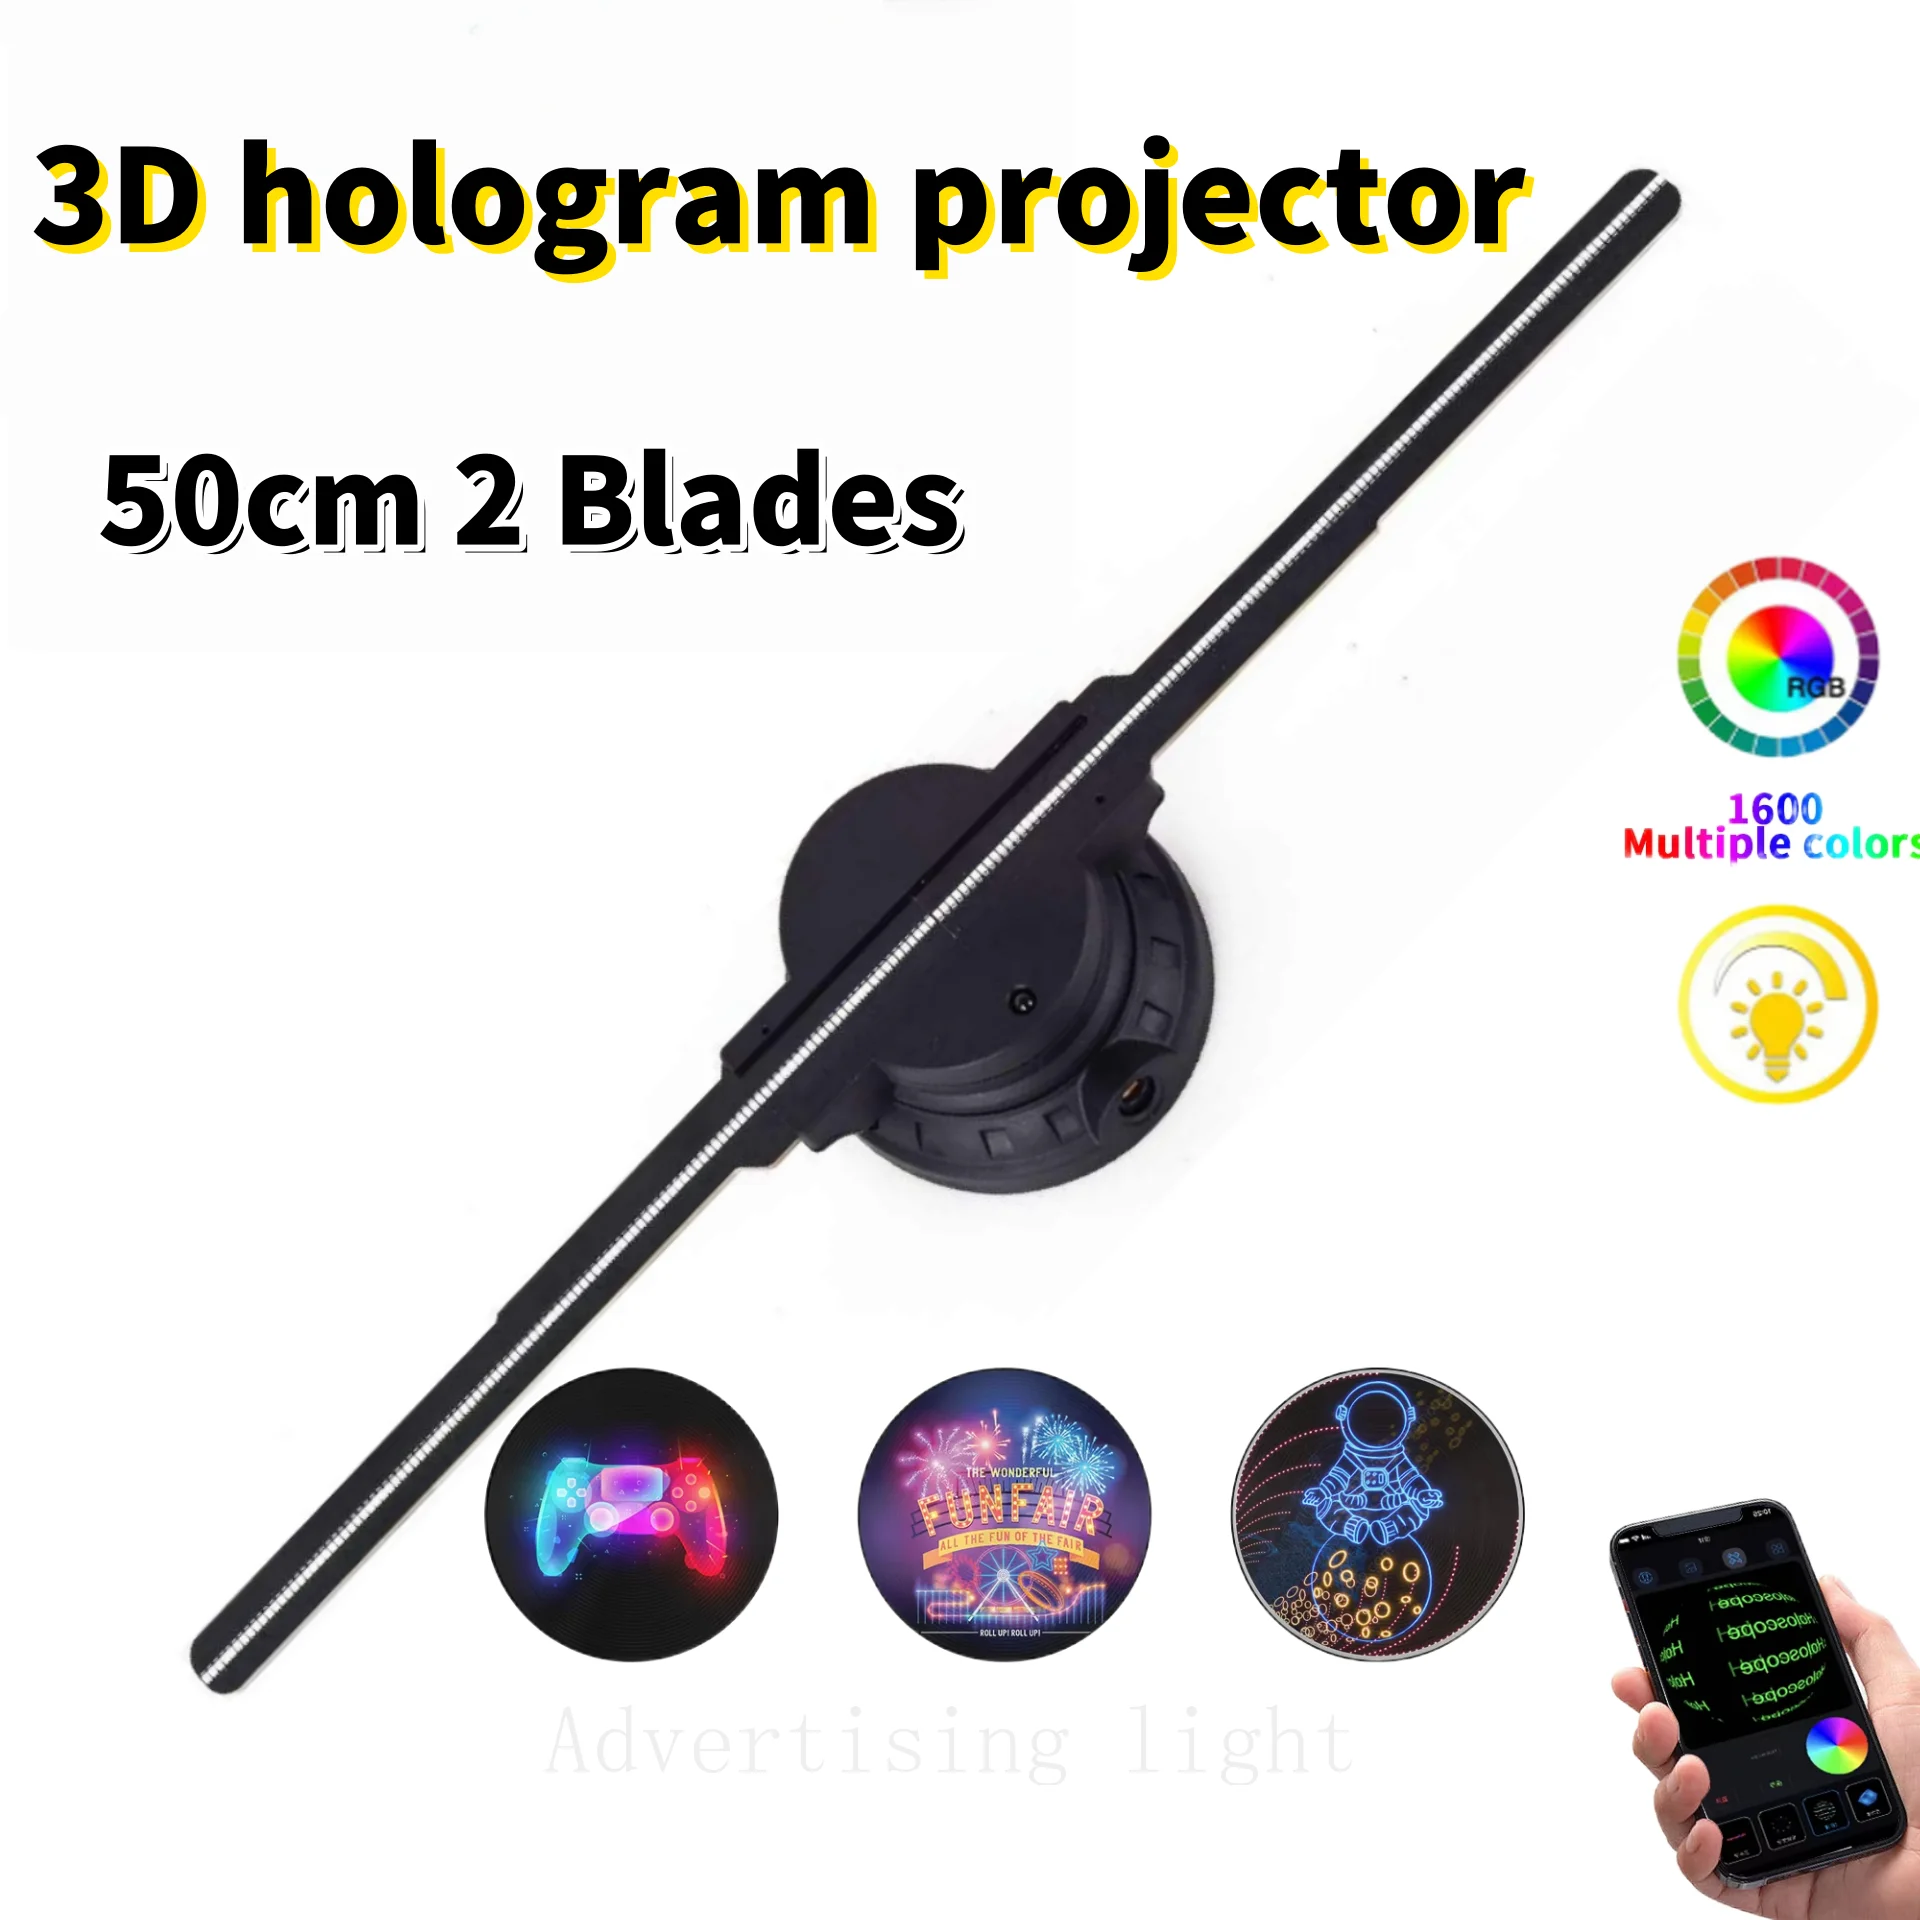
Basic DIY pyramids offer four fixed viewing angles. True 360-degree interactive holograms require complex multi-projector setups, specialized tracking software, and high-speed spinning LED blade arrays (such as POV fans), which fall outside the scope of passive optical reflection guides.
What is the ideal viewing angle for a DIY hologram pyramid?
The optimal viewing angle is strictly eye-level from the side, looking downward into the pyramid at roughly a 45-degree angle. Viewing from directly overhead or from too low an angle collapses the perspective illusion.
Next Actions and Project Summary
To successfully complete your DIY 3D hologram project, gather your transparent acrylic or CD case material, carefully trace and cut your 1cm x 6cm x 3.5cm trapezoids, and assemble them into a clean, symmetrical pyramid. Clean the surfaces thoroughly with alcohol, cue up a 4-way split hologram video on your smartphone with maximum screen brightness, and place the inverted pyramid directly in the center of the moving graphics in a dark room. Experiment with different animations and lighting conditions to maximize the visual impact of your new volumetric display.