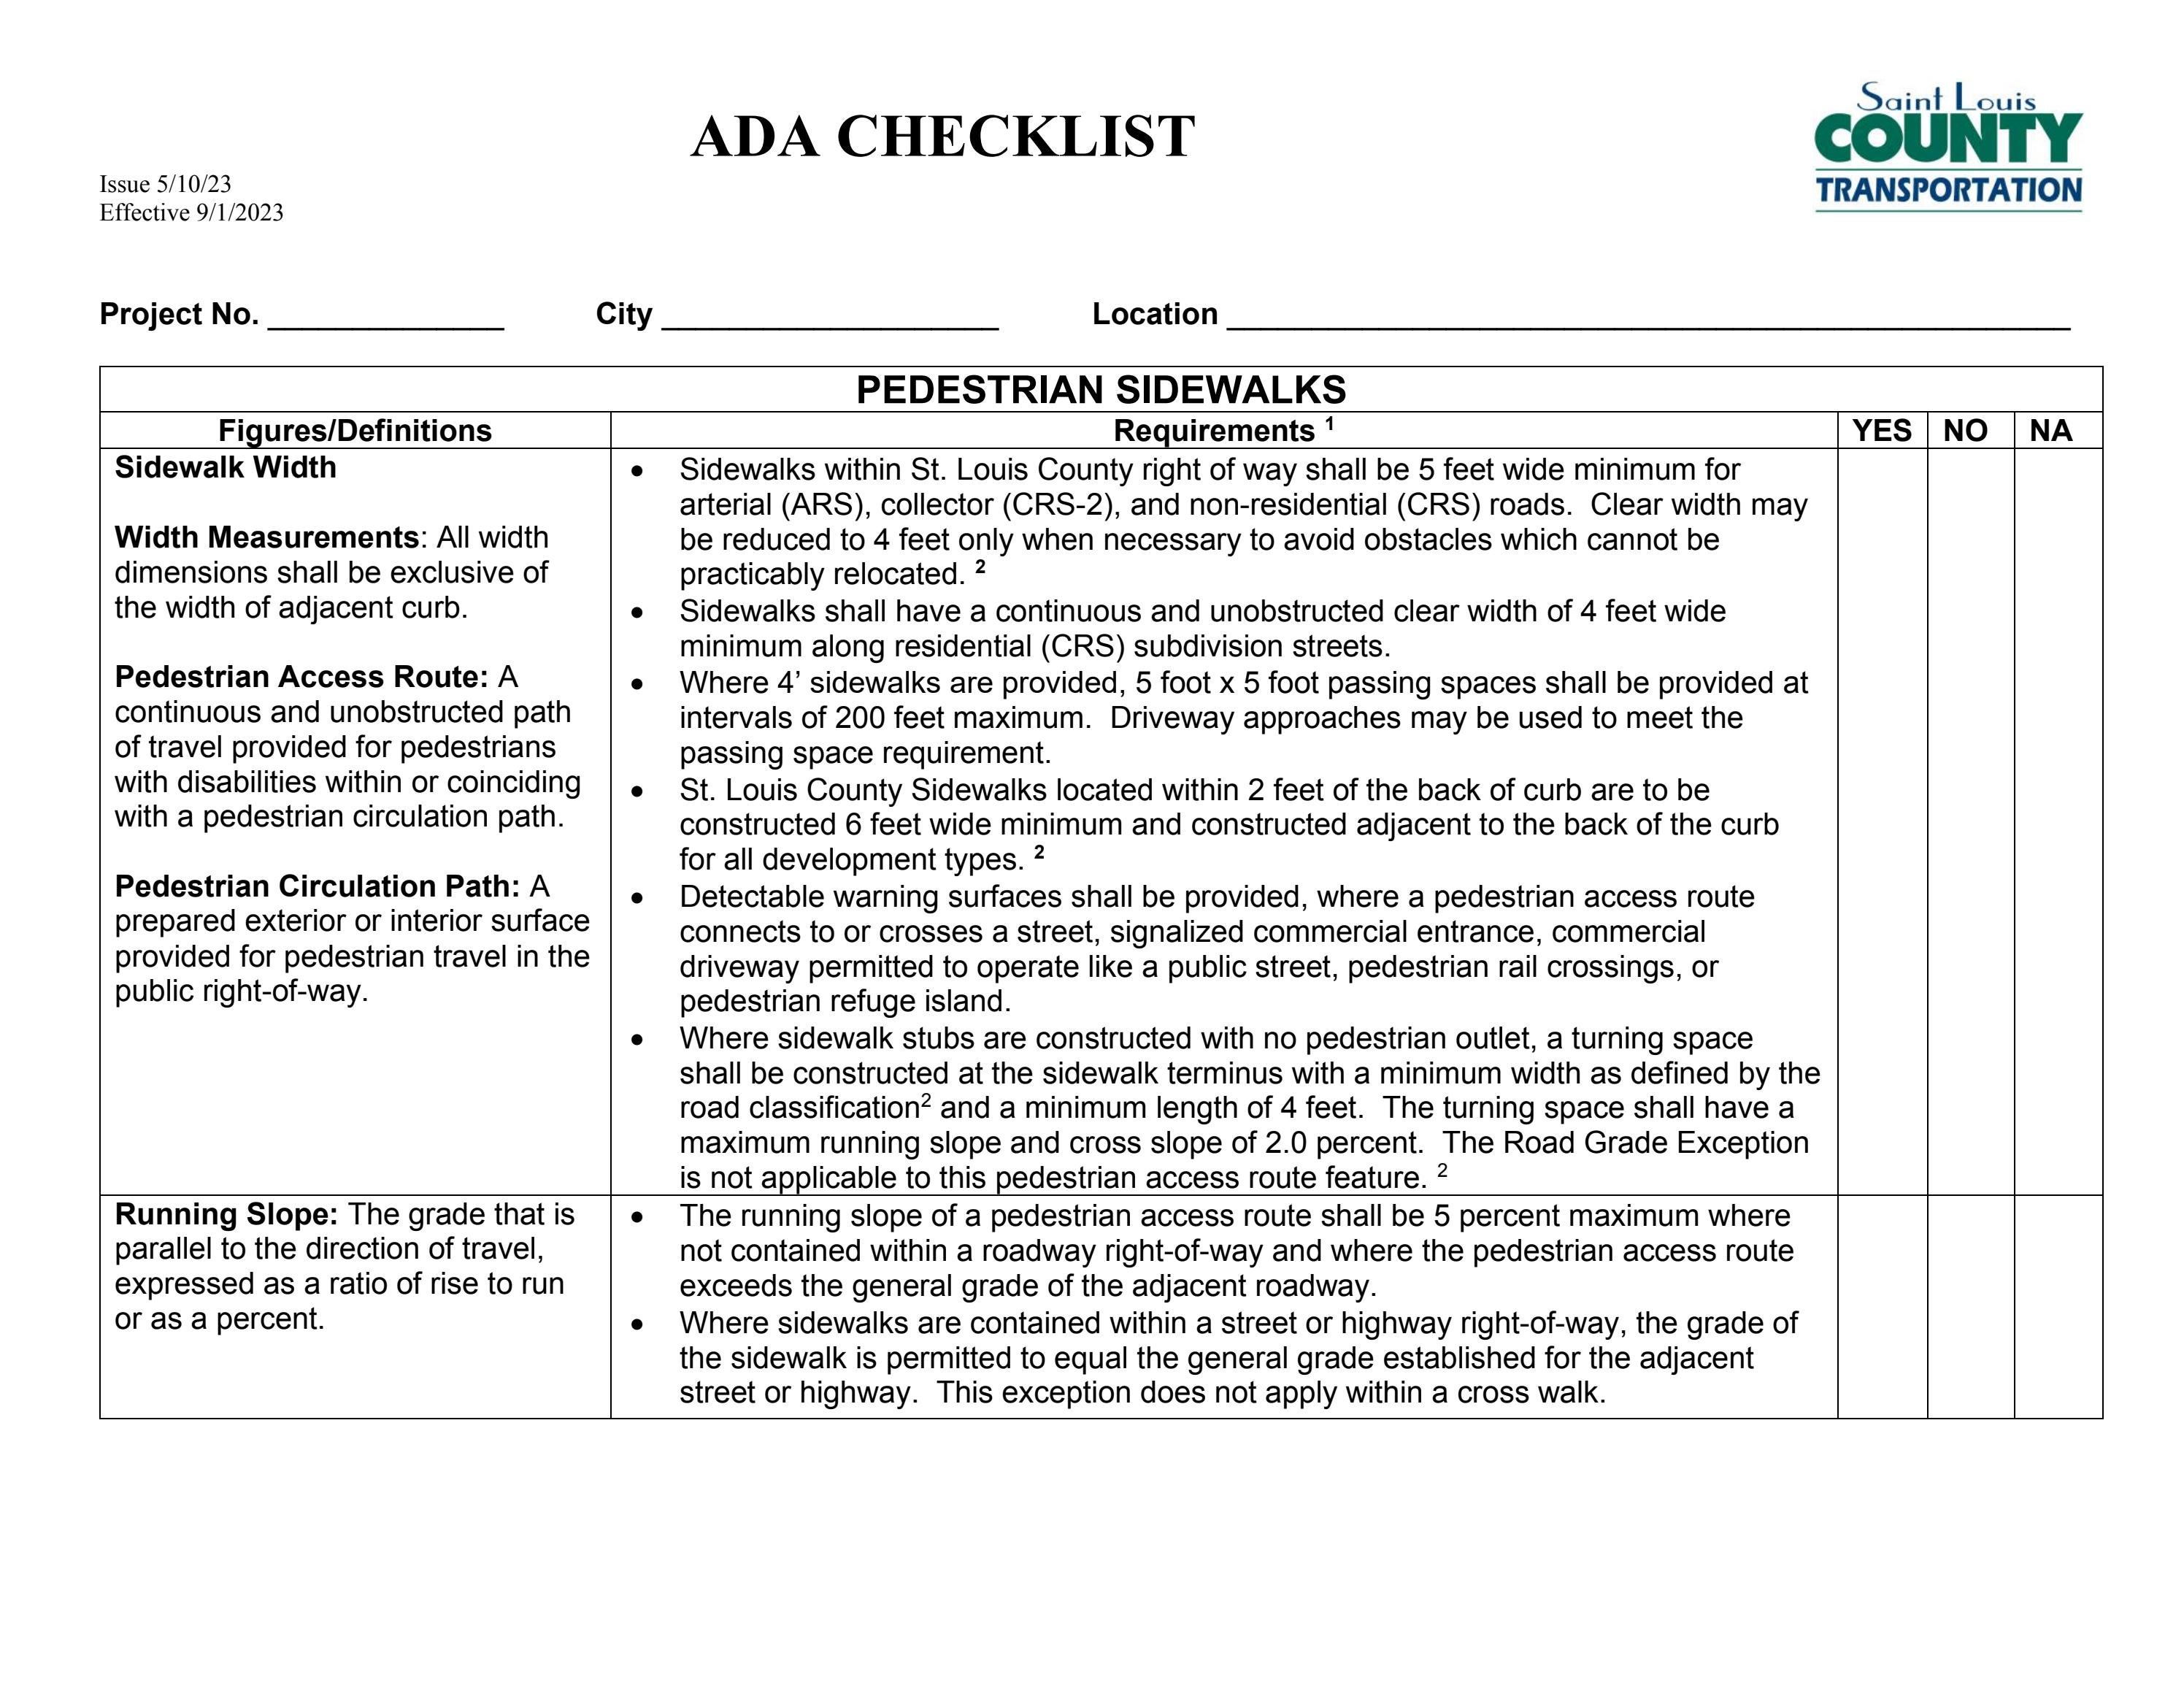
The ADA checklist for existing facilities is a specialized tool used by business owners and property managers to identify architectural barriers and ensure compliance with Title III of the Americans with Disabilities Act. It prioritizes "readily achievable" barrier removal to improve access for individuals with disabilities without requiring the massive structural overhauls typically mandated for new construction or major alterations.
Understanding ADA Compliance for Existing Facilities
As of 2026, the Americans with Disabilities Act (ADA) remains the cornerstone of civil rights legislation for individuals with disabilities in the United States. For owners of "existing facilities"—defined as buildings constructed before the current standards were enacted or those not undergoing major renovations—compliance is governed primarily by the obligation for readily achievable barrier removal.
Title III of the ADA requires public accommodations (private businesses like restaurants, hotels, retail stores, and doctor’s offices) to remove architectural barriers in existing facilities when it is "easily accomplishable and able to be carried out without much difficulty or expense." This standard is lower than the requirements for new construction, but it is a continuing obligation. Even if a business could not afford a certain modification last year, they must re-evaluate their financial status and the feasibility of the modification annually.
The 2010 ADA Standards for Accessible Design serve as the technical baseline for these evaluations. While we are in 2026, these standards remain the federal benchmark, alongside the "Safe Harbor" provision, which protects elements that complied with the earlier 1991 standards until those elements are altered.
The Four Priorities of the ADA Checklist
To help businesses manage barrier removal, the Department of Justice (DOJ) and the ADA National Network recommend following a specific hierarchy of four priorities. This structured approach ensures that the most critical access issues—getting through the front door—are addressed first.
Priority 1: Accessible Approach and Entrance
The primary goal of Priority 1 is to ensure that individuals with disabilities can arrive on the site, approach the building, and enter as independently as possible. If a person cannot get inside the facility, the services provided within are effectively moot.
Key Checklist Items for Priority 1:
- Accessible Parking: For every 25 total parking spaces, at least one must be van-accessible. Van-accessible spaces require an 8-foot (96-inch) wide access aisle.
- The Accessible Route: There must be at least one stable, firm, and slip-resistant route from public transportation stops, accessible parking, and public sidewalks to the entrance.
- Ramps: If the route includes a grade change greater than 1/2 inch, a ramp is required. The slope must not exceed 1:12 (one inch of rise for every 12 inches of run).
- Entrances and Doorways: At least one primary entrance must be accessible. The clear opening width of the door must be at least 32 inches when the door is open at 90 degrees.
- Door Hardware: Handles, pulls, and latches must be operable with one hand without tight grasping, pinching, or twisting of the wrist (lever-type handles are the standard).
Priority 2: Access to Goods and Services
Once inside, the focus shifts to ensuring that customers with disabilities can access the areas where goods and services are provided. This includes retail aisles, service counters, and seating areas.
Key Checklist Items for Priority 2:
- Aisle Width: In retail settings, the main aisles should ideally be at least 36 inches wide to allow for wheelchair passage.
- Reach Ranges: Items on shelves or displays should be within the "reach range" (typically between 15 and 48 inches above the floor). If items are higher, staff should be trained to provide assistance.
- Service Counters: At least one section of a service counter should be no higher than 36 inches and at least 36 inches long.
- Protruding Objects: Wall-mounted objects (like fire extinguishers or sconces) located between 27 and 80 inches above the floor must not protrude more than 4 inches into the path of travel, as these are hazards for individuals with visual impairments.
Priority 3: Access to Public Toilet Rooms
If a business provides restrooms for the public, they must be accessible to people with disabilities. This is often the most technically demanding portion of the checklist due to strict clearance requirements.
Key Checklist Items for Priority 3:
- Signage: Restrooms must be identified by signs featuring raised characters and Braille, mounted on the wall on the latch side of the door.
- Turning Space: There must be a circular clear floor space of at least 60 inches in diameter (or a T-shaped space) to allow a wheelchair to turn around.
- Grab Bars: Stalls must have horizontal grab bars on both the back wall and the side wall nearest the toilet, mounted between 33 and 36 inches above the floor.
- Sink Height: The rim or counter surface of the sink must be no higher than 34 inches, with sufficient knee clearance underneath.
Priority 4: Additional Access
This priority covers any other public amenities provided by the facility that were not captured in the first three categories.
Key Checklist Items for Priority 4:
- Drinking Fountains: If fountains are provided, at least one must be accessible to individuals using wheelchairs (low) and one to those who have difficulty bending or stooping (high).
- Public Telephones: While less common in 2026, any remaining public phones must meet height and volume control requirements.
- Alarms: Fire alarm systems must include both audible and visual (strobe) signals.
Technical Specifications and Measurement Standards
To accurately use an ADA checklist, precise measurements are required. Using a digital level for slopes and a standard tape measure for widths is essential.
| Element | ADA Requirement (2010 Standards) | Measuring Point |
|---|---|---|
| Door Clear Width | 32 inches minimum | Between face of door and opposite stop |
| Ramp Slope | Max 1:12 (8.33%) | Measured along the steepest run |
| Counter Height | 36 inches maximum | From finished floor to top of counter |
| Grab Bar Height | 33–36 inches | To the top of the gripping surface |
| Knee Clearance | 27 inches minimum | From floor to bottom of sink/counter |
| Protruding Objects | 4 inches maximum | Extension from wall (if >27" above floor) |
| Turning Diameter | 60 inches | Clear floor space for 180-degree turn |
How to Conduct an ADA Audit Using the Checklist
Conducting an audit of an existing facility in 2026 requires a systematic approach. It is not merely a "one-and-done" task but part of an ongoing compliance strategy.
- Preparation and Tool Gathering: Before starting, obtain a copy of the "ADA Checklist for Readily Achievable Barrier Removal" produced by the ADA National Network. Tools needed include a 25-foot tape measure, a digital level (at least 24 inches long for ramps), a door pressure gauge (to measure opening force), and a digital camera for documentation.
- The Walkthrough: Follow the four priorities in order. Take photos of both compliant and non-compliant elements. When a barrier is identified, measure the deficiency exactly (e.g., "ramp slope is 1:10, which exceeds the 1:12 maximum").
- Determining "Readily Achievable": This is a subjective legal standard. Factors include the nature and cost of the action, the overall financial resources of the site, and the impact on operations. If a 1:12 ramp is impossible due to space constraints, a 1:10 slope might be acceptable as a "technical infeasibility" compromise in an existing building, though legal counsel should be consulted.
- Creating an Implementation Plan: Document which barriers will be removed immediately and which are scheduled for later years. Having a written plan is a powerful defense against "drive-by" ADA lawsuits, as it demonstrates a good-faith effort to comply with the law.
- Record Keeping: Maintain records of all measurements, costs of improvements, and reasons why certain items were deemed not readily achievable.
Financial Incentives for Compliance
The federal government provides financial assistance to help small businesses cover the costs of ADA compliance. In 2026, these tax provisions remain vital for businesses undertaking barrier removal.
- Disabled Access Credit (Internal Revenue Code Section 44): Small businesses with total revenues of $1,000,000 or less in the previous year or 30 or fewer full-time employees can claim a tax credit of up to $5,000 per year for ADA-related expenditures. This covers 50% of eligible expenditures between $250 and $10,250.
- Architectural Barrier Removal Tax Deduction (Internal Revenue Code Section 190): Businesses of any size can take a tax deduction of up to $15,000 per year for expenses related to the removal of architectural and transportation barriers.
These incentives can often be used together. For example, a business might use the Section 44 credit for the first $10,250 of expenses and the Section 190 deduction for the remaining costs.
Common Pitfalls in Existing Facilities
Even with a checklist, many facilities fail inspections due to subtle errors.
- Door Closing Speed: Doors that slam shut or require more than 5 pounds of force to open are frequent violations. In 2026, many facilities are switching to automatic door openers to solve this permanently.
- Signage Height: Signs are often mounted too high. The baseline of the lowest raised character must be at least 48 inches above the floor, and the baseline of the highest raised character must be no more than 60 inches above the floor.
- Thresholds: A threshold that is too high (over 1/2 inch) can stop a wheelchair. These must be beveled or replaced.
- Inadequate Clear Floor Space: Often, trash cans, planters, or display racks are placed in the 60-inch turning circles of restrooms or in front of service counters, rendering the space non-compliant.
Frequently Asked Questions
Does an existing building have to be 100% ADA compliant?
In existing facilities, the requirement is "readily achievable barrier removal." This means you must remove barriers if the task is easily accomplishable without much difficulty or expense. It is not an absolute requirement to meet every "new construction" standard if doing so is physically or financially impossible, but you must make a good-faith effort to improve access.
What is the "Safe Harbor" provision?
Safe Harbor means that if an architectural element (like a ramp or a doorway) was built or altered in compliance with the 1991 ADA Standards, you do not have to bring it up to the 2010 Standards unless you plan to alter that element. For example, if your 1991-compliant restroom is still in good shape, you don't need to move the grab bars by an inch to meet the 2010 specs until you decide to renovate the room.
Who is responsible for ADA compliance in a leased space: the landlord or the tenant?
Under the ADA, both the landlord (owner) and the tenant (operator of the public accommodation) are legally responsible for compliance. Typically, the lease agreement specifies who is responsible for which parts of the building (e.g., the landlord handles the parking lot, and the tenant handles the interior aisles), but the DOJ can hold both parties liable regardless of the lease terms.
Are "private clubs" or religious organizations exempt?
Truly private clubs and religious organizations (including churches, synagogues, and mosques) are generally exempt from Title III of the ADA. However, if a religious organization rents its space to a non-religious entity that is a public accommodation (like a private daycare center), the daycare center's operations must be ADA-compliant.
How often should an ADA checklist be completed?
There is no statutory frequency, but a best practice is to conduct a full audit every 3–5 years or whenever significant changes are made to the facility's layout. Additionally, an annual review of your "Readily Achievable Plan" is recommended to see if previously "too expensive" items have become affordable.
Next Steps for Property Owners
To ensure your facility meets the standards required in 2026, start by downloading the official checklist from the ADA National Network. Assign a compliance officer or hire a Certified Access Specialist (CASp) to walk the property. Once you have identified barriers, categorize them into the four priorities and create a multi-year budget for remediation. By documenting this process, you not only improve the experience for all customers but also create a robust legal defense for your business.