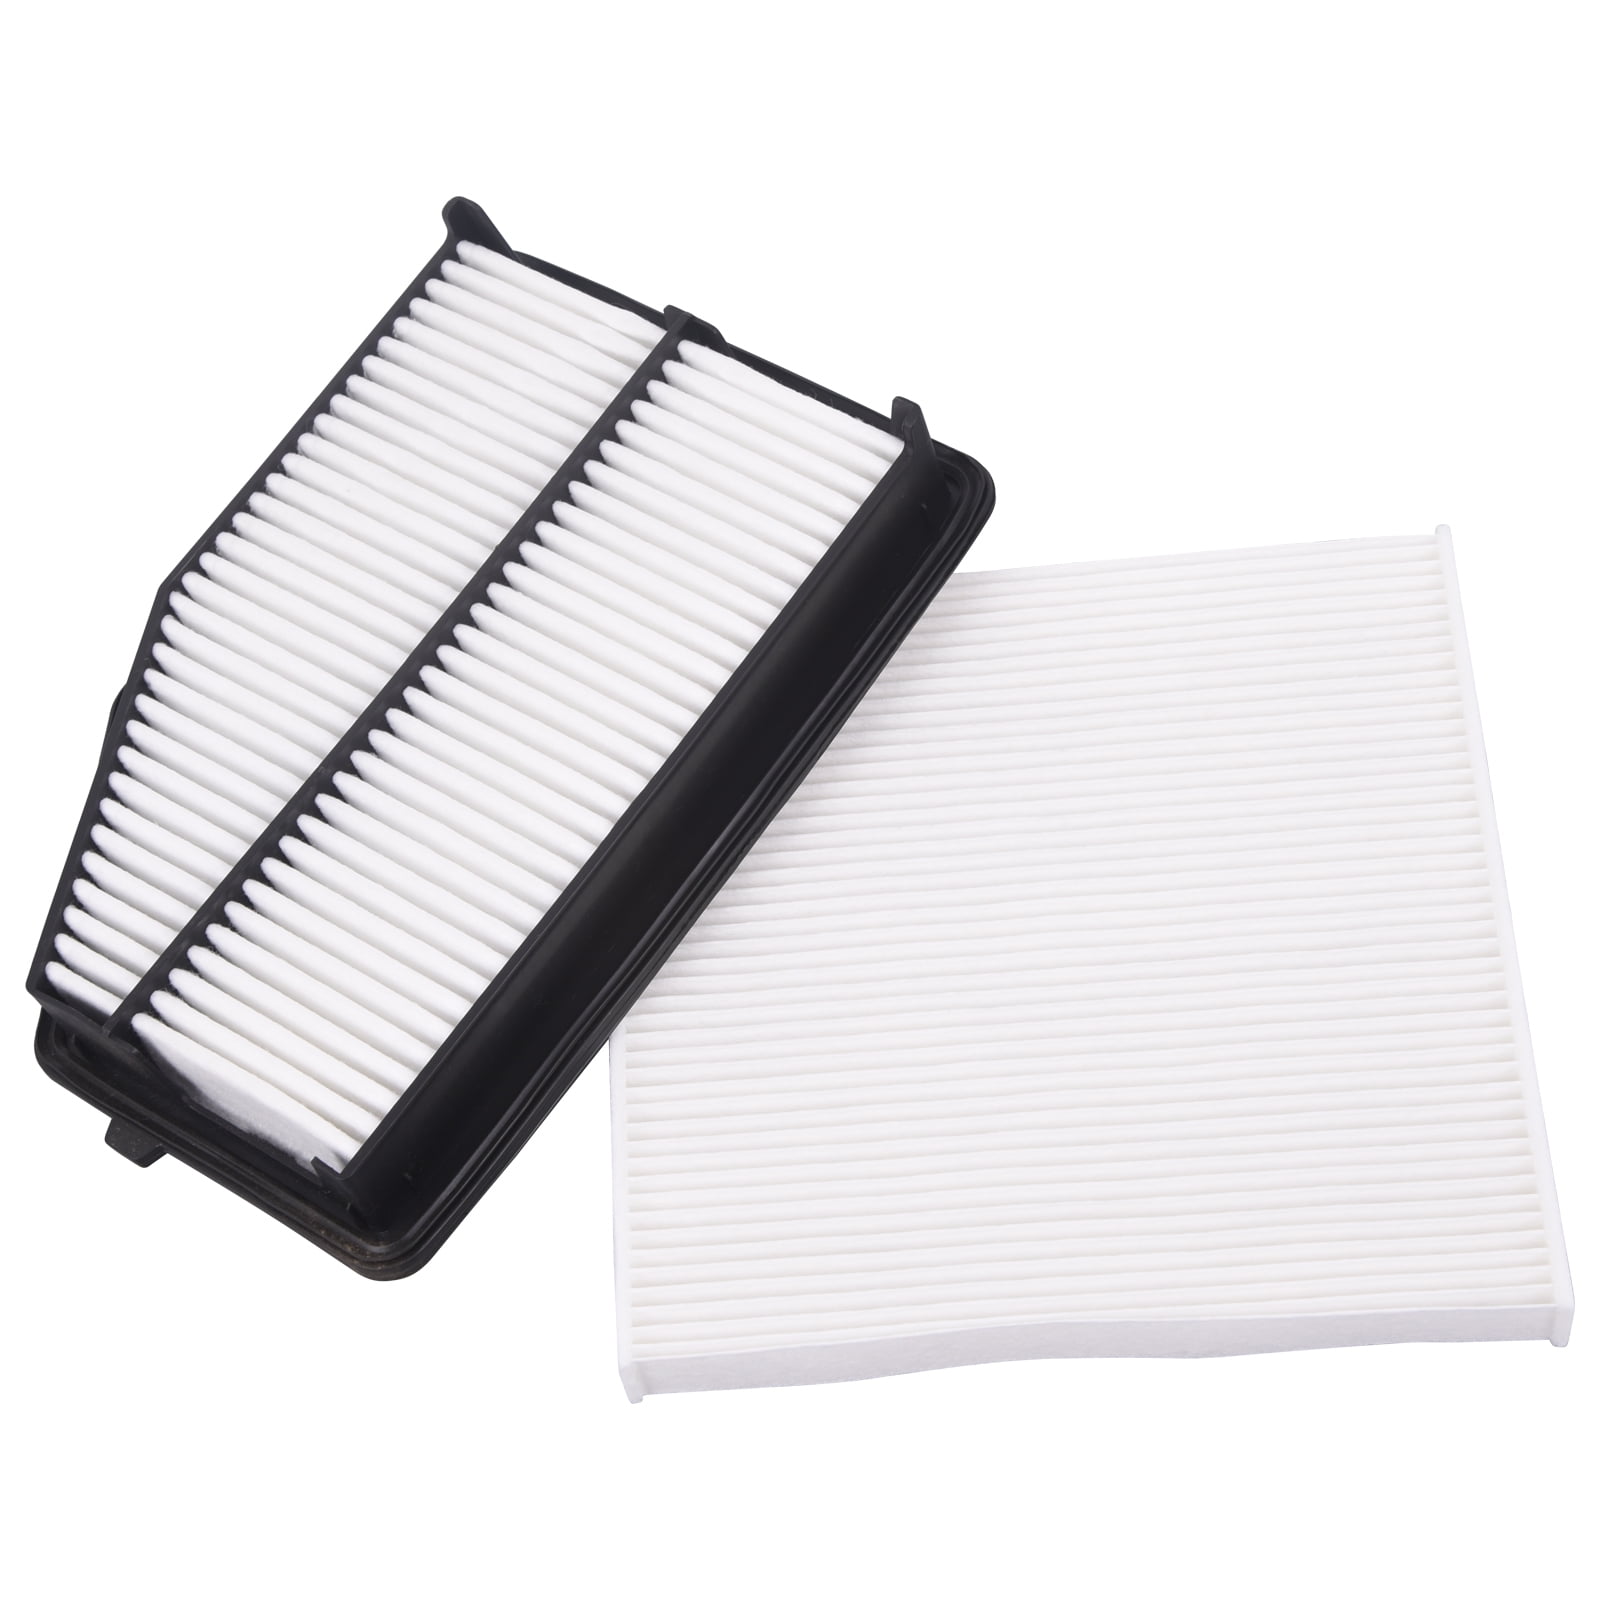
Replacing the cabin air filter in a 2018 Honda CR-V is a straightforward maintenance task that takes less than five minutes, requires zero tools, and can save you significant money compared to dealership service fees.
Maintaining clean air inside your vehicle cabin is essential for health, comfort, and the overall efficiency of your vehicle's heating, ventilation, and air conditioning (HVAC) system. For owners of the fifth-generation Honda CR-V (spanning model years 2017 through 2022), the cabin air filter is conveniently located directly behind the glove box. Over time, this disposable pleated filter traps dust, pollen, road grime, soot, mold spores, and other airborne particulates before they can circulate through the dashboard vents and into your lungs.
Understanding when to replace this filter, how to select the right replacement part, and mastering the physical replacement procedure ensures a cleaner driving environment. Whether you are noticing musty odors when turning on your air conditioning, experiencing reduced airflow from your dashboard vents, or simply adhering to routine maintenance intervals, taking charge of your CR-V's cabin air filtration is a rewarding DIY project.
Understanding the Cabin Air Filter in a 2018 Honda CR-V
The cabin air filter—sometimes referred to as the pollen filter or AC filter—serves as the primary barrier between the outside atmosphere and the interior environment of your 2018 Honda CR-V. Unlike the engine air filter, which protects internal combustion components from dust and debris, the cabin filter is dedicated entirely to passenger comfort and air quality.
Function and Importance
When your vehicle is in motion or the HVAC blower fan is active, outdoor air is drawn into the cowl intake beneath the windshield wipers. Before this air reaches the evaporator core and heater matrix, it is forced through the cabin air filter housing. A clean filter captures microscopic impurities, including:
- Pollen and Tree Spores: Significantly reducing seasonal allergy symptoms for drivers and passengers.
- Dust and Dirt: Preventing fine particulate matter from settling on the dashboard, steering column, and interior upholstery.
- Soot and Exhaust Particulates: Filtering out heavy diesel soot and urban smog generated by surrounding traffic.
- Insects and Debris: Stopping leaves, twigs, and small bugs from clogging the delicate fins of the HVAC evaporator core.
Recommended Replacement Intervals
Honda typically recommends inspecting the cabin air filter every 15,000 miles (24,000 km) or 12 months, and replacing it whenever it appears dirty, clogged, or foul-smelling. However, real-world driving conditions heavily dictate the actual lifespan of the filter. If you frequently drive on unpaved dirt roads, commute through heavy stop-and-go urban traffic with high smog levels, or park beneath heavy-shedding trees, your filter may require replacement as often as every 10,000 miles. Conversely, drivers in rural areas with clean air might stretch replacement intervals closer to 20,000 miles, though annual replacement remains a best practice.
Symptoms of a Clogged or Dirty Cabin Filter
Waiting until a filter completely fails to perform its job can reduce the efficiency of your 2018 Honda CR-V climate control system and introduce unpleasant air quality issues inside the vehicle. Recognizing the early warning signs of a saturated filter allows you to address the issue before it causes secondary problems, such as premature blower motor burnout.
Common Indicators
- Reduced Airflow: If you notice that your fan must be set to high (speed 4 or above) to achieve the same airflow that used to come out on medium (speed 2), your filter is likely choked with debris, restricting the volume of air passing through the ductwork.
- Persistent Musty or Moldy Odors: A damp, stale smell when the air conditioning or heater first turns on often indicates that organic debris trapped in the filter has absorbed moisture and begun growing mold or mildew.
- Excessive Dust Accumulation: If a fine layer of gray dust rapidly reappears on your dashboard and center console shortly after cleaning the interior, the filter has lost its filtering efficiency or has gaps allowing unfiltered air to bypass it.
- Foggy Windows and Slow Defrosting: A clogged filter restricts the intake of dry, fresh air, making it difficult for your defroster to clear condensation off the windshield during rainy or humid weather.
- Whistling Noises: In severe cases where a filter collapses or is severely obstructed, air rushing past the restriction can create an audible whistling or whining noise originating from behind the glove box.
Choosing the Right Replacement Filter
Selecting the correct replacement part for your 2018 Honda CR-V ensures a proper seal and optimal filtration performance. Cabin air filters generally fall into two categories: standard particulate filters and activated carbon/charcoal-infused filters.
Filter Types Compared
| Filter Type | Primary Material | Best Used For | Pros | Cons |
|---|---|---|---|---|
| Standard Particulate | Cellulose or synthetic paper media | General dust, pollen, and debris control | Highly cost-effective; excellent basic filtration; widely available. | Does not absorb gases, exhaust fumes, or unpleasant chemical odors. |
| Activated Carbon / Charcoal | Synthetic media infused with a carbon layer | Urban driving, heavy traffic, and allergy sufferers | Absorbs noxious exhaust gases, road odors, and volatile organic compounds (VOCs). | Typically costs slightly more than standard particulate filters. |
OEM vs. Aftermarket Options
- Original Equipment Manufacturer (OEM): Genuine Honda parts (Part Number 80292-SDA-A01 or equivalent current Honda cross-references) guarantee exact physical dimensions and filtration media specifications designed specifically for the fifth-generation CR-V housing.
- Aftermarket Brands: Reputable aftermarket manufacturers such as Fram (Fresh Breeze series), Bosch (HEPA or electrostatic), WIX, and K&N offer direct-fit alternatives. Many aftermarket options upgrade standard filtration to include activated carbon layers or washable, reusable synthetic media.
Step-by-Step Replacement Procedure for a 2018 Honda CR-V
Replacing the cabin air filter in a 2018 Honda CR-V does not require any tools. You do not need screwdrivers, pliers, or specialized automotive equipment. Working carefully and following a logical sequence prevents accidental damage to the surrounding plastic trim and glove box mechanism.
Step 1: Prepare the Cabin and Glove Box
Park your vehicle on a flat, level surface, engage the parking brake, and turn off the ignition. Open the passenger-side door to ensure adequate lighting and working room. Open the glove box fully.
Step 2: Disengage the Glove Box Stopper Arm
To allow the glove box to drop past its normal stopping point and expose the filter housing behind it, you must disconnect the damper/stopper arm located on the right (outer) side of the glove box:
- Look at the right side of the open glove box to locate the small black arm connected to the side wall.
- Gently push or pull the rubberized arm outward (toward the passenger door) to pop its mounting peg out of the slot on the glove box frame.
- Allow the arm to retract or hang loosely out of the way.
Step 3: Release the Glove Box Side Stops
With the damper arm detached, the glove box still hangs from its bottom hinge pins, but the upper sides need to clear the dashboard frame:
- Grip both the left and right outer upper edges of the glove box firmly with your hands.
- Push both sides inward toward the center of the glove box simultaneously. This action flexes the plastic sides slightly, allowing the built-in plastic stop tabs to clear the upper dashboard catches.
- Allow the glove box to swing downward completely toward the floorboards, hanging upside down by its lower hinge pivots.
Step 4: Locate and Open the Filter Access Door
Looking into the newly exposed cavity behind the upper rear of the glove box, you will see a horizontal plastic rectangular cover plate. This is the cabin air filter housing door.
- Locate the plastic locking tabs situated on the left and right ends of the access cover.
- Squeeze or press these tabs inward and pull the cover straight toward you to unclip it. Set the cover aside in a safe location.
Step 5: Remove the Old Filter and Housing Tray
- Pull the old filter straight out of the housing slot. Be mindful that an old, dirty filter may hold accumulated leaves, dead insects, or loose dust; pull it out horizontally and carefully tilt it upward if necessary to avoid spilling debris onto the passenger floor mat.
- If your CR-V utilizes a plastic slide-in filter tray (depending on trim level and whether previous service installed one), note its orientation before sliding the old filter element out of the tray.
Step 6: Inspect and Clean the Housing Interior
Before installing the new filter, take a flashlight and inspect the empty housing cavity. Use a small handheld vacuum or a damp microfiber cloth to wipe away any residual dust, spider webs, or loose leaves that managed to bypass the old filter element. Ensuring a clean housing prevents premature contamination of your new filter.
Step 7: Install the New Cabin Air Filter
Proper orientation is critical when installing a new cabin air filter. Airflow direction matters.
- Examine the frame of your new filter for an arrow labeled "AIR FLOW" or "FLOW".
- On a 2018 Honda CR-V, the air flows downward from the top of the housing into the blower motor. Therefore, the arrows on the filter must point DOWN.
- Slide the new filter horizontally into the housing slot, ensuring the edges seat snugly within the internal guide tracks without bending or crushing the pleated paper walls.
Step 8: Reassemble the Glove Box Assembly
- Align the filter access cover door with the housing opening and push it straight back until the left and right clips click securely into place.
- Lift the glove box upward, gently squeezing the outer side walls inward again to clear the dashboard frame stops until the box swings back to its closed position.
- Reach over to the right side and reattach the damper stopper arm by pushing its mounting peg back into the receiving slot on the glove box frame.
- Open and close the glove box once to verify smooth, unhindered operation.
Troubleshooting Common Installation Issues
While replacing a 2018 Honda CR-V cabin air filter is simple, minor issues can occasionally arise during reassembly.
- Glove Box Won't Close Properly: This usually happens if the glove box side stop tabs are trapped outside the dashboard frame instead of resting inside, or if the damper arm is jammed. Ensure both side tabs clear the frame when lifting the box.
- Persistent Rattling Noise After Installation: If you hear a rattle from the dashboard while driving, the filter access door may not be fully clipped on both sides, or the filter itself is loose inside the housing. Reopen the glove box, verify the door snaps are fully engaged, and ensure the filter is pushed all the way into position.
- Airflow Still Weak: If replacing the filter does not restore adequate airflow, the issue may lie deeper within the HVAC system, such as a failing blower motor resistor, a blocked fresh air cowl intake outside the windshield, or a failing blower fan unit.
Frequently Asked Questions
Do I need any tools to change the cabin air filter on a 2018 Honda CR-V?
No tools are required. The entire process relies on hand-releasable plastic clips and a flexible glove box design. You can complete the replacement entirely bare-handed in under five minutes.
Are cabin air filters and engine air filters the same thing?
No, they are completely separate components. The cabin air filter cleans the air entering the passenger compartment through the HVAC system vents, while the engine air filter cleans the air supplied to the combustion chambers under the hood. They have different sizes, shapes, and replacement intervals.
Can I wash and reuse my 2018 Honda CR-V cabin air filter?
Standard paper and activated carbon filters are disposable and cannot be washed; attempting to wash paper media will destroy the filter structure. However, if you have installed a specialized aftermarket washable synthetic filter (such as certain reusable performance filters), you must follow the manufacturer's specific cleaning, drying, and re-oiling instructions before reinstalling it.
Will changing my own cabin air filter void my Honda factory warranty?
No. Routine maintenance items like cabin air filters, engine air filters, wiper blades, and wiper fluid are classified as consumable maintenance parts. Performing these replacements yourself or having an independent shop perform them does not void your vehicle's factory warranty, provided you use correct parts and do not cause physical damage to the vehicle during the process.
Why does my new filter have an arrow on it, and which way should it point?
The arrow indicates the direction of airflow through the filter media. In the 2018 Honda CR-V, air flows downward through the housing toward the blower motor. Therefore, the arrow printed on the filter edge must point down toward the floorboard during installation. Installing it upside down can cause the filter to collapse under heavy airflow pressure.
Final Recommendations
Regularly maintaining the cabin air filter in your 2018 Honda CR-V is an easy, cost-effective way to preserve a healthy interior environment and protect your HVAC system from unnecessary strain. Make it a habit to check your filter at least once a year—ideally right before peak pollen season in the spring or heading into heavy air conditioning use in the summer. By taking five minutes out of your schedule to swap out a clogged filter for a fresh one, you ensure crisp, clean airflow on every drive.