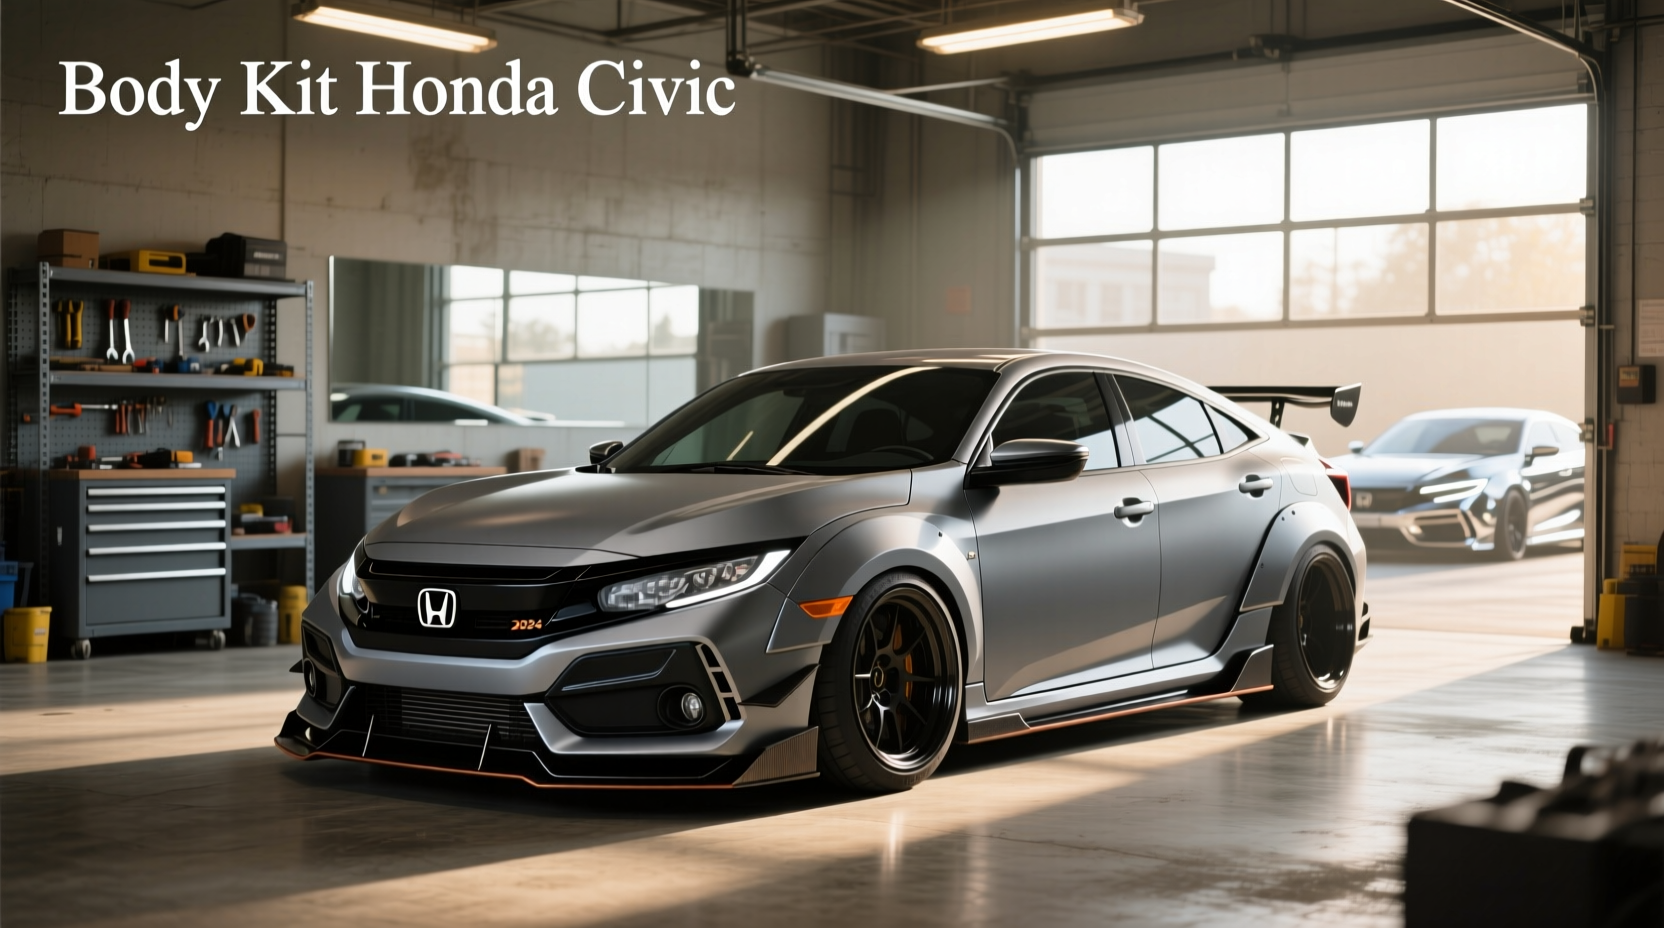
Upgrading a 2009 Honda Civic Si with a body kit allows enthusiasts to transform the factory appearance into an aggressive, track-inspired machine while maintaining the iconic lines of the eighth-generation platform. Whether you drive the sleek Coupe (FG2) or the practical Sedan (FA5), choosing the correct aerodynamic components requires balancing material quality, fitment precision, painting costs, and daily driving practicality.
Understanding the Eighth-Generation Civic Si Platform
The 2009 model year sits right in the middle of the eighth-generation Honda Civic lifecycle, following a mid-cycle refresh that introduced updated front grilles, revised headlights, and slightly modified bumper geometries. Because of this refresh, body kits designed for 2006 to 2008 models may require careful verification before installation on a 2009 or 2010–2011 vehicle, particularly regarding the front bumper mounting tabs and lower valance contours.
Furthermore, the Civic Si was offered in two distinct body styles: the two-door coupe and the four-door sedan. While components like side skirts may occasionally interchange between identical wheelbases, front and rear bumpers are entirely body-style specific. Attempting to fit a coupe front bumper or rear lip onto a sedan will result in major alignment gaps around the fenders, headlights, and trunk lid. Identifying your exact chassis code—FG2 for the coupe or FA5 for the sedan—is the absolute first step in sourcing an accurate body kit.
Another critical consideration is whether you are looking for a complete widebody kit, a replacement bumper-and-skirt kit, or an add-on lip kit. Full replacement kits swap out the entire factory bumper covers for custom fiberglass or polyurethane molds, drastically altering the vehicle's profile. Conversely, lip kits attach directly to the bottom of the factory bumpers and side sills, preserving OEM crash safety structures while offering a subtle, lowered aesthetic popularized by factory optional accessories like the Honda HFP (Honda Factory Performance) kit.
Material Selection: Polyurethane vs. Fiberglass vs. Carbon Fiber
The material composition of a body kit dictates its durability, price, weight, and installation complexity. Understanding how each material behaves under real-world driving conditions helps prevent costly mistakes and premature damage.
Polyurethane
Polyurethane is widely considered the gold standard for street-driven vehicles. It is flexible, highly impact-resistant, and capable of absorbing minor scrapes against steep driveways or parking blocks without cracking.
- Pros: Highly durable, flexible, and forgiving under minor impacts.
- Cons: Heavier than fiberglass or carbon fiber; raw unpainted polyurethane requires specific adhesion promoters before painting to prevent peeling.
Fiberglass
Fiberglass kits are typically the most affordable and offer the sharpest, most intricate styling lines because of the mold-making process. However, fiberglass is rigid and brittle.
- Pros: Lightweight, economical, and easy to repair with resin and glass mat if damaged.
- Cons: Prone to cracking upon light impact; often requires extensive bodywork ("prep work") by a professional shop to achieve proper alignment and smooth surfaces.
Carbon Fiber
Carbon fiber is prized for its high strength-to-weight ratio and distinctive raw woven aesthetic. While full carbon fiber body kits are rare and extremely expensive, carbon fiber lips, splitters, and diffusers are popular additions.
- Pros: Extremely lightweight, visually striking, and exceptionally rigid.
- Cons: High cost; susceptible to UV damage and yellowing over time if not coated with a marine-grade clear coat; shatters upon heavy impact.
| Material | Impact Resistance | Flexibility | Cost Range | Prep & Paint Difficulty |
|---|---|---|---|---|
| Polyurethane | High | High | Moderate | Moderate (Requires adhesion promoter) |
| Fiberglass | Low | None / Brittle | Low to Moderate | High (Requires extensive shaving/filling) |
| Carbon Fiber | Moderate | Low | High | Low (Usually clear-coated from factory) |
Key Components of a Complete Civic Si Aero Kit
A comprehensive exterior upgrade package typically consists of multiple aerodynamic pieces designed to work in harmony. While some owners purchase full matching kits from a single manufacturer, others mix and match individual components to achieve a personalized look.
Front Bumper or Front Lip Splitter
The front element is the most visually striking part of any build and the most vulnerable to road hazards. A full replacement front bumper changes the entire expression of the vehicle, often featuring larger air intakes for brake cooling and an aggressive front splitter. Alternatively, a front lip attaches to the factory Si bumper, maintaining ground clearance while lowering the visual center of gravity.
Side Skirts
Side skirts bridge the visual gap between the front and rear wheels, creating a lower profile along the rocker panels. For the 2009 Civic Si, side skirts must contour correctly to the factory jacking points and door sills. Poorly fitting side skirts will interfere with door operation or leave unsightly gaps where road salt and moisture can accumulate.
Rear Bumper or Rear Lip / Diffuser
The rear treatment completes the aerodynamic package, often incorporating faux diffuser fins or cutouts designed to accommodate aftermarket single or dual exhaust systems. Because the K20Z3 engine in the Civic Si frequently receives exhaust upgrades, ensuring the rear kit provides adequate clearance for larger exhaust tips is essential to prevent melting or rattling.
Spoilers and Wing Extensions
While not technically part of the ground effects kit, a matching trunk spoiler, roof spoiler, or decklid Gurney flap ties the front and rear aerodynamics together. Coupe models often feature a raised factory wing, whereas sedan models feature a more subtle flush-mount lip spoiler.
Sourcing, Verification, and Cost Considerations
Purchasing body kits online requires careful vetting of manufacturers and suppliers. The aftermarket automotive space features both reputable brands known for OEM-like fitment and budget operations that ship warped, poorly molded parts requiring hours of custom fiberglass work.
- Research Brand Reputation: Look for active community forums, owner clubs, and verified customer reviews that showcase unpainted parts out of the box. Inspect photos for wavy surfaces or misaligned mounting holes.
- Factor in Painting and Installation Costs: Raw or unprimed kits cannot simply be bolted onto a car. Professional body shops charge significant labor hours for dry-fitting, sanding, priming, color-matching, and final clear-coating. Often, the cost of professional paint and installation equals or exceeds the purchase price of the kit itself.
- Verify Shipping Terms: Because full bumpers and side skirts are oversized freight items, shipping costs can be exceptionally high. Always check whether the quoted price includes commercial freight shipping or residential delivery surcharges.
Step-by-Step Installation Best Practices
Installing a body kit correctly demands patience, proper tools, and a methodical approach. Attempting to force fiberglass or polyurethane components into place without proper preparation almost always results in stress fractures or uneven panel gaps.
- Unpack and Let Rest: Unbox your polyurethane or fiberglass components immediately upon delivery and lay them flat in a warm area. Parts often shift slightly during transit; allowing them to return to ambient temperature restores their original molded shape.
- Perform a Dry Fit: Before taking any parts to a paint shop, test-fit every piece onto the vehicle using industrial masking tape and spring clamps. Identify any high spots, trimming requirements, or missing mounting tabs.
- Prep and Prime: Clean the surfaces thoroughly with a wax and grease remover. For polyurethane, apply a specialized flexible adhesion promoter before spraying high-build primer. For fiberglass, fill any pinholes with body filler and block-sand until completely smooth.
- Paint and Clear Coat: Have a professional match your factory paint code (found on the driver-side door jamb sticker—such as Milano Red [R-81], Crystal Black Pearl [NH-731P], or Dyno Blue Pearl [B-553P]). Apply multiple layers of clear coat to protect against stone chips.
- Secure with Quality Hardware: Avoid relying solely on double-sided automotive tape. Secure primary load-bearing edges with OEM-style push clips, stainless steel self-tapping screws, and threaded rivet nuts (nutserts) where necessary to ensure the kit withstands highway wind speeds.
Frequently Asked Questions
Will a 2009 Honda Civic Si Coupe body kit fit a Sedan model?
No. The 2009 Honda Civic Si Coupe (FG2) and Sedan (FA5) have different overall lengths, wheelbase proportions, door lengths, and bumper geometries. Components such as front bumpers, rear bumpers, and side skirts are completely non-interchangeable between the two body styles.
Do aftermarket body kits come painted from the manufacturer?
The vast majority of body kits arrive unpainted, usually in a raw black polyurethane finish, a grey fiberglass gelcoat, or a raw carbon fiber weave. Painting must be handled separately by the buyer or a local automotive paint shop to ensure an exact color match to the vehicle's factory paint code.
How can I prevent a front lip or body kit from scraping on speed bumps?
Maintaining proper ride height is critical. If your Civic Si is lowered on coilovers or lowering springs, a front lip will significantly reduce ground clearance. Approach steep inclines at a sharp diagonal angle, install flexible rubber lip protectors along the bottom edge, and drive slowly over speed bumps.
Are professional tools required to install a Civic Si body kit?
While basic hand tools like socket sets, screwdrivers, and trim removal tools are sufficient for most installations, specialized tools such as a heat gun (for shaping polyurethane), a rotary sanding tool, and a jack with sturdy jack stands make the process much smoother and safer.
Next Actions and Final Recommendations
Before pulling the trigger on a purchase, verify your vehicle's exact trim, body style, and paint code. Allocate a realistic budget that accounts for not just the upfront retail price of the hardware, but also freight shipping, professional body prep, and paint matching. Taking the time to execute a proper dry-fit and professional installation ensures your 2009 Honda Civic Si maintains a clean, aggressive aesthetic that withstands the rigors of daily driving.