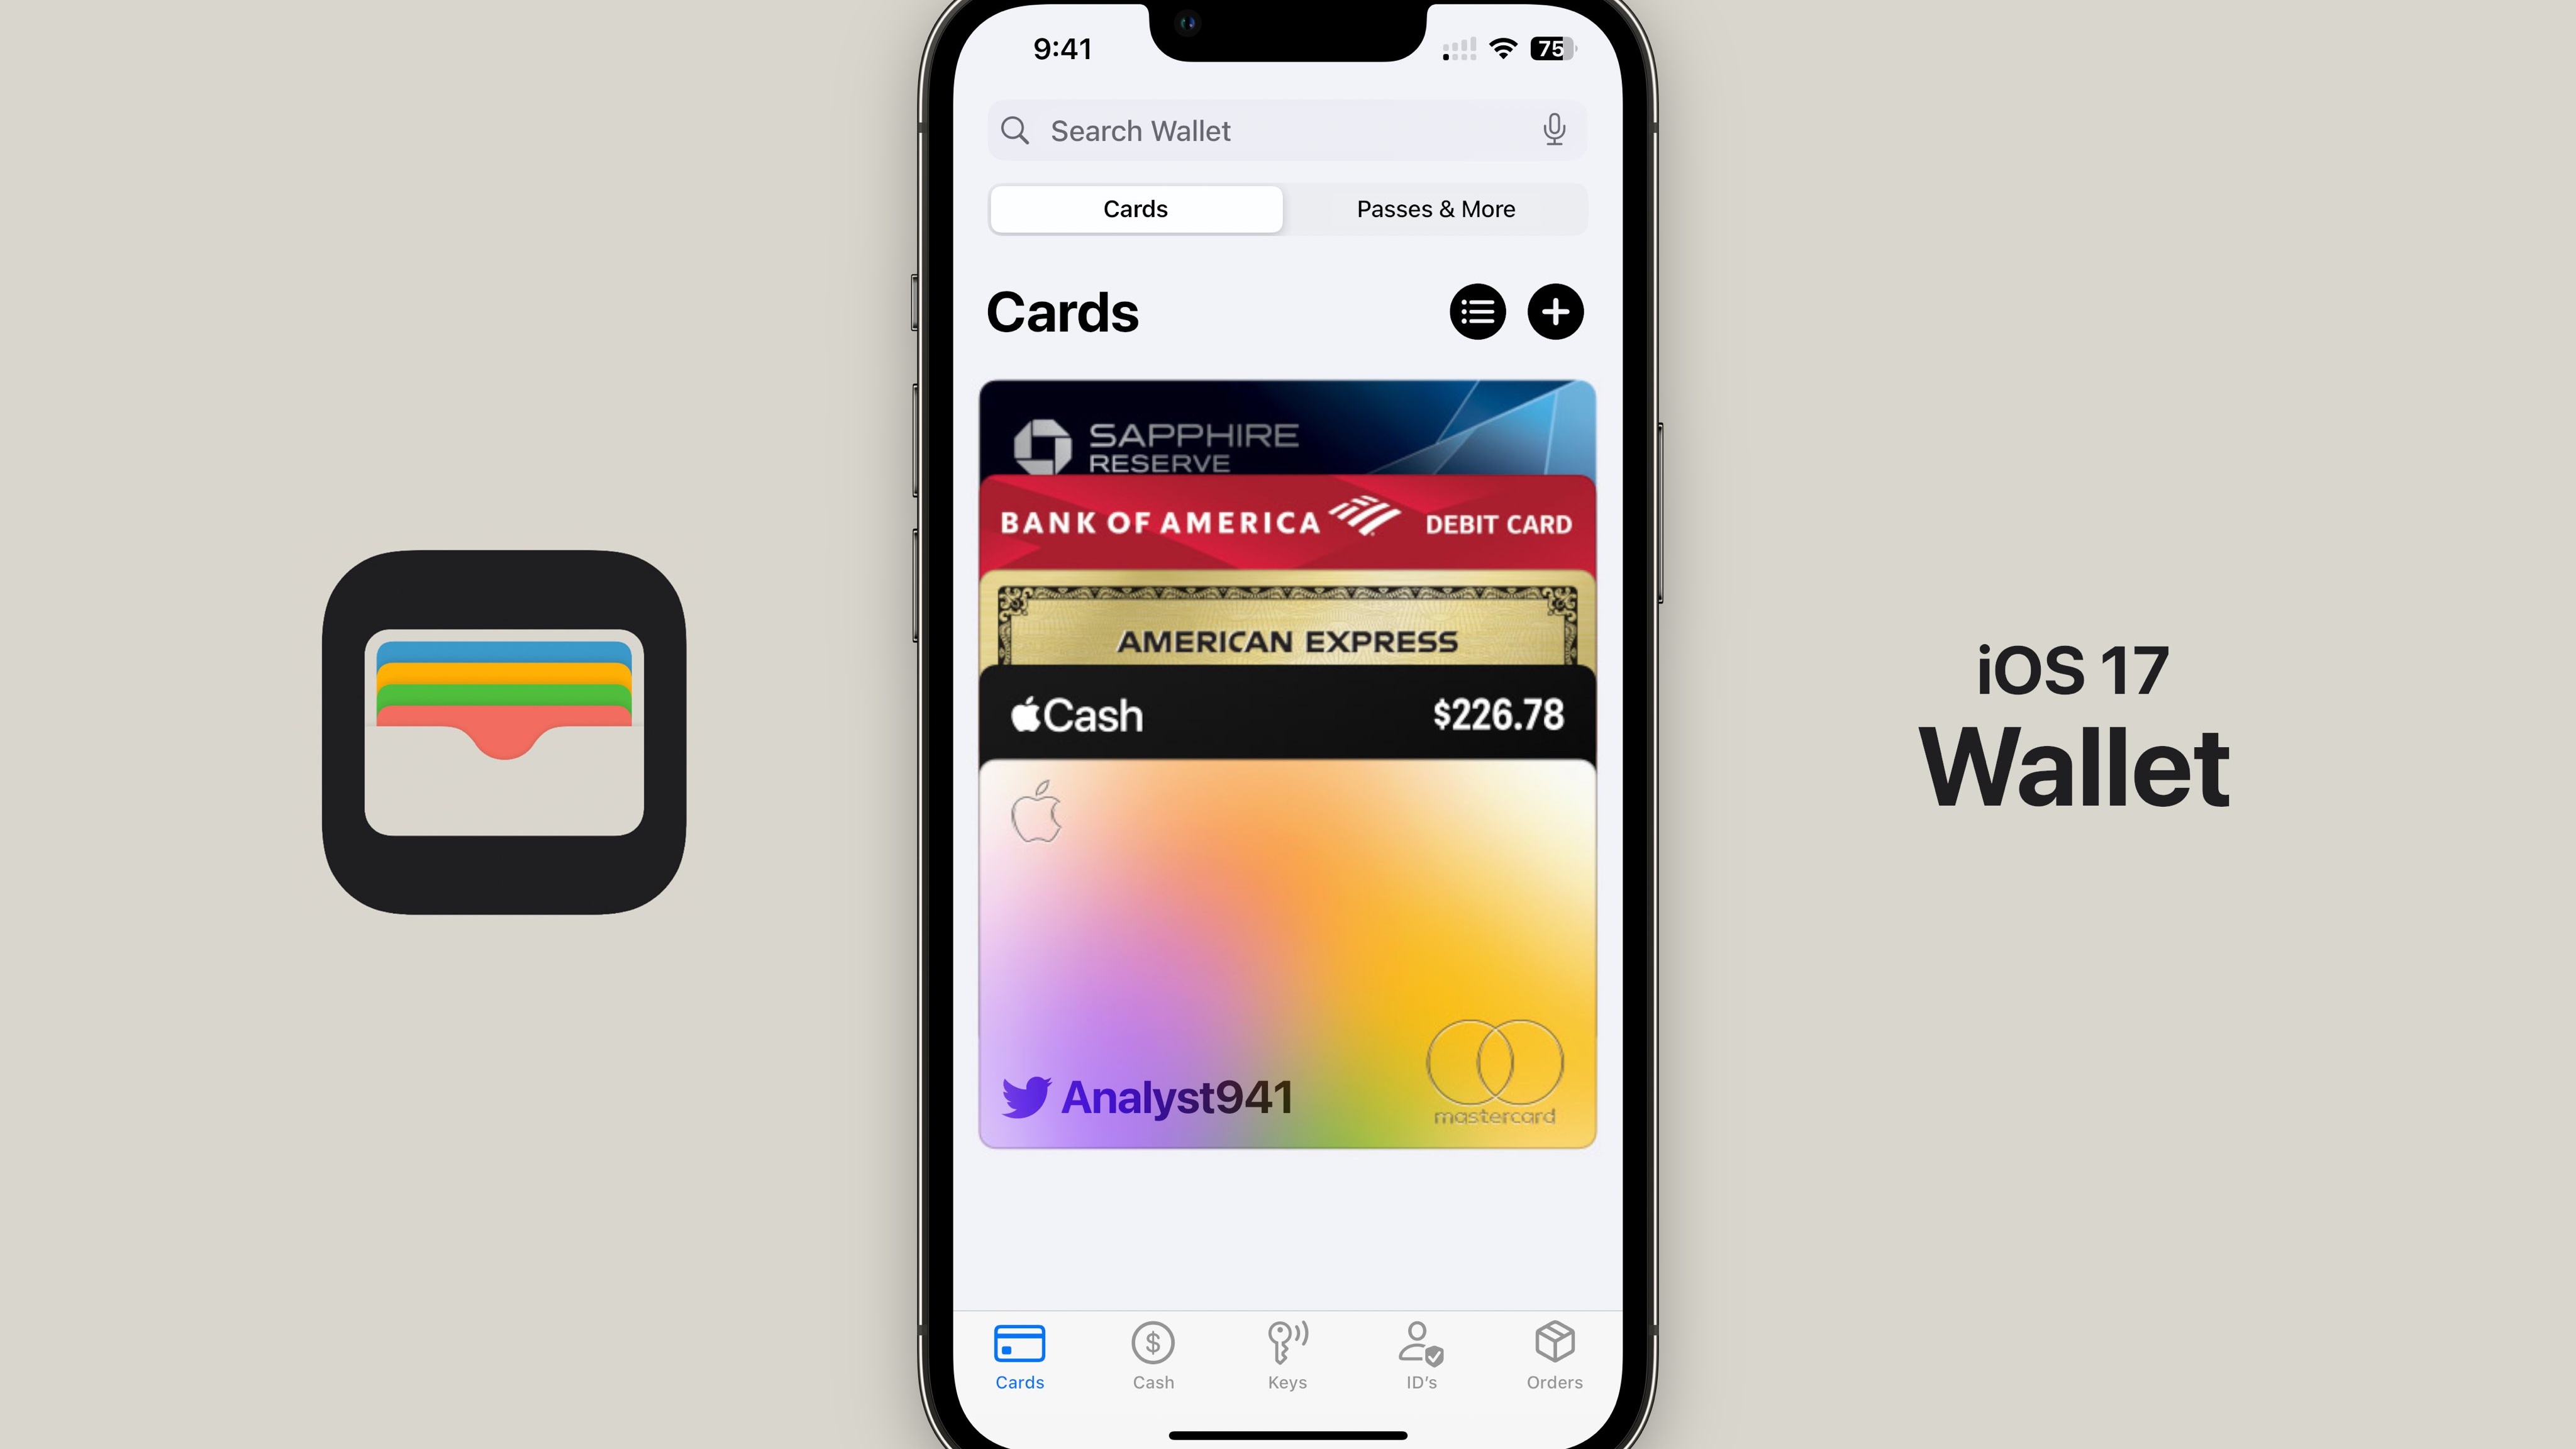
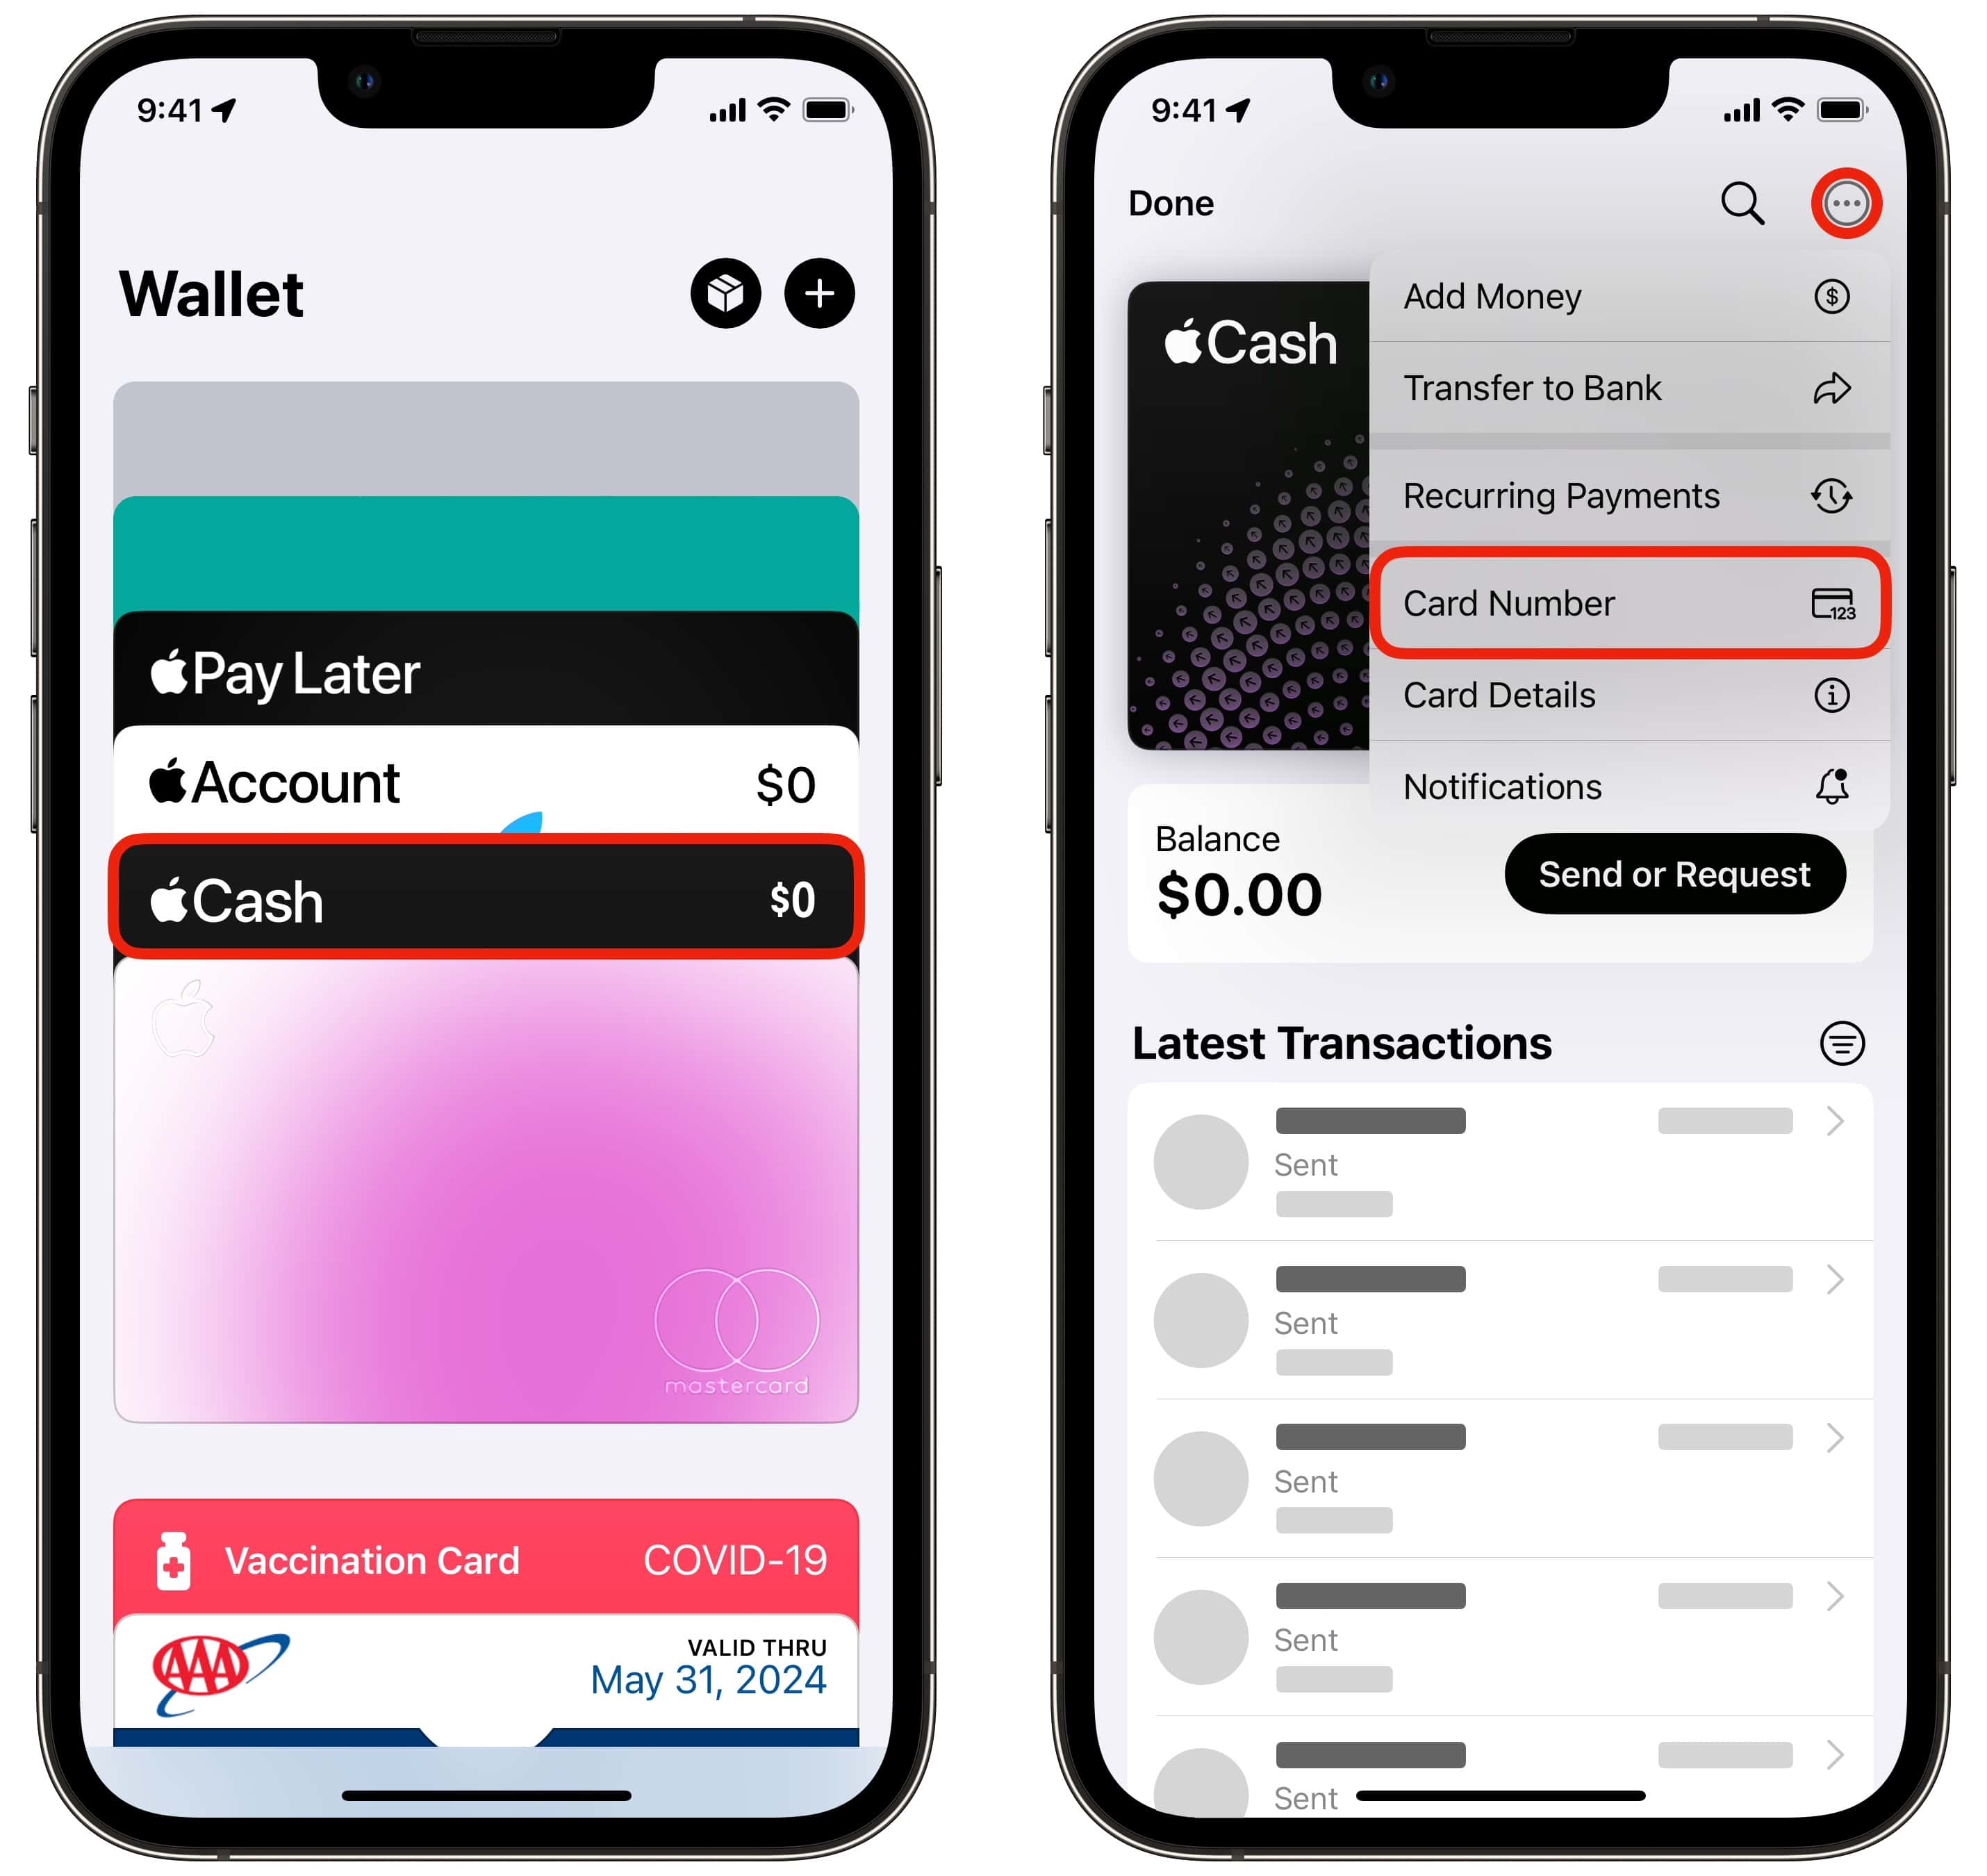
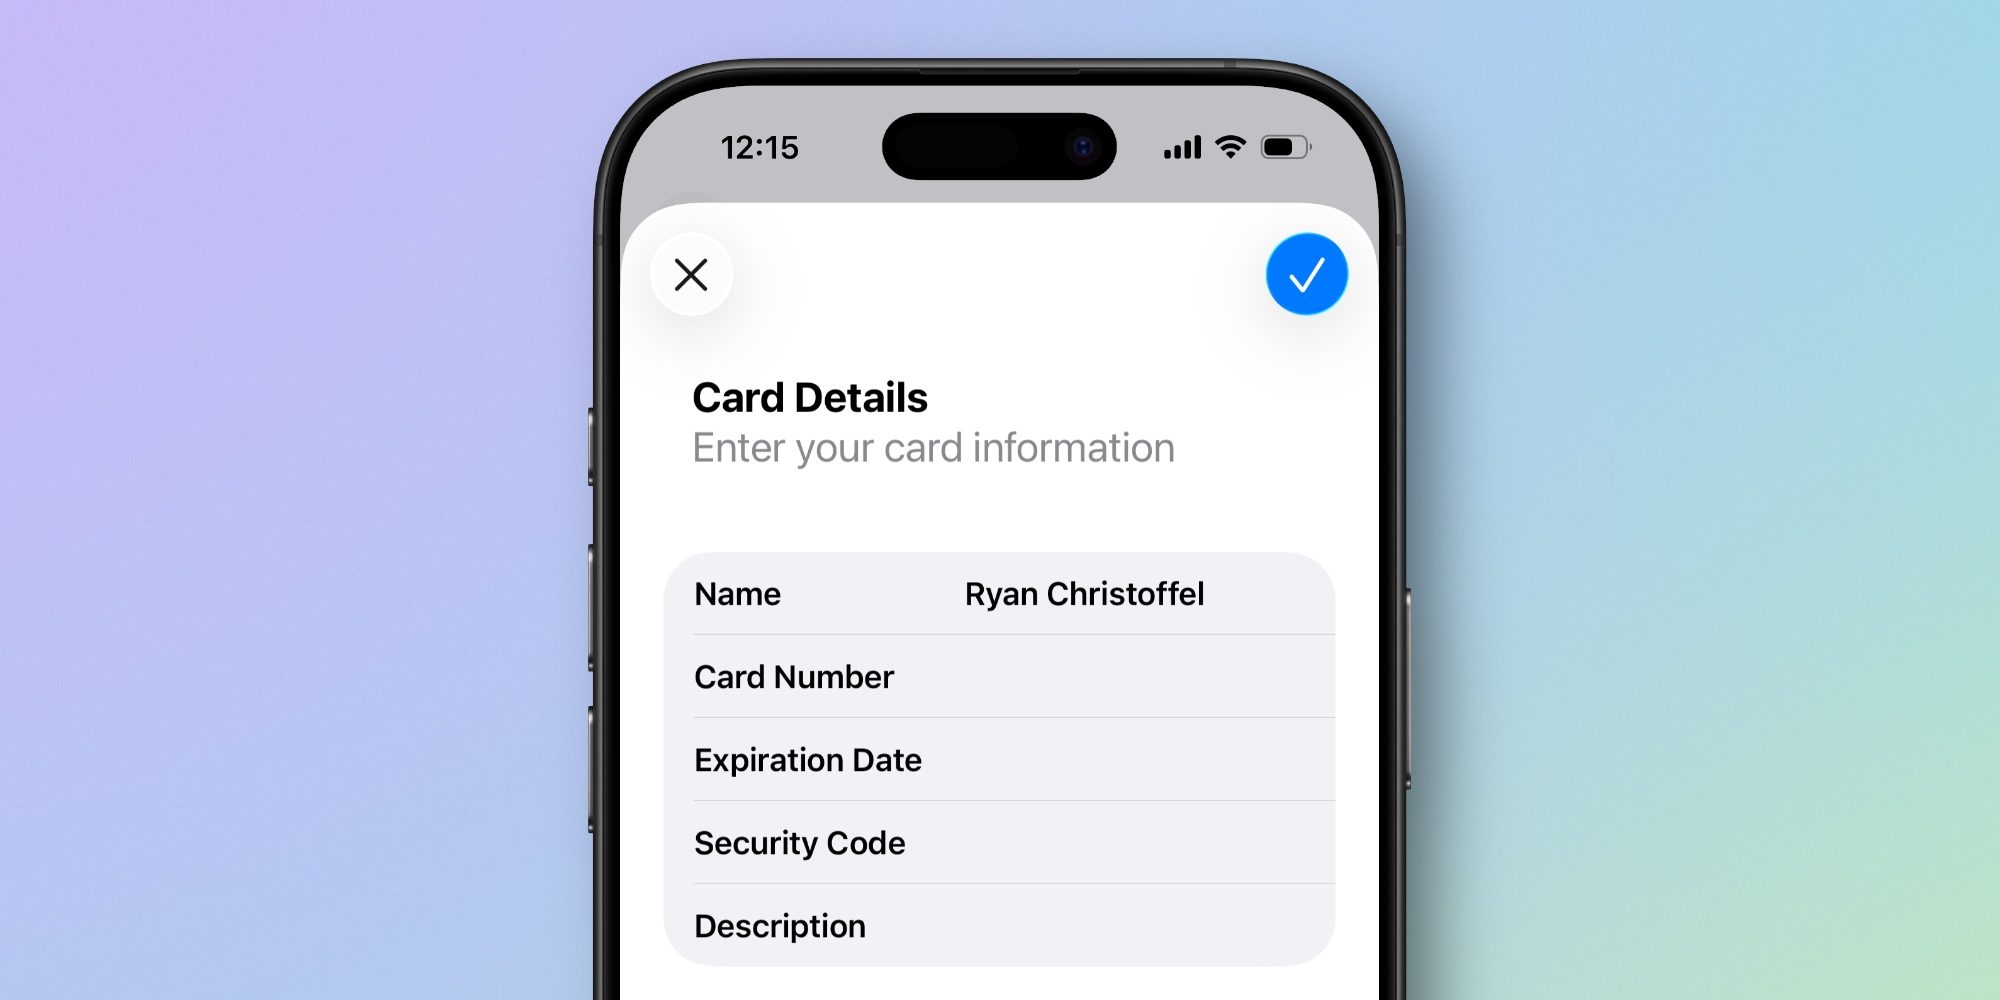
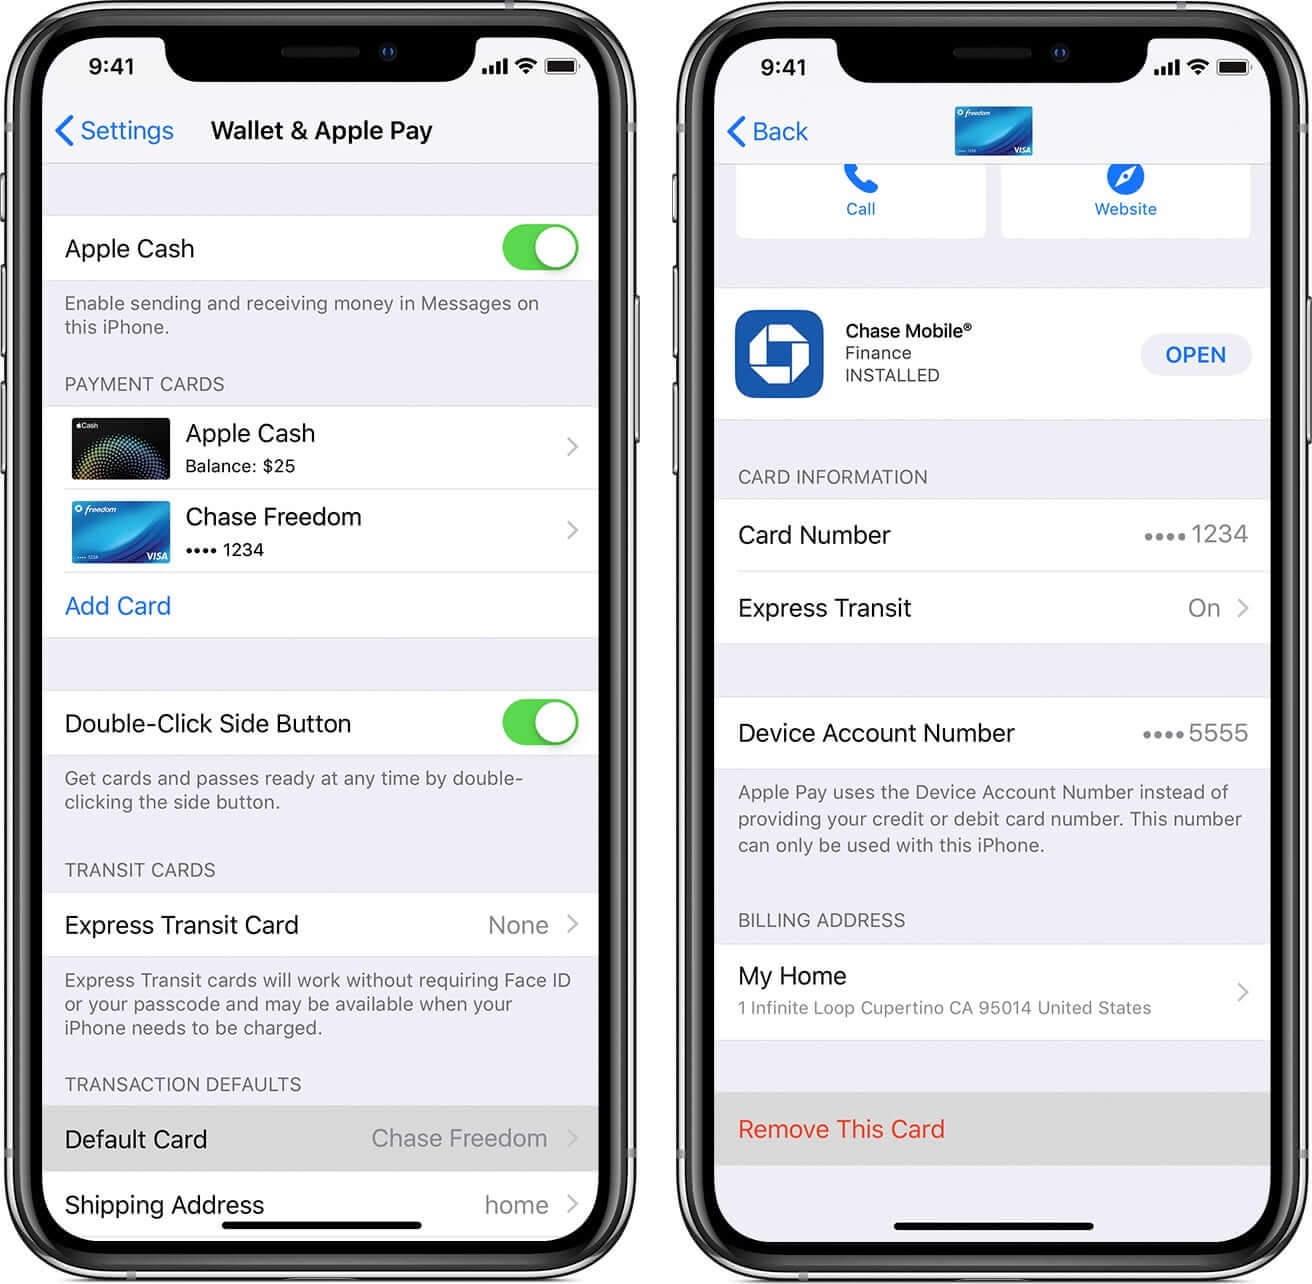
Adding your Visa card to Apple Wallet involves navigating to the Wallet app on your iPhone or Apple Watch, selecting the "Add" button, and following the on-screen prompts to scan your card or enter your payment information manually. This process enables contactless payments via Apple Pay at millions of retail terminals, within apps, and across the web, leveraging secure tokenization to protect your actual card details during every transaction.
Understanding the Apple Wallet Ecosystem
Apple Wallet is the centralized digital repository for your iPhone and Apple Watch, designed to store payment cards, transit passes, digital keys, tickets, and identity credentials. When you add a Visa card to this ecosystem, you are essentially provisioning a digital token that represents your physical card. This shift from physical plastic to digital credentialing is governed by the Apple Pay platform, which ensures that your full primary account number (PAN) is never stored on the device or shared with merchants during a transaction.
The underlying technology relies on a "Secure Element," a dedicated, industry-standard chip designed to store your payment information in an encrypted format. When you authorize a payment using Face ID, Touch ID, or your device passcode, the system generates a unique, one-time-use dynamic security code for that specific transaction. This ensures that even if a retail terminal is compromised, your actual Visa card data remains isolated and secure.
Prerequisites for Successful Card Integration
Before you begin the process of adding your Visa card, ensure that your device and environment meet the necessary technical requirements. Not every bank or card issuer supports Apple Pay, and the capability relies on a handshake between Apple’s servers and your financial institution's backend systems.
Device Compatibility
You must use an Apple device that features an NFC (Near Field Communication) chip and is running a contemporary version of iOS or watchOS. Devices such as the iPhone 6 and later, and all models of the Apple Watch, are equipped for contactless payments. Ensure your operating system is updated to the latest version to maintain compatibility with updated bank security protocols.
Financial Institution Eligibility
Your Visa card issuer must participate in the Apple Pay program. Most major global banks and credit unions provide this support, but regional institutions or specific card types (such as certain corporate, prepaid, or government-issued cards) may have limitations. You can verify your bank’s participation by checking the official list of Apple Pay participating banks maintained by Apple or by reviewing the documentation provided by your card issuer.
Regional Availability
Apple Pay is not available in every country or territory. Before attempting to add your card, verify that your region supports Apple Pay for Visa cards. If you are traveling or have a card issued in a country different from your Apple ID region, you may encounter restrictions, as the card issuer must have authorized the specific transaction type for international digital wallet usage.
Step-by-Step Guide to Adding Your Visa Card
The procedure for adding a card is standardized across Apple devices. Whether you are using an iPhone or an Apple Watch, the interface is designed to guide you through verification and activation systematically.
Adding a Card to Your iPhone
- Open the Wallet App: Locate and launch the Wallet application on your iPhone home screen.
- Initiate the Add Process: Tap the "+" (plus) icon located in the upper-right corner of the interface.
- Select Card Type: Choose "Debit or Credit Card" from the list of options.
- Scan or Enter Details: Position your Visa card within the camera frame so the app can automatically detect the card number and expiration date. Alternatively, tap "Enter Card Details Manually" to type the information yourself.
- Security Verification: Enter the CVV code found on the back of your card.
- Accept Terms and Conditions: Review the terms provided by your bank and tap "Agree."
- Identity Verification: Your bank will likely require a verification step. This may include receiving a one-time passcode via SMS or email, using your bank's mobile app, or calling a designated verification number.
- Finalization: Once verified, the card is activated. You may be prompted to set it as your default payment card.
Adding a Card to Your Apple Watch
- Use the Watch App: Open the "Watch" app on your iPhone.
- Navigate to Wallet: Go to the "My Watch" tab, scroll down, and select "Wallet & Apple Pay."
- Add the Card: Tap "Add Card" and follow the same prompts used for the iPhone.
- Synchronization: The watch will sync the card details from the iPhone’s secure element to the watch’s internal storage, allowing you to use your watch for payments even when your phone is not nearby.
Comparison of Methods and Features
| Feature | Scanning Card | Manual Entry | Bank App Integration |
|---|---|---|---|
| Speed | Fastest | Moderate | Fast |
| Accuracy | High (OCR based) | User-dependent | Highest (Data pushed) |
| Security | Standard | Standard | Enhanced |
| Availability | All cards | All cards | Requires bank app |
Using the bank app integration method is often the most reliable, as it pushes your authentication credentials directly from your bank’s server to the Wallet app, bypassing manual entry errors and sometimes skipping the additional SMS verification step.
Security Measures and Fraud Prevention
One of the most significant advantages of adding a Visa card to Apple Wallet is the implementation of tokenization. When your card is added, your actual 16-digit card number is replaced by a "Device Account Number." This number is specific to that device. Merchants never see your card number; they receive only the tokenized data.
Lost or Stolen Devices
If your iPhone or Apple Watch is lost or stolen, your card data is not accessible without your biometric authentication (Face ID/Touch ID) or passcode. You can use the "Find My" service to place your device in "Lost Mode," which suspends the ability to use your cards for payments without needing to cancel the physical card itself. This offers a distinct security advantage over a physical wallet, where a lost card must be cancelled immediately.
Monitoring Transactions
Transactions made via Apple Wallet are recorded in the Wallet app and your bank's mobile application. You can view your recent transaction history by tapping on the card within the Wallet app. If you notice an unauthorized charge, you should contact your bank immediately to dispute the transaction. Because Apple Pay provides a distinct transaction ID for every purchase, your bank can easily pinpoint exactly where and when the fraud occurred.
Troubleshooting Common Issues
Even with a streamlined process, users may encounter obstacles during setup or usage.
- "Card Not Supported": If you receive this error, double-check that your bank is on the list of participating institutions. Sometimes, specific Visa card products from an otherwise supportive bank—such as specialized business cards—are excluded from the digital wallet program.
- Verification Failure: If you do not receive the verification code, check that your phone number and email address on file with your bank are up to date. Banks often use the contact information stored in their database to trigger the SMS or email verification codes.
- Connection Issues: Ensure you have a stable internet connection. While the secure element does not always require a live connection to make a purchase, the initial adding and verification of the card require a stable data link to the issuing bank’s servers.
- Time-out Errors: If the setup process freezes, close the Wallet app completely and restart your device. This forces the background processes to refresh, often resolving temporary glitches in the communication with the Apple Pay server.
Frequently Asked Questions
Does adding my card to Apple Wallet incur any extra fees?
No, using Apple Pay through your Apple Wallet is free for the consumer. Apple does not charge the user for adding or using a card. However, check your bank’s standard fee schedule, as some banks may have specific policies regarding digital wallet transactions, though this is rare.
Can I add the same Visa card to multiple devices?
Yes, you can add the same physical Visa card to multiple Apple devices, such as an iPhone, an Apple Watch, and an iPad. Each device will generate a unique Device Account Number, so removing the card from one device does not affect your ability to use it on others.
Do I need to be connected to the internet to pay with Apple Wallet?
No, once your card is successfully added and activated, you do not need an active internet connection to make a standard contactless payment at a retail store. The secure element holds the necessary information to complete the transaction offline.
What happens to my Apple Wallet card if I get a new physical Visa card?
If your card is replaced due to expiration, it often updates automatically through the Visa network. However, if your card is replaced due to loss or theft, you must remove the old card from your Wallet and add the new card details manually.
Can I use Apple Pay for all online purchases?
You can use Apple Pay on any website or within any app that displays the "Apple Pay" button. If a website only displays the standard Visa logo but not the Apple Pay mark, you will need to enter your card details manually as you would on a non-integrated site.
Next Actions and Recommendations
After you have successfully added your Visa card, take a moment to set it as your "Default Card" in the Wallet settings. This ensures that the card is automatically selected whenever you double-click the side button on your device. For enhanced security, verify that "Require Face ID for Payments" is enabled in your settings. This setting prevents accidental payments and adds a necessary layer of biometric protection to every transaction you perform. Moving forward, keep your bank’s customer support number saved in your contacts; should you ever need to report a lost device or an unrecognized transaction, having that information readily available allows for faster resolution than searching through physical statements.