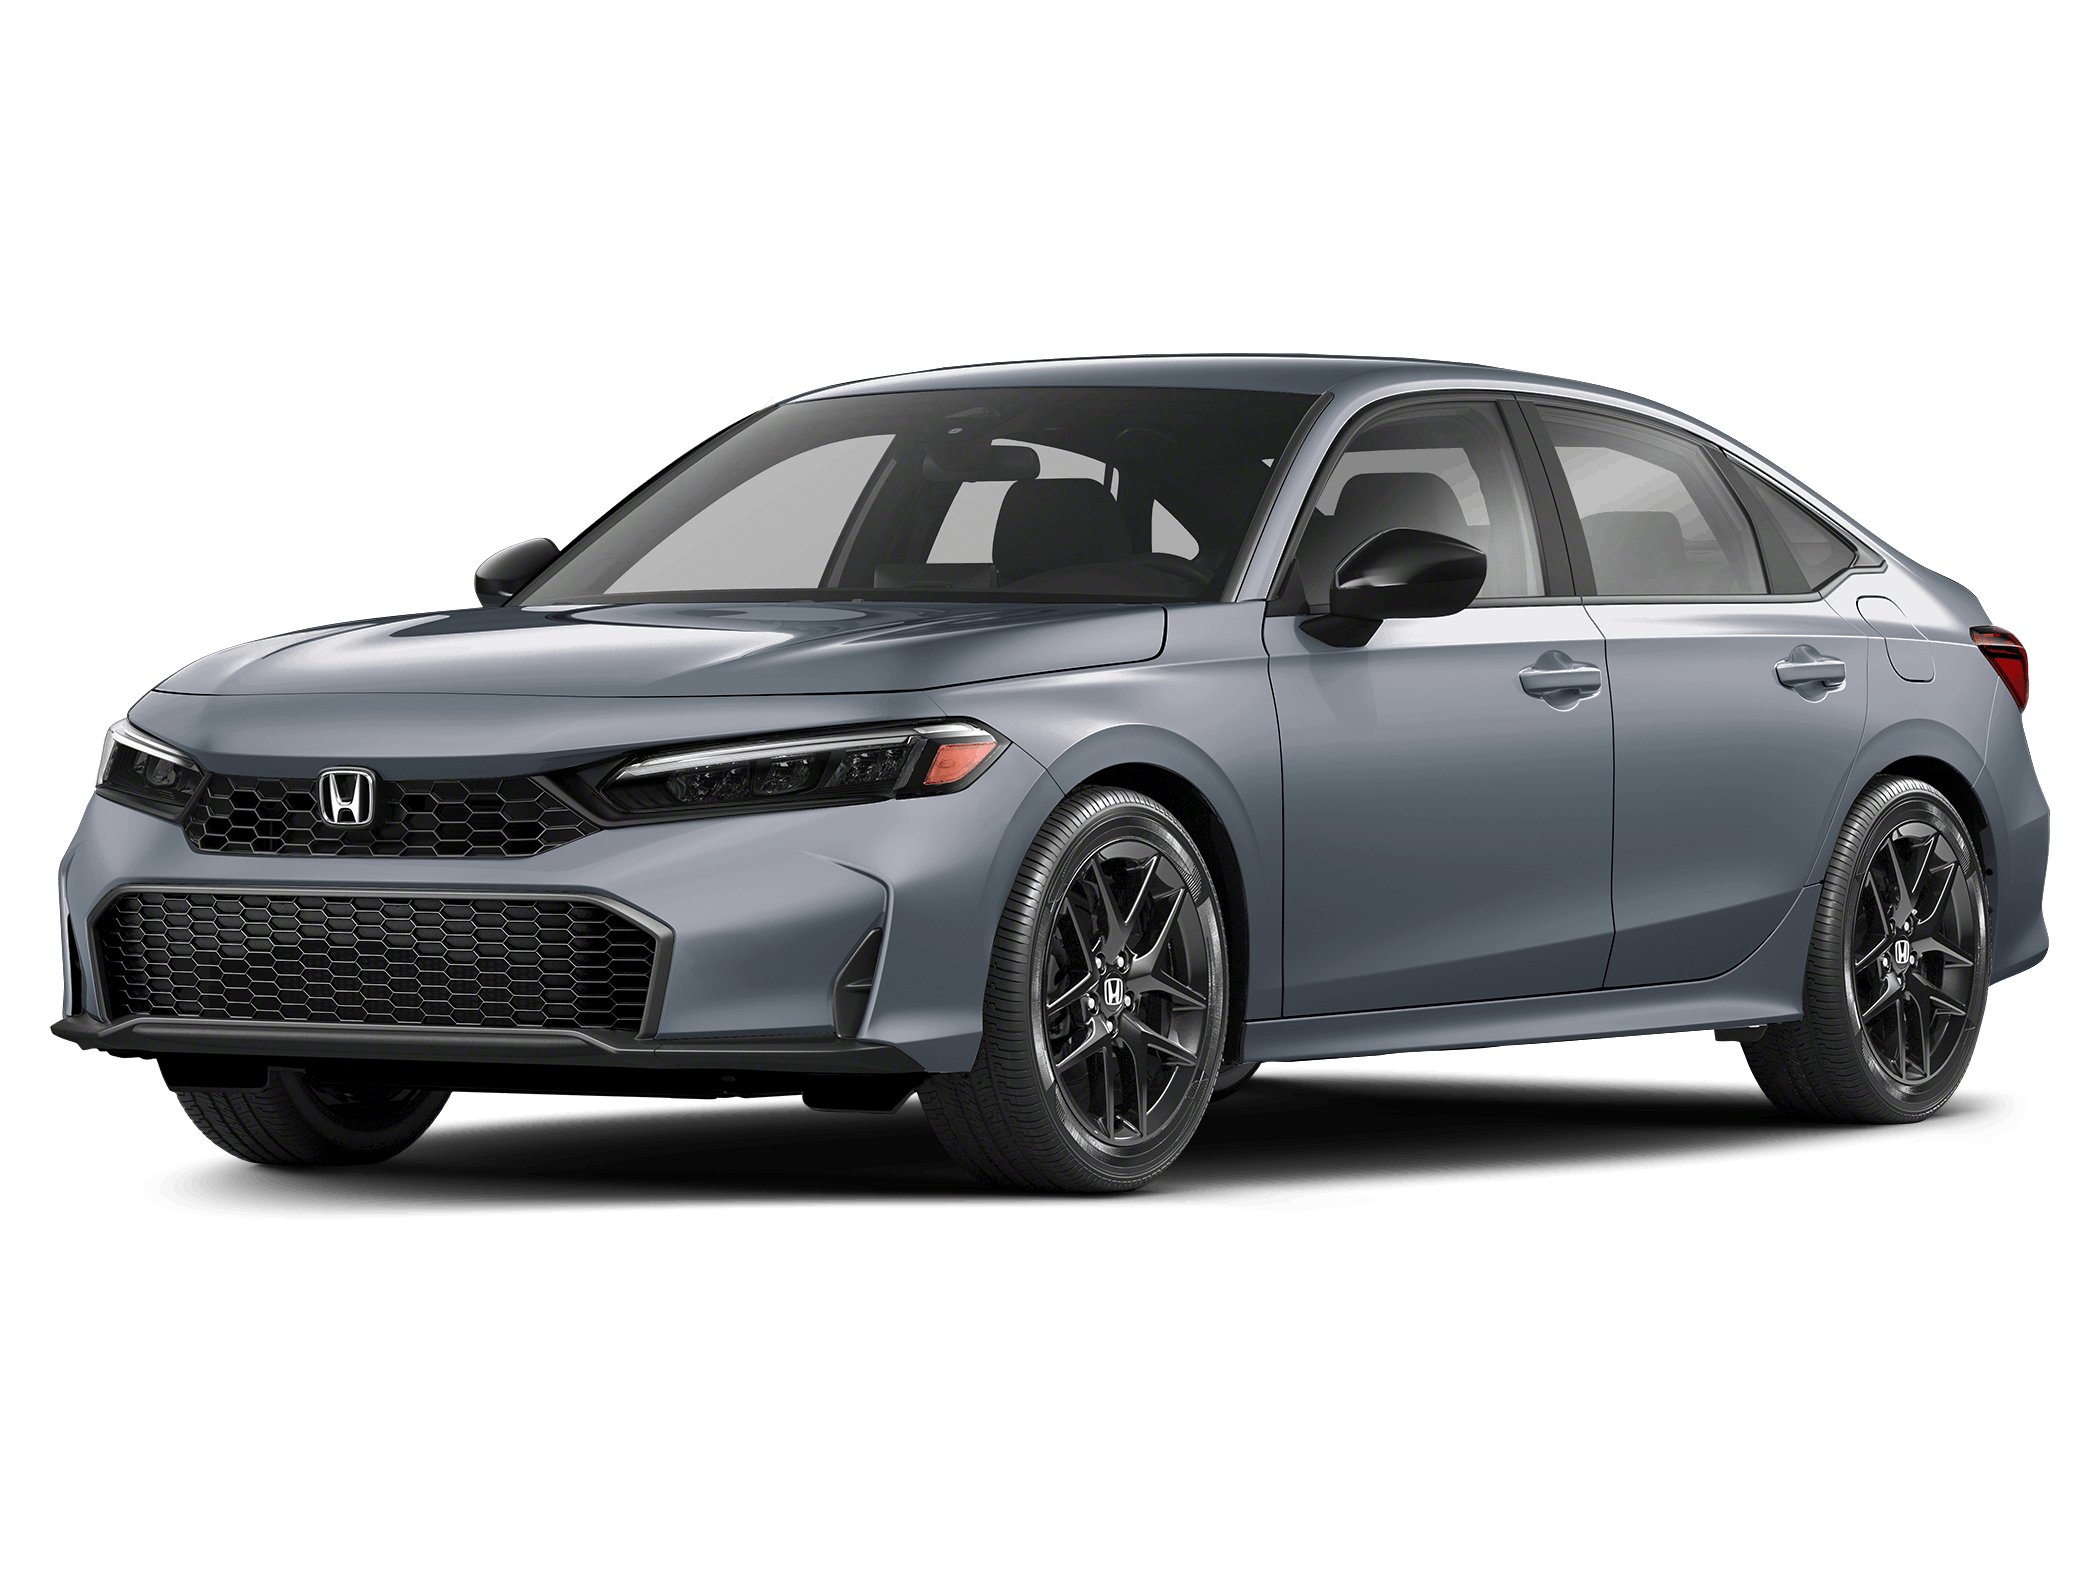
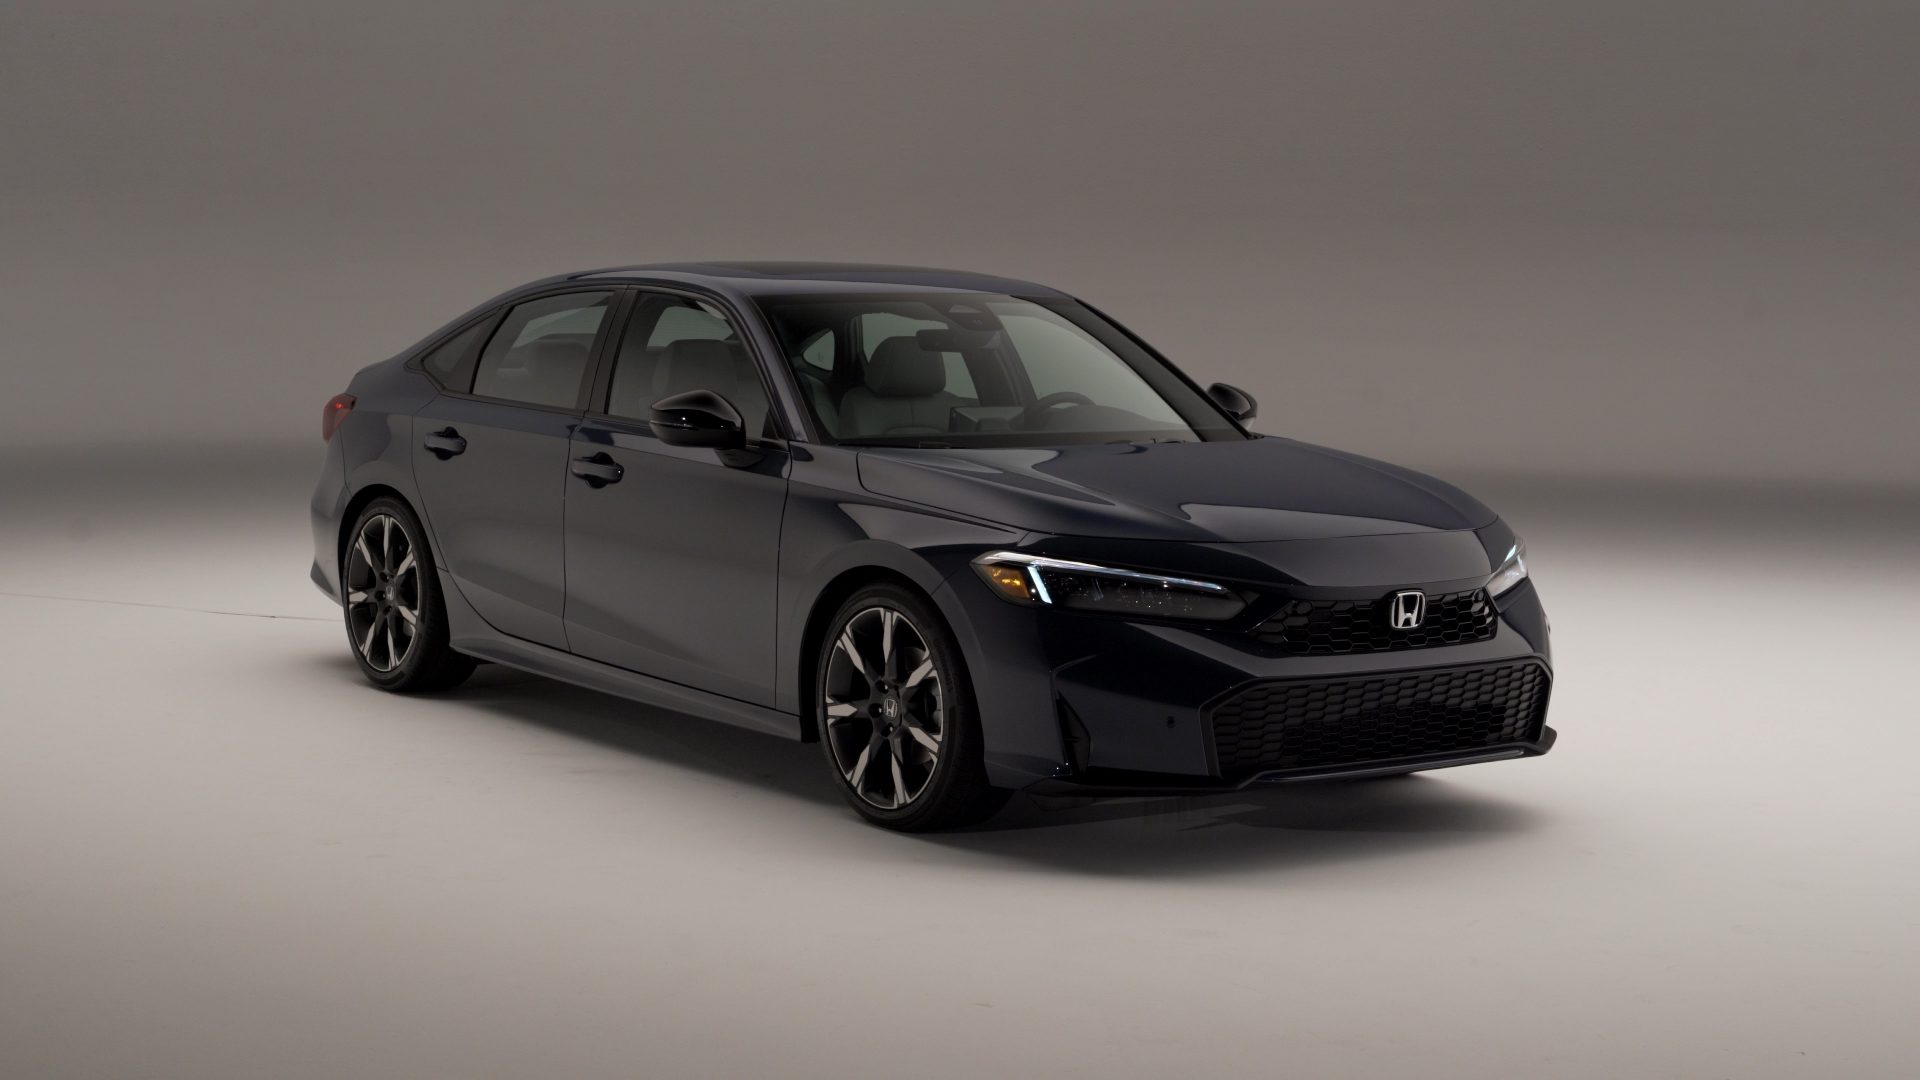
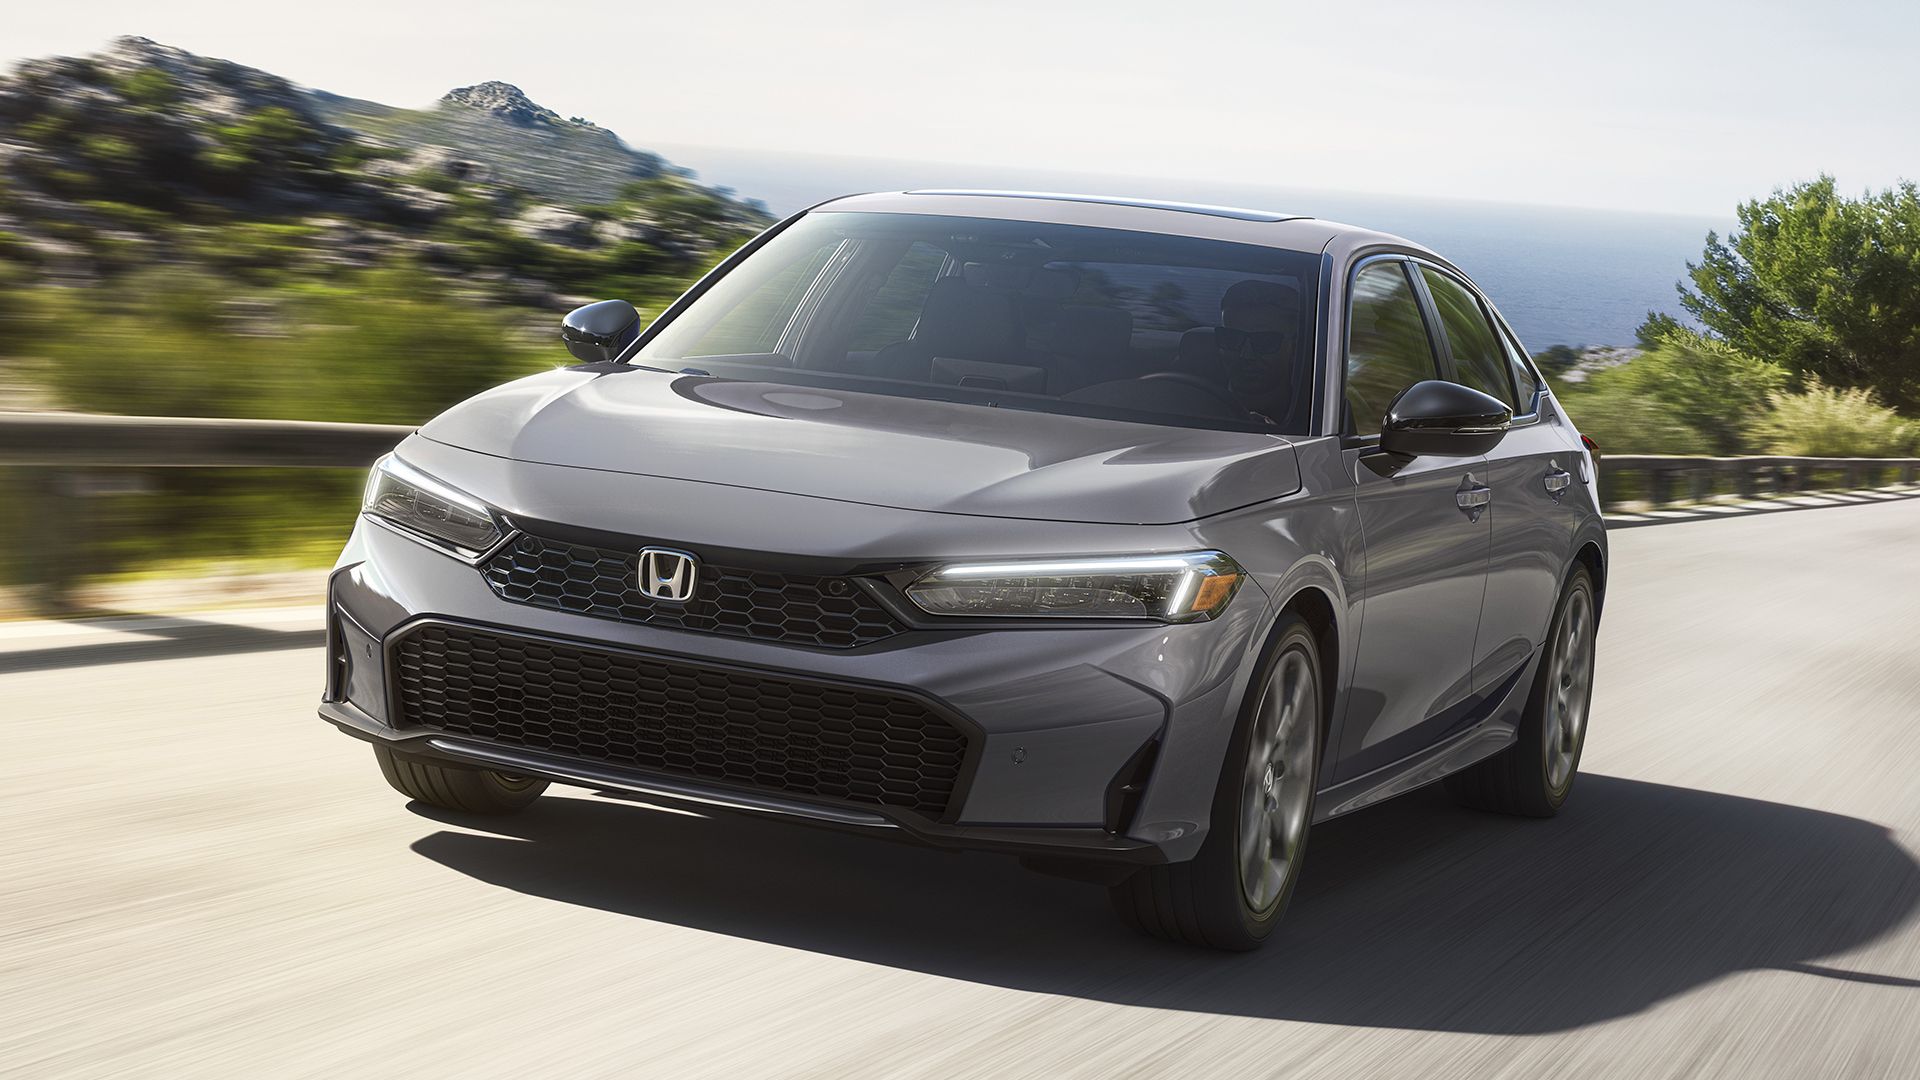
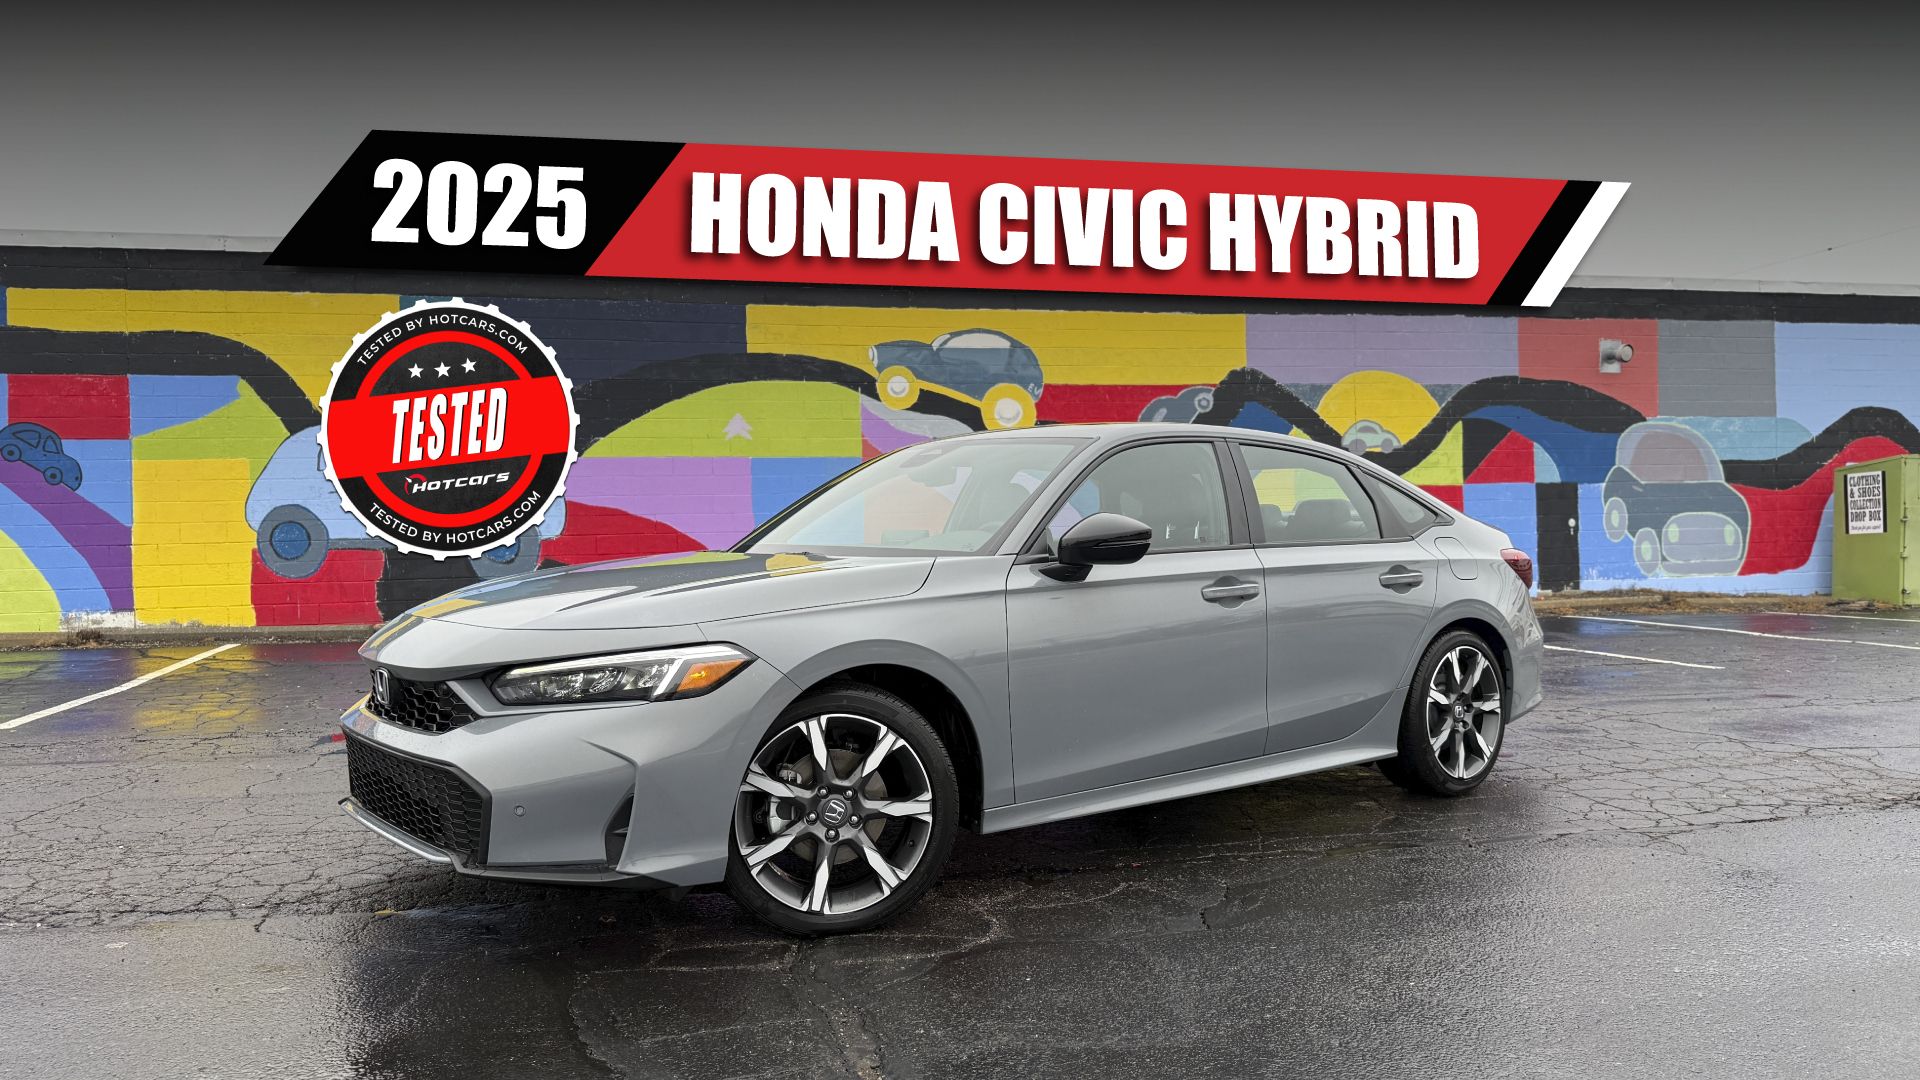
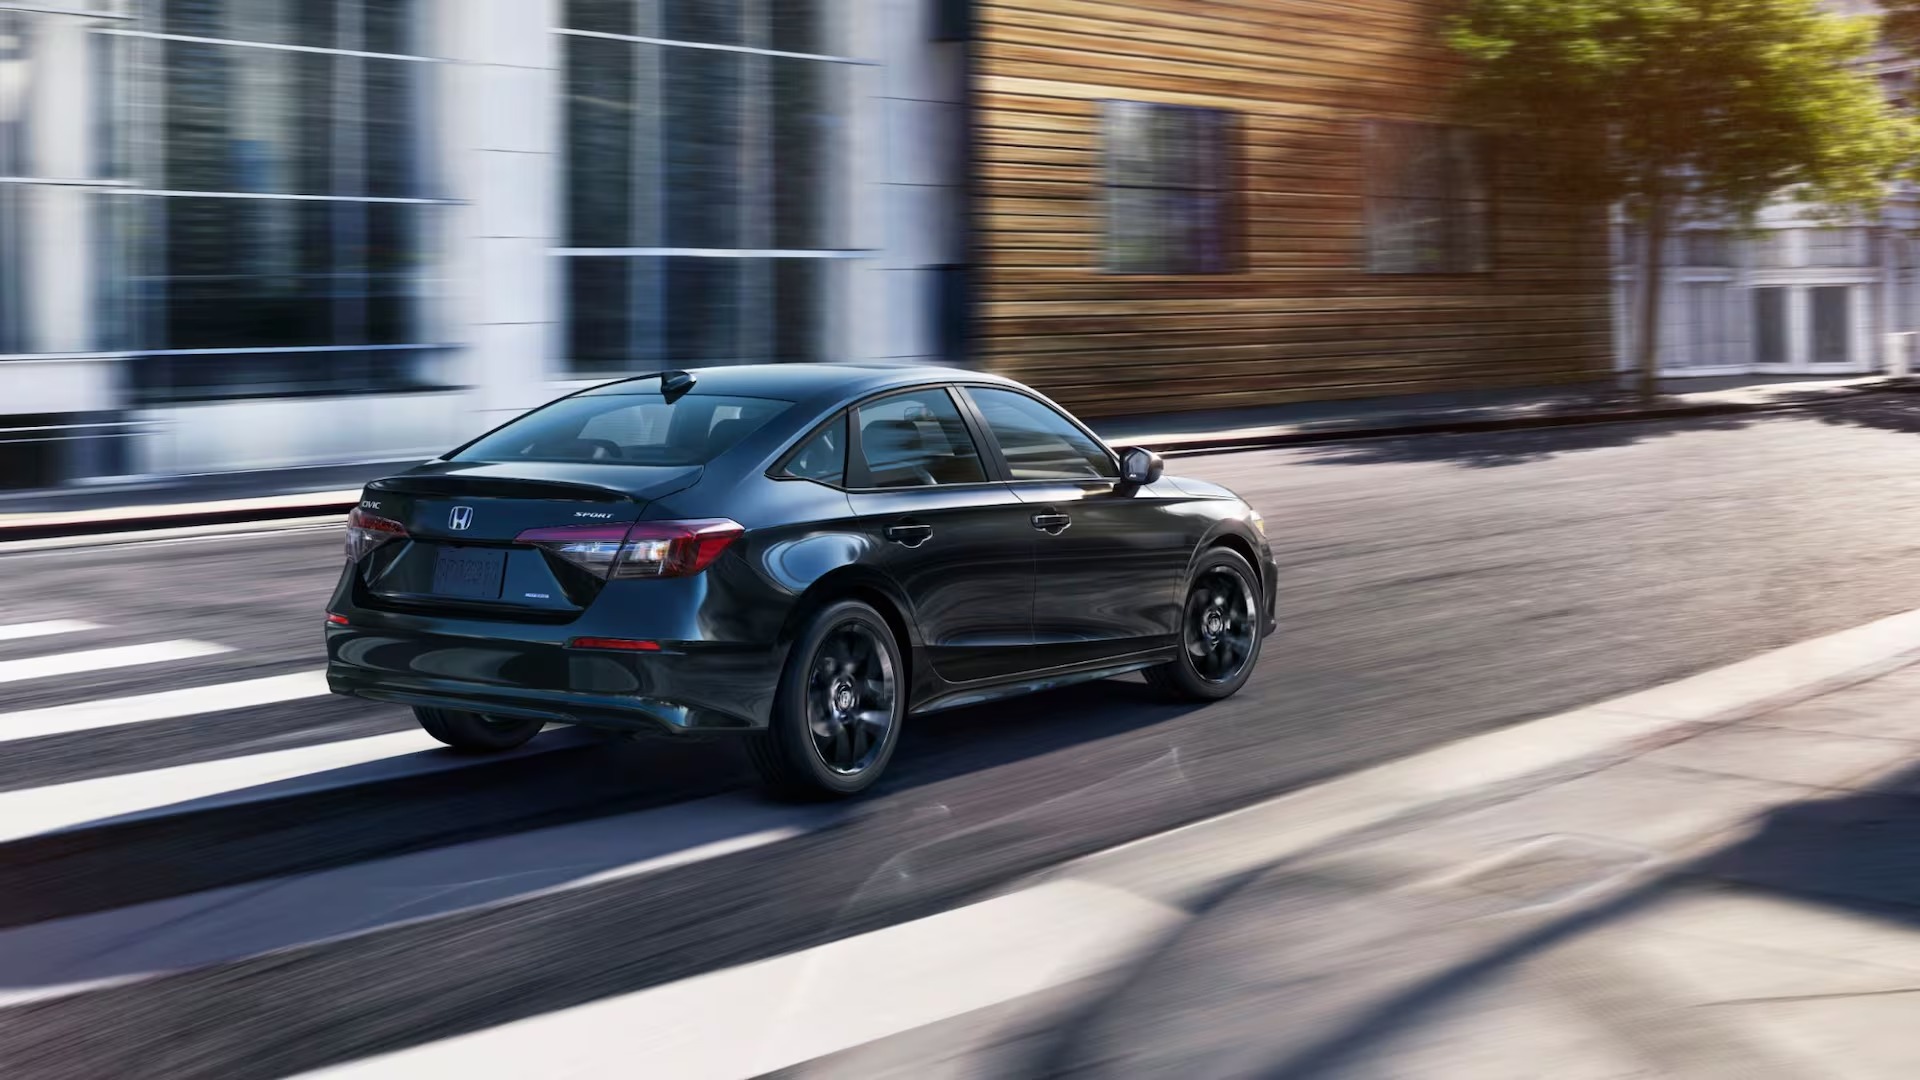
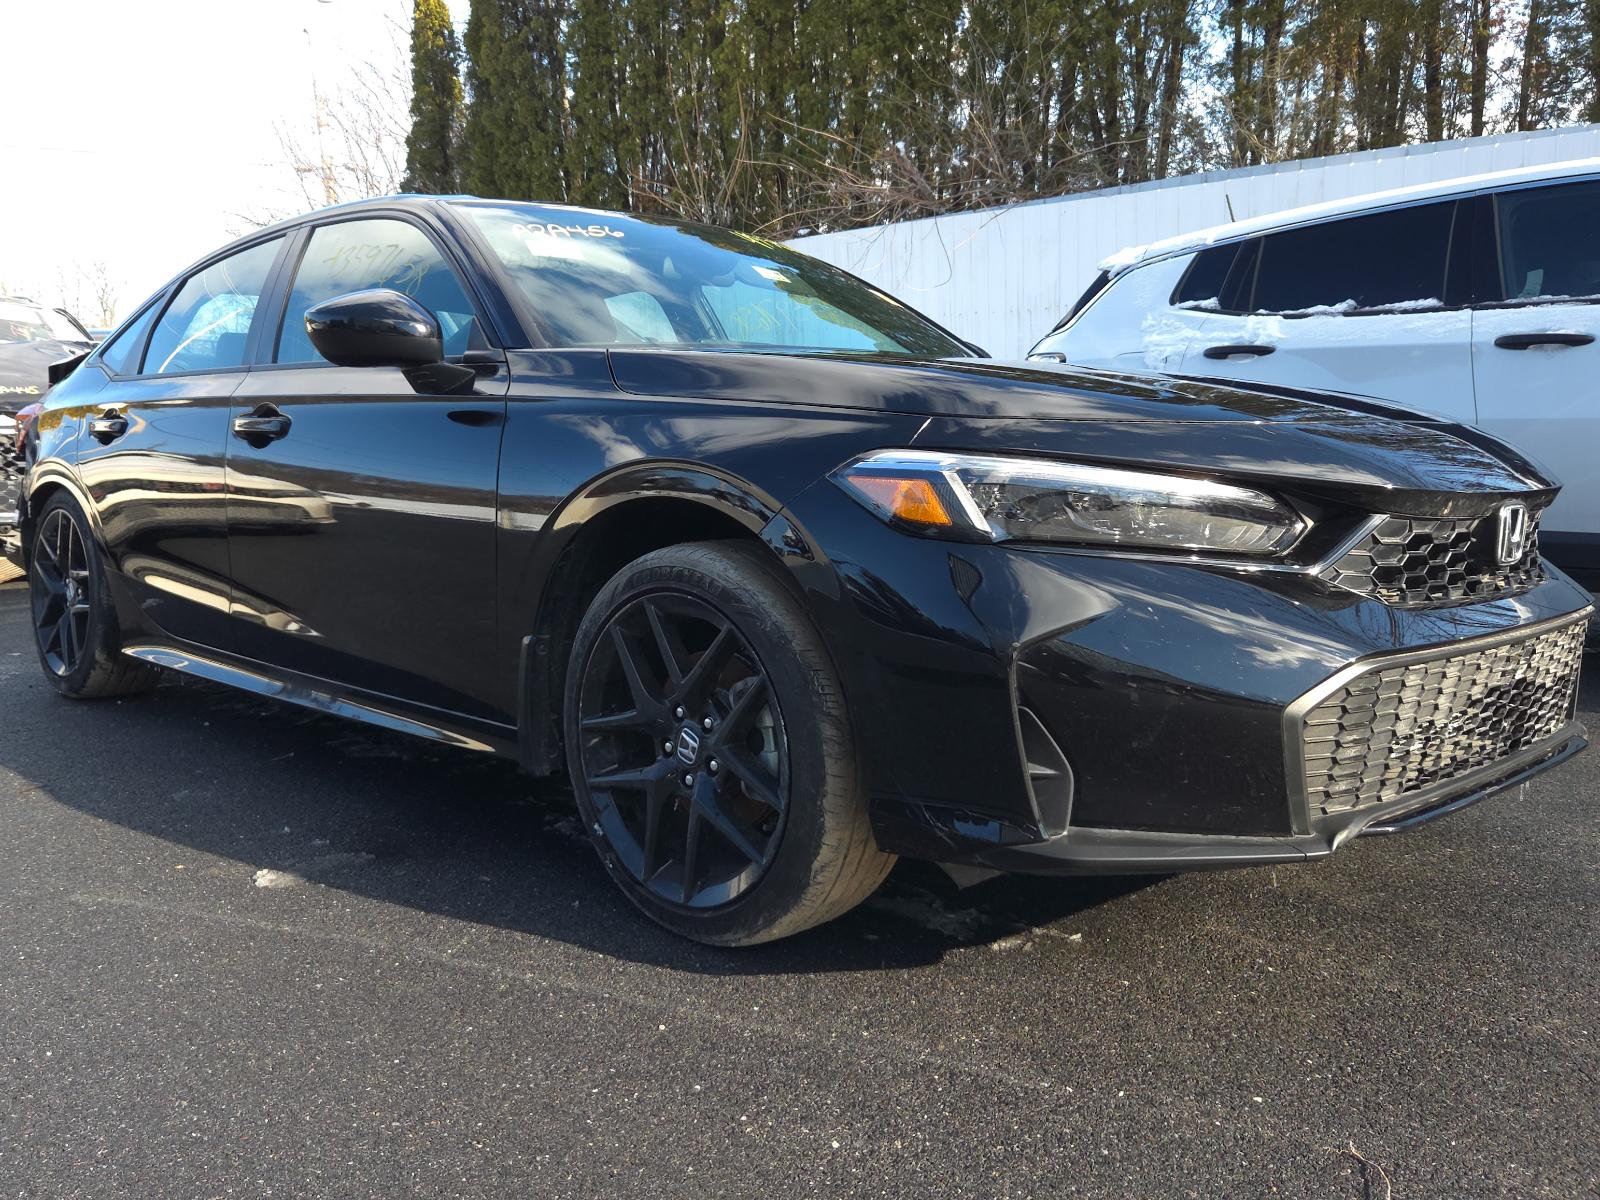
Upgrading to gloss black emblems on the 2025 Honda Civic Sport transforms the vehicle's appearance by removing factory chrome accents and matching the car's existing gloss black trim, wheels, and side mirrors. This guide covers official OEM emblem kits, aftermarket alternatives, step-by-step removal and installation procedures, tool requirements, and troubleshooting tips for radar sensor compatibility.
Overview of Black Emblems for the 2025 Honda Civic Sport
The 2025 Honda Civic Sport—available in both Sedan and Hatchback configurations—comes from the factory with aggressive exterior styling. Features such as gloss black side mirror caps, dark-finished alloy wheels, black window surrounds, and a sporty rear diffuser give the vehicle a stealthy profile. However, the original front grille badge, rear "H" emblem, "CIVIC" nameplate, and "SPORT" badge remain bright chrome.
Upgrading these badges to gloss black creates a cohesive "chrome delete" aesthetic that integrates seamlessly with the trim features of the Sport model. Enthusiasts and daily drivers choose black emblems because they provide an elevated, factory-custom finish without modifying the vehicle's underlying bodywork.
When selecting black emblems for the 2025 Civic Sport, vehicle owners generally choose between three main categories:
- OEM Honda Genuine Gloss Black Emblems: Direct replacement badges manufactured by Honda designed to exact factory specifications.
- Aftermarket Replacement Emblems: Third-party full-replacement badges offered in various finishes (matte black, gloss black, or carbon fiber).
- Adhesive Emblem Overlays: Molded plastic caps that adhere directly over the existing chrome badges using double-sided tape.
OEM vs. Aftermarket Black Emblems: Comparison & Features
Choosing the right type of emblem upgrade depends on budget, desired durability, installation complexity, and vehicle safety features such as the Honda Sensing suite.
| Feature / Attribute | OEM Honda Kit | Aftermarket Badges | Overlay Covers |
|---|---|---|---|
| Material Quality | High-grade ABS | Variable ABS/Resin | Thin ABS Plastic |
| Finish | Factory Gloss Black | Gloss / Matte | Gloss / Matte |
| Fitment Accuracy | 100% Perfect | 85% - 95% | 90% - 95% |
| Front Radar Safe | Fully Tested | Varies by seller | May block sensor |
| Installation Time | 45–90 minutes | 45–90 minutes | 10–15 minutes |
| Longevity | 7–10+ Years | 2–5 Years | 1–3 Years |
| Front Access Needed | Yes (Grille clips) | Yes (Grille clips) | No (Stick-on) |
1. OEM Honda Genuine Gloss Black Emblems
Official Honda accessories offer precise alignment pins, automotive-grade 3M acrylic foam backing tape, and UV-resistant high-gloss finishes that will not yellow, peel, or fade over time. Furthermore, OEM front emblems undergo rigorous engineering to ensure they do not obstruct or reflect the signals emitted by the Honda Sensing radar module situated behind the front fascia.
2. Aftermarket Full Replacement Badges
Aftermarket options are widely available online and often cost less than factory parts. While high-quality third-party badges match factory dimensions closely, lower-end options may feature slightly misaligned rear mounting pins or inferior adhesive tape. Buyers must verify that the front emblem does not contain metallic paints or dense fills that could interfere with driver-assist radar systems.
3. Overlay Covers
Overlay covers sit directly on top of the original factory chrome badges. Made from thin molded ABS plastic with pre-applied adhesive tape, overlays offer a fast installation that requires no disassembly. However, because overlays sit on top of existing badges, they add thickness to the emblems and can leave visible chrome edges if viewed from tight side angles.
Understanding the 2025 Civic Sport Emblem Layout
The 2025 Honda Civic refresh introduced subtle revisions to the front bumper structure and intake grille. Understanding how each badge attaches to the car ensures a smooth installation process without damage to paint or clips.
- Front Grille Emblem: Retained by physical plastic tabs behind upper grille mesh.
- Rear "H" Logo: Retained by 2 alignment pins + automotive foam adhesive.
- Rear "CIVIC" Badge: Attached purely with die-cut foam adhesive.
- Rear "SPORT" Badge: Attached purely with die-cut foam adhesive.
Front Grille "H" Emblem
The front emblem sits centered on the upper front grille. Unlike the rear badges, the front emblem does not rely on double-sided tape; instead, it utilizes molded plastic locking tabs and alignment posts that secure directly into the grille mesh housing. Accessing these tabs requires reaching behind the front grille panel from under the hood.
Rear "H" Emblem
The rear center trunk badge features two alignment posts that slide into rubber-grommeted guide holes on the trunk lid or tailgate. These posts guarantee horizontal alignment, while pre-applied die-cut foam adhesive secures the emblem flat against the painted metal surface.
Rear "CIVIC" & "SPORT" Lettering
The "CIVIC" nameplate and "SPORT" trim designations are held exclusively by automotive-grade pressure-sensitive adhesive tape. These individual letters do not have alignment pins going through the sheet metal. Pre-spaced foam templates included with OEM kits ensure that letter spacing matches original factory tolerances.
Required Tools and Materials for Installation
Proper surface preparation and the correct removal tools prevent paint scratches, broken grille tabs, and prematurely failing adhesive tape.
| Category | Recommended Items |
|---|---|
| Surface Prep & Cleaning | • Isopropyl Alcohol (70% or 91%)• Automotive Adhesive Remover (e.g., Goo Gone / 3M)• Microfiber Towels (3–4 clean towels) |
| Emblem Removal | • Non-marring Plastic Trim Tools• High-strength Fishing Line or Braided Dental Floss• Hairdryer or Variable Temperature Heat Gun |
| Alignment & Safety | • Low-tack Automotive Painter's Masking Tape• Nitrile Gloves• Plastic Push-Pin Removal Tool |
Step-by-Step Installation: Rear Emblems Replacement
Installing the rear "H", "CIVIC", and "SPORT" emblems requires patience during the debadging process to protect the clear coat finish.
- Outline Badges with Masking Tape
- Apply Heat to Soften Glue
- Slice Adhesive with Line/Floss
- Clean Residue with Alcohol/Remover
- Align & Firmly Press New Gloss Black Badges
Step 1: Create Masking Tape Alignment Guides
Before removing the original chrome badges, place strips of painter's tape along the bottom and side edges of each badge.
- For individual letter badges like "CIVIC" and "SPORT", lay a straight baseline of tape directly beneath the letters.
- Use vertical tape lines at the outer edges of the first and last letters.
- This step creates a precise visual boundary, making it easy to align the replacement emblems in the exact factory position.
Step 2: Heat the Existing Adhesive
Set a heat gun to low power (or use a standard hairdryer on high heat) and hold it approximately 6 to 8 inches away from the emblem. Sweep the heat back and forth across the emblem for 60 to 90 seconds. Heating softens the acrylic foam tape, reducing the tension needed to peel the emblem away from the paint.
Caution: Do not hold a high-temperature heat gun in one spot for extended periods, as excess heat can distort clear coat paint or melt plastic trim panels.
Step 3: Slice the Foam Tape
Cut a 12-to-18-inch strand of braided dental floss or 15-lb test monofilament fishing line. Wrap the ends around your index fingers for leverage. Slide the line behind the edge of the emblem and work it back and forth in a smooth sawing motion. Work top to bottom through the foam adhesive layer until the badge separates from the body panel.
Step 4: Remove Residue and Degrease Paint
After removing the chrome emblem, a layer of sticky foam residue will remain on the paint.
- Spray an automotive adhesive remover on the residual tape and allow it to dwell for 2 minutes.
- Gently roll the softened adhesive off the paint using your thumb.
- Clean the area using a microfiber cloth saturated with 70% isopropyl alcohol to remove all oils, wax, and solvent residues.
- Verify that the paint surface is entirely dry, smooth, and clean before proceeding.
Step 5: Mount the New Black Badges
- Peel the protective backing off the rear side of the new gloss black emblem.
- Align the badge carefully using the painter's tape borders established in Step 1.
- For the rear "H" logo, insert the alignment pins straight into the factory guide holes.
- Press firmly across the entire emblem face for 30 to 60 seconds to activate the pressure-sensitive adhesive bond.
- Carefully peel away the front protective foam carrier sheet (if using an OEM alignment template).
Step-by-Step Installation: Front Grille Emblem Replacement
Replacing the front grille emblem on the 2025 Honda Civic Sport requires accessing the back side of the front upper grille assembly from under the hood.
- Open Hood & Locate Plastic Intake Cover
- Remove Top Push-Pins using Trim Tool
- Lift Access Panel to Reach Behind Grille
- Release Retaining Tabs on Chrome "H"
- Snap New Gloss Black "H" Badge into Place
Accessing the Rear of the Front Grille
- Open the hood and support it securely with the prop rod.
- Identify the black plastic bulkhead cover (radiator shroud) running along the top of the engine bay directly above the front grille.
- Use a plastic push-pin tool or flathead trim tool to carefully pry up the center heads of the plastic expanding rivets securing the panel. Remove 8 to 10 push-pins depending on trim layout.
- Lift the plastic cover off and place it aside in a clean area.
Releasing the Front Badge
- Reach down into the space behind the front grille mesh using your hand or a long, slender trim tool.
- Locate the locking tabs on the back of the chrome "H" emblem where it snaps into the grille structure.
- Gently push outward on the plastic retaining clips while pushing the emblem forward from behind.
- Once unclipped, pull the chrome emblem clear from the front of the vehicle.
Installing the Gloss Black Front Emblem
- Inspect the grille mounting socket for dirt or road debris, wiping it clean with a damp microfiber cloth.
- Line up the rear locking posts of the gloss black front emblem with the receiver slots in the grille mesh.
- Push the new emblem firmly into the grille until you hear or feel both side clips snap locked into position.
- Reinstall the top radiator shroud cover and push-pins into place, pressing down until each rivet clicks locked.
Honda Sensing Compatibility & Driver Assist Considerations
Modern Honda vehicles utilize the Honda Sensing safety package, which includes features like Collision Mitigation Braking System (CMBS) and Adaptive Cruise Control (ACC). Depending on sensor placement within the front bumper and grille housing, modifying front badges can affect sensor behavior if done incorrectly.
| Consideration | Recommendation / Safety Standard |
|---|---|
| Millimeter-Wave Radar | Ensure no metallic coatings or heavy non-OEM overlays |
| Alignment Integrity | Do not force, bend, or alter the grille sensor housing |
| OEM Component Clearance | Use genuine Honda emblem kits designed for 2025 Civic |
| Error Messages | If "Radar Blocked" occurs, check emblem seating depth |
When upgrading front emblems:
- Always verify that aftermarket parts do not use metallic paints or thick metal backing plates that can refract millimeter-wave radar signals.
- Genuine Honda gloss black front emblems are engineered from radar-transparent plastics specifically tested to maintain full driver-assist functionality.
- If a warning light appears on the digital instrument cluster after installation, check that the front grille badge is fully snapped in and that the underlying radar module was not inadvertently bumped or displaced.
Maintenance and Long-Term Care
Gloss black finishes look sleek when new, but they are more sensitive to micro-scratches, swirl marks, and harsh car wash chemicals than bright chrome. Follow these maintenance tips to preserve the deep gloss finish:
- Avoid Automatic Brush Car Washes: Heavy spinning brushes at commercial wash stations can leave fine scratches in soft clear-coat finishes on gloss black plastic. Use hand washing or touchless car washes whenever possible.
- Apply Paint Protection Film (PPF) or Ceramic Coating: Applying a ceramic coating to your gloss black emblems makes them hydrophobic, making bug splatters and brake dust easier to wash off without scrubbing.
- Curing Window: Avoid washing the vehicle, driving through heavy rain, or exposing the car to temperatures below 50°F (10°C) for 24 to 48 hours following installation to allow the 3M pressure-sensitive adhesive tape to reach full strength bond capacity.
Frequently Asked Questions
Do I need to remove the front bumper to replace the front emblem on a 2025 Civic Sport?
No, removing the front bumper is generally not required on the 2025 Civic Sport. You can access the clips holding the front "H" badge from above by removing the top radiator cover panel inside the engine bay.
Will installing aftermarket black emblems void my vehicle warranty?
Installing aesthetic emblems does not void your vehicle's overall warranty under the Magnuson-Moss Warranty Act. However, if an aftermarket badge causes a malfunction in the Honda Sensing radar system, damage or diagnostic repairs related to that specific issue will not be covered by Honda.
What is the difference between overlay covers and replacement black emblems?
Overlay covers stick directly on top of your existing chrome badges using double-sided tape, making them quick to install without removing original badges. Replacement emblems involve removing the original chrome badges completely and replacing them with full gloss black badges for a flush finish.
How long does the 3M adhesive tape on OEM black emblems last?
Automotive-grade acrylic foam tape from 3M used on OEM emblems is designed to last the lifetime of the vehicle (10+ years). When properly applied to a clean, wax-free surface at room temperature, it withstands extreme heat, freezing winter temperatures, and high-pressure car washes.
Can I spray paint or Plasti-Dip my original chrome emblems black?
Yes, liquid vinyl coatings like Plasti-Dip or automotive gloss spray paint can be applied to chrome badges. However, painted chrome requires extensive surface sanding and priming to prevent peeling, and temporary vinyl coatings typically begin to chip or peel within 1 to 2 years due to highway debris.
Final Recommendations & Next Actions
Upgrading to gloss black emblems on the 2025 Honda Civic Sport provides an immediate cosmetic enhancement that matches the factory dark trim elements. For the best longevity, seamless fitment, and full compatibility with Honda Sensing safety electronics, choose genuine OEM Honda Gloss Black Emblem Kits.
If you decide to undertake the installation yourself:
- Ensure you install the badges in a temperature-controlled space (between 65°F and 85°F) out of direct sunlight.
- Take time to outline existing badges with painter's tape before debadging to preserve factory spacing.
- Allow a full 24-hour adhesive cure time before washing your vehicle.