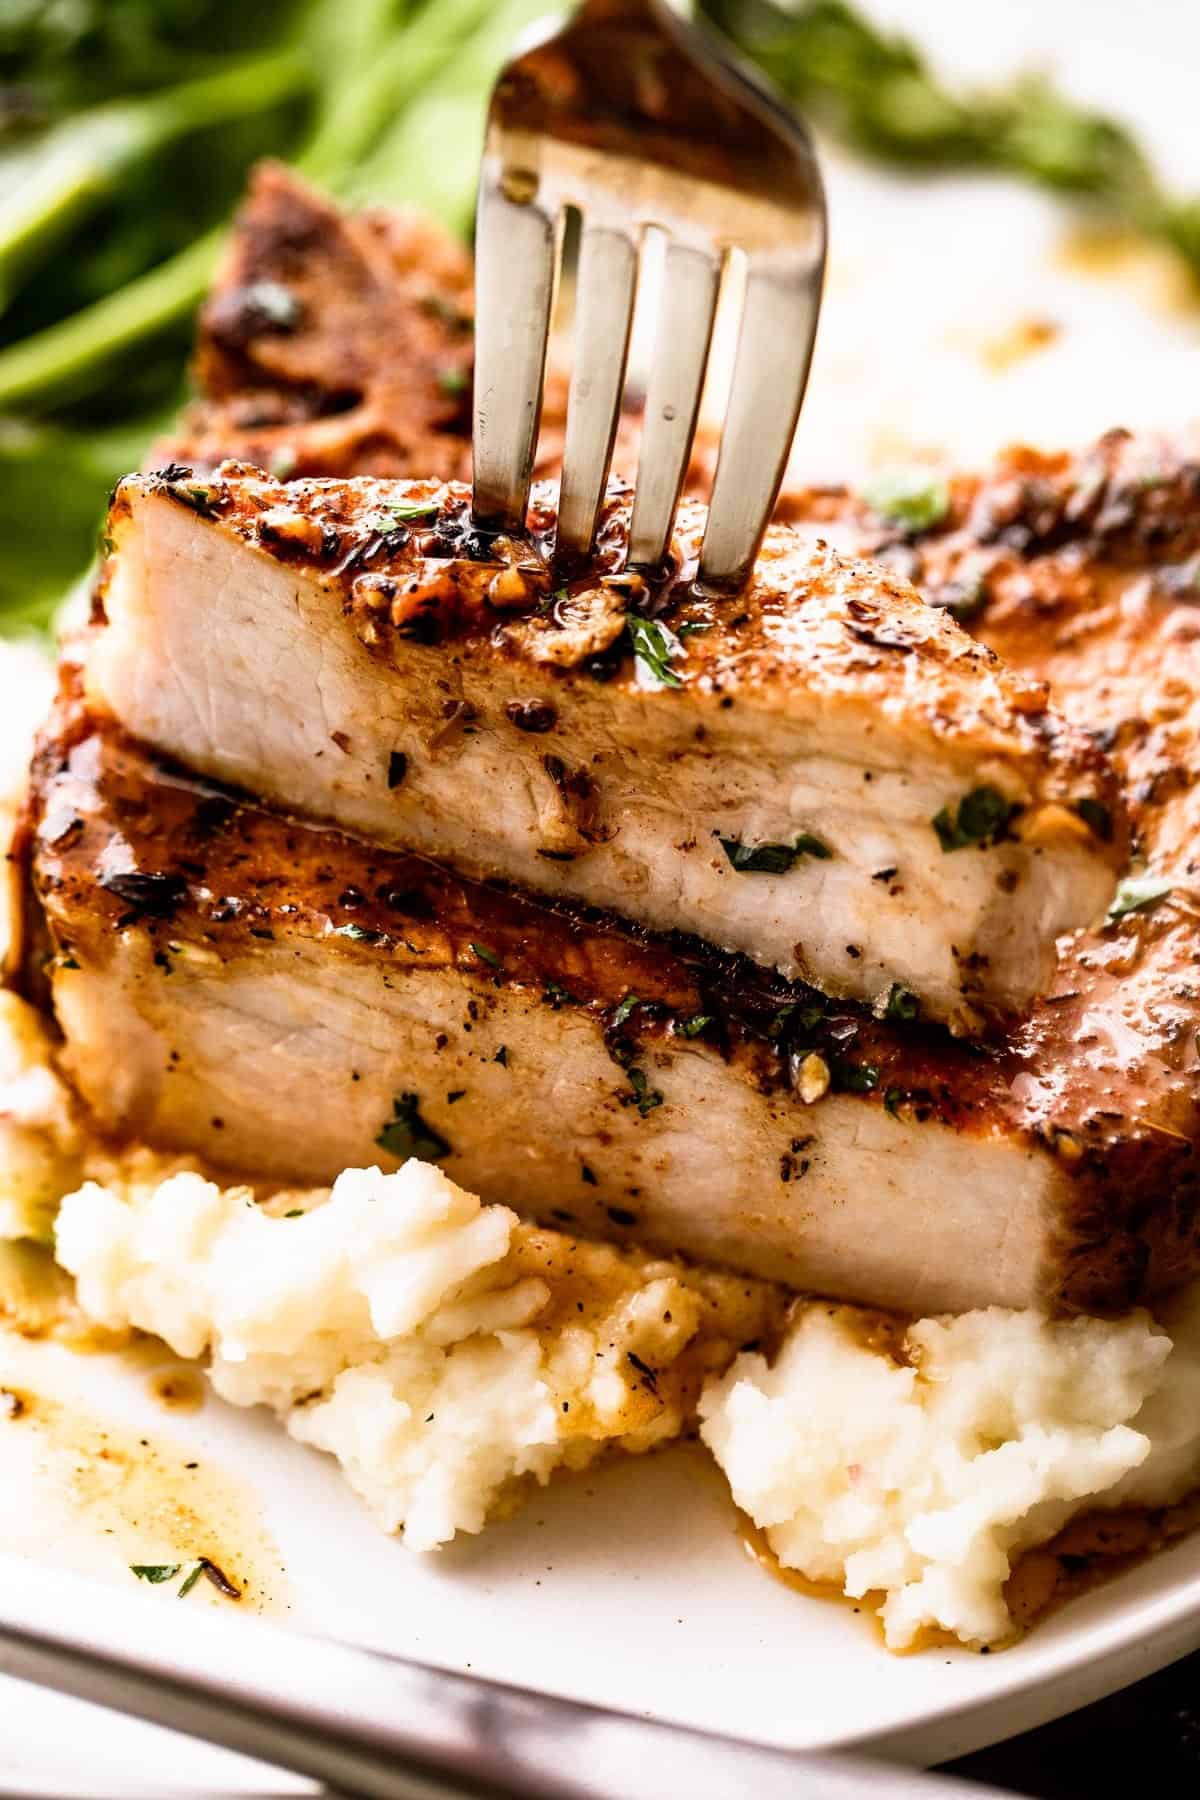
Achieving juicy, tender bone-in pork chops requires managing high heat and internal temperature to prevent the lean meat from drying out. The four most reliable methods are pan-searing with an oven finish, outdoor grilling, air frying for speed, and sous vide for precision. Each technique ensures the bone-in cut retains its moisture while developing a flavorful, caramelized crust.
The Science of the Bone: Why Bone-In Pork Chops Are Superior
When selecting pork at the butcher counter in 2026, the debate between boneless and bone-in remains a primary consideration for home cooks. The bone-in pork chop—typically a rib chop or a center-cut loin chop—offers several culinary advantages that boneless cuts lack. The most significant benefit is the protection the bone provides against overcooking. Because the bone conducts heat more slowly than the surrounding muscle tissue, the meat immediately adjacent to it remains slightly cooler and more hydrated, resulting in a more succulent bite.
Furthermore, the connective tissue and marrow associated with the bone contribute to a deeper, richer flavor profile as they heat up. While many believe the flavor "leaches" from the bone into the meat, the reality is more about the thermal buffer the bone creates. This buffer allows for a more forgiving cooking window, which is essential for pork, a protein that can turn from perfectly tender to unpleasantly dry in a matter of 60 seconds.
In 2026, culinary standards emphasize sourcing high-quality, heritage-breed pork such as Berkshire or Duroc. These breeds possess higher intramuscular fat (marbling), which, when combined with the bone-in structure, produces a restaurant-quality result that is difficult to replicate with standard commodity pork.
Essential Preparation: The Power of the Brine
Before applying any heat, the most critical step for a bone-in pork chop is preparation. Because pork loin is naturally lean, it is prone to moisture loss. Brining is the most effective way to combat this.
Wet Brining vs. Dry Brining
A wet brine involves submerging the chops in a solution of water, salt, sugar, and aromatics (like peppercorns, garlic, and rosemary). The salt alters the protein structure, allowing the muscle fibers to absorb more water. When the chop hits the pan or grill, it has a "buffer" of extra moisture.
A dry brine, which has become the preferred method for many professional chefs in 2026, involves coating the pork chops generously with Kosher salt and letting them sit uncovered in the refrigerator for 4 to 24 hours. This process draws moisture out, dissolves the salt into a concentrated brine, and then re-absorbs it into the meat. The surface of the meat also dries out, which is the secret to achieving a superior, mahogany-colored crust (the Maillard reaction).
Proper Seasoning
Beyond salt, pork pairs exceptionally well with earthy spices. A standard 2026 rub might include smoked paprika, garlic powder, onion powder, and a touch of mustard powder. Avoid rubs with high sugar content if you plan to sear at very high temperatures, as the sugar can burn and become bitter before the meat is cooked through.
Method 1: The Skillet-to-Oven Sear (The Restaurant Standard)
The skillet-to-oven method is widely considered the gold standard for bone-in pork chops. It combines the intense heat of a stovetop sear with the gentle, surrounding heat of an oven. This ensures a crisp exterior without a raw interior.
The Equipment
A heavy-bottomed cast-iron skillet is the best tool for this job. Cast iron retains heat better than stainless steel or non-stick pans, providing a consistent sear that doesn't drop in temperature when the cold meat touches the surface.
The Process
- Preheat the Oven: Set your oven to 400°F (204°C).
- Tempering the Meat: Remove your brined chops from the refrigerator 30 minutes before cooking to take the chill off. Pat them extremely dry with paper towels.
- The Initial Sear: Heat the skillet over medium-high heat with a high-smoke-point oil (such as avocado oil or grapeseed oil). Once the oil is shimmering, place the chops in the pan. Press down slightly to ensure even contact.
- Render the Fat Cap: Use tongs to stand the pork chops on their sides, pressing the fat-heavy edge against the skillet to render out the fat and make it crispy.
- The Flip and Baste: Flip the chops after about 3 minutes when a deep golden crust has formed. Add two tablespoons of unsalted butter, a few cloves of smashed garlic, and fresh thyme to the pan. Tilt the pan and spoon the foaming butter over the chops (a technique known as arrosé).
- The Oven Finish: Transfer the entire skillet to the preheated oven. Bake for 5 to 8 minutes, depending on the thickness of the chop (aim for 1-inch to 1.5-inch thick cuts).
- The Internal Temp: Remove the chops when the internal temperature reaches 140°F (60°C). They will rise to the target 145°F (63°C) while resting.
Method 2: High-Heat Grilling (The Smoky Classic)
Grilling bone-in pork chops provides a smoky depth that indoor methods cannot replicate. The key to successful grilling is managing "flare-ups" caused by the fat rendering off the bone-in cut.
Dual-Zone Setup
Always set up your grill for dual-zone cooking. This means having one side of the grill with high, direct heat (charcoal or gas burners on high) and the other side with no direct heat.
The Grilling Steps
- Clean and Oil: Ensure your grill grates are scrubbed clean and lightly oiled to prevent sticking.
- Direct Sear: Place the chops directly over the high-heat zone. Grill for 2-3 minutes per side until you see distinct grill marks and the meat easily releases from the grates.
- Indirect Finish: Move the chops to the cool side of the grill. Close the lid. This turns the grill into a convection oven, allowing the bone to heat through and the center to reach the safe temperature without charring the outside to a cinder.
- Aromatic Wood: In 2026, using wood chunks like apple, hickory, or pecan with charcoal is standard for enhancing the pork’s natural sweetness.
Method 3: Air Frying (The Modern Efficiency)
Air frying has evolved significantly by 2026, with precision sensors making it a viable "set-it-and-forget-it" method for bone-in chops. The high-velocity hot air mimics a deep fryer, creating a remarkably crispy exterior with very little oil.
Why It Works for Bone-In
The air fryer’s compact space and rapid air circulation are perfect for bone-in cuts because they cook the meat quickly from all angles. This minimizes the time the lean muscle spends under heat, preserving internal moisture.
The Steps
- Preheat: Always preheat your air fryer to 400°F (204°C).
- Light Coating: Even if you used a dry rub, a light spray of oil helps the convection air create a crust rather than just drying the surface.
- Placement: Place the chops in a single layer. Do not overlap. The air must circulate around the bone to cook it properly.
- Timing: For a 1-inch bone-in chop, air fry for 12-15 minutes, flipping halfway through. Because air fryers vary in power, an instant-read thermometer is mandatory here.
Method 4: Sous Vide (The Precision Technique)
For those who prioritize a perfectly even, edge-to-edge pink interior, sous vide is the most "proven" method available. This involves sealing the pork in a vacuum bag and cooking it in a precisely controlled water bath.
The Science of Temperature
With sous vide, you can cook a bone-in pork chop at exactly 140°F (60°C) for 2 hours. This temperature is high enough to kill pathogens over time while keeping the meat incredibly tender—texture that is impossible to achieve with high-heat methods.
The Execution
- Bagging: Place the seasoned pork chop in a vacuum-seal bag with a sprig of rosemary and a slice of lemon.
- The Bath: Submerge the bag in the water bath for 1 to 4 hours.
- The Reverse Sear: When the timer is up, the pork will look grey and unappealing. This is normal. Remove it from the bag, pat it bone-dry, and sear it in a smoking-hot skillet for only 45 seconds per side. This adds the necessary crust without cooking the interior further.
Comparison of Cooking Methods
| Method | Best For | Difficulty | Prep Time | Cook Time | Key Benefit |
|---|---|---|---|---|---|
| Pan-to-Oven | Dinner Parties | Moderate | 30 min | 12-15 min | Best flavor and crust development. |
| Grilling | Summer/Outdoors | Moderate | 20 min | 10-12 min | Natural smoky aroma and char. |
| Air Fryer | Weeknight Meals | Low | 5 min | 12-15 min | Minimal cleanup and very fast. |
| Sous Vide | Gourmet Texture | High | 10 min | 2-4 hours | Guaranteed edge-to-edge perfection. |
Essential Safety and Finishing Touches
Regardless of the method used, two rules remain non-negotiable for pork in 2026:
1. The Internal Temperature
The USDA recommendation remains 145°F (63°C) followed by a three-minute rest. In professional settings, many chefs pull the pork at 140°F, knowing that "carryover cooking" will bring the chop to 145°F as it sits. Eating pork that is slightly pink in the center is not only safe but preferred for the best texture.
2. The Rest Period
Never cut into a pork chop immediately after it leaves the heat. Resting allows the muscle fibers, which have tightened during cooking, to relax and reabsorb the juices. If you cut it too soon, the moisture will spill out onto the cutting board, leaving you with dry meat. Rest a bone-in chop for at least 5 to 8 minutes.
Frequently Asked Questions
Why are my bone-in pork chops always tough?
Toughness is almost always a result of overcooking. Because pork loin is lean, once it passes 155°F (68°C), the proteins contract and squeeze out all moisture. Use an instant-read digital thermometer to ensure you pull the meat at 140°F–145°F. Another factor could be the thickness; thin chops (under 3/4 inch) cook too quickly to develop a sear without overcooking the center.
Should I leave the fat cap on the bone-in chop?
Yes, you should leave the fat cap on during cooking. This fat renders down and bastes the meat, adding flavor and moisture. If you prefer not to eat the fat, you can trim it off after cooking. Rendering the fat cap specifically by standing the chop on its side in the pan is a hallmark of professional preparation.
Do I need to soak pork chops in milk?
While not strictly necessary, some older recipes suggest a milk or buttermilk soak. The lactic acid in the milk can help tenderize the meat slightly, but a standard salt-water brine or a dry brine is generally more effective for enhancing flavor and moisture retention in bone-in cuts.
Can I cook bone-in pork chops from frozen?
It is not recommended to cook bone-in pork chops directly from frozen using high-heat methods like searing or grilling. The exterior will burn before the meat near the bone reaches a safe temperature. Always thaw pork chops in the refrigerator overnight for even heat distribution.
What is the best thickness for a bone-in pork chop?
For the methods described above, a thickness of 1.25 to 1.5 inches is ideal. This thickness allows enough time for a crust to form on the outside while the inside remains juicy and tender. Thin-cut chops are better suited for quick frying or breading (schnitzel-style), as they cannot withstand the skillet-to-oven or sous-vide process as effectively.
Final Recommendation
For the absolute best balance of flavor, texture, and ease, the Skillet-to-Oven Sear remains the champion for bone-in pork chops in 2026. Invest in a high-quality instant-read thermometer and a cast-iron skillet; these two tools will do more for your pork than any specific recipe or spice blend. Always remember to salt your meat early and let it rest late.