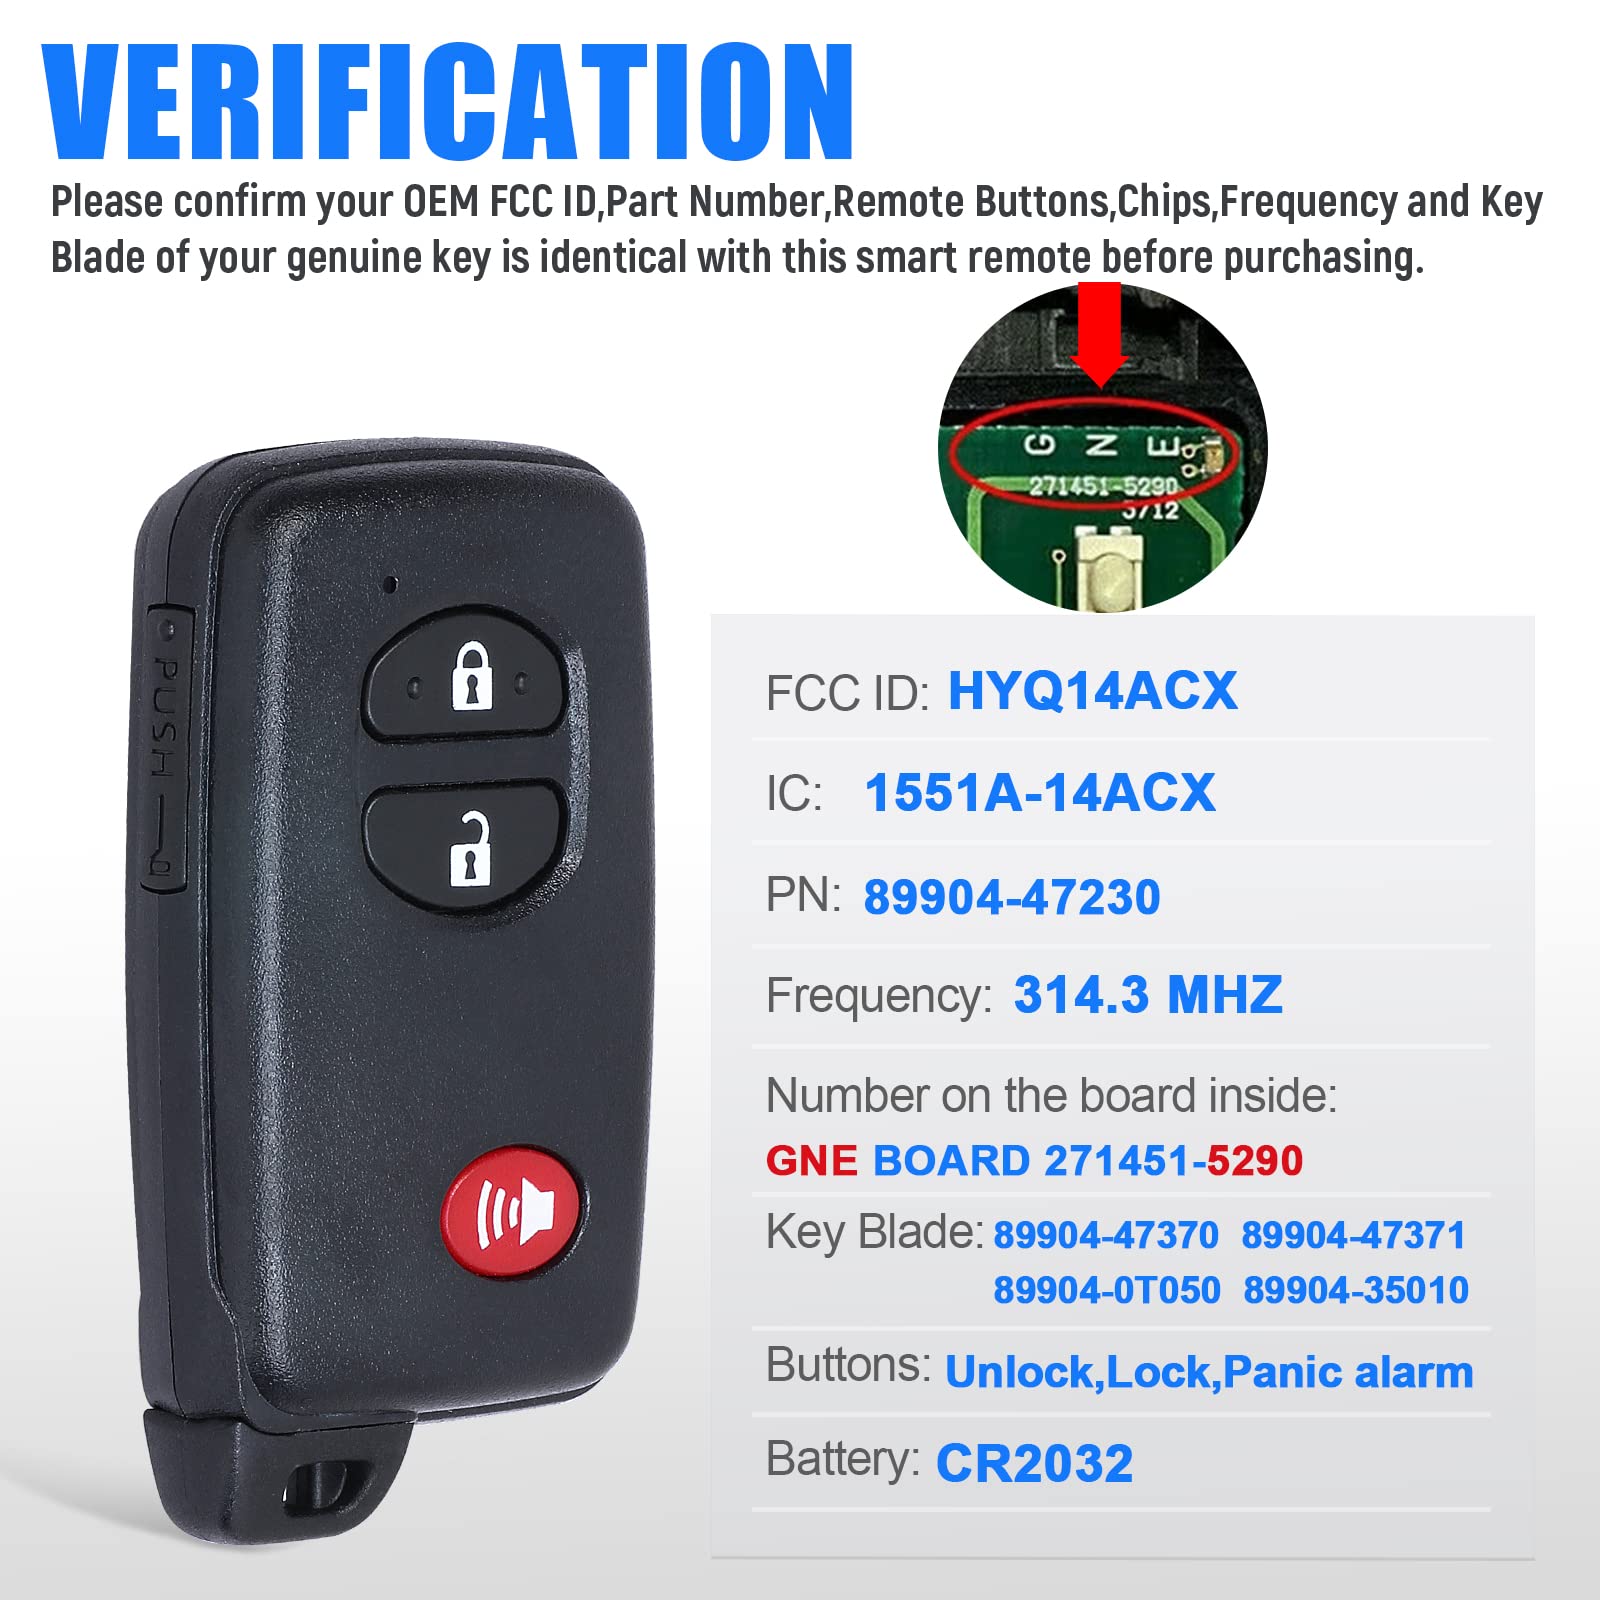
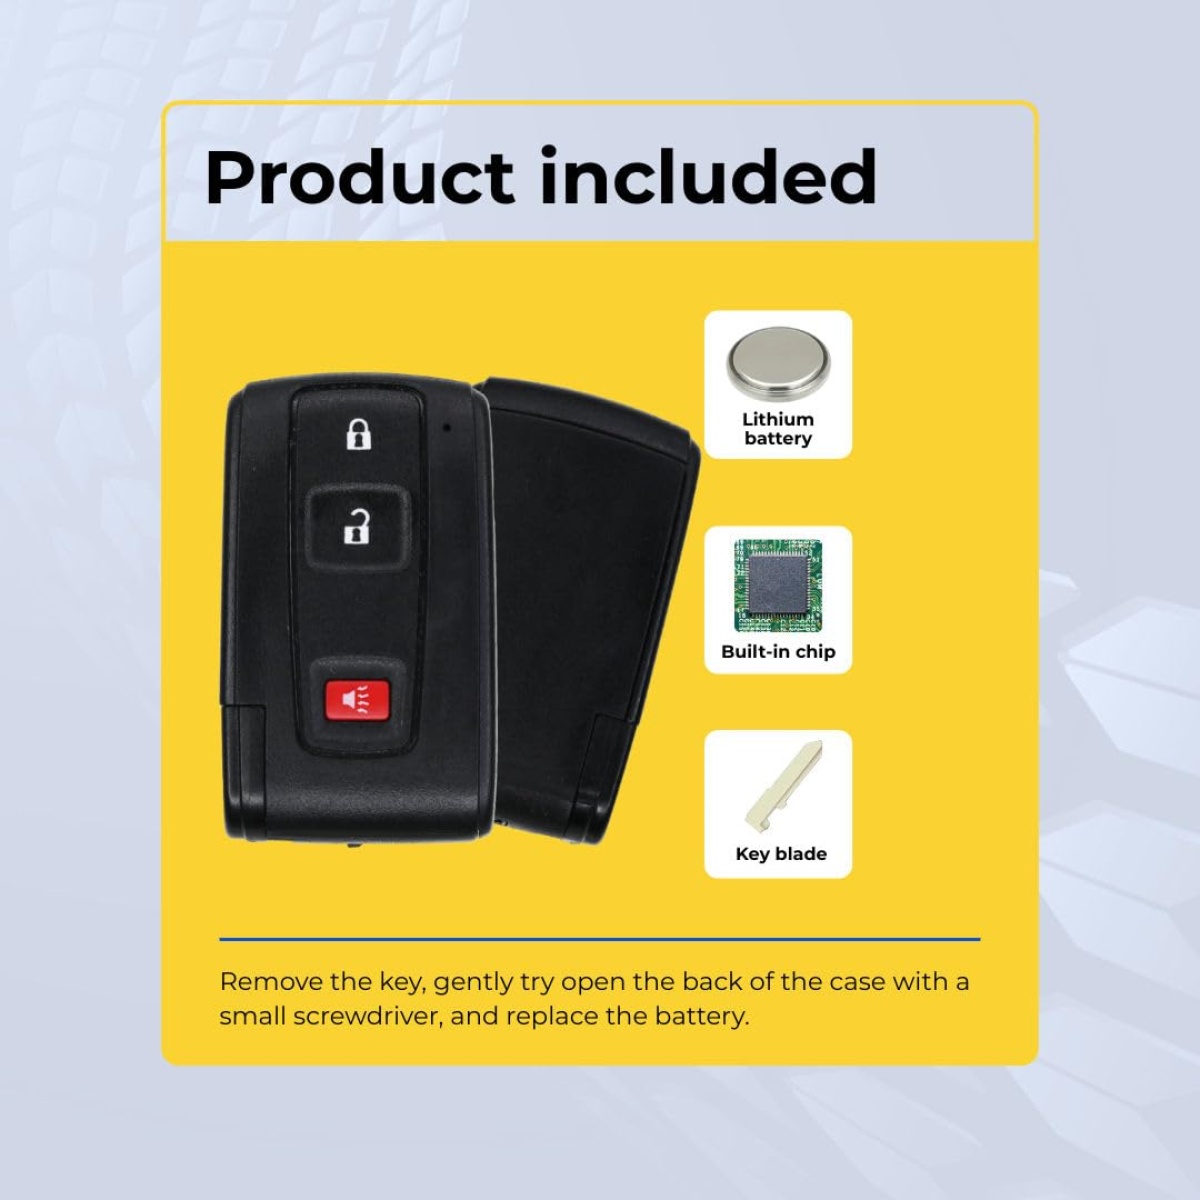
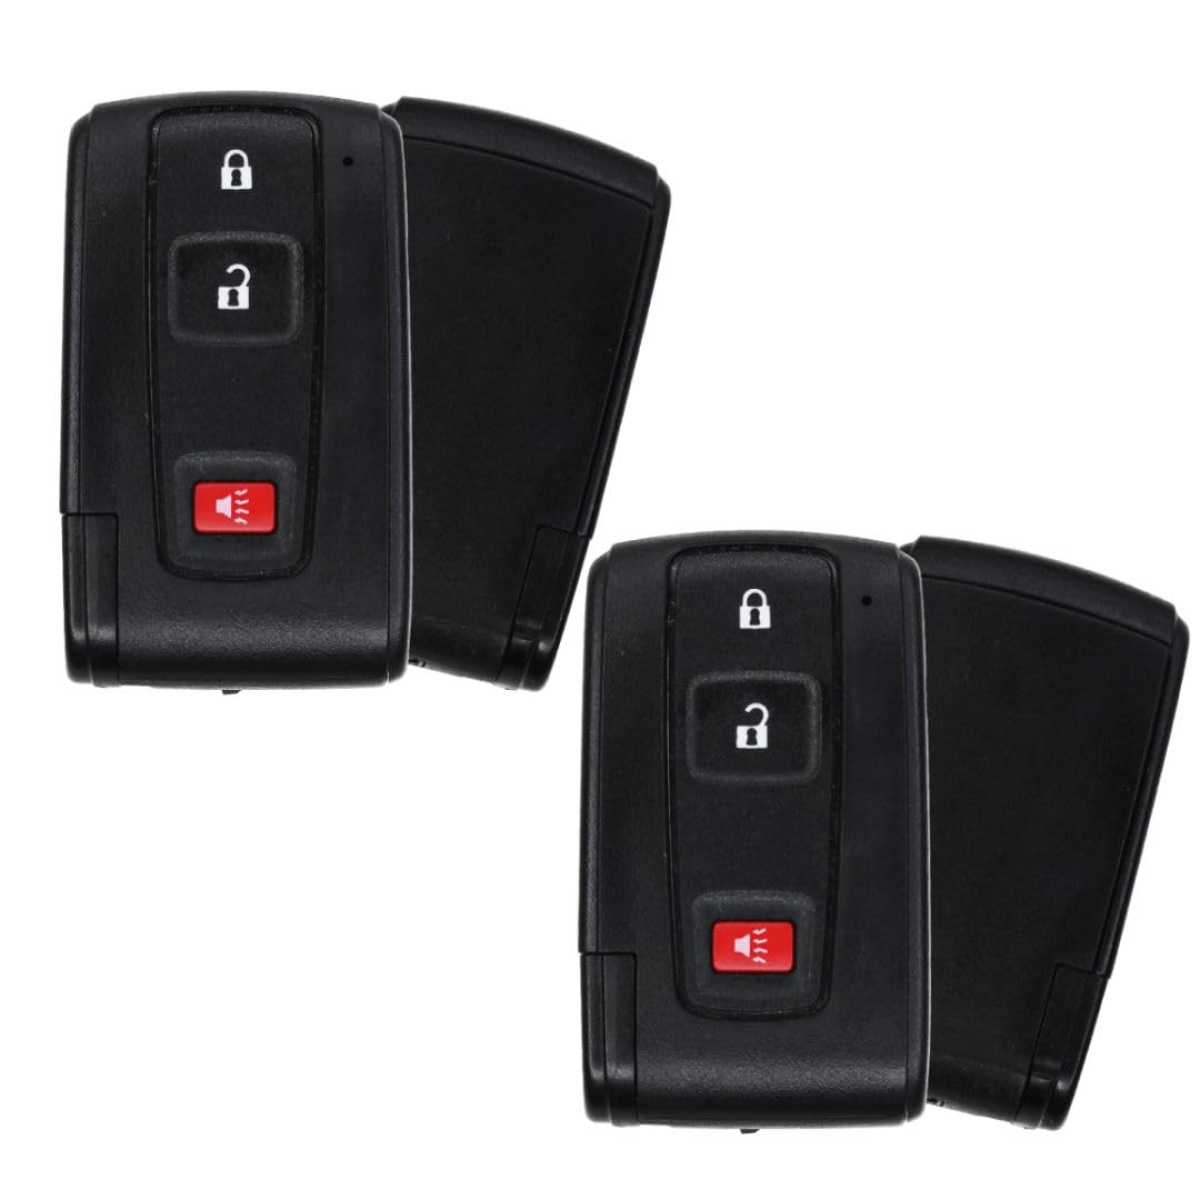
The 2013 Toyota Prius key fob uses a single CR1632 3-volt lithium coin cell battery. Replacing it requires releasing the mechanical metal backup key, gently prying open the fob casing with a tape-wrapped flathead screwdriver, swapping the old cell with the positive pole facing up, and snapping the halves firmly back together.
2013 Toyota Prius Key Fob Battery Specifications
The third-generation Toyota Prius (model years 2010 to 2015) relies on the Toyota Smart Key system. This passive entry and push-button start infrastructure continuously communicates with the vehicle using low-frequency radio waves. To support that transponder circuit, the fob requires a compact, high-energy lithium coin cell.
Battery Specification Summary: - Battery Type: CR1632 Lithium Coin Cell - Nominal Voltage: 3.0 Volts - Diameter: 16.0 mm - Height / Thickness: 3.2 mm - Chemical Composition: Lithium / Manganese Dioxide (Li/MnO2) - Average Service Life: 1 to 3 years (dependent on Smart Key usage)
The designation CR1632 follows standard International Electrotechnical Commission (IEC) naming conventions. The letters "CR" signify a round lithium chemistry cell using manganese dioxide as the positive electrode. The first two digits ("16") describe a diameter of 16 millimeters, while the last two digits ("32") specify a thickness of 3.2 millimeters.
Because coin cells look similar across categories, owners occasionally confuse the CR1632 with the CR2032 or CR2016 batteries found in other Toyota fobs. A CR2032 has a diameter of 20 millimeters and cannot physically fit inside the 2013 Prius key housing. Attempting to force an incorrect cell into the tray will bend the delicate electrical contacts or crack the structural clips of the internal circuit housing.
Model Distinctions: Prius Liftback, Plug-in, Prius v, and Prius c
During the 2013 model year, Toyota offered several distinct variants under the Prius umbrella:
- Standard Prius Liftback (ZVW30): Uses the Smart Key fob equipped with a CR1632 battery. Most models feature two or three exterior buttons (Lock, Unlock, Panic), while models equipped with the Solar Roof Package include an additional "A/C" button to remotely engage the electric air conditioning compressor. Both configurations use the identical internal CR1632 battery.
- Prius Plug-in Hybrid (ZVW35): Uses the same Smart Key fob shell as the standard Liftback, often with an A/C or charge-management button, utilizing a CR1632 cell.
- Prius v (ZVW41): The extended wagon platform utilizes the same generation Smart Key shell and relies on the CR1632 cell.
- Prius c (NHP10): The subcompact Prius c presents a single exception depending on trim level. Lower trims (Prius c One and Two) often came equipped with a traditional turnkey ignition integrated into a remote transmitter head, which typically uses a CR2016 battery. Higher trims (Prius c Three and Four) equipped with Smart Key push-button start use the standard rectangular smart fob powered by a CR1632. Always inspect your physical key before purchasing a replacement cell.
Warning Signs of a Dying Key Fob Battery
A lithium coin cell does not discharge linearly; its voltage curve stays relatively flat across its working life before dropping sharply toward the end of its capacity. Recognizing the early symptoms of discharge helps prevent being stranded or needing to perform emergency manual entry.
1. Significant Loss of Operational Range
Under standard conditions, the active buttons on the 2013 Prius transmitter operate from roughly 30 to 50 feet away. As internal resistance climbs and output voltage drops below 2.8 volts, that operational envelope shrinks. If unlocking your vehicle requires standing directly beside the driver-side door handle, the cell is exhausted.
2. Intermittent Passive Entry Response
The Smart Key system features capacitive touch sensors behind the exterior front door handles. When you reach into the handle pocket, the car pings the key fob in your pocket or purse. If the fob battery lacks sufficient voltage to transmit a rapid return signal, the door will fail to unlock on the first grab, requiring multiple attempts or requiring you to pull the mechanical key.
3. "Key Not Detected" Warning on the Multi-Information Display
If you enter the car, press the brake pedal, and push the "POWER" switch, the instrument cluster may sound an alert chime and present an amber message reading "Key Not Detected." This indicates the cabin's interior antennas cannot detect the fob’s passive broadcast.
4. Dim or Non-Illuminating Red Indicator LED
Every 2013 Prius Smart Key features a minute red light-emitting diode (LED) located in the upper corner of the button pad. Each button press should illuminate this diode with a crisp, bright red flash. A faint flicker or a completely dark LED confirms the cell can no longer deliver sufficient amperage.
Step-by-Step Battery Replacement Procedure
Replacing the key fob battery does not require an automotive technician. With modest care and a basic precision hand tool, the process takes less than five minutes.
Necessary Tools and Materials
- One fresh CR1632 3V lithium coin cell (manufactured by a reputable brand).
- A small flathead precision screwdriver (approximately 2.0 mm to 3.5 mm wide).
- A small piece of electrical tape or a microfiber cloth to prevent cosmetic marring of the plastic casing.
Step 1: Remove the Mechanical Emergency Key
Turn the key fob over so the back casing (featuring the embossed Toyota logo) faces upward. Locate the mechanical slide latch on the top or side edge of the fob. Push and hold this slide release switch with your thumb, then grasp the top key ring loop and pull the metal emergency key out of its slot. Set the metal key aside.
Step 2: Open the Outer Fob Shell
Inspect the empty slot where the mechanical key was stored. Inside the opening, adjacent to the key track, you will see a small, shallow rectangular notch intentionally cast into the plastic seams.
- Wrap a single layer of electrical tape over the tip of your flathead screwdriver to cushion the plastic.
- Insert the tip of the screwdriver securely into the designated separation notch.
- Gently twist the screwdriver along its axis (like turning a key) rather than prying or levering up and down.
- The twist motion will smoothly pop the internal retention clips, splitting the two halves of the clamshell open.
- Work your fingers along the outer seam to separate the front button housing from the back cover completely.
Step 3: Remove the Moisture Seal and Circuit Board
Inside, you will find a self-contained electronic module protected by an integrated rubber gasket designed to shield the circuit components from moisture and dust.
Depending on whether the internal tray stayed with the front or back cover, locate the circular battery compartment:
- If the battery is covered by a secondary plastic retention disc, lift that disc away.
- Note the orientation of the spent battery. The flat, wide side displaying the model name and positive sign (+) faces upward toward you.
- Take your screwdriver tip or a non-conductive toothpick, slip it underneath the edge of the old battery at the designated pry recess, and gently lever it upward out of its metal tension clip.
Step 4: Seat the New CR1632 Battery
Take the fresh CR1632 battery out of its protective blister packaging. Avoid touching both the flat top and bottom surfaces simultaneously with your bare fingers, as natural skin oils create microscopic contact resistance that accelerates passive discharge. Wipe the battery with a clean cloth if necessary.
- Slide one edge of the new battery under the small plastic retaining tabs inside the circular compartment.
- Press down firmly on the opposite edge until the battery clicks flat beneath the metal spring contact.
- Confirm that the positive (+) marking is clearly visible facing upward. Installing the battery upside-down will not destroy the board due to basic reverse-polarity protection, but the fob will be entirely non-functional.
Step 5: Reassemble the Housing
- Align the rubber perimeter gasket over the circuit board to ensure complete moisture protection.
- Position the front and rear plastic shells together, aligning the mechanical key cavity correctly.
- Press the halves together starting at the top edge and moving downward. You should hear several distinct clicks as each perimeter clip seats home. Look around the seam to ensure no gaps remain.
- Slide the mechanical metal key back into the slot until the spring latch clicks securely into place.
- Press the "Lock" button and confirm that the red indicator LED flashes brightly.
Starting a 2013 Prius with a Completely Dead Key Fob
If the key fob battery dies entirely before you can replace it, you are not locked out of your car. The 2013 Prius incorporates an analog mechanical bypass and an unpowered Radio Frequency Identification (RFID) transponder system that allows entry and operation without any battery charge in the fob.
Manual Entry
- Slide the mechanical release latch and pull the metal key out of the fob housing.
- Insert the key into the tumbler lock on the exterior driver’s door handle.
- Turn the key clockwise (toward the rear of the vehicle) to unlock the door manually.
- Open the door. Note that if the car's theft-deterrent alarm was armed, opening the door manually may trigger the horn alarm until the car is formally started.
Emergency Passive RFID Starting Sequence
Even when the CR1632 coin cell has zero voltage, the fob contains an unpowered passive RFID chip, similar to those found in tap-to-pay payment cards or building access badges.
Emergency Drive Initialization: 1. Enter the vehicle and ensure the vehicle is in "Park" (P). 2. Depress and firmly hold down the brake pedal. 3. Hold the key fob flat so the Toyota chrome emblem faces the "POWER" switch. 4. Touch the back of the key fob directly against the round "POWER" button face. 5. The vehicle will detect the passive chip at near-zero distance; an audible chime will sound, and the small LED on the POWER button will turn solid green. 6. Within 10 seconds of the chime, press the "POWER" button with your finger while keeping the brake pedal depressed. 7. The hybrid system will activate, displaying the green "READY" light on the dash.
This procedure uses electromagnetic induction from an antenna coil wrapped around the Prius POWER switch to energize the key fob's transponder, bypassing the need for internal battery power.
Comparison of CR1632 Battery Brands for Key Fobs
Not all coin cells deliver identical performance. Remote transponders subject batteries to constant passive drain interspersed with sudden micro-pulses of high current when the lock buttons are pressed. Selecting a high-grade brand prevents premature failure and leakage.
| Manufacturer & Model | Chemistry | Typical Capacity (mAh) | Operating Temperature Range | Self-Discharge Rate (% per year) | Best Application |
|---|---|---|---|---|---|
| Panasonic CR1632 | Lithium / Manganese Dioxide | ~140 mAh | -30°C to 60°C (-22°F to 140°F) | ~1% | OEM Choice: Panasonic is Toyota's factory supplier; ideal balance of longevity and pulse resistance. |
| Energizer CR1632 | Lithium / Manganese Dioxide | ~130–135 mAh | -30°C to 60°C (-22°F to 140°F) | <1% | High Durability: Features superior leak-resistant seals; excellent performance in extreme sub-zero climates. |
| Duracell CR1632 | Lithium / Manganese Dioxide | ~135–140 mAh | -20°C to 60°C (-4°F to 140°F) | ~1% | Retail Availability: Features bitter-coating safety technology on the packaging; robust, predictable discharge curve. |
| Murata (formerly Sony) CR1632 | Lithium / Manganese Dioxide | ~140 mAh | -30°C to 70°C (-22°F to 158°F) | ~1% | High Heat Tolerance: Outstanding internal contact purity; well-suited for vehicles parked in desert environments. |
| Generic Multi-Pack Brands | Mixed Quality Lithium | ~90–110 mAh | -10°C to 45°C (14°F to 113°F) | >3–5% | Budget Emergency: Usable in emergencies, but exhibits high failure rates under cold winter conditions. |
When buying replacements, avoid multi-packs from unverified third-party sellers. Lithium coin cells sit on warehouse shelves for years if inventory does not rotate. Check the packaging for an embossed expiration date; a fresh cell should display a shelf-life date at least 8 to 10 years into the future.
Troubleshooting: What to Do If the Key Fob Fails After Replacement
If you have seated a brand-new battery and the key fob still does not work, perform the following targeted troubleshooting steps before spending money on a new remote or a dealership diagnostic fee.
1. Protective Sticker Still in Place
Many modern coin cells (notably Duracell and certain child-safe variants) feature a transparent, non-conductive plastic sticker on the negative terminal surface to prevent discharge in retail stores. If this sticker is not completely peeled away, the battery cannot complete a circuit with the bottom terminal prong.
2. Inverted Polarity
Double-check that the battery was not installed upside-down. The smooth side marked with the + symbol must point upward, facing you. The dimpled, textured surface is the negative pole and must press against the bottom leaf spring.
3. Flattened Terminal Contact Pins
Inside the plastic battery well, flexible copper/tin alloy contact pins complete the positive and negative connections. Over years of impacts, or if a previous owner pried an old battery out aggressively, these metal prongs can become bent downward.
- Use a wooden toothpick to gently lever the side contact prongs slightly inward and the bottom prong slightly upward.
- This restores mechanical tension against the edge and bottom of the coin cell.
4. Smart Key Cancellation Switch Under the Dash
On certain 2013 Prius trims, a manual push-button kill switch for the Smart Key System (labeled "KEY") is installed on the lower dash panel, directly beneath the steering wheel near the OBD-II diagnostic port. If a driver accidentally presses this button with their knee, it cuts power to the vehicle's external radio antennas.
- When this switch is pressed in, the car will completely ignore passive proximity signals, and the doors will not unlock upon touch.
- Check beneath the driver-side lower trim panel. If the small button is depressed, push it once to release it to the out position. Passive detection should immediately resume.
5. 12-Volt Auxiliary Battery Failure
Prius owners frequently confuse key fob failure with the degradation of the car’s dedicated 12-volt auxiliary lead-acid battery located in the rear hatch area.
- If the 12-volt vehicle battery drops below 10.5 volts, the car's computer networks and passive key transceivers shut down to conserve power.
- If the red LED on your key fob blinks brightly when you press "Lock" or "Unlock," but the car remains unresponsive, test the resting voltage of the 12-volt battery in the trunk. The hybrid traction battery does not power the passive entry computer when the vehicle is parked.
Maximizing Key Fob Battery Life
Under standard operating conditions, a CR1632 battery in a 2013 Prius should last between two and three years. Certain common habits, however, force the transponder to operate continuously, draining the cell in under six months.
Keep the Fob Away from Electronic Noise Sources
The Smart Key listens for 134.2 kHz and 13.56 MHz communication sweeps from the vehicle. If you store your keys inside the house directly next to active radio frequency emitters—such as Wi-Fi routers, smart televisions, laptop docks, induction cooktops, or cordless phone base stations—the ambient electromagnetic fields repeatedly wake the key fob's microcontroller. Keep your keys stored at least three to five feet away from active electronics.
Avoid Storing the Fob Close to the Car
If you park your Prius in an attached garage or right outside your front door, measure the distance between the vehicle and where your keys hang inside. If the key is within 15 feet (4.5 meters) of the car, the vehicle and key fob may maintain an active radio handshake loop. This prevents both the car's entry ECU and the fob from entering deep-sleep power states, draining both the CR1632 coin cell and the car's rear 12-volt auxiliary battery.
Frequently Asked Questions
Can I use a CR2032 or CR1620 battery in my 2013 Toyota Prius key fob?
No. You must use a CR1632 battery. A CR2032 has a diameter of 20 mm and will not fit inside the key's internal housing. A CR1620 has the correct 16 mm diameter but is only 2.0 mm thick compared to the required 3.2 mm. It will sit loosely in the tray, fail to make reliable contact with the internal prongs, and lose connection whenever the key is moved.
Will replacing the key fob battery cause the remote to lose its programming?
No. The pairing codes, rolling security keys, and vehicle transponder IDs are stored in non-volatile EEPROM memory chips on the circuit board. These chips retain their programmatic memory without any electrical power. You can leave the battery out of the key fob for hours or days without losing synchronization with your Prius.
How do I open the 2013 Prius key fob without scratching the plastic?
Never use a razor blade, utility knife, or a wide, thick screwdriver directly on the outer edge seams. Instead, remove the metal emergency key, find the internal notched pry cavity inside the key storage chamber, wrap your screwdriver tip in a single layer of electrical tape, and twist the tool like a key. Twisting expands the seam safely without biting into or gouging the ABS plastic.
Why is the small red light on my key fob blinking continuously?
If the red LED on the transmitter illuminates or flashes continuously without you touching any buttons, a button is mechanically stuck down inside the rubber membrane, or the circuit board has suffered moisture intrusion that created a bridge short. Open the key shell, inspect the rubber button pad for debris, clean the board with 90%+ isopropyl alcohol, dry it completely, and install a fresh battery.
Does the 2013 Toyota Prius key fob battery charge while driving?
No. The Smart Key fob does not charge in the vehicle. In earlier Gen 2 Prius models (2004–2009), there was an ignition slot on the dash that would charge specific rechargeable cells on European or early configurations, but the 2013 (Gen 3) model uses a purely disposable, non-rechargeable CR1632 lithium manganese dioxide coin cell. Never attempt to recharge a disposable CR1632 battery.
Practical Recommendation
To avoid being stranded, purchase a two-pack of name-brand CR1632 cells (such as Panasonic or Energizer). Install one cell in your primary remote and store the second battery inside its sealed blister pack in your glove compartment. Because the vehicle's manual key blade allows physical cabin entry even if the fob dies completely, having a fresh replacement cell inside the car guarantees you can restore full keyless entry functionality on the spot.