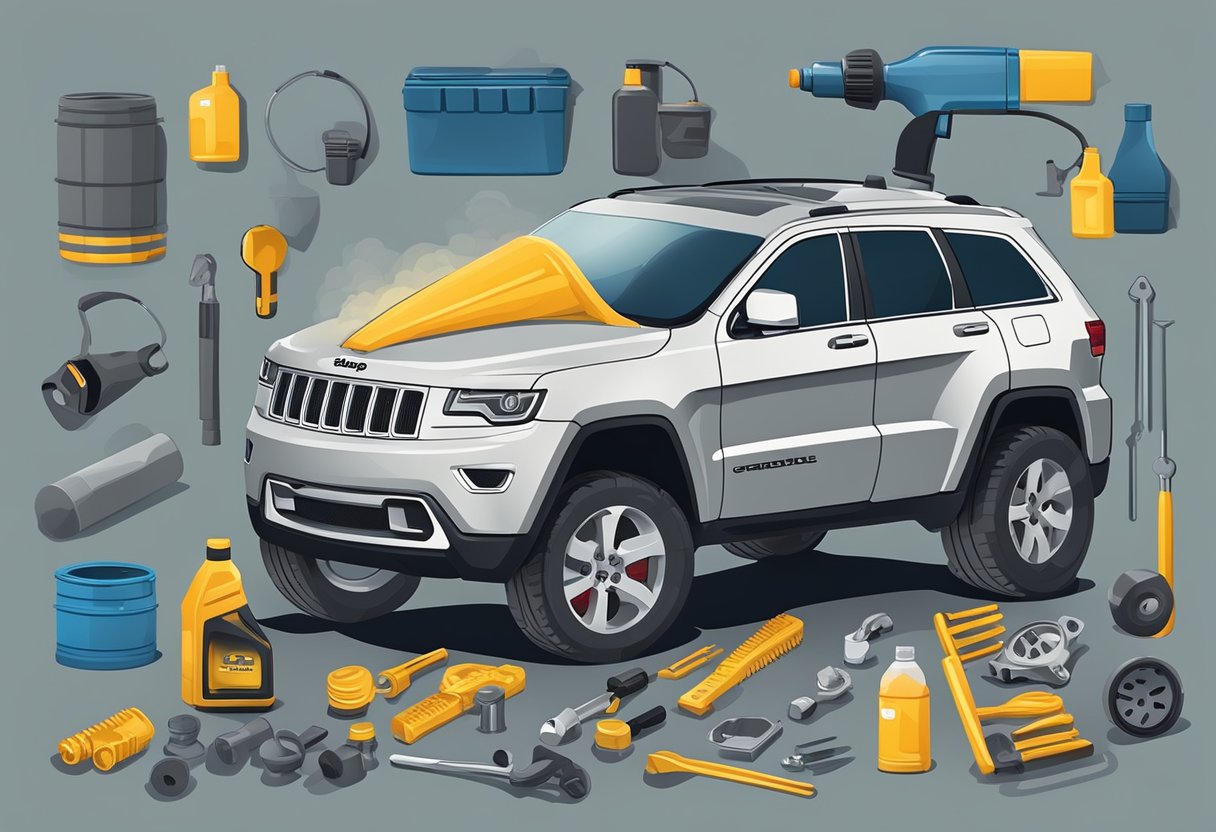
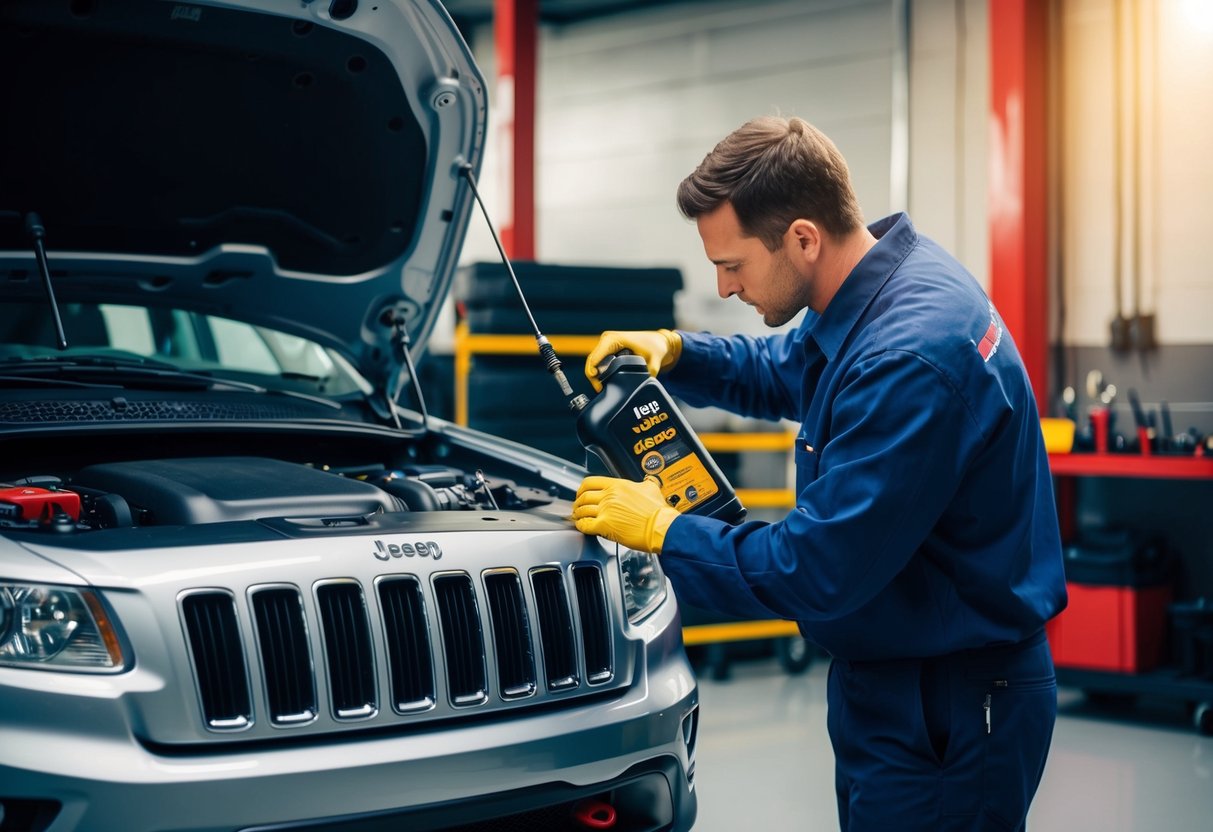
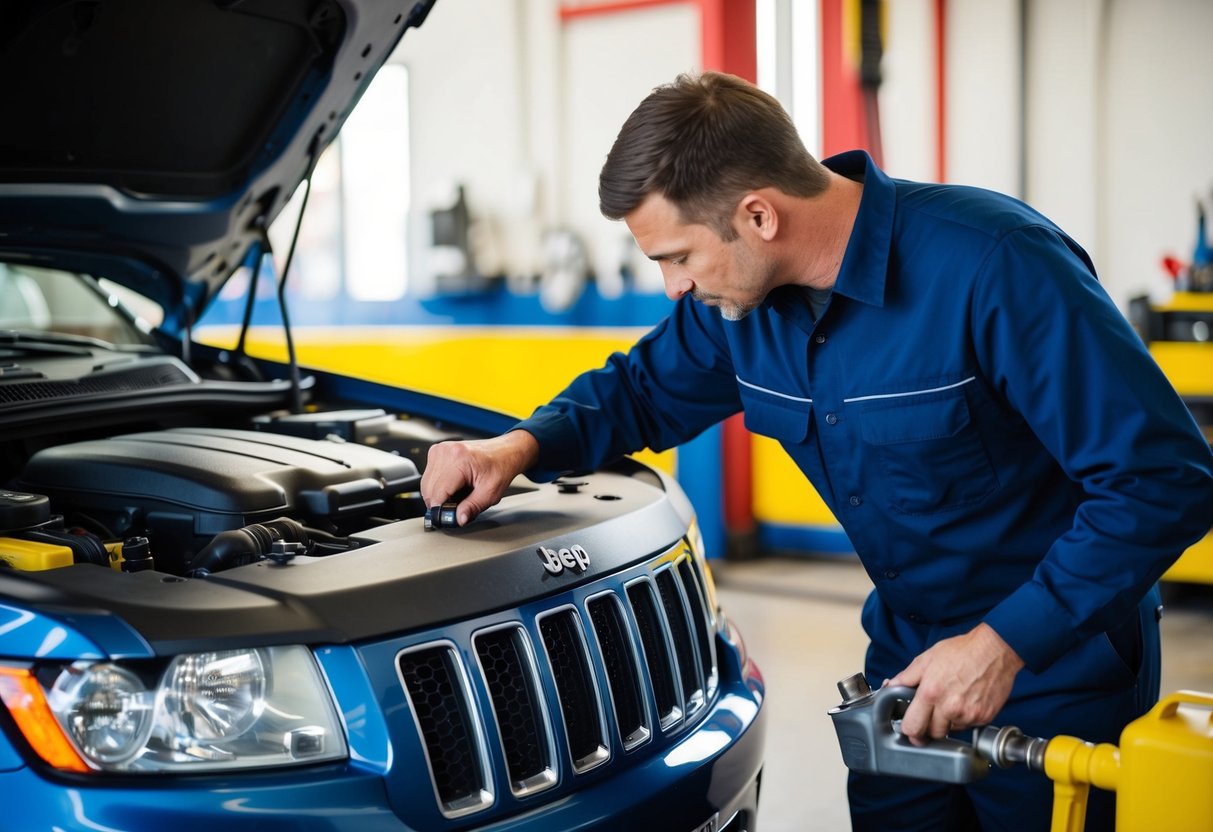
Performing a routine oil change on a 2014 Jeep Cherokee is a fundamental maintenance task that directly impacts engine longevity, fuel efficiency, and overall performance. Whether your vehicle is equipped with the 2.4L Tigershark MultiAir 4-cylinder engine or the 3.2L Pentastar V6 engine, understanding the specific oil weight, filter location, fluid capacity, and step-by-step replacement procedure ensures the job is done right and prevents premature engine wear.
1. Understanding Your 2014 Jeep Cherokee Engine Options
The 2014 Jeep Cherokee introduced two distinct engine variants to the model lineup. Before starting any maintenance project, you must identify which engine is housed under your hood, as oil capacity, filter types, and viscosity requirements differ.
The 2.4L Tigershark MultiAir 4-Cylinder
The 2.4-liter inline-four engine relies heavily on precise hydraulic oil pressure to actuate its MultiAir valve-timing system. Using the correct oil viscosity is paramount; incorrect oil weight can disrupt valve actuation, trigger a check engine light, and cause rough idling or poor fuel economy. This engine utilizes a cartridge-style oil filter housed in a vertical plastic cap assembly located near the top front of the engine block.
The 3.2L Pentastar V6 Engine
The 3.2-liter V6 engine is a dual-overhead-cam powerplant known for robust performance. Like its 4-cylinder counterpart, the Pentastar V6 uses a cartridge-style oil filter enclosed in a housing unit on top of the engine, making filter changes clean and accessible from the engine bay without requiring you to crawl underneath to swap out a spin-on canister.
2. Technical Specifications: Oil Viscosity, Capacity, and Filters
Using the correct materials is essential for protecting modern multi-valve engines. Refer to the manufacturer guidelines and verify your specifications against the owner's manual.
| Engine Type | Recommended Oil Viscosity | Oil Capacity (with filter) | Oil Filter Type / Part Number | Drain Plug Torque Specification |
|---|---|---|---|---|
| 2.4L 4-Cylinder | SAE 0W-20 (Full Synthetic) | 5.5 Quarts (5.2 Liters) | Cartridge Filter (Mopar 68191349AC) | 20 ft-lbs (27 Nm) |
| 3.2L V6 | SAE 5W-20 (Full Synthetic) | 6.0 Quarts (5.7 Liters) | Cartridge Filter (Mopar 68191349AC) | 20 ft-lbs (27 Nm) |
Note: Always verify fluid levels using the engine dipstick after completing the fill process. Do not rely solely on dry-fill capacity numbers.
3. Tools, Equipment, and Safety Preparation
Gathering your tools beforehand ensures an efficient, uninterrupted workflow. Working underneath a vehicle requires strict adherence to safety protocols.
Required Tools and Materials
- Fresh Engine Oil: 5 to 6 quarts of full synthetic oil matching the required viscosity (0W-20 for 2.4L; 5W-20 for 3.2L). Look for certifications such as API Certified and MS-6395 compliance.
- Oil Filter: Cartridge-style filter kit complete with a new O-ring gasket.
- Wrenches and Sockets: A 13mm socket for the oil pan drain plug and a 24mm or 151mm socket (depending on specific aftermarket filter cap designs, though OEM usually requires a 24mm or specific cap wrench) for the oil filter housing.
- Oil Catch Pan: A low-profile container holding at least 8 quarts of fluid.
- Funnel: To prevent spills when pouring fresh oil into the valve cover or filter housing.
- Rags and Shop Towels: For cleaning up drips and wiping surfaces.
- Safety Gear: Safety glasses and nitrile gloves.
Lifting and Safety Equipment
Never crawl underneath a vehicle supported solely by a hydraulic floor jack. Always use rated hydraulic jack stands on designated unibody pinch weld lift points, engage the parking brake, and block the rear wheels. If you are using automotive service ramps, ensure the vehicle is centered and straight before driving up.
4. Step-by-Step 2014 Jeep Cherokee Oil Change Procedure
Follow this structured sequence to complete the oil change cleanly and accurately.
Step 1: Warm Up and Prepare the Engine
Start the engine and let it run for three to five minutes to warm the oil. Warm oil flows more freely and carries suspended microscopic debris and contaminants out of the crankcase more effectively than cold oil. Turn off the ignition, set the parking brake, and pop the hood.
Step 2: Access and Drain the Old Oil
- Elevate the front of the vehicle securely using jack stands or ramps.
- Locate the aluminum oil pan underneath the vehicle. Place your oil catch pan directly beneath the oil pan drain plug.
- Loosen the 13mm drain plug counterclockwise using your socket wrench. Once loose, carefully spin it out by hand, keeping lateral pressure inward to prevent hot oil from rushing out over your fingers.
- Allow the oil to drain completely into the pan until it reduces to a slow drip. Inspect the drain plug washer or O-ring for crushing or cracking; replace it if worn.
- Clean the drain plug threads and reinstall it by hand to prevent cross-threading. Torque the drain plug to 20 ft-lbs (27 Nm) using a torque wrench. Do not overtighten, as this can strip the aluminum oil pan threads.
Step 3: Replace the Cartridge Oil Filter
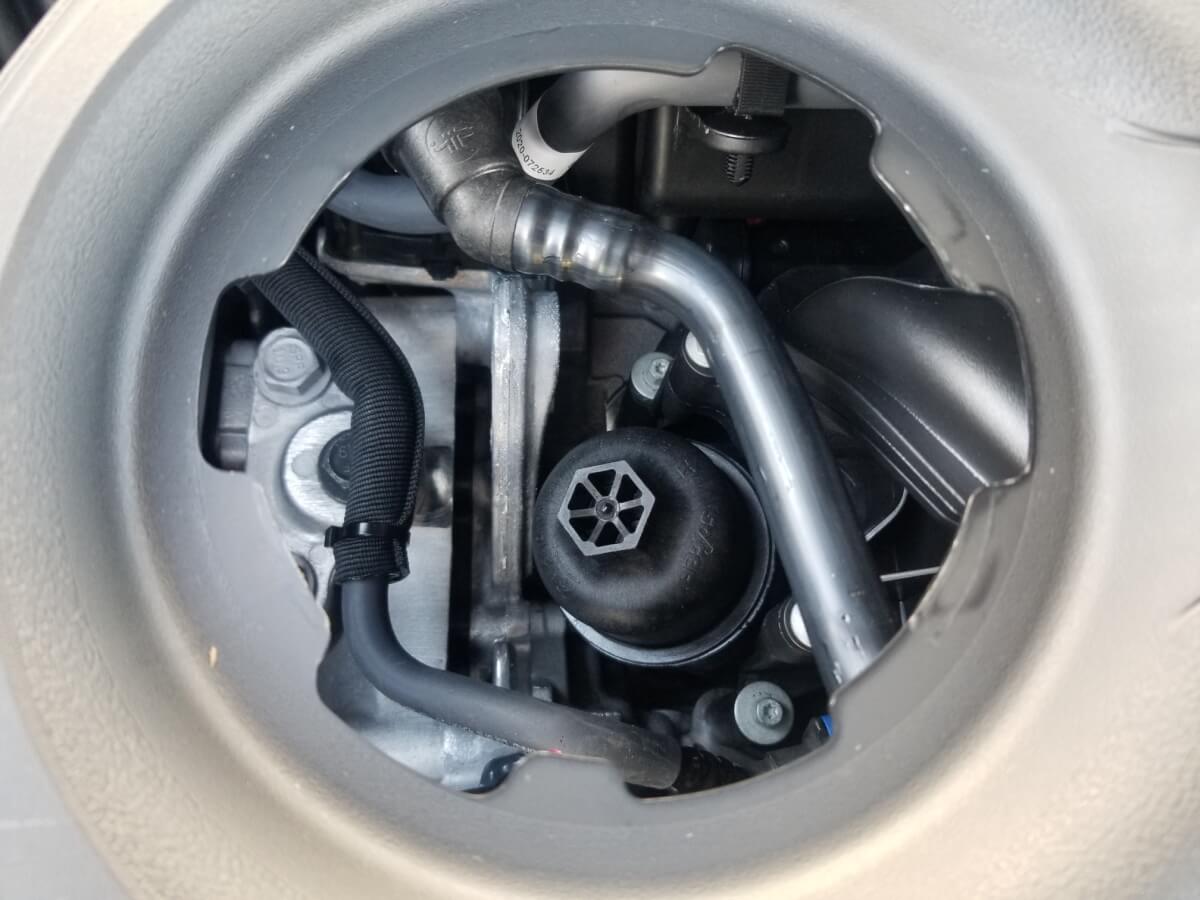
- Move to the top of the engine bay and locate the black plastic oil filter housing cap.
- Using your socket wrench, slowly loosen the cap counterclockwise. As you unthread it, the internal spring-loaded valve will allow trapped oil inside the housing to drain back down into the engine block.
- Pull the cap upward along with the old paper filter element.
- Detach the old filter element from the cap by pulling firmly. Remove the old rubber O-ring gasket from its groove on the filter cap threads. Do not leave the old O-ring in place, as installing a new O-ring over an old one will cause a catastrophic oil leak.
- Lubricate the new rubber O-ring with a few drops of clean engine oil and seat it firmly into the proper groove on the filter cap.
- Snap the new paper filter cartridge into the cap until it clicks securely.
- Screw the filter assembly back onto the housing housing mount by hand, ensuring it threads smoothly. Torque the cap to the manufacturer's specification (typically marked on the cap, around 25 Nm).
Step 4: Refill with Fresh Engine Oil
- Remove the engine oil filler cap located on the valve cover.
- Insert a clean funnel into the filler opening.
- Pour in the designated volume of fresh full synthetic oil (5.5 quarts for the 2.4L or 6.0 quarts for the V6). Pour slowly to give the oil time to flow down through the valvetrain.
- Remove the funnel and thread the oil filler cap securely back into place.
5. Verification, Fluid Level Check, and Leak Inspection
Before lowering the vehicle, you must verify that everything is sealed and filled correctly.
- Remove all tools, rags, and the catch pan from underneath the vehicle.
- Carefully lower the vehicle back to flat ground.
- Start the engine and let it idle. Do not rev the engine. Observe the instrument cluster dashboard: the oil pressure warning light should extinguish within two to four seconds as the oil pump primes the system and fills the new filter housing.
- Walk around to the front of the vehicle, look underneath with a flashlight, and inspect the oil pan drain plug and top filter housing for any signs of seepage or dripping.
- Turn off the engine and wait five minutes to allow oil to drain back down into the oil pan.
- Pull out the dipstick, wipe it clean with a shop towel, reinsert it fully, and pull it out again. Check that the fluid level rests precisely within the safe crosshatched operating zone between the minimum and maximum marks. Add small amounts of oil if necessary.
6. Resetting the Oil Life Monitor System
Modern vehicles feature an Intelligent Oil Life System (IOLS) that calculates oil degradation based on engine operating hours, revolutions, and temperature. After changing your oil, you must reset this monitor so your maintenance reminders remain accurate.
- Turn the ignition switch to the ON position without starting the engine (press the Start button twice without pressing the brake pedal, or turn the key to the ON position).
- Use the directional control pad on the left side of the steering wheel to navigate through the multi-information display screen in the instrument cluster.
- Scroll until you highlight the Vehicle Info screen, then navigate using the up/down arrows to find Oil Life.
- Press and hold the OK button located on the steering wheel control pad.
- The oil life percentage will reset to 100%. Turn the ignition off.
7. Frequently Asked Questions
How often should I change the oil in a 2014 Jeep Cherokee?
Under normal driving conditions, full synthetic oil allows for oil change intervals between 7,500 and 10,000 miles, or once every 12 months, whichever comes first. However, if you frequently drive in severe service conditions—such as dusty environments, heavy idling, frequent short trips under 10 miles in freezing weather, or off-road towing—you should shorten your interval to every 5,000 miles.
Can I use conventional oil instead of synthetic in a 2014 Jeep Cherokee?
No. Both the 2.4L Tigershark and 3.2L Pentastar engines are engineered and specified by Jeep to run exclusively on full synthetic motor oil. Conventional oils break down under the high operating temperatures of these modern engines, leading to varnish buildup, blocked oil passages, and potential failure of the MultiAir hydraulic system or timing chain tensioners.
Why is my oil filter housing made of plastic, and does it crack?
The housing cap is engineered from high-temperature reinforced composite material to save weight and resist corrosion. It is durable, but it can crack or strip if over-tightened with a ratchet. Always hand-thread the cap first, and use a torque wrench to avoid applying excessive force.
What should I do if the oil filter housing cap is stuck?
Over-tightening during a previous service is the primary cause of stuck filter caps. Use the correct low-profile socket wrench designed for the cap flats. Avoid using slip-joint pliers or channel locks directly on the plastic cap, as these tools will crush and gouge the plastic, destroying the housing.
8. Final Recommendations
Maintaining a regular service schedule is the single most effective way to preserve the reliability of your 2014 Jeep Cherokee. Always dispose of your used motor oil and old filter responsibly by sealing the used oil in a leak-proof container and transporting it to a local auto parts retailer or municipal recycling center that accepts household hazardous waste. Keeping detailed maintenance records will also help protect your investment and maintain vehicle resale value.