An air conditioner tune-up is a comprehensive professional or DIY inspection, cleaning, and servicing of an HVAC system designed to restore peak efficiency, prevent mid-summer breakdowns, and extend equipment lifespan. Routine upkeep lowers monthly utility bills, preserves manufacturer warranties, and ensures consistent indoor comfort by identifying minor mechanical faults before they necessitate costly emergency repairs.
Understanding the Value of Regular Air Conditioning Maintenance
Homeowners often wait until an air conditioning system fails completely before calling for service. However, running a complex mechanical system through intense summer cooling cycles without basic annual upkeep leads to predictable wear and tear. Dust, pollen, and pet dander accumulate continuously on indoor evaporator coils and outdoor condenser fins, forcing the compressor to work harder and consume more electricity just to maintain a comfortable indoor temperature.
Beyond immediate energy savings, regular maintenance protects the financial investment tied up in residential heating and cooling infrastructure. Modern central air conditioning systems are major household assets. Failing to service them regularly can reduce their operational lifespan from a standard 15–20 years down to less than a decade. Furthermore, most major heating, ventilation, and air conditioning (HVAC) manufacturers explicitly require proof of annual professional maintenance to honor parts warranties if a major component, such as a compressor or fan motor, fails prematurely.
Pre-Tune-Up Preparation: What to Know Before You Begin
Before scheduling a service technician or rolling up your sleeves for a weekend maintenance project, it helps to understand what the process entails and what prerequisites must be met.
Professional Service Versus DIY Tasks
While homeowners can safely handle basic tasks—such as changing air filters, clearing debris from the outdoor unit, and washing washable grilles—a thorough annual tune-up requires specialized tools and technical certifications. Licensed HVAC technicians carry refrigerant gauges, electrical multimeters, chemical coil cleaners, and specialized brushes. They are trained to handle high-voltage electrical circuits safely and possess EPA section 608 certification to legally handle regulated refrigerants like R-410A or R-22.
Safety Precautions
Electricity and water form a hazardous combination around HVAC units. Before performing any physical inspection or cleaning task near the indoor air handler or outdoor condenser:
- Locate and switch off the dedicated circuit breaker supplying power to the HVAC equipment.
- Pull the disconnect switch located in the exterior electrical box adjacent to the outdoor condenser unit.
- Allow the system to sit unpowered for several minutes so that internal capacitors can safely discharge residual electrical charges.
The Complete Air Conditioner Tune-Up Checklist
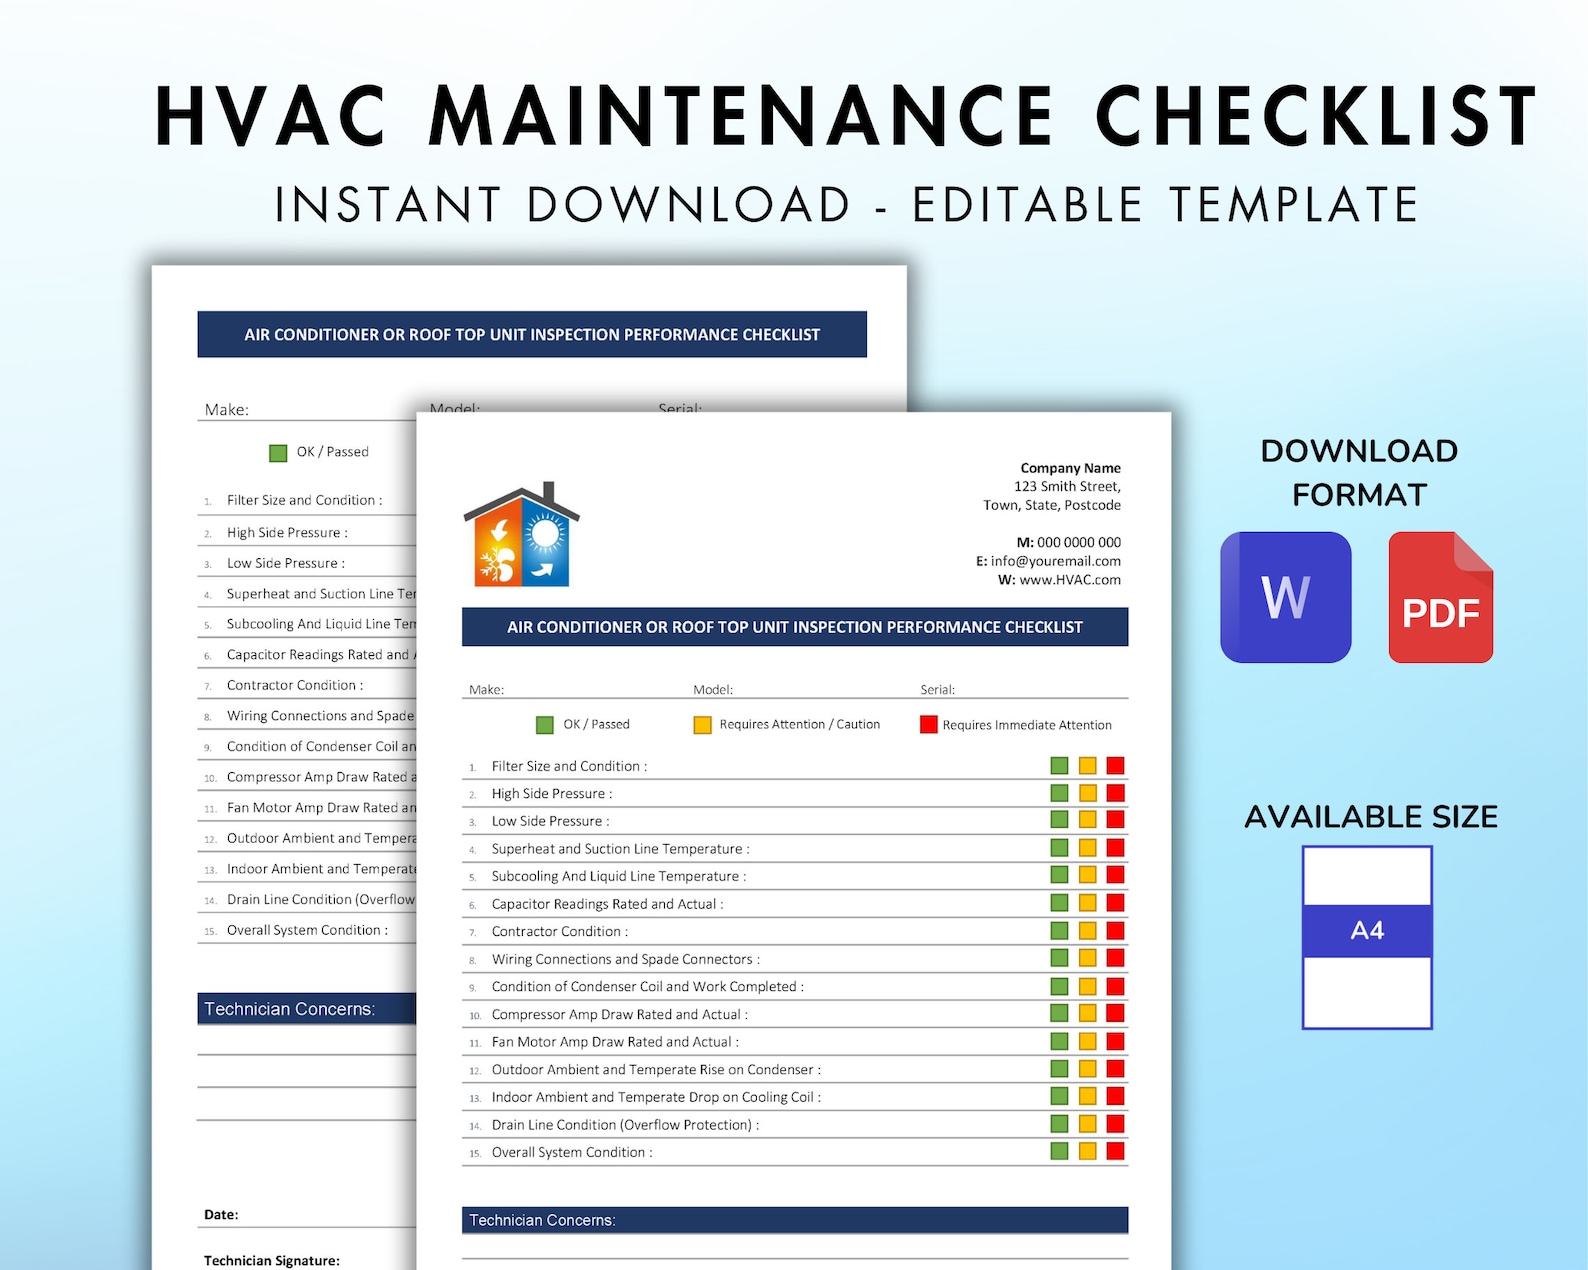
A systematic approach ensures no critical component is overlooked. The following sequential checklist outlines the essential maintenance steps performed during a standard professional tune-up, many of which can also guide a homeowner's seasonal inspection.
- STAGE 1: FILTERS & AIRFLOW
- Inspect and replace disposable or clean permanent filters
- Check return air grilles and supply vents for obstructions
- STAGE 2: ELECTRICAL & MECHANICAL
- Test capacitors, contactors, and electrical connections
- Measure compressor operating amperage and voltage
- STAGE 3: COILS & DRAINAGE
- Clean indoor evaporator and outdoor condenser coils
- Flush condensate drain line and clear primary/secondary pans
- STAGE 4: SYSTEM PERFORMANCE
- Verify refrigerant charge levels and operating pressures
- Calibrate thermostat and cycle system through cooling modes
1. Air Filters and Airflow Pathways
Restricted airflow is the single most common cause of air conditioning inefficiency and equipment failure.
- Filter Replacement: Inspect the media air filter located either inside the return air duct, at the base of the air handler, or inside the living space. Replace disposable fiberglass or pleated filters every one to three months depending on household pet ownership, dust levels, and usage frequency.
- Duct and Vent Inspection: Ensure supply and return vents throughout the house are not blocked by area rugs, heavy draperies, or furniture. Obstructed airflow increases static pressure within the ductwork, straining the blower motor and reducing cooling capacity.
2. Electrical Component and Safety Controls Inspection
A central air conditioner relies on high-voltage electricity and sensitive low-voltage control circuits to operate safely.
- Terminal Connections: Inspect all electrical terminals inside the outdoor unit's control box. Over time, vibrations can loosen screw terminals, causing arcing, heat damage, or intermittent power loss. Technicians tighten loose wires and clean corrosion.
- Capacitors and Contactors: Test run capacitors and dual-run capacitors with a multimeter to verify they are operating within manufacturer microfarad specifications. Weak capacitors prevent the compressor or fan motor from starting. Inspect contactor points for pitting, burning, or insect infestation.
- Safety Switch Verification: Test float switches installed in the condensate drain pan to ensure they successfully shut off the system if a clogged drain threatens to overflow and damage ceilings or subflooring.
3. Coil Cleaning and Inspection
Heat transfer is the core thermodynamic function of an air conditioner. Heat is absorbed from the indoor air by the evaporator coil and released into the outdoor atmosphere by the condenser coil.
- Evaporator Coil: Locate the indoor coil (often positioned above the furnace or inside the air handler cabinet). If dust or biological growth coats the fins, wash the coil using an approved non-rinse coil cleaner or wipe it down carefully to avoid bending fragile aluminum fins.
- Condenser Coil: Outdoor coils collect grass clippings, cottonwood seeds, dirt, and pollution residue. Clear vegetation, shrubs, and debris maintaining at least a two-foot clearance around the perimeter of the cabinet. Use a low-pressure garden hose to spray water outward from the inside of the coil outward to push trapped dirt back out without bending the delicate fins.
4. Condensate Drainage Management
As an air conditioner cools indoor air, moisture from humidity condenses on the cold evaporator coil. This water must drain smoothly outside or into a dedicated plumbing drain.
- Drain Line Flush: Pour a cup of distilled white vinegar or a specialized algaecide tablet down the condensate tee or drain opening to prevent algae, slime, and mold from forming blockages during the humid summer months.
- Drain Pan Check: Inspect the auxiliary drain pan for standing water or rust. Ensure the primary drain line slopes downward continuously toward its termination point.
5. Refrigerant Charge and Operating Pressure Analysis
Refrigerant is the working fluid that cycles through the system; it is neither consumed nor depleted during normal operation. A drop in refrigerant indicates a leak.
- Superheat and Subcooling Measurement: Technicians attach digital manifold gauges to service ports on the outdoor unit to measure operating pressures and temperatures.
- Leak Detection: If pressures indicate an undercharged system, the technician must locate and repair the refrigerant leak using electronic leak detectors or ultraviolet dye before recharging the system to factory specifications. Simply adding refrigerant to a leaking system is ineffective and environmentally harmful.
6. Mechanical Lubrication and Moving Parts
- Blower Motor and Fan Bearings: Older motors feature oil ports that require specific grades of non-detergent electric motor oil. Modern permanent split capacitor (PSC) and electronically commutated motors (ECM) are typically sealed and factory-lubricated for life, requiring only cleanliness checks.
- Fan Blade Balance: Inspect the indoor blower wheel and outdoor fan blades for dirt accumulation or cracks. Out-of-balance blades generate excessive vibration, leading to premature bearing failure and noisy operation.
7. Thermostat Calibration and System Testing
- Thermostat Accuracy: Compare the temperature displayed on the thermostat screen against a calibrated manual thermometer placed nearby. Recalibrate or replace the thermostat if ambient readings diverge significantly.
- Operational Cycle Test: Run the system through a complete cooling cycle. Verify that the compressor engages smoothly, the outdoor fan spins at full speed, cool air registers at supply vents, and the temperature differential across the indoor coil falls within normal operational ranges (typically a 15°F to 20°F drop between return and supply air).
Cost Considerations and Service Plans
Understanding the financial investment required for routine maintenance helps homeowners budget appropriately for annual upkeep.
| Service Type | Average Cost Range | Frequency | Key Inclusions |
|---|---|---|---|
| DIY Home Maintenance | $10 – $50 (Filters/Cleaners) | Monthly / Seasonally | Filter changes, fin clearing, drain flushing |
| Standard Professional Tune-Up | $75 – $200 | Annually (Spring) | Visual inspection, electrical checks, coil wash, pressure test |
| Comprehensive HVAC Service Plan | $150 – $400 / Year | Biannual (Spring & Fall) | Includes AC tune-up, furnace check, priority scheduling, repair discounts |
Value of HVAC Service Agreements
Many local heating and cooling companies offer annual maintenance contracts or service agreements. These programs typically bundle a spring cooling tune-up and a fall heating check into a discounted annual fee. Additional perks often include 15% to 20% discounts on emergency repair parts, waived diagnostic fees, and front-of-the-line service scheduling during peak weather extremes when emergency repair technicians are heavily booked.
Common Maintenance Mistakes to Avoid
Even well-intentioned homeowners can inadvertently damage their HVAC systems through improper maintenance practices. Avoid these frequent pitfalls:
- Using High-Pressure Power Washers: Never clean outdoor condenser coils with a high-pressure commercial pressure washer. The intense water stream flattens soft aluminum fins instantly, blocking airflow and permanently reducing system capacity. Use a standard garden hose with a nozzle set to a gentle shower or medium spray.
- Neglecting Filter Directional Arrows: When installing a new air filter, always check the directional airflow arrow printed on the cardboard frame. Installing the filter backward causes it to collapse under suction pressure, sucking dust directly onto the clean evaporator coil.
- Ignoring Minor Warning Signs: Rattling noises, musty odors, short-cycling (turning on and off rapidly), or rising electric bills are early warning signs. Waiting until the system stops cooling entirely on the hottest day of the year turns a minor, inexpensive repair into an emergency service call.
- Covering the Outdoor Unit Incorrectly: While covering an outdoor condenser unit in winter protects it from falling ice or heavy debris, wrapping it tightly in heavy plastic traps ambient condensation and moisture inside the electrical control cabinet, promoting rust and corrosion. Use a breathable mesh cover designed specifically for HVAC condensers, or cover only the top surface, leaving the sides open for ventilation.
Troubleshooting Common Post-Tune-Up Issues
Occasionally, a system may exhibit minor operational hiccups immediately following a service visit or seasonal startup.
Musty or Mildew Odors
If a damp, musty smell emerges from supply vents when the air conditioner first turns on, it is typically caused by mold or mildew growing on a damp evaporator coil or inside the condensate drain pan. Running the system continuously often mitigates the smell as fresh condensation flushes the system, but persistent odors require professional coil sanitizing or duct cleaning.
System Won't Start After Maintenance
If the air conditioner fails to turn on after changing the filter or servicing the unit:
- Check the main electrical panel to ensure a circuit breaker has not tripped.
- Verify that the outdoor electrical disconnect box is fully engaged and pushed into place.
- Ensure the thermostat is set to "Cool," the target temperature is set below the current room temperature, and the five-minute compressor time-delay safety feature has finished counting down.
Practical Next Actions for Homeowners
To keep your cooling system running at peak efficiency throughout the summer cooling season, follow these practical steps:
- Mark Your Calendar: Schedule professional tune-ups during the early spring months (March or April) before local technicians become overwhelmed with emergency summer repair calls.
- Establish a Filter Schedule: Set a recurring calendar reminder on your smartphone to inspect and replace disposable air filters every 60 to 90 days.
- Keep Logs: Maintain a home maintenance binder containing records of all past tune-ups, filter purchases, and repair invoices to support warranty claims and increase home resale value.