Replacing headlights on a 2012 Chevrolet Malibu involves navigating critical vehicle engineering variables, including assembly design variations across trim levels, bulb type specifications, lens oxidation degradation, electrical socket integrity, and aftermarket versus OEM part selection trade-offs.
Introduction to 2012 Chevrolet Malibu Lighting Systems
The 2012 Chevrolet Malibu represents the final model year of the seventh-generation Malibu platform, which was produced from 2008 through 2012. As these vehicles age, routine maintenance inevitably includes addressing declining forward illumination. Dim, yellowed, or completely inoperable headlights present a serious safety hazard and compromise nighttime visibility. When vehicle owners or technicians approach a headlight replacement project on this specific model, the decision-making process goes far beyond simply grabbing a new bulb off a retail shelf.
Navigating a headlight replacement on the 2012 Malibu requires a comprehensive understanding of the vehicle’s physical architecture, electrical demands, and part quality variations. Whether you are dealing with a burned-out halogen filament, a completely shattered projector assembly resulting from a minor collision, or severely oxidized polycarbonate lenses that block light output, understanding the core variables ensures a permanent, safe, and cost-effective repair. This guide examines the five primary factors that shape every smart headlight replacement decision for the 2012 Chevrolet Malibu.
1. Trim-Specific Assembly Differences and Housing Design
One of the most critical factors influencing a 2012 Chevrolet Malibu headlight replacement is the vehicle's specific trim level and its corresponding headlight housing design. The seventh-generation Malibu was offered in several trims, most notably the LS, LT (1LT and 2LT), and the top-tier LTZ. While the foundational front fascia geometry remained consistent, the internal reflector design, bezel finishes, and projector integration varied depending on the trim package and factory options.
Understanding your exact trim level prevents costly purchasing errors. For instance, some higher-end trims feature distinct chrome or blacked-out bezel accents inside the headlight housing that match the vehicle's grille treatment. Furthermore, the 2012 Malibu utilizes a dual-lamp system in standard configurations, separating the low-beam and high-beam functions into distinct bulb chambers behind a single composite lens.
When evaluating whether to replace just the bulb or the entire headlight assembly, owners must inspect the structural integrity of the housing. The composite housing is manufactured from heavy-duty plastic, but the rear mounting tabs are notoriously susceptible to snapping during front-end impacts or improper removal attempts. If a mounting tab is broken, replacing just the bulb or lens cover will leave the assembly loose, causing misaligned beam patterns that blind oncoming traffic or fail vehicle safety inspections.
2. Bulb Technology Specifications and Beam Pattern Integrity
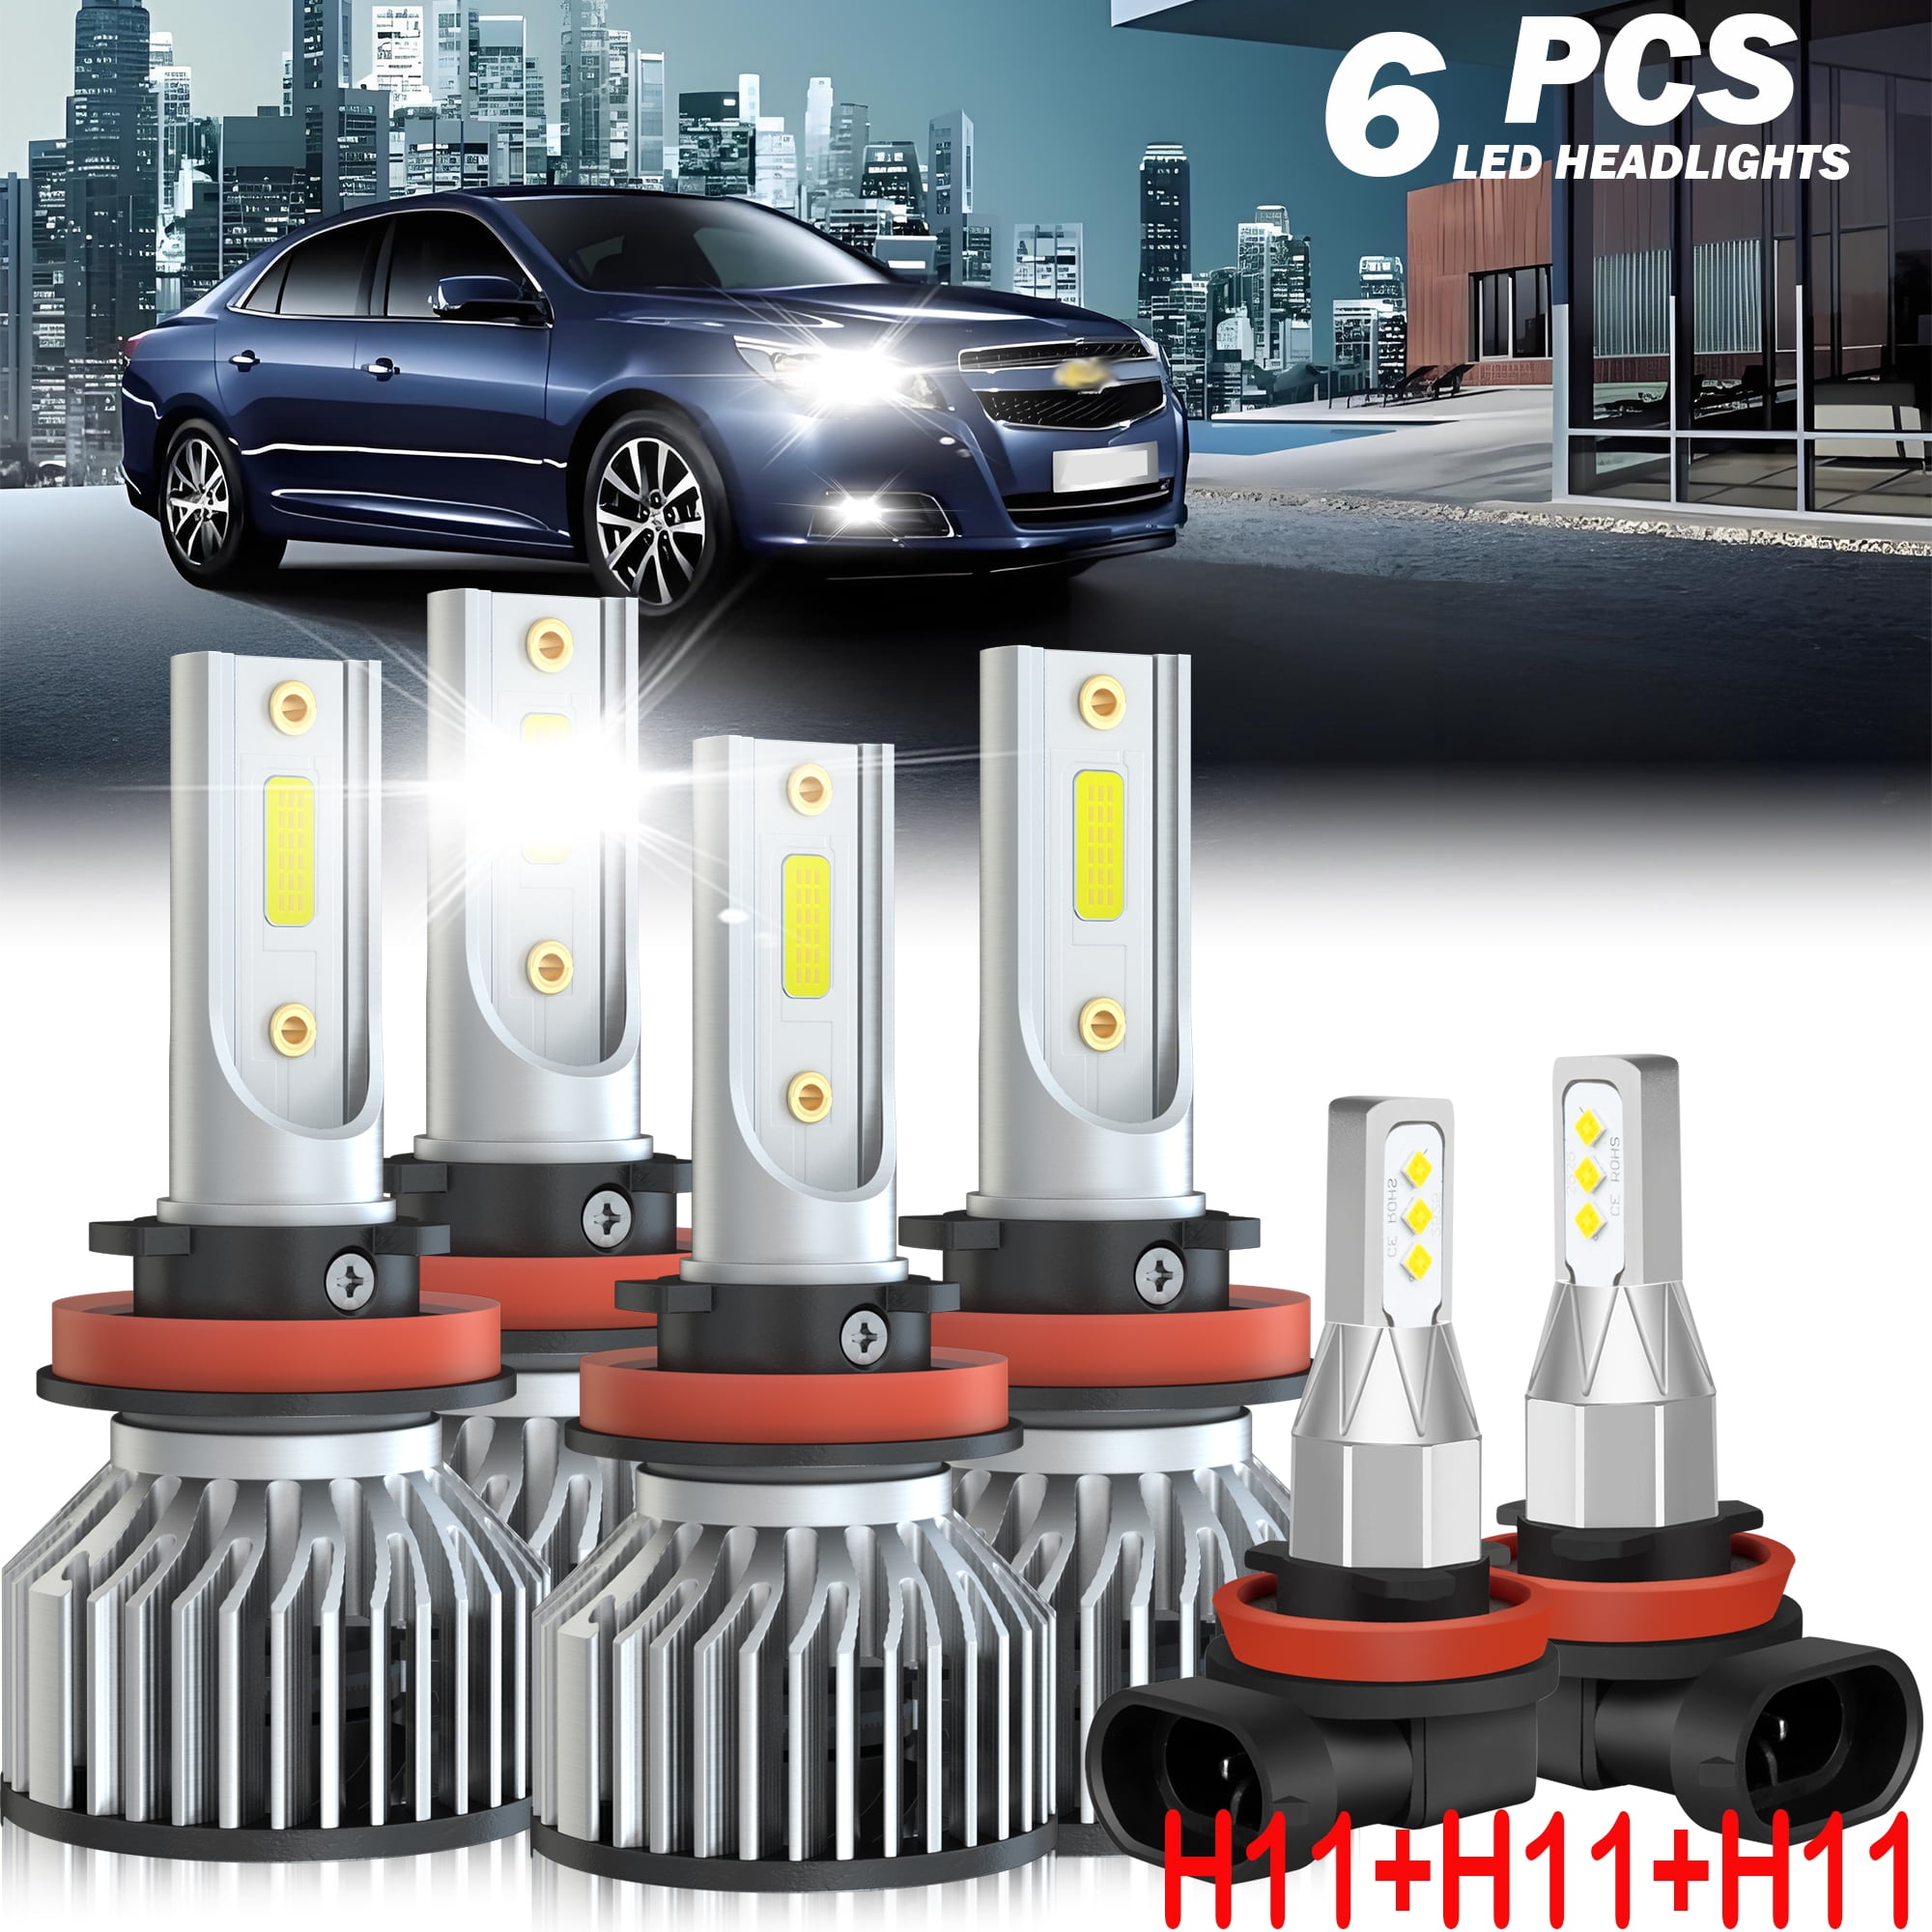
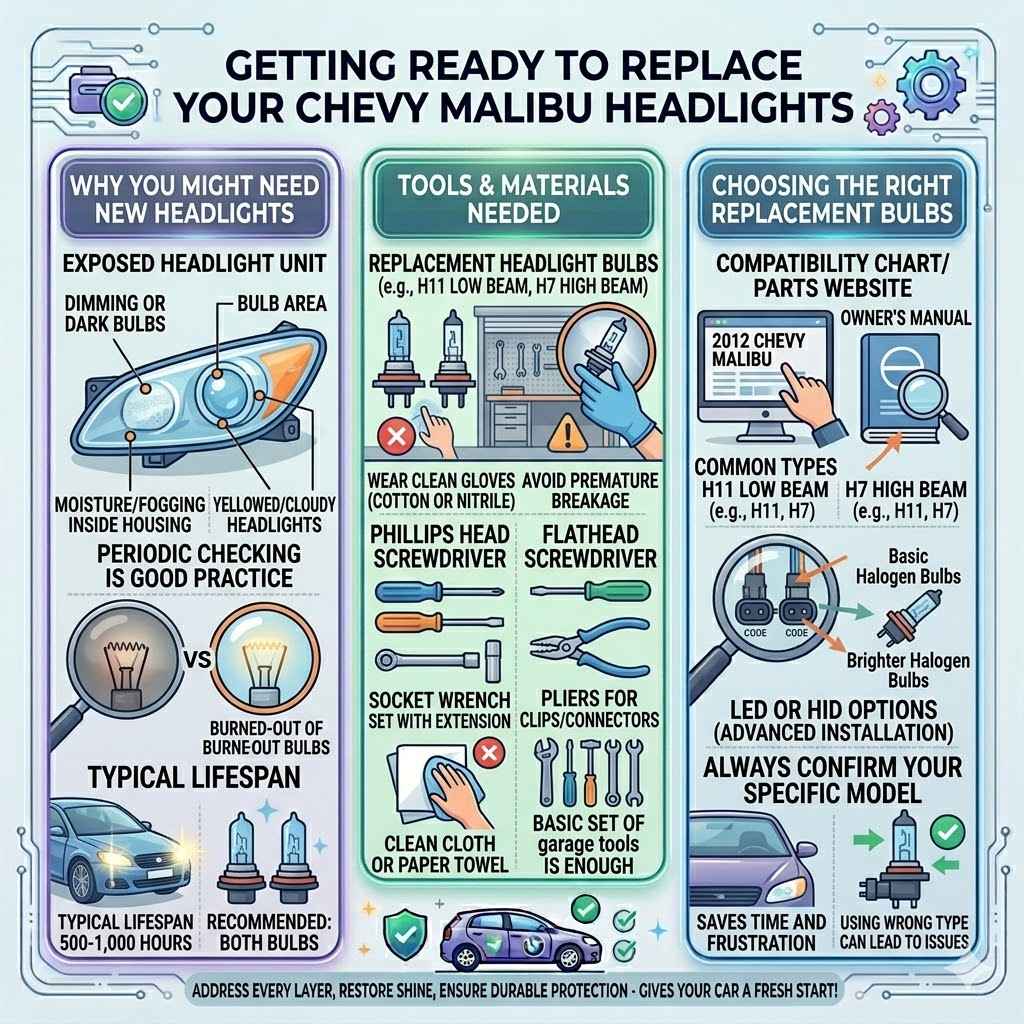
The choice of replacement bulb technology directly dictates illumination performance, installation complexity, and electrical compatibility. For the 2012 Chevrolet Malibu, the factory low beams typically utilize H11 halogen bulbs, while the high beams rely on H9 or 9005 style capsules depending on the specific assembly variant. Ensuring you cross-reference your exact owner's manual or pull the original bulb before purchasing is a vital prerequisite step.
Vehicle owners frequently weigh the benefits of upgrading from standard factory halogen bulbs to modern aftermarket options, such as high-intensity discharge (HID) conversion kits or light-emitting diode (LED) retrofit bulbs. While LEDs and HIDs promise significantly higher lumen output and a whiter color temperature, they introduce several technical challenges on a 2012 Malibu:
- Projector Compatibility: The 2012 Malibu low-beam reflector is engineered specifically to focus the distinct focal point of a halogen filament. Inserting an LED bulb with mismatched diode placement can scatter light wildly, creating glare rather than a focused road beam.
- Canbus and Flicker Issues: Modern aftermarket LEDs draw less power than halogen filaments, which can trigger bulb-out dashboard warnings or flickering due to pulse-width modulation (PWM) in the Malibu's body control module.
- Heat Management: High-performance LED retrofit bulbs require built-in fans or braided heat sinks that may not fit comfortably inside the dust covers of the tight 2012 Malibu engine bay.
Adhering to strict Department of Transportation (DOT) and SAE compliance standards ensures that your chosen lighting setup provides optimal road illumination without blinding other motorists.
3. Lens Oxidation, Restoration vs. Total Assembly Replacement
Environmental exposure takes a heavy toll on automotive lighting over time. The 2012 Chevrolet Malibu utilizes an exterior lens crafted from polycarbonate plastic. While durable and impact-resistant, polycarbonate is vulnerable to ultraviolet (UV) radiation from sunlight, which degrades the factory UV-protective topcoat. This results in severe surface oxidation, commonly known as "yellowing" or "fogging," which can reduce light transmission by up to 50 percent.
When faced with cloudy lenses, owners must decide whether to perform a chemical lens restoration or invest in a total headlight assembly replacement. Each path has distinct advantages and operational limits:
| Factor | Lens Restoration (Kits / Buffing) | Complete Assembly Replacement |
|---|---|---|
| Upfront Cost | Low ($15 – $40) | Moderate to High ($80 – $300+ per side) |
| Labor Time | 45 to 90 minutes | 1 to 2 hours (requires front bumper fascia manipulation) |
| Longevity | Temporary (re-oxidizes within 6 to 18 months without sealant) | Permanent structural and optical fix (5+ years) |
| Internal Damage | Cannot fix internal reflector burn, cracks, or moisture intrusion | Completely resolves internal humidity, seal leaks, and broken tabs |
| Best Used For | Surface-level UV yellowing and minor hazing | Deep crazing, internal moisture, cracked lenses, or broken mounts |
For long-term safety and aesthetic consistency, total assembly replacement is often the superior choice if the inner reflector bowls have suffered thermal degradation from years of high-heat halogen bulb usage.
4. Electrical Harness and Socket Condition
An often-overlooked factor in headlight replacement decisions is the physical condition of the wiring harness, connector plugs, and bulb sockets. Over more than a decade of heat cycles, engine vibration, and potential moisture exposure, the plastic electrical connectors on a 2012 Chevrolet Malibu can become brittle, melt, or corrode.
When removing a burned-out headlight bulb, technicians should carefully inspect the wiring pigtail. Symptoms of electrical degradation include:
- Discolored, browned, or melted plastic around the connector terminals.
- Green powdery corrosion on the metal spade terminals inside the plug.
- Intermittent operation where the headlight works only when the wiring harness is physically moved.
If a new bulb is installed into a compromised or corroded socket, high electrical resistance will generate excessive heat, causing the new bulb to fail prematurely or presenting a localized fire hazard. Replacing a damaged pigtail requires cutting the old wires, stripping the insulation, and securing the new socket using waterproof butt splices or solder-seal connectors wrapped in automotive-grade electrical tape. Ensuring clean, low-resistance electrical connections guarantees that the maximum operating voltage reaches the bulb filament.
5. OEM vs. Aftermarket Parts Selection and Cost Considerations
Budgetary constraints combined with quality expectations drive the final decision on which replacement parts to purchase. For the 2012 Chevrolet Malibu, the marketplace offers three distinct tiers of replacement components: Original Equipment Manufacturer (OEM) parts, certified aftermarket parts (such as CAPA-certified assemblies), and uncertified budget aftermarket alternatives.
- OEM Parts: Sourced directly through Chevrolet dealerships or official GM parts suppliers. These guarantee exact factory fitment, correct beam alignment tabs, and identical electrical connectors. However, they carry the highest price tag.
- CAPA-Certified Aftermarket: Manufactured by third-party companies whose parts are tested and certified by the Certified Automotive Parts Association to match OEM specifications for fit, finish, and safety. These offer an excellent balance of reliability and cost savings.
- Economy Aftermarket: Uncertified, ultra-low-cost assemblies found frequently on online marketplaces. While attractive for immediate savings, these frequently suffer from poor weather-stripping seals that lead to internal condensation, misaligned adjustment screws, and rapid lens fading.
Evaluating the total cost of ownership involves factoring in whether you plan to keep the vehicle long-term. Investing in quality assemblies eliminates the frustration of premature part failure and ensures hassle-free alignment during installation.
Step-by-Step Guidance and Installation Practicalities
Executing a headlight replacement on a 2012 Chevrolet Malibu requires understanding the physical constraints of the front-end layout. Unlike some older vehicles that allow bulb swaps entirely from under the hood with zero tools, the tight clearances on the Malibu often necessitate removing or pulling back the front bumper fascia to cleanly extract the entire headlight housing if you are doing a full assembly swap.
- Preparation and Safety: Disconnect the negative battery cable to prevent any accidental short circuits or blown fuses during electrical connector handling. Ensure the engine is completely cool to avoid burns from hot exhaust manifolds or radiator components near the work area.
- Accessing the Fasteners: Remove the push-pins and upper fasteners securing the radiator core support cover. Locate the hidden bolts securing the outer edges of the front bumper fascia and the interior bolts anchoring the headlight housing itself.
- Removing the Assembly: Gently pull back the corner of the bumper fascia to clear the alignment pins. Disconnect the main electrical wiring harness from the rear of the headlight housing. Unscrew the remaining mounting bolts and carefully slide the assembly forward out of the vehicle body.
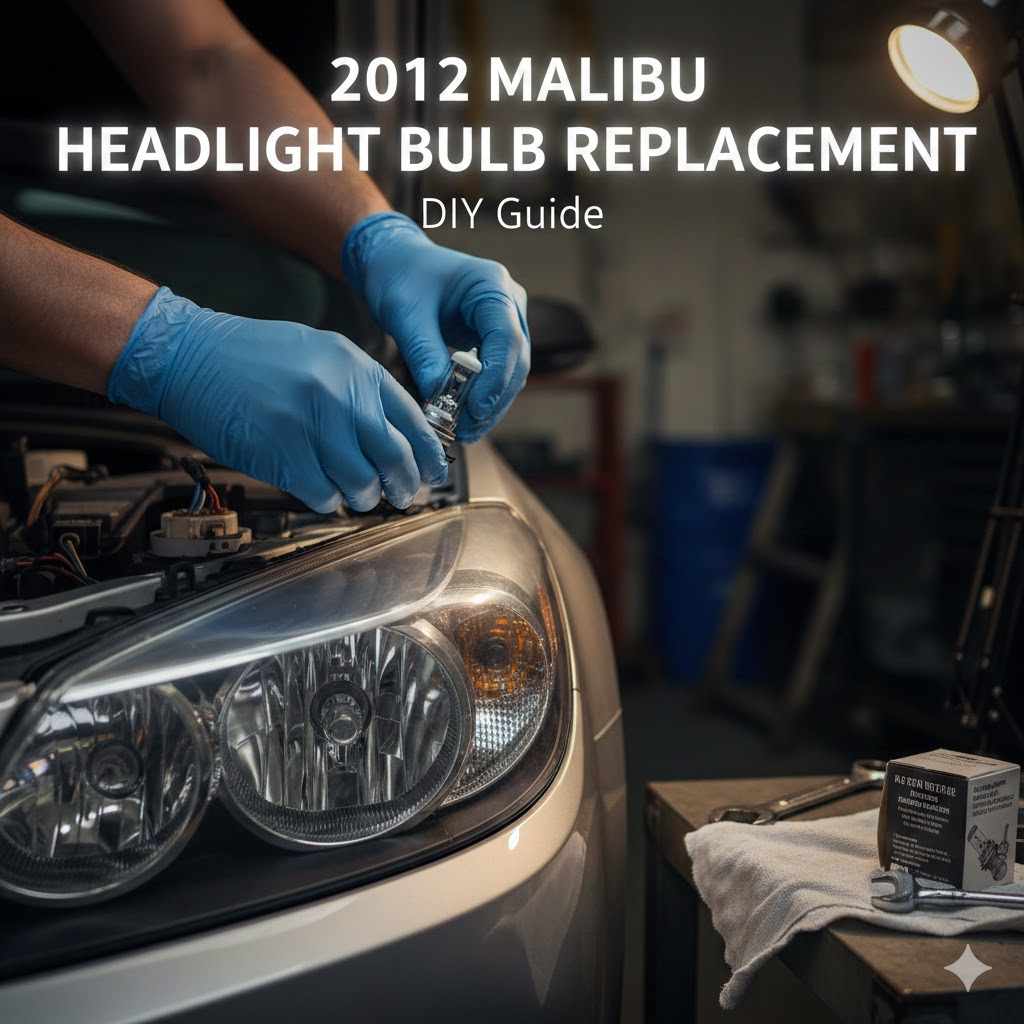
- Bench-Level Bulb Swaps: If you are only replacing bulbs, you can often access the twist-lock bulb caps from the rear of the housing while keeping the assembly mounted, though removing the housing provides significantly better leverage for stubborn, heat-locked sockets. Avoid touching the glass quartz envelope of new halogen bulbs with bare skin; oils from your fingers create hot spots on the glass that cause premature filament failure.
- Reassembly and Alignment Check: Secure the housing, reconnect the wiring harnesses firmly until the locking tab clicks, and remount the bumper fascia. Park the vehicle on a level surface approximately 25 feet away from a garage wall at night to verify that the vertical and horizontal beam cutoffs match factory specifications.
Frequently Asked Questions
Do I need to remove the front bumper to replace a 2012 Malibu headlight assembly?
Yes, replacing the entire headlight assembly on a 2012 Chevrolet Malibu typically requires loosening or partially removing the front bumper fascia. The housing is secured by a hidden mounting bolt located beneath the outer edge of the bumper cover, making complete assembly extraction impossible without shifting the fascia forward.
What causes moisture to build up inside a 2012 Malibu headlight lens?
Moisture accumulation occurs when the environmental seal around the composite lens breaks down, or if the rear rubber dust caps and ventilation tubes are missing or improperly seated. Temperature fluctuations cause warm air inside the housing to condense against the cold plastic lens, resulting in internal fogging.
Can I upgrade my 2012 Malibu headlights to HIDs or LEDs legally?
While you can physically install aftermarket LED or HID conversion kits, bulbs that alter the original halogen reflector design often fail to meet DOT/SAE beam pattern requirements. To remain street-legal and prevent blinding oncoming drivers, ensure any retrofit kit is explicitly engineered for use in factory halogen projector housings.
Why do my new 2012 Malibu headlight bulbs keep burning out prematurely?
Premature bulb failure is usually caused by oil contamination on the quartz glass from bare-finger installation, high system voltage spikes from a failing alternator voltage regulator, or excessive vibration resulting from loose mounting tabs that shake the delicate internal tungsten filament.
How can I prevent my new headlight lenses from turning yellow again?
To prevent future UV oxidation, apply a specialized ceramic coating, automotive paint protection film (PPF), or a UV-blocking sealant immediately after performing a lens restoration or installing brand-new unprotected aftermarket assemblies.
Conclusion and Final Recommendation
Replacing the headlights on a 2012 Chevrolet Malibu is a rewarding maintenance task that dramatically improves nighttime driving safety and restores the vehicle's aesthetic appeal. By carefully evaluating trim compatibility, choosing reliable bulb technologies, addressing lens oxidation, inspecting electrical sockets, and selecting quality assemblies, you ensure a lasting repair. For the best long-term results, invest in certified components and double-check your electrical connections to keep your Malibu illuminating the road safely for years to come.