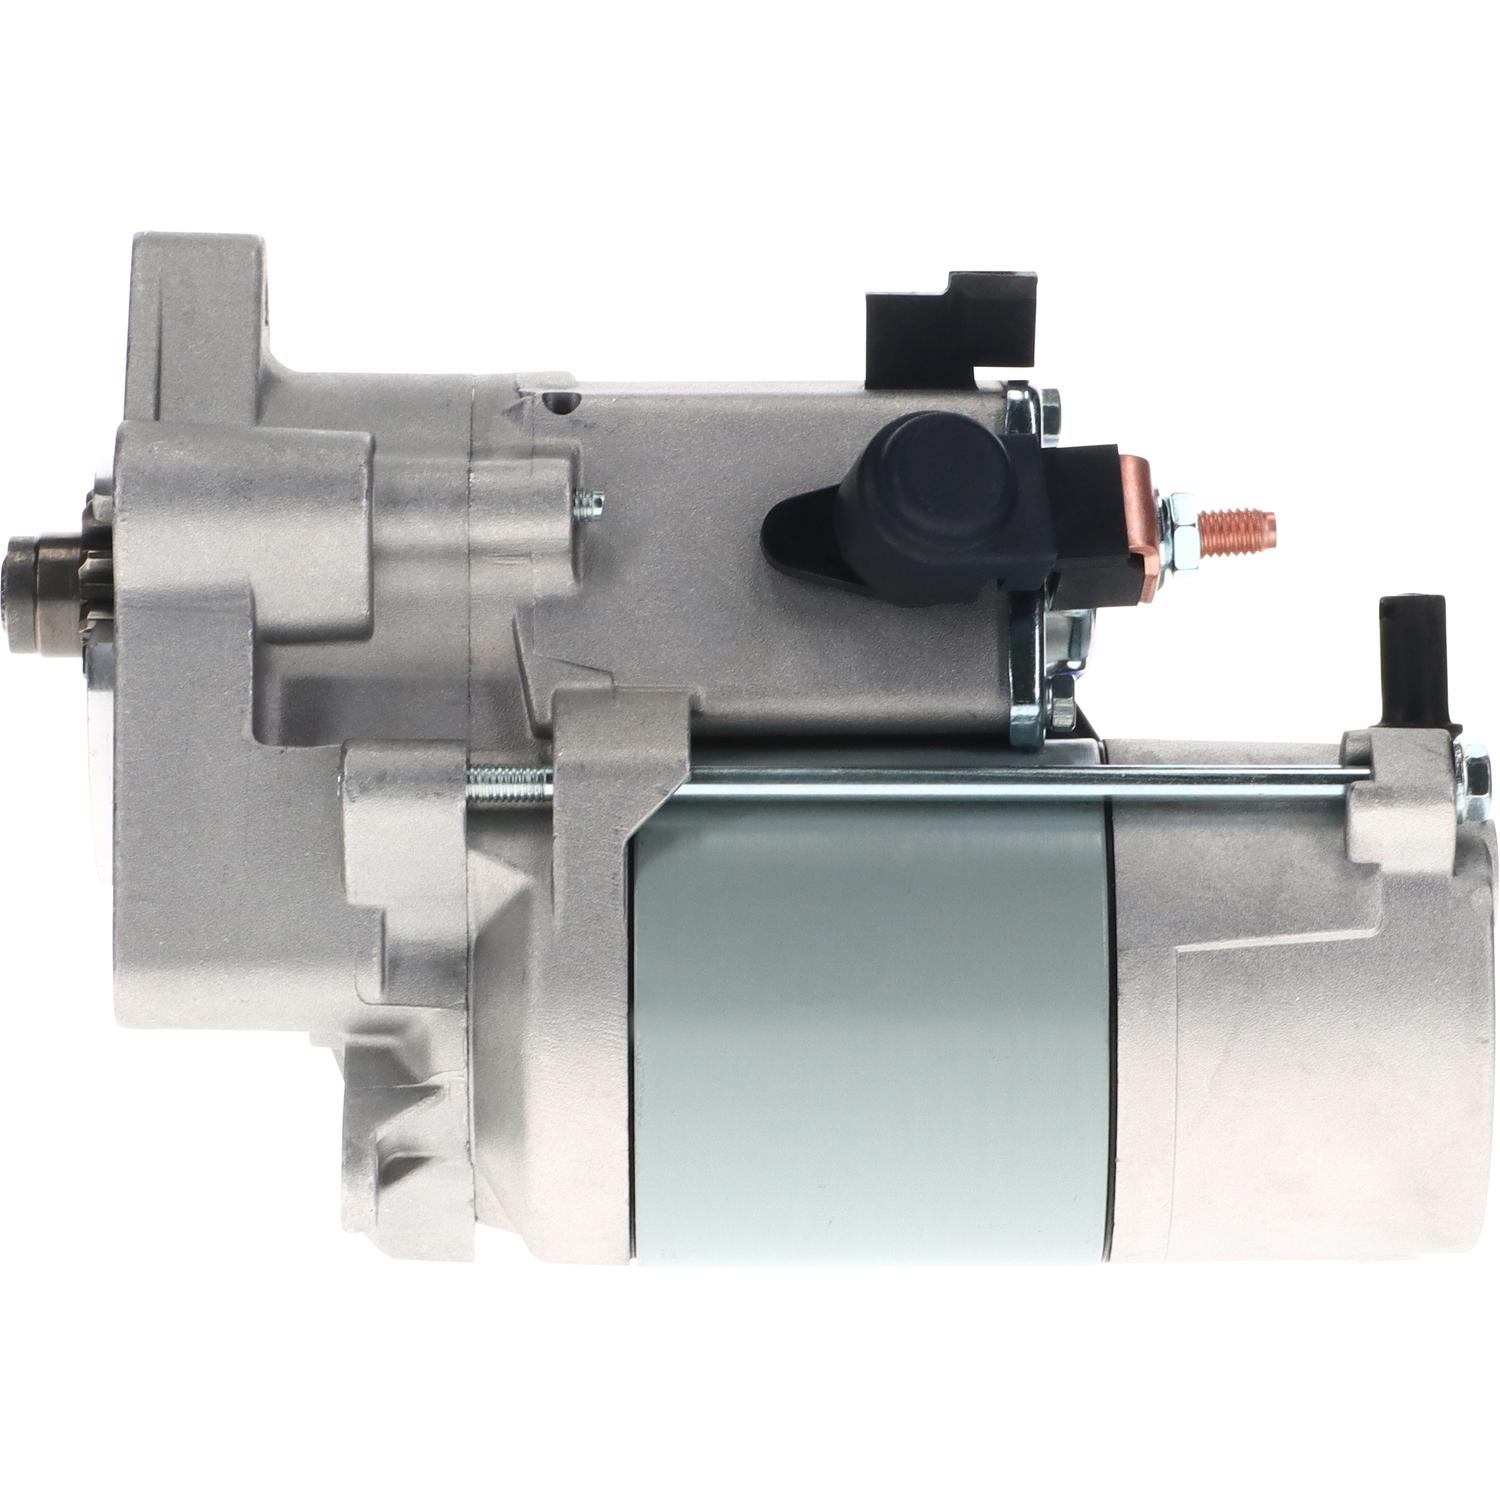
Replacing the starter motor on a 2004 Jeep Grand Cherokee (WJ generation) is a manageable DIY mechanical task that requires basic hand tools, safety precautions, and patience due to tight clearance near the exhaust and transmission housing. The entire repair usually takes between one to two hours once the vehicle is safely raised and secured.
Introduction and Overview of the 2004 Jeep Grand Cherokee Starter
The 2004 Jeep Grand Cherokee, the final model year of the iconic WJ generation, came equipped with one of two primary engines: the legendary 4.0L PowerTech inline-six (I6) or the 4.7L PowerTech V8. While the underlying electrical principle remains identical between the two powertrains—converting electrical energy from the battery into mechanical energy to crank the engine—the physical placement of the starter motor, bolt configurations, and exact removal steps vary significantly.
Understanding how your starter functions helps diagnose whether a replacement is genuinely necessary. A failing starter often exhibits symptoms such as a single loud click when turning the key, intermittent cranking, a grinding noise (indicating worn starter drive gears or a damaged flexplate/flywheel ring gear), or complete silence accompanied by dashboard lights dimming. Before committing to a starter replacement, always verify that your battery holds a full charge, terminal connections are corrosion-free and tight, and the starter relay and ignition switch are functioning correctly.
Tools, Equipment, and Safety Requirements
Executing this automotive repair safely requires proper preparation and specialized lifting equipment. Working underneath a vehicle supported only by a hydraulic jack presents severe safety hazards.
Required Tools and Supplies
- Hydraulic floor jack and heavy-duty jack stands (rated for at least 3 tons)
- Wheel chocks
- Metric socket set (specifically 10mm, 13mm, 15mm, and deep sockets)
- Ratchet with various extensions (3-inch, 6-inch, and a wobble extension)
- Open-end wrench set
- Torque wrench (capable of foot-pounds and inch-pounds)
- Safety glasses and mechanics gloves
- Wire brush and battery terminal cleaner
- Multimeter (optional, for voltage drop testing)
Safety Precautions
Always disconnect the negative battery cable before touching any electrical terminals on the starter motor. The starter is directly connected to the vehicle's battery via a heavy-gauge cable that carries constant, unfused 12-volt power. Accidentally grounding this cable against the vehicle frame or exhaust pipe with a metal wrench will cause a dangerous electrical short, heavy sparks, and potential battery explosion.
Preparation and Vehicle Elevation
Proper positioning and stabilization of the 2004 Jeep Grand Cherokee are non-negotiable prerequisites for a safe under-car repair.
- Park on Level Ground: Position the vehicle on a flat, hard concrete surface. Engage the parking brake firmly.
- Chock the Wheels: Place robust wheel chocks behind and in front of the rear tires to prevent any rolling movement while the front end is elevated.
- Lift the Vehicle: Locate the factory-approved front jacking points or place the floor jack securely under the front axle housing (if equipped with a solid front axle) or the reinforced frame rails. Raise the front of the vehicle high enough to comfortably slide underneath.
- Secure Jack Stands: Lower the vehicle onto rated jack stands placed underneath the frame rails. Never rely solely on a hydraulic jack to hold the vehicle's weight while your hands or body are underneath.
- Disconnect the Battery: Open the hood and use a 10mm wrench to loosen and remove the negative battery terminal. Tuck the cable safely aside so it cannot spring back and make accidental contact.
Engine-Specific Differences: 4.0L Inline-Six vs. 4.7L V8
Before diving under the vehicle, identify which engine is housed in your 2004 Jeep Grand Cherokee. The structural layout dictates your access route and bolt sizes.
| Engine Type | Starter Location | Key Removal Challenge | Common Fastener Sizes |
|---|---|---|---|
| 4.0L Inline-Six (I6) | Passenger side, lower rear of engine block near transmission bellhousing | Clearance around exhaust downpipe and oxygen sensor wiring | 15mm mounting bolts, 10mm/13mm electrical nuts |
| 4.7L PowerTech V8 | Passenger side, tucked high against the transmission housing | Extremely tight space requiring long extensions and universal joints | 13mm and 15mm bolts, hard-to-reach top bolt |
The 4.0L engine starter is generally easier to access from underneath the vehicle, though the exhaust pipe runs close by. On the 4.7L V8, the starter sits higher up against the bellhousing, making the upper mounting bolt one of the most challenging obstacles of the entire job.
Step-by-Step Starter Removal Procedure
Once the vehicle is securely elevated and the battery is isolated, you can begin extracting the failed unit.
Step 1: Locate the Starter
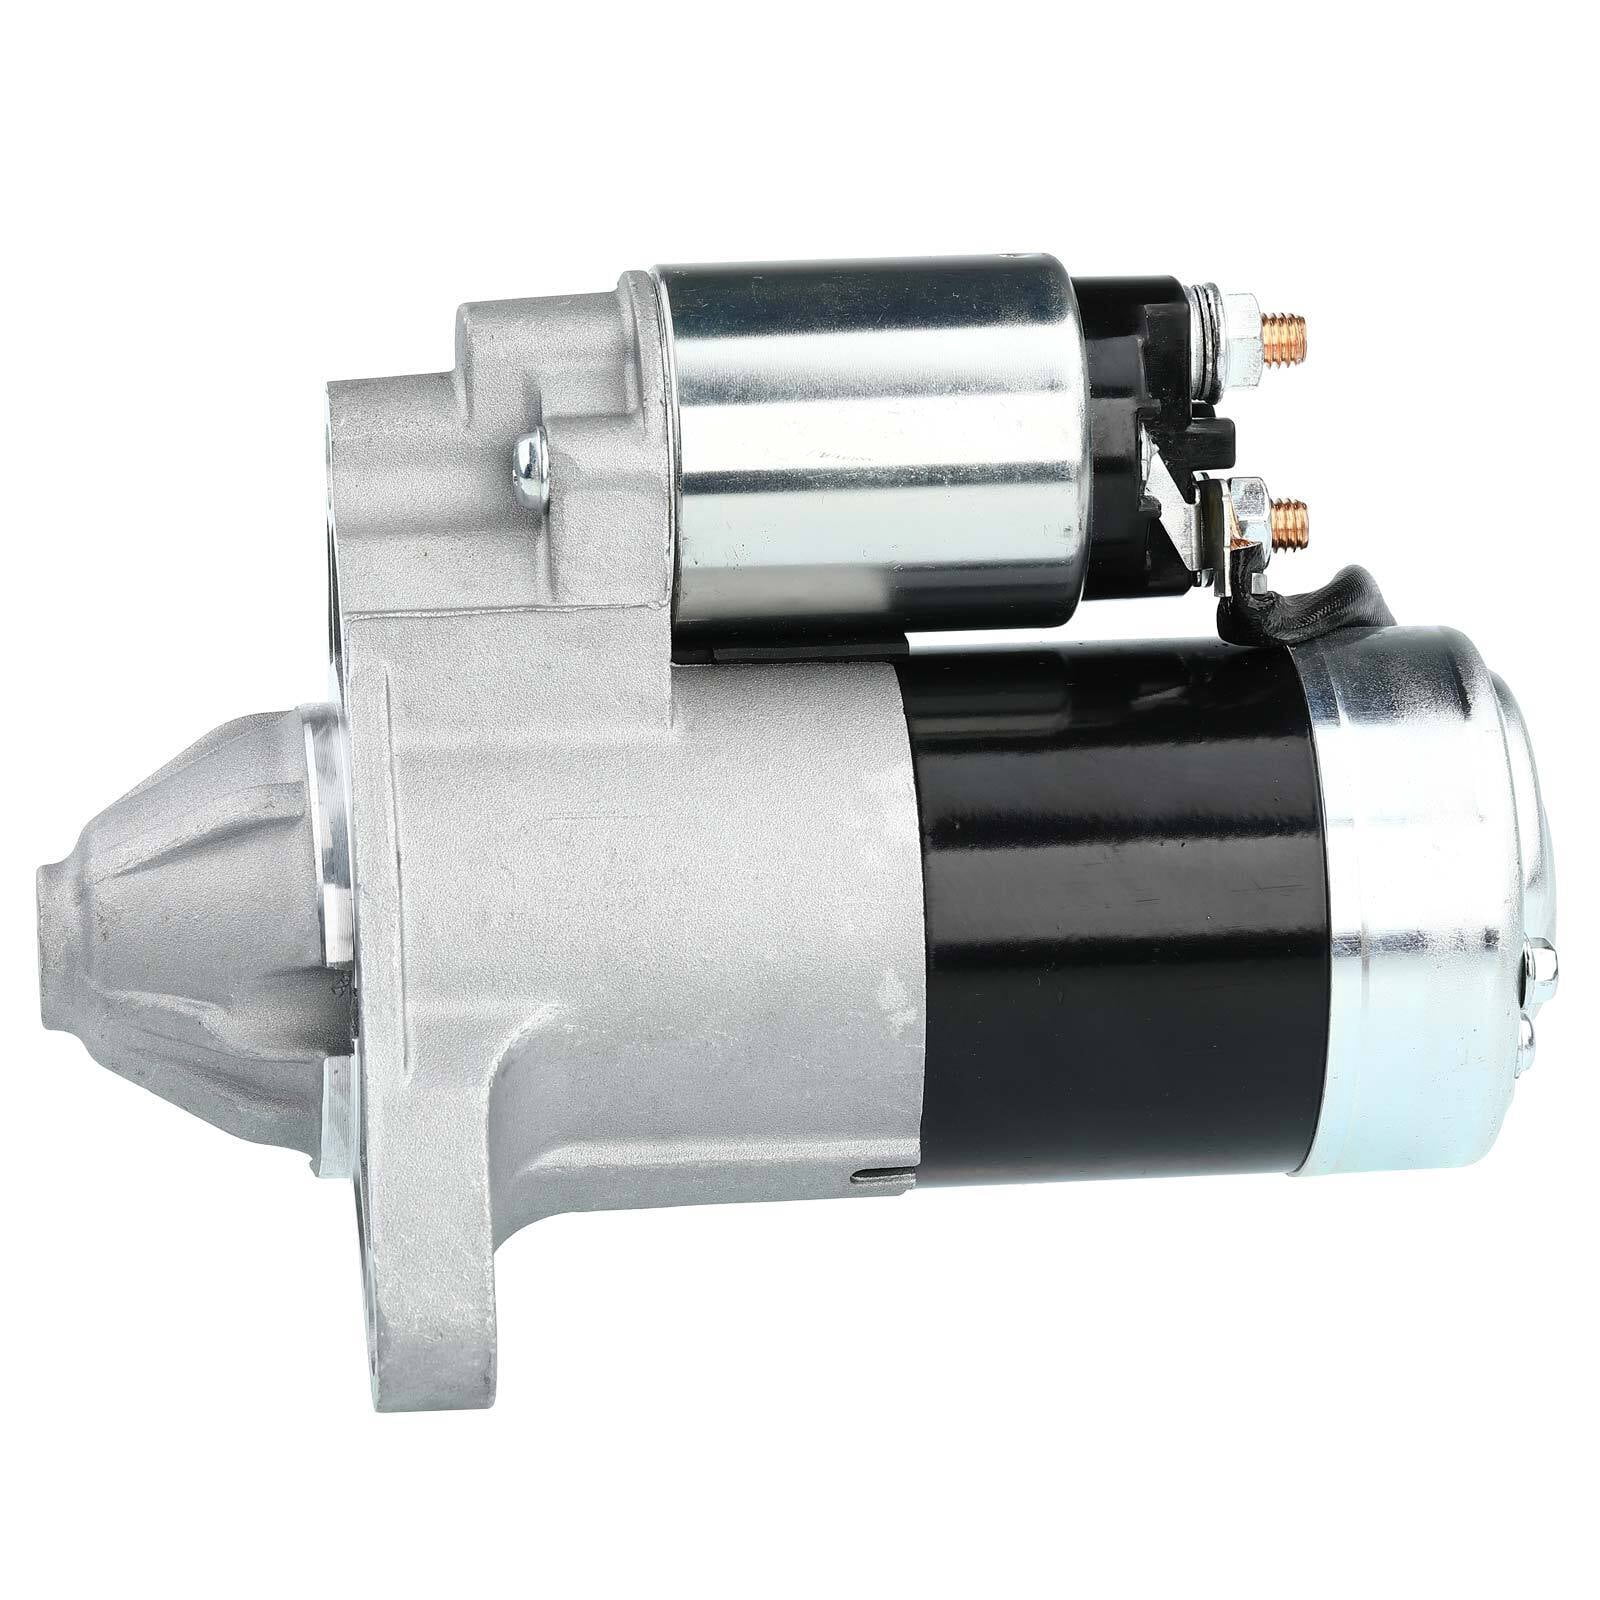
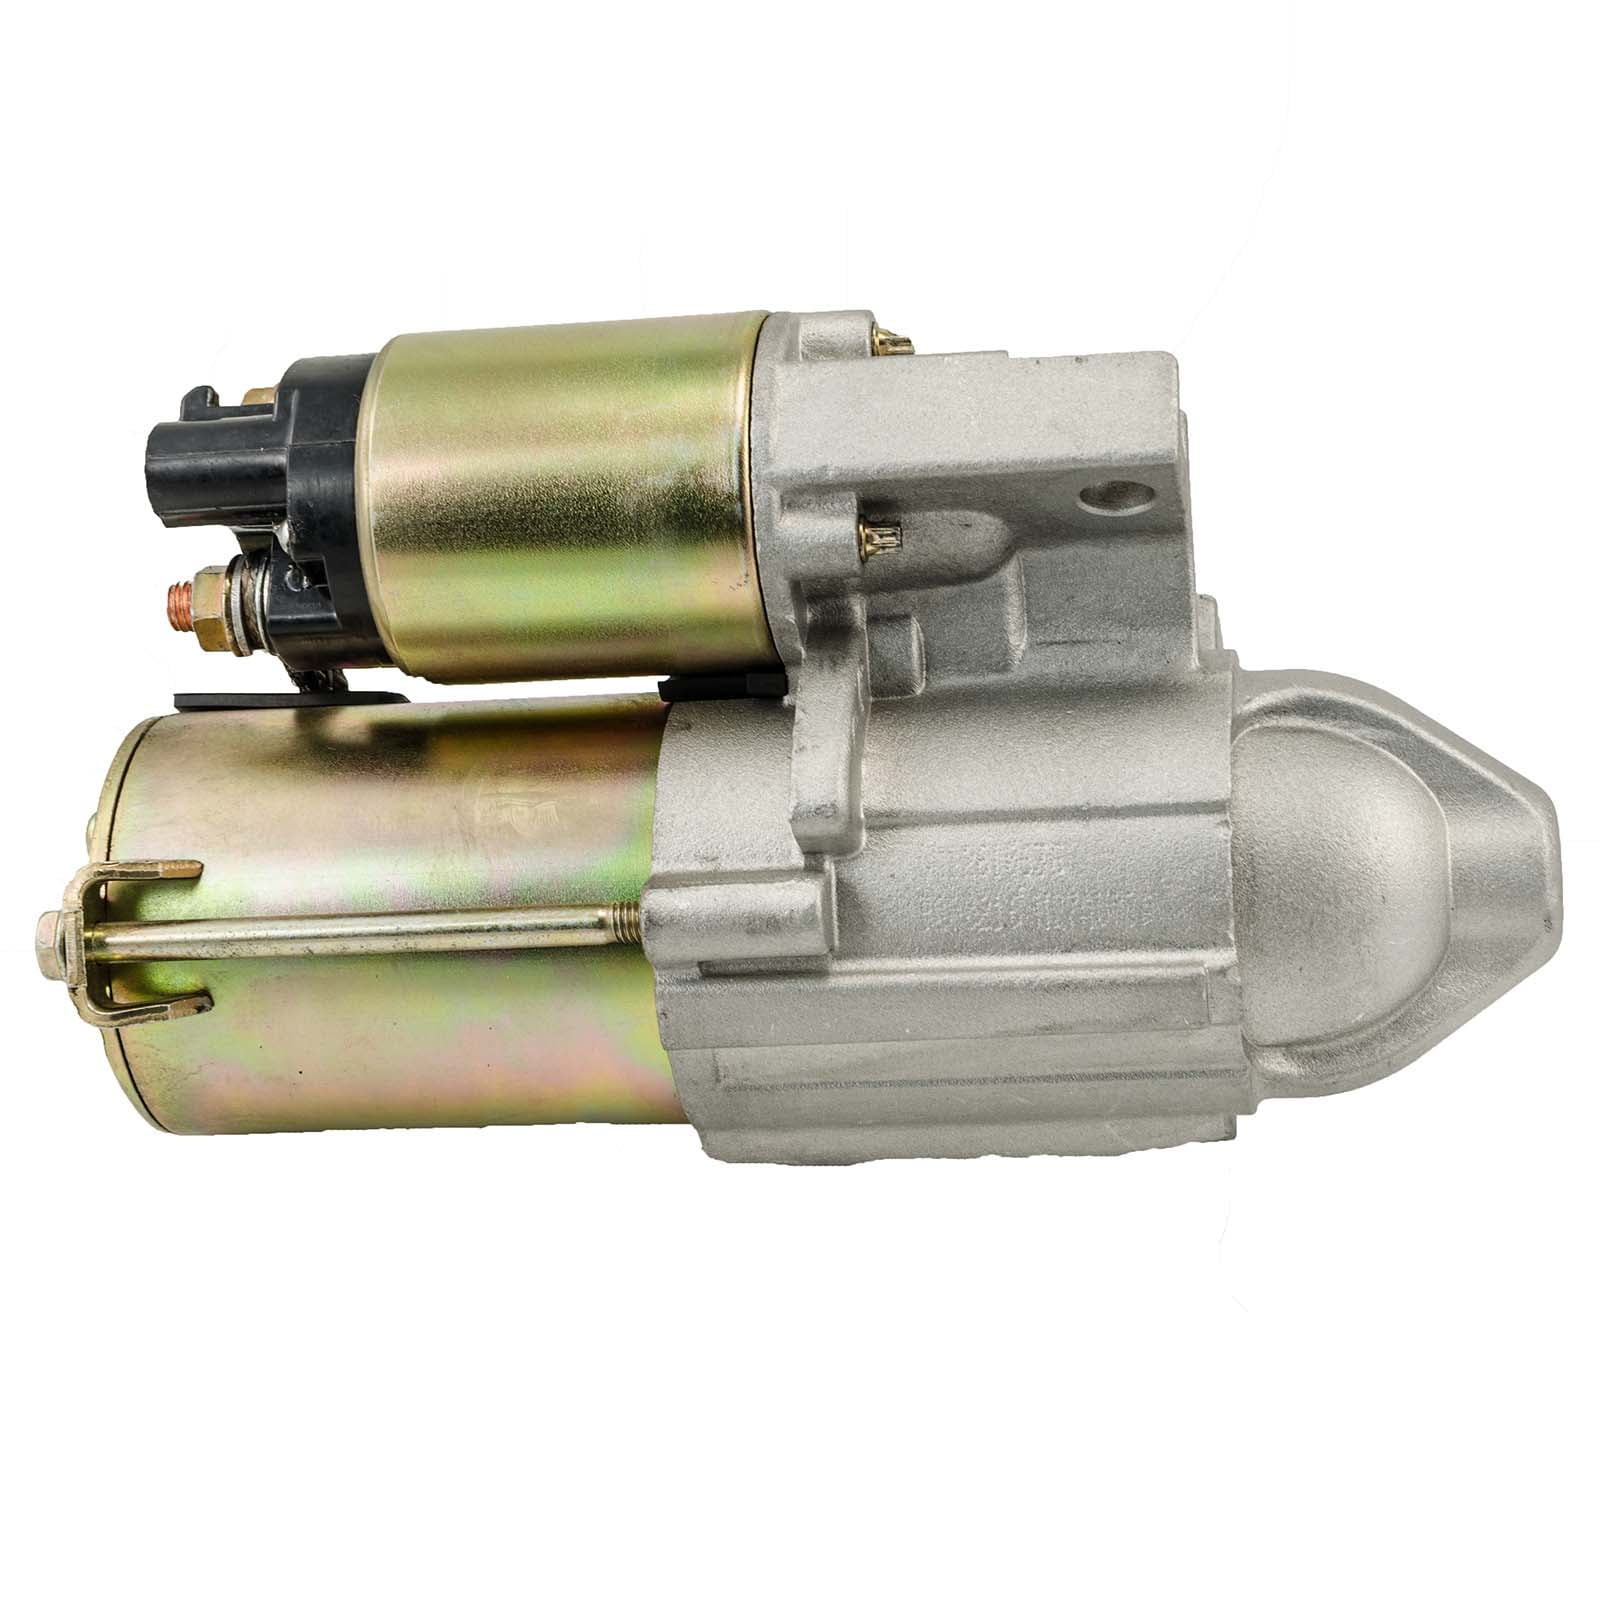
Slide underneath the passenger side of the vehicle toward the rear of the engine block where the engine meets the automatic transmission. You will immediately identify the cylindrical starter motor coupled to the smaller cylindrical starter solenoid.
Step 2: Disconnect Electrical Connections
- Remove the rubber protective boot covering the main battery cable terminal on the solenoid.
- Use a 13mm or 10mm socket or wrench (depending on whether the starter is original or an aftermarket replacement) to remove the nut securing the heavy positive battery cable and any secondary wires.
- Carefully slide the wires off the threaded stud and tuck them upward out of your way.
- Locate the smaller plastic ignition trigger wire connector (S-terminal). Depress the locking plastic tab and pull it straight off, or unbolt it with a small nut if it uses a ring terminal.
Step 3: Support the Starter Motor
The starter motor is surprisingly heavy (often weighing between 8 to 12 pounds). Support its weight with one hand while loosening the structural mounting bolts so it does not drop unexpectedly onto your face or chest.
Step 4: Remove the Mounting Bolts
- Identify the long mounting bolts securing the starter nose cone to the transmission bellhousing/engine plate.
- Use a ratchet with an appropriate extension (a long 10-inch extension works exceptionally well for the 4.7L V8) to loosen and remove the lower bolt first.
- Proceed to the upper mounting bolt. Because of cramped quarters on both engines, you may need to snake your extension past cooling lines, wiring harnesses, or the exhaust pipe.
- Once all mounting bolts are removed, wiggle and tilt the starter downward to slide its nose cone out of the transmission housing aperture. Maneuver the unit out past the frame and exhaust components.
Inspection and Preparation of the New Starter
Never install a new starter without performing a few critical checks to ensure longevity and prevent repeat failures.
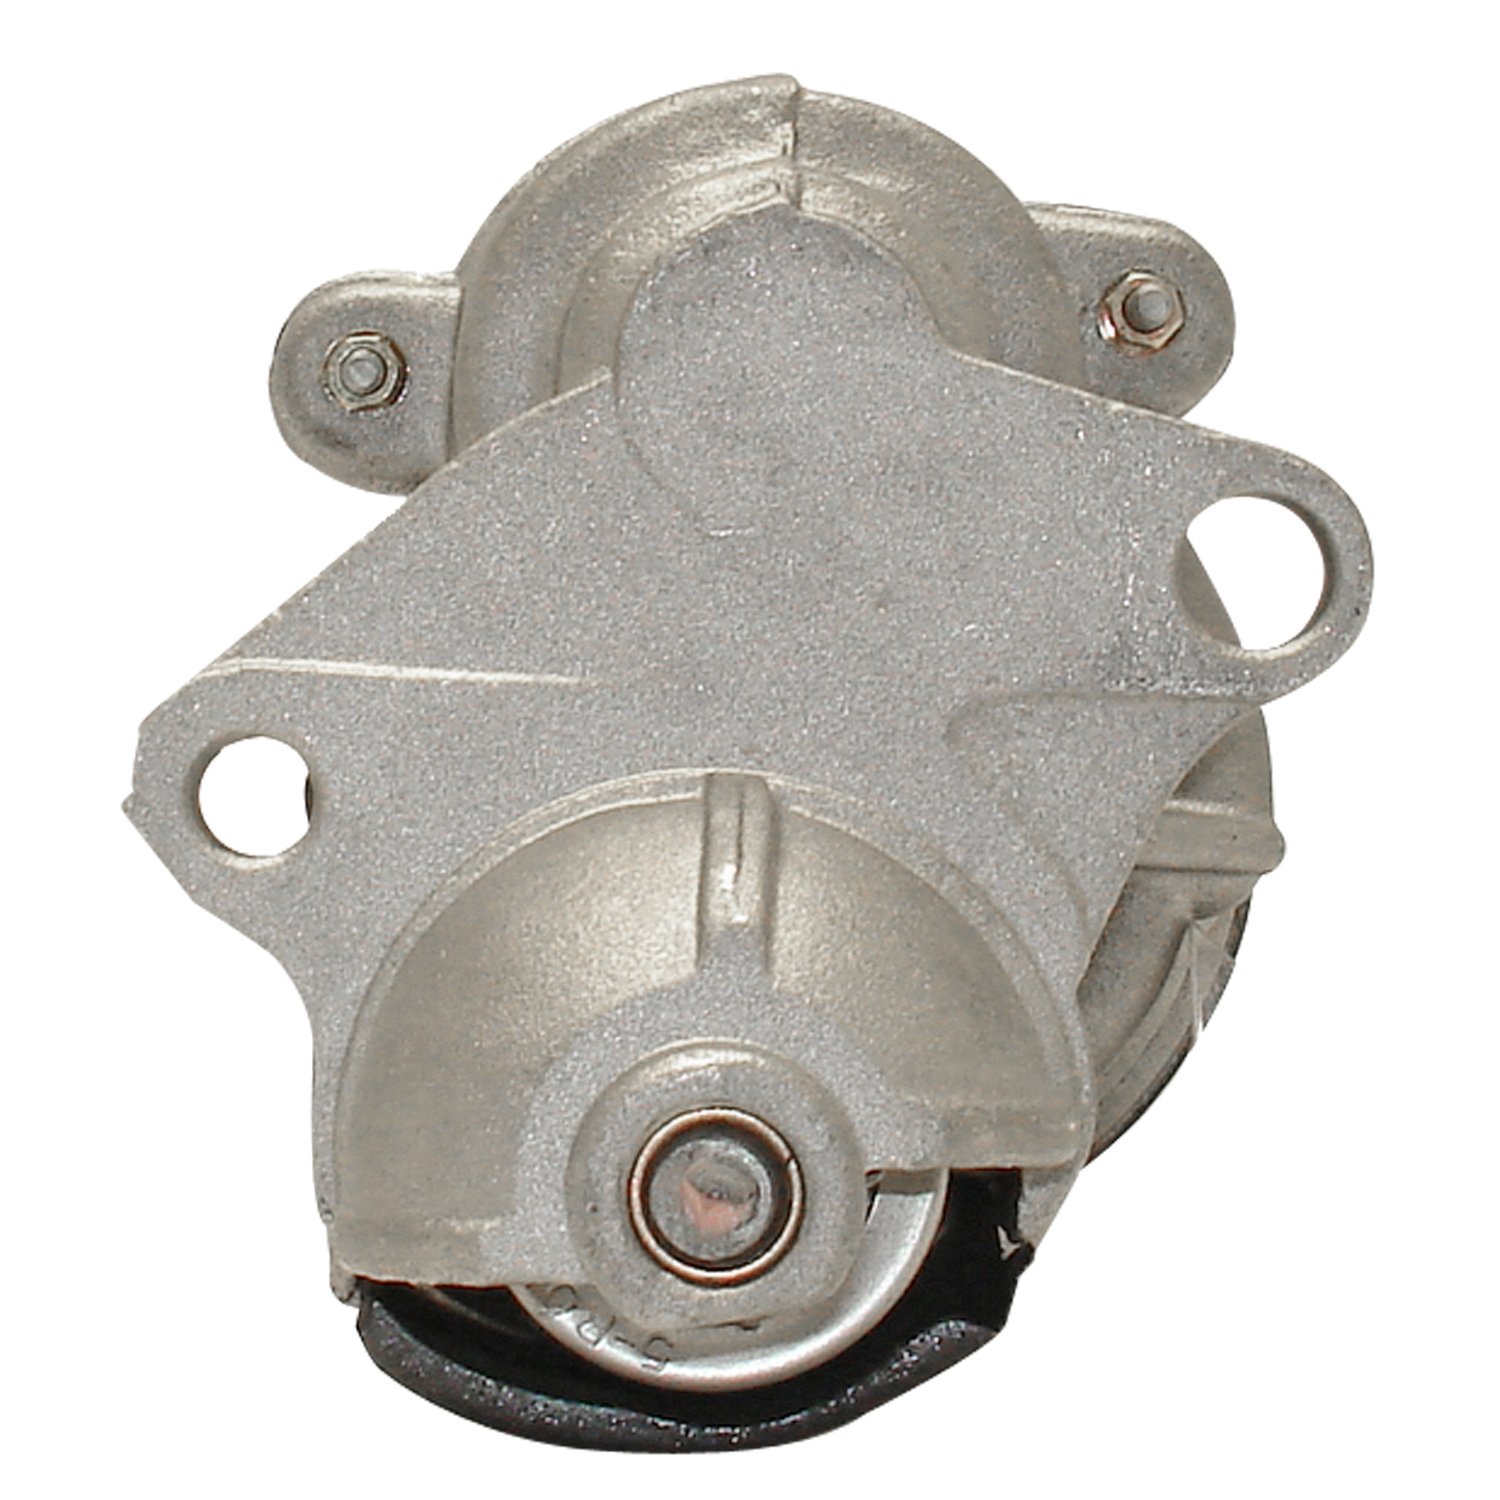
- Compare Units: Place the old starter side-by-side with the new or remanufactured unit. Verify that the nose cone length, gear tooth count, bolt hole alignment, and electrical terminal positions match identically.
- Inspect the Flexplate: Shine a flashlight into the transmission bellhousing opening where the starter gear engages. Inspect the ring gear teeth on the flexplate for severe wear, chipping, or stripping. If the teeth are severely damaged, installing a new starter will not resolve a grinding noise or cranking failure.
- Clean Mounting Surfaces: Use a wire brush or fine sandpaper to clean corrosion, rust, and grease off the engine/transmission mounting flange. A clean metal-to-metal contact surface ensures proper electrical grounding of the starter housing.
Step-by-Step Starter Installation Procedure
Installing the replacement unit reverses the removal process, with careful attention paid to fastener torque specifications and wire routing.
- Position the Starter: Carefully maneuver the new starter motor back into position through the under-car clearance gap, aligning its nose cone with the mounting hole in the bellhousing.
- Hand-Thread Mounting Bolts: Support the starter's weight with one hand and thread both mounting bolts in by hand. Crucial Warning: Never use power impact tools to start these threads; the aluminum transmission housing threads strip easily. Hand-threading ensures the bolts catch cleanly without cross-threading.
- Torque Mounting Bolts: Once both bolts are threaded fully by hand, use a torque wrench to tighten them to factory specifications (typically around 30 to 40 ft-lbs, depending on exact year and fastener grade).
- Reconnect Electrical Wires:
- Push the ignition trigger wire firmly onto the solenoid spade terminal until it clicks, or secure the eyelet nut securely.
- Slide the main battery positive cable onto the primary solenoid stud. Install the retaining nut and tighten it snugly, taking care not to over-torque and snap the delicate threaded stud.
- Pull the rubber protective boot back down over the terminal to shield it from moisture and road salt.
- Double-Check Your Work: Inspect your entire work area. Ensure no tools were left on the frame or crossmembers, and verify that the battery cable and trigger wire are routed safely away from hot exhaust headers or moving steering components.
Testing and Verification
With the physical installation complete, test the vehicle's starting system before lowering it back to the ground.
- Reconnect the Battery: Head back under the hood and securely attach the negative battery cable to the negative battery terminal. Tighten the clamp firmly.
- Test Operation: Sit inside the Jeep, press the brake pedal, and turn the ignition key to the "Start" position. The engine should crank smoothly and start immediately. Listen closely for any abnormal grinding noises, which would indicate improper starter engagement.
- Lower the Vehicle: If the vehicle starts reliably across multiple test cycles, turn off the engine, raise the vehicle slightly with the floor jack, remove the jack stands, and gently lower the Jeep back to the ground. Remove the wheel chocks.
Frequently Asked Questions
How long does it take to replace a starter on a 2004 Jeep Grand Cherokee?
For an experienced DIYer with the correct socket extensions and tools, the job takes about 1 to 1.5 hours. For a beginner working on the ground without a lift, expect 2 to 3 hours, largely due to navigating tight clearance around the exhaust and transmission housing.
Can I replace the starter on a 2004 Jeep Grand Cherokee without lifting the vehicle?
No. Safe access to the starter motor requires getting underneath the passenger side of the engine block. Attempting this repair without properly elevating the vehicle and supporting it with heavy-duty jack stands creates an extreme and unacceptable safety hazard.
How do I know if my starter is bad or if my battery is dead?
A dead battery typically causes dashboard lights, headlights, and accessories to dim or flicker when you turn the key, often accompanied by rapid clicking from the relay. A failing starter often features bright interior lights and a strong battery, but turning the key produces either absolute silence, a single heavy click, or a high-pitched whirring sound without the engine turning over.
Do I need to disconnect the battery before replacing the starter?
Yes, absolutely. The main power cable running from the battery to the starter solenoid is permanently live and carries unfused 12-volt power. Touching this cable to ground with a metal wrench while working will cause an intense electrical short circuit and severe burns.
What is the difference between the 4.0L and 4.7L starters?
While both serve the same mechanical function, their physical dimensions, nose cone housings, and mounting bolt placements are entirely different. A 4.0L starter will not physically bolt onto a 4.7L V8 engine, and vice versa. Always purchase the exact part designated for your specific engine size.
Final Recommendations
When purchasing a replacement starter for your 2004 Jeep Grand Cherokee, opt for a reputable new or premium remanufactured unit backed by a solid warranty (preferably lifetime replacement). Keep your receipt and core return ready if applicable. Taking your time to ensure clean electrical connections and proper bolt torque will ensure dependable starts for years to come.