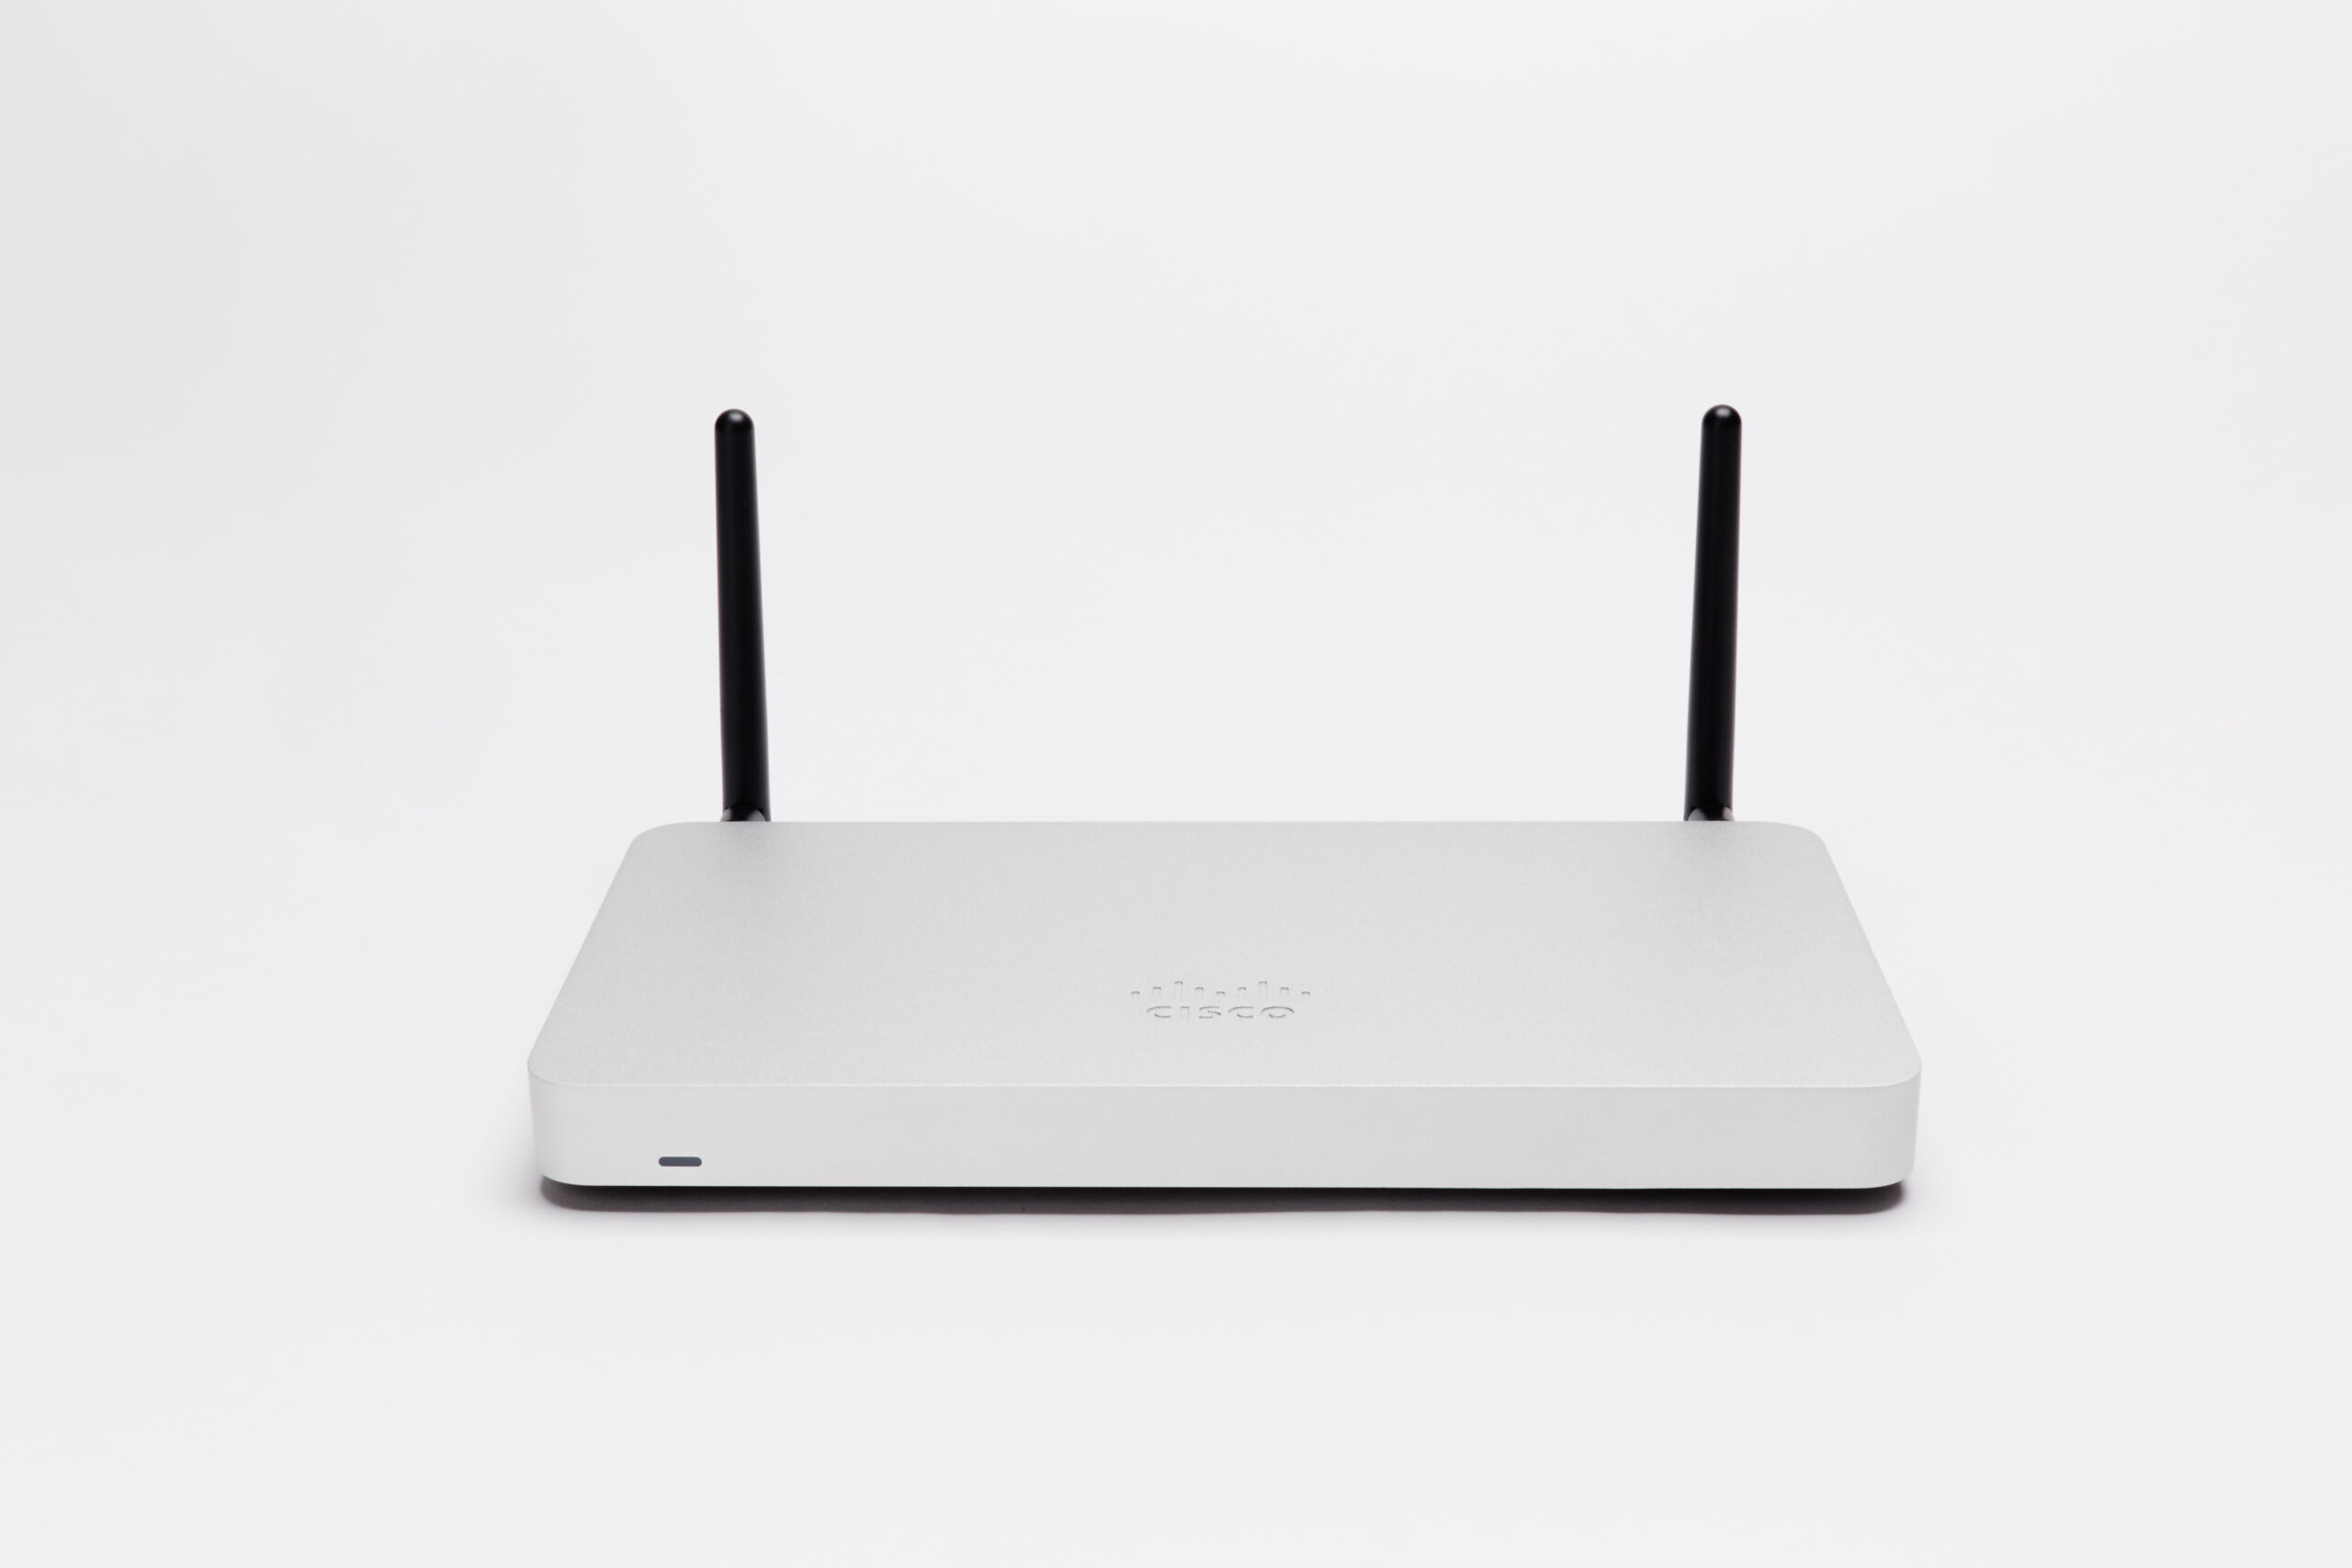
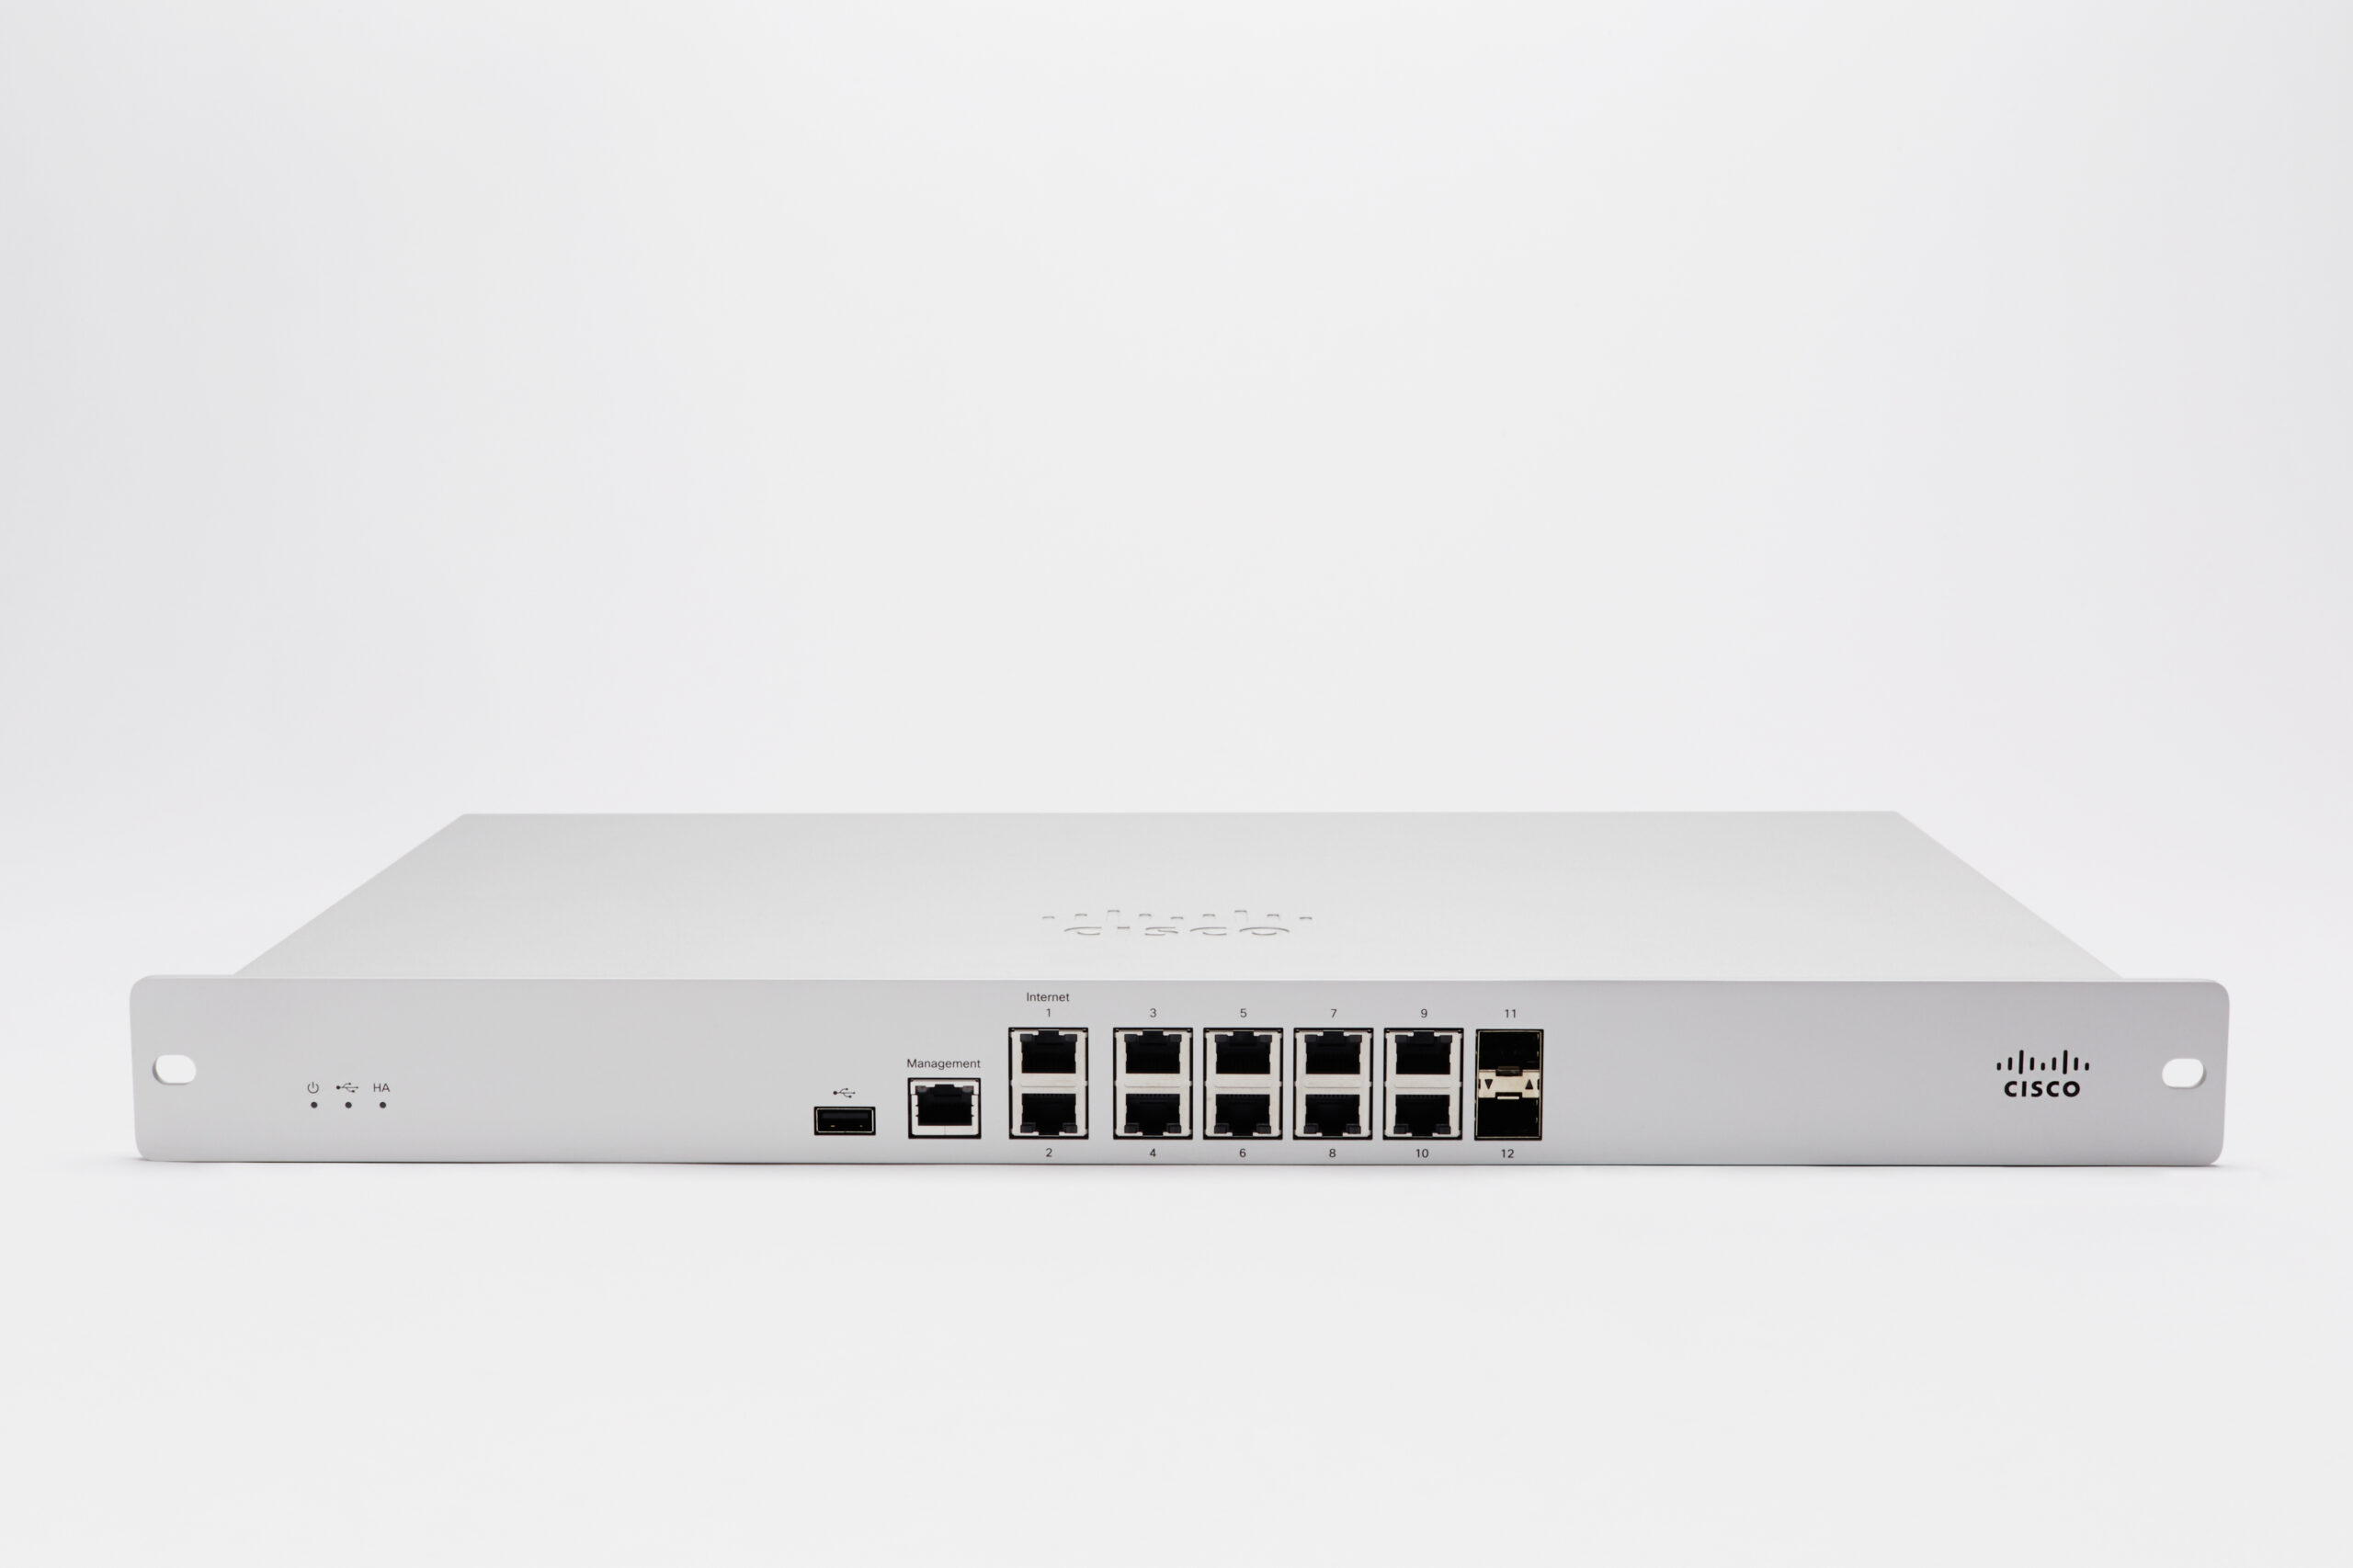
When a Meraki appliance—whether it is an MX security appliance, MS switch, or MR access point—displays a "Never seen" status in the Cisco Meraki Dashboard, it signifies that the device has failed to establish a secure management tunnel with the Meraki Cloud. This issue is typically rooted in local network configuration, restrictive upstream firewall rules, or physical connectivity hurdles that prevent the device from "phoning home" for its initial provisioning.
In the networking landscape of 2026, Cisco Meraki remains the gold standard for cloud-managed infrastructure. However, the "plug-and-play" promise of the ecosystem relies entirely on the appliance's ability to reach specific cloud controllers over the internet. If an appliance has never connected, it cannot pull its configuration, update its firmware, or begin passing managed traffic according to your organizational policies. Resolving this requires a systematic approach, moving from physical layer verification to deep-dive logical troubleshooting via the device’s Local Status Page.
Understanding the "Never Seen" Status
The "Never seen" status is a specific indicator within the Meraki Dashboard inventory. It means that while the device serial number has been claimed by your organization and added to a network, the Meraki Cloud has no record of that specific hardware ever successfully completing a TLS handshake with the dashboard controllers.
Unlike a "Healthy" (green) or "Unreachable" (red) status—which imply a connection once existed but has since been maintained or lost—"Never seen" implies the initial handshake has been blocked from the very start. Because Meraki devices ship with a factory-default configuration that expects to receive instructions from the cloud, a device in this state is essentially a "brick" that is waiting for an internet connection to become functional.
Step 1: Physical Layer and LED Indicators
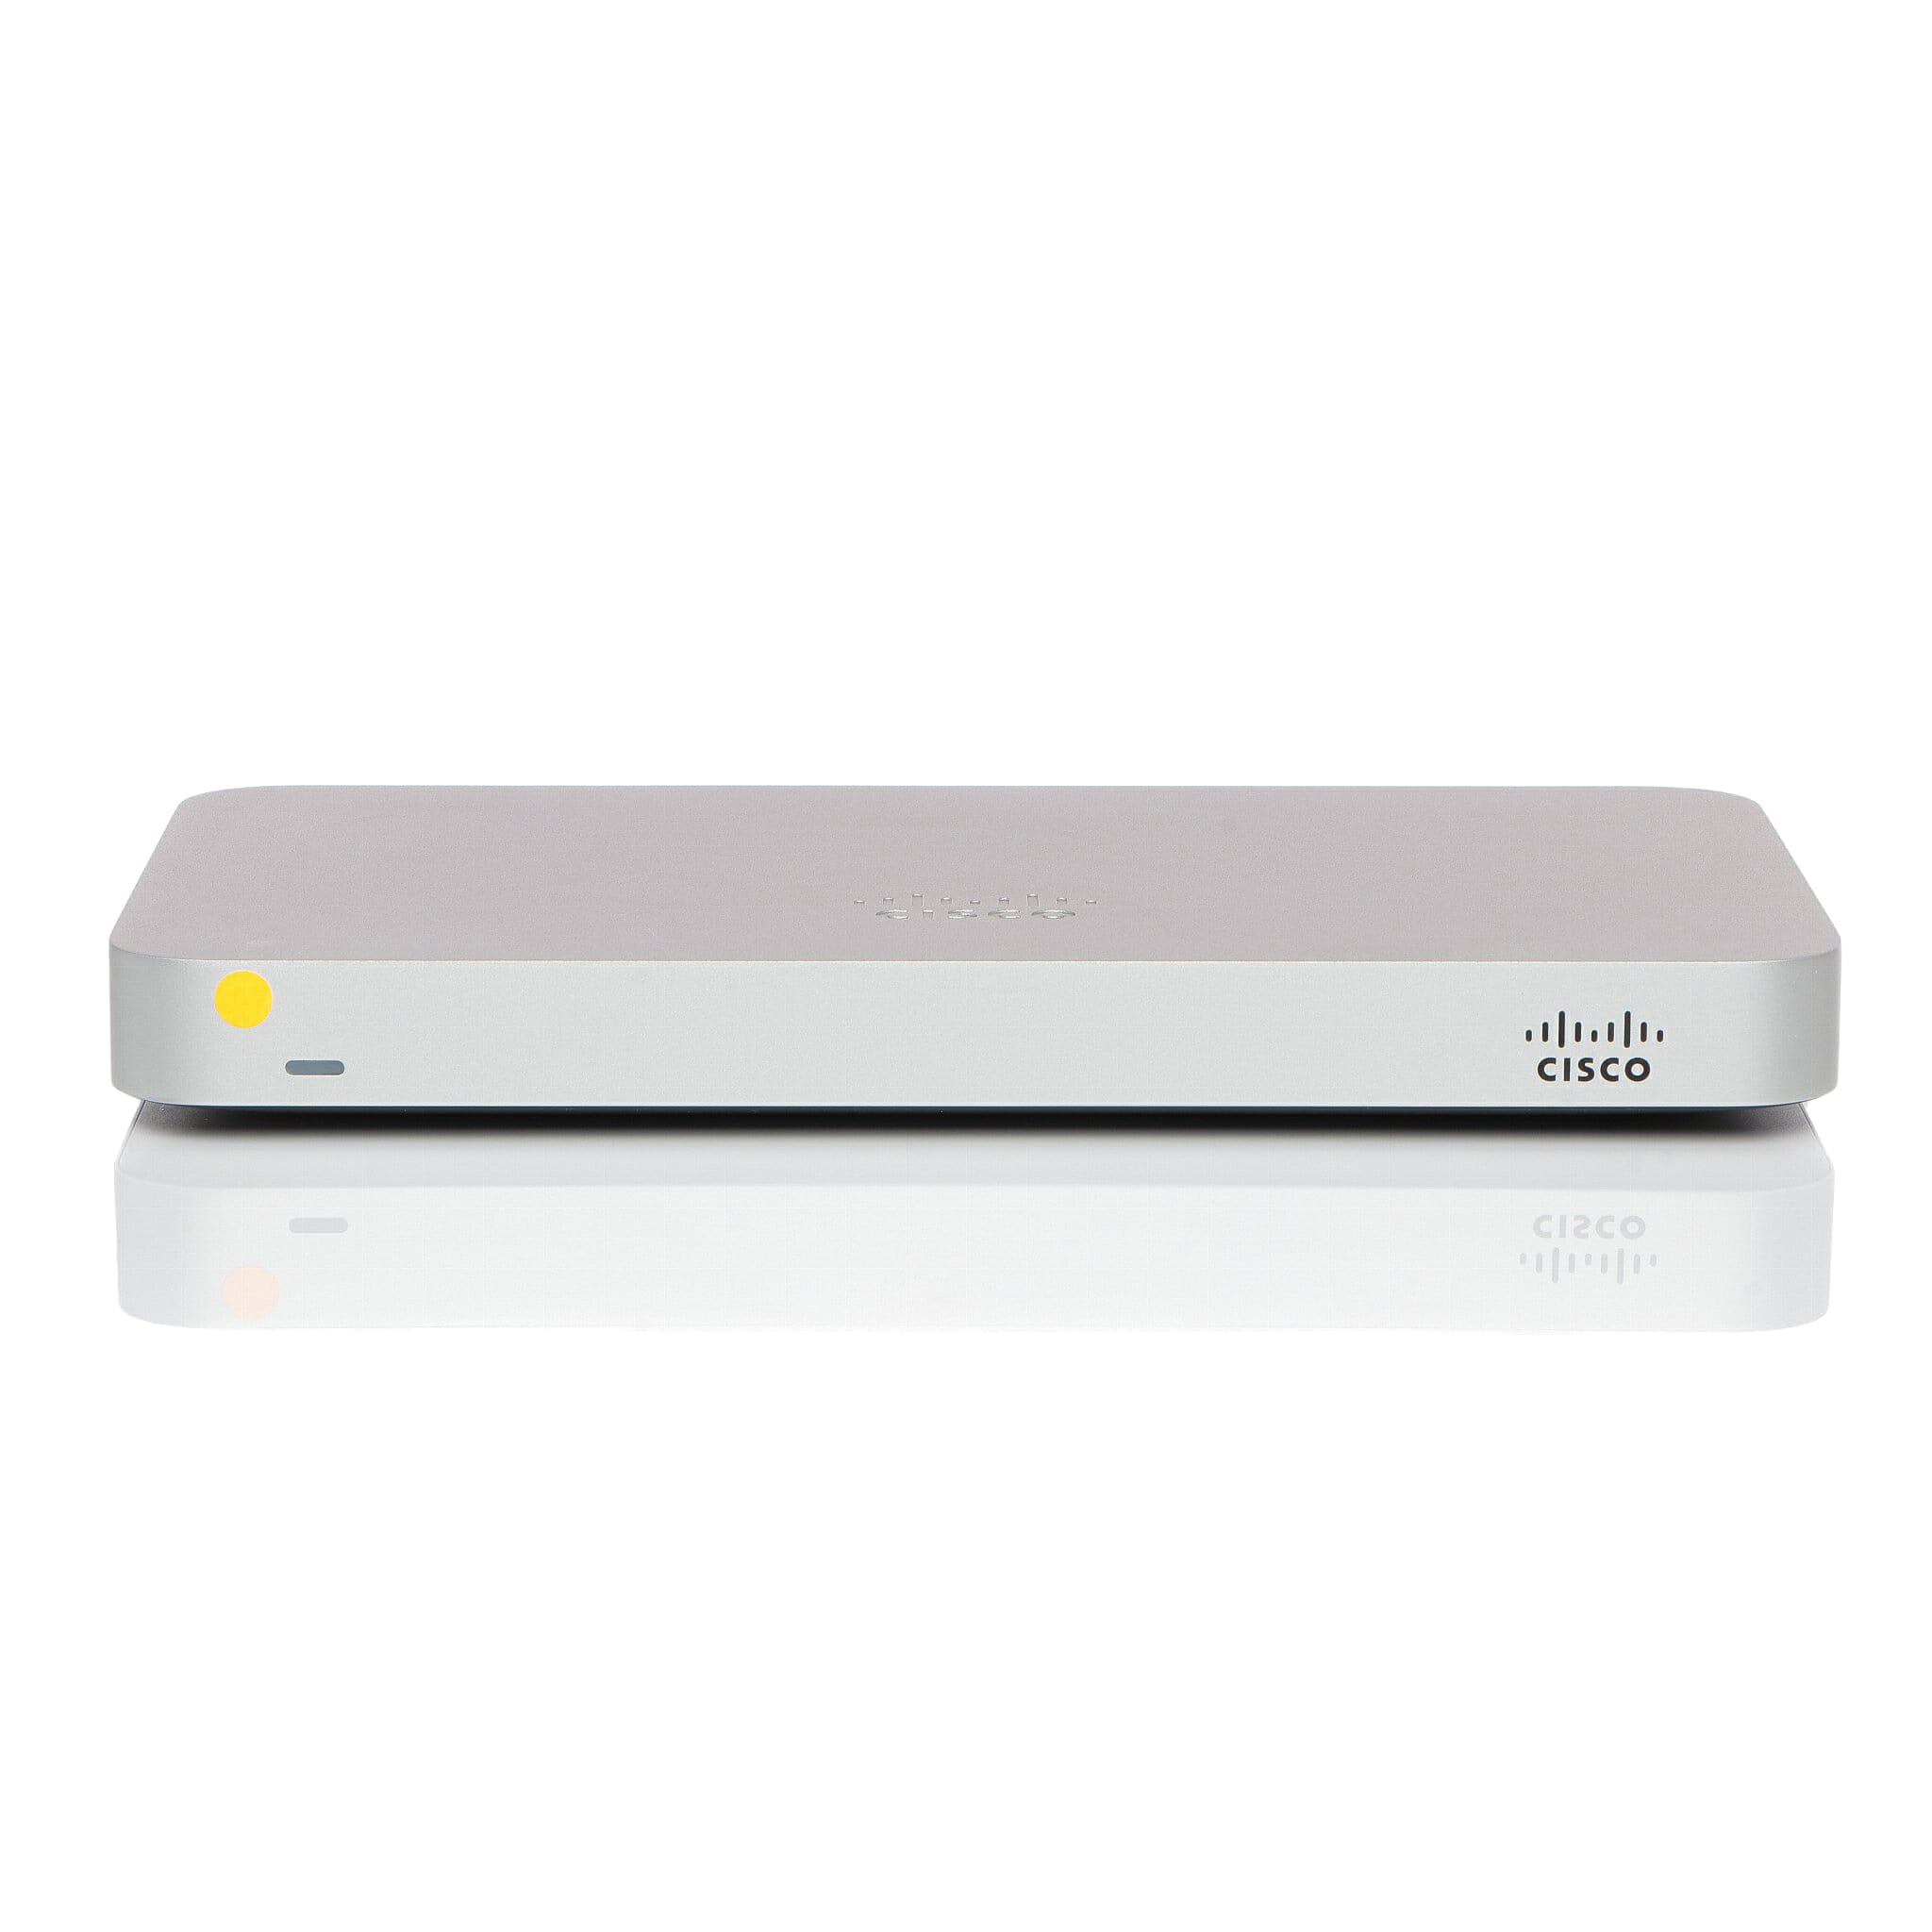
Before diving into software configurations, you must verify the physical state of the appliance. Each Meraki device uses a multi-color LED on the front panel to communicate its current connectivity status.
- Solid Orange/Amber: The device is powered on but has no connection to the Meraki Cloud. This is the standard state for a "Never seen" device.
- Flashing White/Blue: The device is attempting to reach the Meraki Cloud or is in the process of downloading a firmware update.
- Solid White/Blue: The device is fully online and checked into the dashboard.
- Rainbow/Cycling Colors: The device is searching for an uplink or performing a boot sequence.
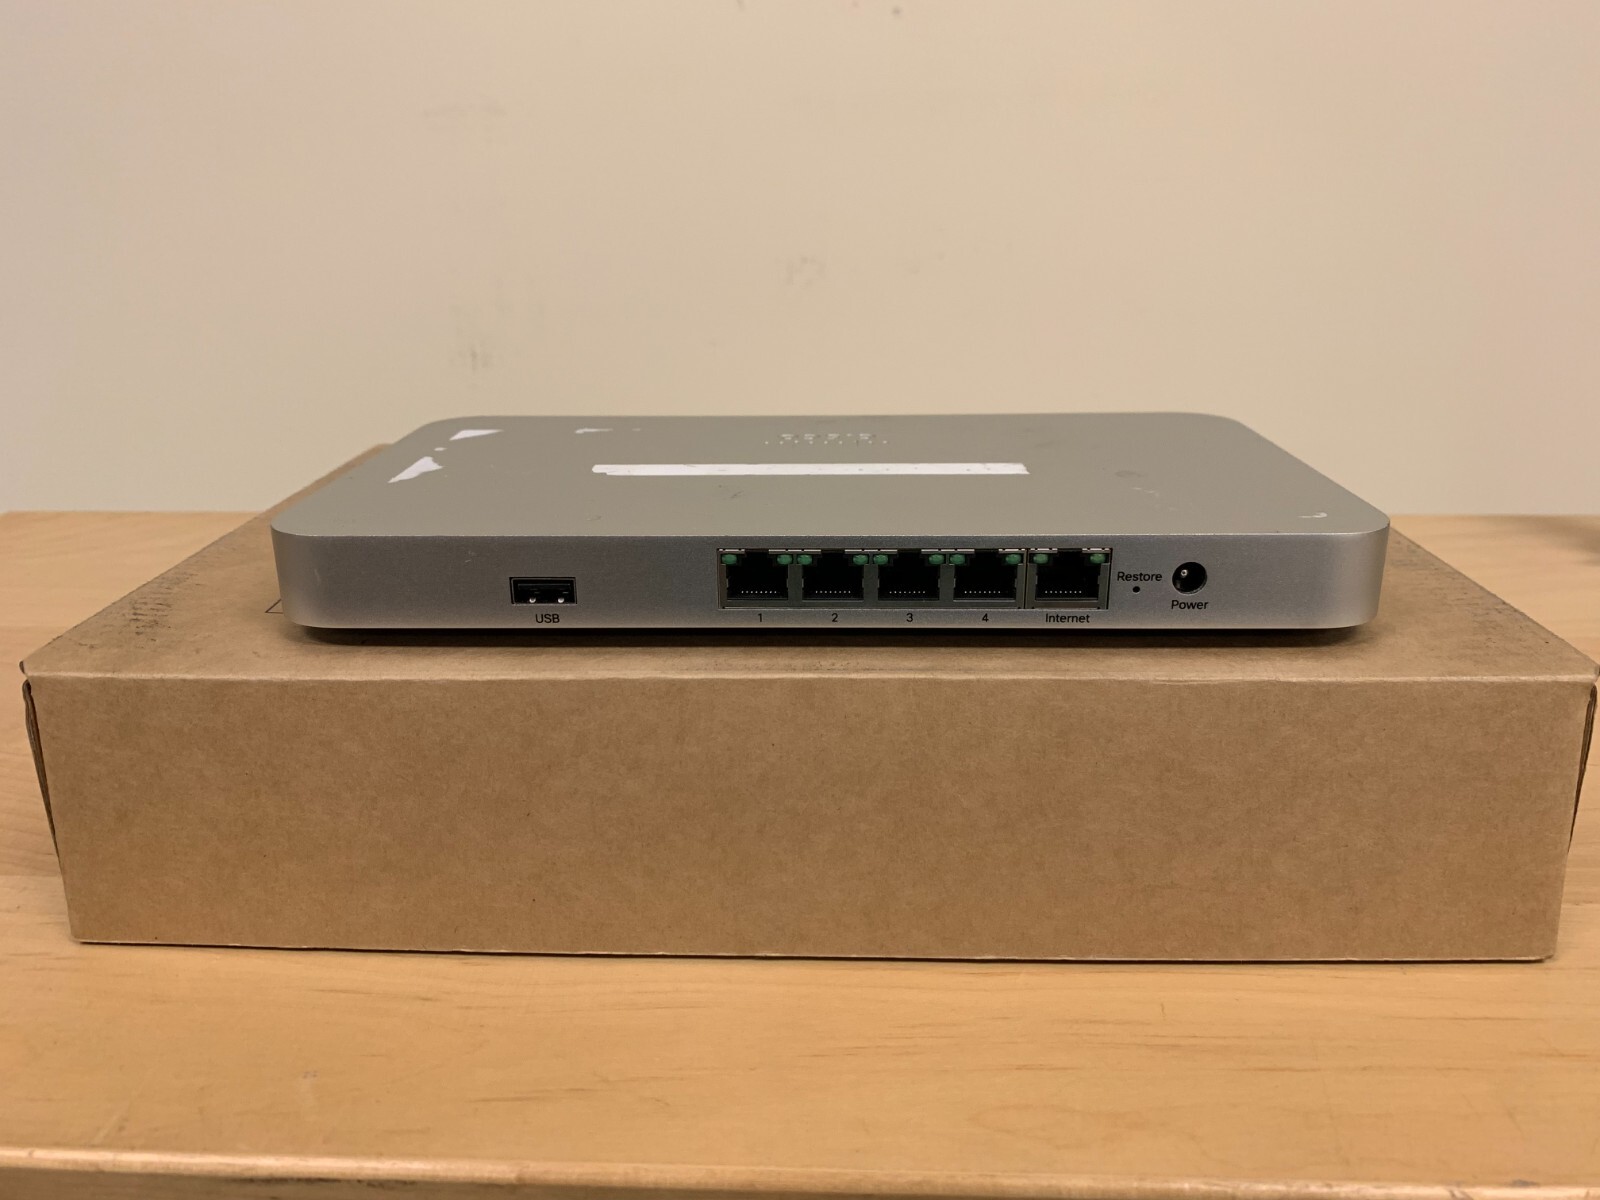
As of 2026, most Meraki hardware requires Power over Ethernet (PoE) or a dedicated power supply. Ensure the power source meets the specific wattage requirements of the model (e.g., UPOE+ for high-density MR access points). Furthermore, verify that the "Internet" or "Uplink" port on the appliance is connected to a live jack with active internet service. A common mistake is plugging the internet feed into a LAN port rather than the designated WAN port on MX appliances.
Step 2: Accessing the Local Status Page
The Local Status Page (LSP) is the most critical tool for troubleshooting an appliance that has never connected. Since the device cannot be managed via the cloud yet, you must manage it locally.
Every Meraki appliance hosts a small, local web server specifically for initial setup. To access it:
- Connect a laptop directly to a LAN port on the Meraki appliance (or associate with the "Meraki Scanning" Wi-Fi SSID if dealing with an MR access point).
- Open a web browser and navigate to
setup.meraki.comor the device's local IP address (typically192.168.1.1,10.128.128.128, or10.0.0.1). - Log in using the device's serial number (all caps with dashes) as the username and a blank password (unless a password was previously configured).
Once inside the LSP, look at the Connectivity tab. This page provides a real-time step-by-step breakdown of where the connection is failing:
- Ethernet: Is the cable detected?
- IP Address: Has the device obtained an IP via DHCP?
- DNS: Can the device resolve
nXX.meraki.com? - Cisco Meraki Cloud: Can it establish a TLS connection to the dashboard?
Step 3: Upstream Firewall and Port Requirements
If the LSP shows that the device has an IP address but cannot reach the "Cisco Meraki Cloud," the most likely culprit is an upstream firewall or security appliance blocking the necessary traffic. Meraki devices use a proprietary protocol called the Meraki Tunnel to communicate with the dashboard.
For a Meraki appliance to connect, the upstream network must allow outbound traffic on specific ports to the Meraki Cloud IP ranges. In 2026, these requirements remain consistent with Cisco's long-term architecture.
Essential Port Requirements Table
| Port | Protocol | Purpose | Direction |
|---|---|---|---|
| 443 | TCP | HTTPS Dashboard communication and Firmware downloads | Outbound |
| 7351 | TCP | Meraki Cloud Tunnel (Management traffic) | Outbound |
| 80 | TCP | HTTP for time synchronization (NTP) and firmware | Outbound |
| 123 | UDP | NTP Time Synchronization | Outbound |
| 53 | UDP/TCP | DNS Resolution | Outbound |
| 32768-61000 | UDP | High-port range for various cloud communications | Outbound |
Important Note on SSL Inspection: Many modern enterprise firewalls use Deep Packet Inspection (DPI) or SSL Decryption to scan encrypted traffic. Meraki management traffic cannot be decrypted. If an upstream firewall attempts to intercept the TLS handshake between the Meraki appliance and the Meraki Cloud, the appliance will reject the connection for security reasons, resulting in a "Never seen" status. You must whitelist the Meraki appliance's MAC address or IP to bypass SSL inspection.
Step 4: IP Addressing and DNS Configuration
A "Never seen" appliance often fails because it cannot find its way out of the local network. By default, all Meraki devices are set to DHCP. If there is no DHCP server on the segment where the appliance is plugged in, it will never receive an IP address.
Static IP Configuration
If your environment requires static IP addresses, you must configure this through the Local Status Page mentioned in Step 2.
- Navigate to the Uplink Configuration section of the LSP.
- Switch the IP assignment from DHCP to Static.
- Enter the IP address, Subnet Mask, Gateway, and DNS servers.
- Click Save.
The Role of DNS
DNS is the most frequent point of failure for initial Meraki connections. The appliance needs to resolve the address of its specific cloud controller. If the local DNS server is down, or if it cannot resolve external addresses, the Meraki device will fail to connect. It is a best practice during troubleshooting to manually set the DNS servers to a reliable public provider like Google (8.8.8.8) or Cloudflare (1.1.1.1) within the Local Status Page to rule out internal DNS issues.
Step 5: Validating Serial Numbers and Licensing
If the physical lights are white/blue, and the Local Status Page indicates a successful cloud connection, but the Dashboard still says "Never seen," there is likely a logical mismatch in the Meraki Dashboard itself.
Serial Number Verification
Ensure the serial number entered into the Dashboard exactly matches the one on the sticker of the physical device. A single typo will result in the Dashboard waiting for a device that doesn't exist, while the physical device tries to check into an organization that hasn't "claimed" it.
License Compliance
Meraki operates on a "co-termination" or "per-device" licensing model. If your organization is out of license compliance—meaning you have more devices than licenses—newly added devices may be blocked from connecting or functioning correctly. As of 2026, Cisco Meraki enforces a 30-day grace period, but if the organization is severely delinquent, the device will not be allowed to join the network.
Step 6: Advanced Troubleshooting: MTU and VLAN Tagging
In some complex networking environments, the issue may be related to how the ISP or the upstream carrier handles data packets.
MTU (Maximum Transmission Unit) Issues
If the Meraki appliance is behind a PPPoE connection or a tunnel (like an MPLS or GRE tunnel), the standard MTU of 1500 bytes might be too large. This causes packet fragmentation, which can break the TLS handshake. You can adjust the MTU settings within the Local Status Page's Uplink Configuration. Reducing the MTU to 1452 or 1400 often resolves "stuck" connections in these specific environments.
VLAN Tagging on the WAN
Some Internet Service Providers (especially Fiber-to-the-Home or specific Business Enterprise circuits) require the WAN interface to be tagged with a specific VLAN ID (e.g., VLAN 10 or VLAN 35). A factory-default Meraki MX appliance expects untagged traffic on its WAN port. If your ISP requires tagging, you must enter the VLAN ID in the Local Status Page under the Uplink Configuration for the connection to be established.
Step 7: ISP Authentication (PPPoE)
If you are connecting a Meraki MX directly to a DSL or Fiber ONT that requires authentication, you must configure the PPPoE credentials locally. The device cannot reach the cloud to get these credentials if it can't get online first.
- Access the Local Status Page.
- Select PPPoE under the connection type.
- Enter the username and password provided by the ISP.
- Ensure the "Authentication" protocol matches what the ISP expects (usually PAP or CHAP).
When to Contact Cisco Meraki Support
If you have verified the following and the device is still "Never seen," you may have a hardware defect (DOA):
- Physical power and cabling are confirmed.
- The Local Status Page shows "Success" for Ethernet, IP, and DNS, but "Fail" for Cloud.
- Upstream firewalls have been completely bypassed or ports are confirmed open.
- The serial number has been double-checked for typos.
In 2026, Cisco Meraki Support remains the primary resource for resolving "Cloud Reachability" issues that appear to be on the server side. They can check if the device is hitting their "Redirector" service and determine if there is a back-end database error preventing the device from being associated with your organization.
Frequently Asked Questions
Can I configure a Meraki device offline and then ship it to a site? No, Meraki devices must connect to the cloud at least once to download their configuration. While you can pre-configure the settings in the Dashboard, the physical hardware will remain in its factory-default state until it establishes a connection to the internet and "sees" the instructions you have waiting for it in the cloud.
Does a "Never seen" status mean the device is broken? Not necessarily. In over 90% of cases, "Never seen" is a result of a local network configuration issue, such as blocked ports, incorrect DNS, or a lack of a DHCP server. Hardware failures (DOA) are relatively rare in the Meraki ecosystem.
Why does my Meraki device show "Never seen" even though the light is green? If the LED is solid white or green (depending on the model), the device is connected to the cloud. If the Dashboard still says "Never seen," try refreshing your browser or checking if you added the correct serial number. There may also be a delay in the Dashboard UI updating the status during its initial check-in.
What happens if I factory reset a "Never seen" device? A factory reset (holding the reset button for 10-15 seconds) will clear any local configurations you made via the Local Status Page, such as static IPs or PPPoE credentials. This is useful if you made a mistake in the local setup, but it will not fix a "Never seen" status if the problem is an upstream firewall blocking port 7351.
Do I need a valid license for a device to show as "Online"? Yes. While a device might briefly show up in your inventory, it requires a valid license to fully participate in the Meraki Cloud management system. If your organization is in a "License Required" state, the device may reach the cloud but will be prevented from functioning.
Summary of Next Actions
To move a Meraki appliance from "Never seen" to "Healthy," start by connecting a laptop to the device and accessing the Local Status Page at setup.meraki.com. This page is the "source of truth" for why the device cannot reach the internet. Check the Connectivity tab to identify if the failure is at the IP, DNS, or Cloud level. Once the failure point is identified, adjust your upstream firewall rules to allow ports TCP 443 and TCP 7351, or manually configure a Static IP and Public DNS if DHCP is unavailable. Consistent monitoring of the front-panel LED will provide immediate feedback on whether your changes have successfully allowed the device to bridge the gap to the Meraki Cloud.