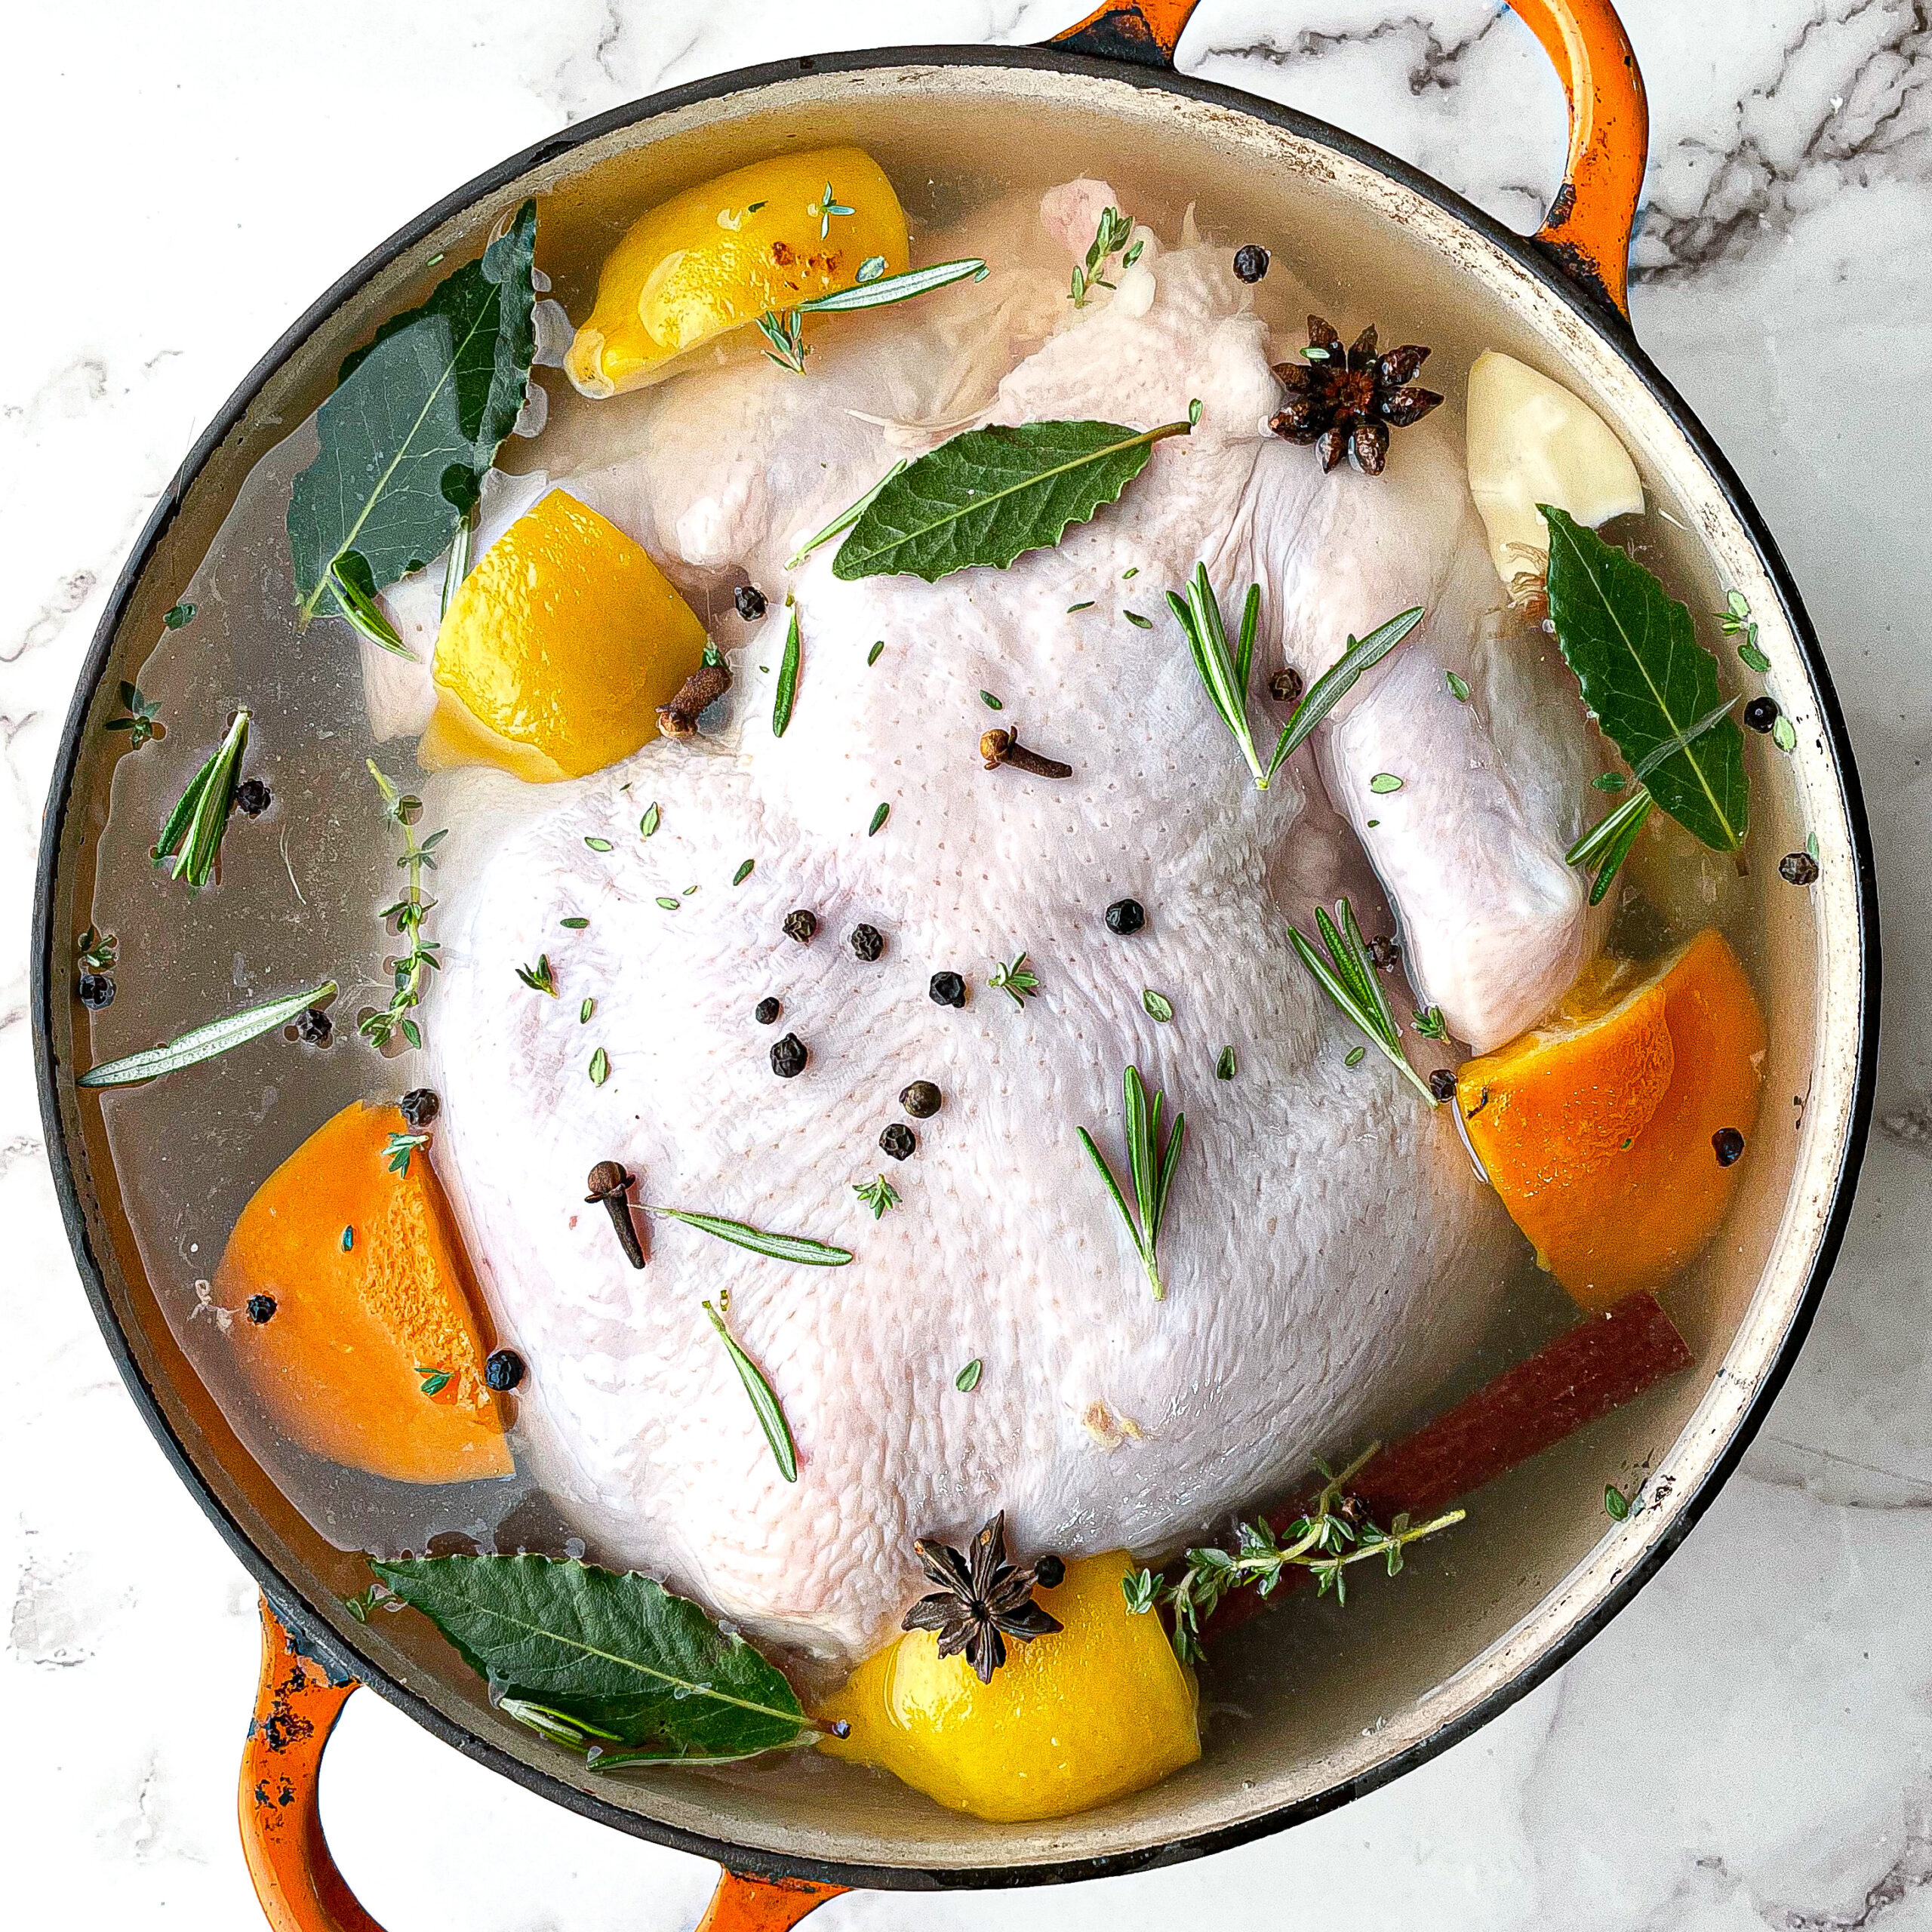
To successfully use Alton Brown’s famous brine with a frozen turkey, you must first safely thaw the bird completely, as salt ions cannot effectively penetrate ice crystals. Once thawed, the turkey soaks in a solution of vegetable stock, kosher salt, brown sugar, and aromatics for 8 to 16 hours to ensure a moist, flavorful result.
The "Good Eats" roast turkey method, pioneered by Alton Brown, remains the gold standard for home cooks in 2026. While the recipe is decades old, its reliance on food science—specifically the principles of osmosis and protein denaturing—makes it timeless. If you are starting with a frozen turkey in your kitchen, the process requires careful planning to transition from a block of ice to a perfectly roasted centerpiece.
The Science of the Brine: Why Alton Brown’s Method Works
At the heart of Alton Brown's method is the wet brine. For many years, the debate between wet brining and dry brining has persisted, but Brown’s specific formula remains a favorite for those seeking maximum moisture retention.
When you submerge a turkey in a salt-water solution, two primary processes occur: diffusion and osmosis. Initially, the concentration of salt is higher in the brine than in the turkey cells. Salt ions move into the meat via diffusion. Once inside, these ions interact with the muscle proteins—specifically myosin. The salt causes these protein filaments to unwind or "denature." As they relax, they create a matrix that can trap and hold onto water.
During cooking, muscle fibers normally contract and squeeze out moisture. However, because the brined proteins are weighted down and disrupted by salt, they cannot contract as tightly, meaning the turkey retains more liquid. Alton Brown’s inclusion of brown sugar and vegetable stock adds a layer of flavor and facilitates the Maillard reaction, which is the chemical reaction between amino acids and reducing sugars that gives the skin its golden-brown color and savory taste.
Preparing the Frozen Turkey: The Critical Thawing Phase
You cannot brine a frozen turkey. If you attempt to place a rock-solid bird into a brine, the exterior may begin to take on salt while the interior remains an impenetrable icy core. Furthermore, as the ice melts, it dilutes the brine, throwing off the carefully balanced salinity levels required for the process to work.
Safe Thawing Methods
In 2026, food safety standards from the USDA continue to emphasize three safe ways to thaw a turkey:
- Refrigerator Thawing (Recommended): This is the most reliable method for the Alton Brown protocol. Keep the turkey in its original wrapper and place it on a tray to catch drippings. Allow approximately 24 hours for every 4 to 5 pounds of turkey. A 20-pound bird will require five full days in the refrigerator.
- Cold Water Thawing: If you are short on time, submerge the wrapped turkey in cold tap water. Change the water every 30 minutes to ensure it stays cold. This takes about 30 minutes per pound.
- The "Brine-Thaw" Hybrid: While not technically the standard Alton Brown method, some chefs use a room-temperature brine to finish the last 20% of the thawing process. However, for the specific "Good Eats" results, the bird should be fully thawed before entering the 8-to-16-hour brine window.
Essential Ingredients for the Alton Brown Brine
The classic "Good Eats" brine is celebrated for its balance. Unlike simple salt-and-water brines, this version introduces aromatics that penetrate the meat deeply.
- 1 gallon vegetable stock: Provides a savory base that is more complex than water.
- 1 cup kosher salt: Alton Brown specifically recommends kosher salt for its grain size and purity. If using table salt, reduce the volume by half, as table salt is much denser.
- 1/2 cup light brown sugar: Adds sweetness and aids in skin caramelization.
- 1 tablespoon black peppercorns: For a subtle, foundational spice.
- 1 1/2 teaspoons allspice berries: Provides a warm, autumnal aromatic profile.
- 1 1/2 teaspoons ginger (chopped or candied): Adds a bright, sharp note that cuts through the richness of the poultry.
- 1 gallon ice water: Used to chill the brine immediately before the turkey is added.
Step-by-Step Execution in the Kitchen
1. Creating the Brine Concentrate
In a large stockpot over medium-high heat, combine the vegetable stock, kosher salt, brown sugar, peppercorns, allspice berries, and ginger. Stir occasionally and bring the mixture to a boil. The goal here is to fully dissolve the salt and sugar and to "bloom" the aromatics, releasing their essential oils into the liquid. Once the salt is dissolved, remove the pot from the heat and let it cool.
2. The Cooling Phase
Crucial Safety Step: Never put a turkey into a warm brine. Doing so would raise the internal temperature of the meat into the "danger zone" (40°F to 140°F), where bacteria like Salmonella and Campylobacter multiply rapidly.
Combine the boiled brine concentrate with one gallon of ice water in a large, food-grade container. Ensure the liquid is at or below 40°F before the turkey is introduced.
3. Submerging the Bird
Remove the giblets and the neck from the thawed turkey (save them for gravy). Place the turkey breast-side down in the container. If the turkey floats, weigh it down with a heavy plate or a gallon jug filled with water. The turkey must be completely submerged.
4. The Long Soak
Store the brining turkey in the refrigerator for 8 to 16 hours. If you do not have room in your refrigerator, you can use a high-quality insulated cooler. If using a cooler, you must monitor the temperature with a probe thermometer to ensure it stays below 40°F, adding sealed bags of ice as needed to maintain the temperature without diluting the brine.
5. The Drying Phase (The Secret to Crispy Skin)
After the brining period, remove the bird and discard the brine. Rinse the turkey thoroughly inside and out with cold water to remove excess surface salt. Pat the skin dry with paper towels.
For the best results, place the turkey on a rack over a half-sheet pan and return it to the refrigerator, uncovered, for at least 12 hours (or up to 24). This "air-drying" phase allows the skin to dehydrate, which is essential for achieving a parchment-like, crispy texture during roasting.
Required Equipment for the Alton Brown Method
To execute this method correctly in a standard kitchen, you will need specific gear to handle the volume and the science involved.
| Equipment Item | Purpose | Specification |
|---|---|---|
| 5-Gallon Bucket | Brining vessel | Must be Food-Grade (BPA-free) |
| Stockpot | Brine creation | 6-quart capacity or larger |
| Probe Thermometer | Temperature monitoring | Digital with a remote alert for 161°F |
| Roasting Pan | Cooking vessel | Heavy-duty with a sturdy rack |
| Half-Sheet Pan | Drying phase | Fits in a standard refrigerator |
| Aluminum Foil | Heat shielding | Heavy-duty for the "breast shield" |
Roasting the Brined Turkey
Alton Brown's roasting technique is as specific as his brining. He advocates for a two-stage heat approach to ensure the dark meat reaches safety temperatures without the white meat drying out.
- Preheat and Aromatics: Preheat your oven to 500°F. Inside the turkey cavity, place a halved onion, a sliced apple, a cinnamon stick, and a handful of sage. Rub the skin with a neutral oil (like canola or grapeseed) which has a high smoke point.
- The Initial Blast: Roast the turkey at 500°F on the lowest rack for 30 minutes. This high heat jumpstarts the skin crisping and creates a seal of rendered fat.
- The Shield: After 30 minutes, remove the turkey. Reduce the oven temperature to 350°F. Create a triangle out of heavy-duty aluminum foil and place it over the breast of the turkey. This "armor" reflects heat away from the lean breast meat while allowing the legs and thighs to continue cooking at full speed.
- The Target Temperature: Insert a probe thermometer into the thickest part of the breast. Roast until the internal temperature reaches 161°F.
- The Rest: This is the most frequently skipped step. Remove the turkey from the oven and let it rest for at least 30 minutes before carving. During this time, carryover cooking will bring the internal temperature up to the USDA-recommended 165°F, and the juices will redistribute throughout the meat.
Common Mistakes and Troubleshooting
Overshooting the Salt
If you leave the turkey in the brine for longer than 16 hours, the meat can take on a "hammy" or spongy texture. The salt will begin to cure the meat rather than just seasoning it. If you realize you cannot roast the turkey on time, remove it from the brine, rinse it, and keep it in the fridge until you are ready.
Using an Enhanced Turkey
Many grocery store turkeys are "pre-basted" or "enhanced" with a salt solution (check the fine print on the packaging; it often says "contains up to 8% of a solution"). If you brine an already-enhanced turkey using the full Alton Brown salt ratio, the result will be unpalatably salty. For enhanced birds, reduce the salt in the brine by half.
The "Soggy Skin" Syndrome
If you skip the air-drying phase in the refrigerator, the skin will be saturated with moisture. Even a 500°F oven cannot evaporate that much water quickly enough to create a crisp texture, resulting in rubbery skin.
Frequently Asked Questions
Can I use a frozen turkey directly in the brine?
No, you should not put a frozen turkey directly into the brine. The ice prevents the salt and aromatics from penetrating the meat. Additionally, the melting ice will dilute the brine's concentration, leading to uneven seasoning and potentially unsafe internal temperatures during the transition.
What is the best container for brining a turkey?
A 5-gallon food-grade plastic bucket is the ideal choice. These are often available at restaurant supply stores or home improvement stores (ensure they are marked "food safe"). Alternatively, a large stainless steel stockpot or a dedicated brining bag inside a cooler can work. Avoid non-food-grade plastic, which can leach chemicals into the acidic brine.
Do I need to rinse the turkey after brining?
Yes, rinsing is essential. The brine's purpose is to season the interior of the meat through osmosis. Leaving the salt solution on the surface of the skin will make the exterior too salty and can prevent the skin from crisping properly. Always rinse with cold water and pat thoroughly dry.
Can I use this brine for a turkey breast instead of a whole bird?
Absolutely. For a bone-in or boneless turkey breast, you can halve the brine recipe. The brining time should also be reduced; 4 to 6 hours is usually sufficient for a single breast to avoid over-salting the smaller mass of meat.
Why does Alton Brown use vegetable stock instead of chicken stock?
Alton Brown recommends vegetable stock because it provides a cleaner flavor profile that complements the turkey without competing with it. Some commercial chicken stocks can also be very high in sodium, which makes it difficult to control the final salinity of the bird when combined with the cup of kosher salt.
Final Recommendations for 2026
When preparing your kitchen for the Alton Brown turkey method, the most important factor is timing. Backward-plan from your serving time: allow 5 days for thawing, 12 hours for brining, 12 hours for air-drying, and 3 hours for roasting and resting. By respecting the chemistry of the brine and the necessity of the drying phase, you ensure a turkey that is technically perfect and consistently delicious. If you find yourself with a frozen bird just 24 hours before the meal, pivot to the cold-water thawing method immediately, but do not compromise on the brine temperature or the internal target of 161°F.