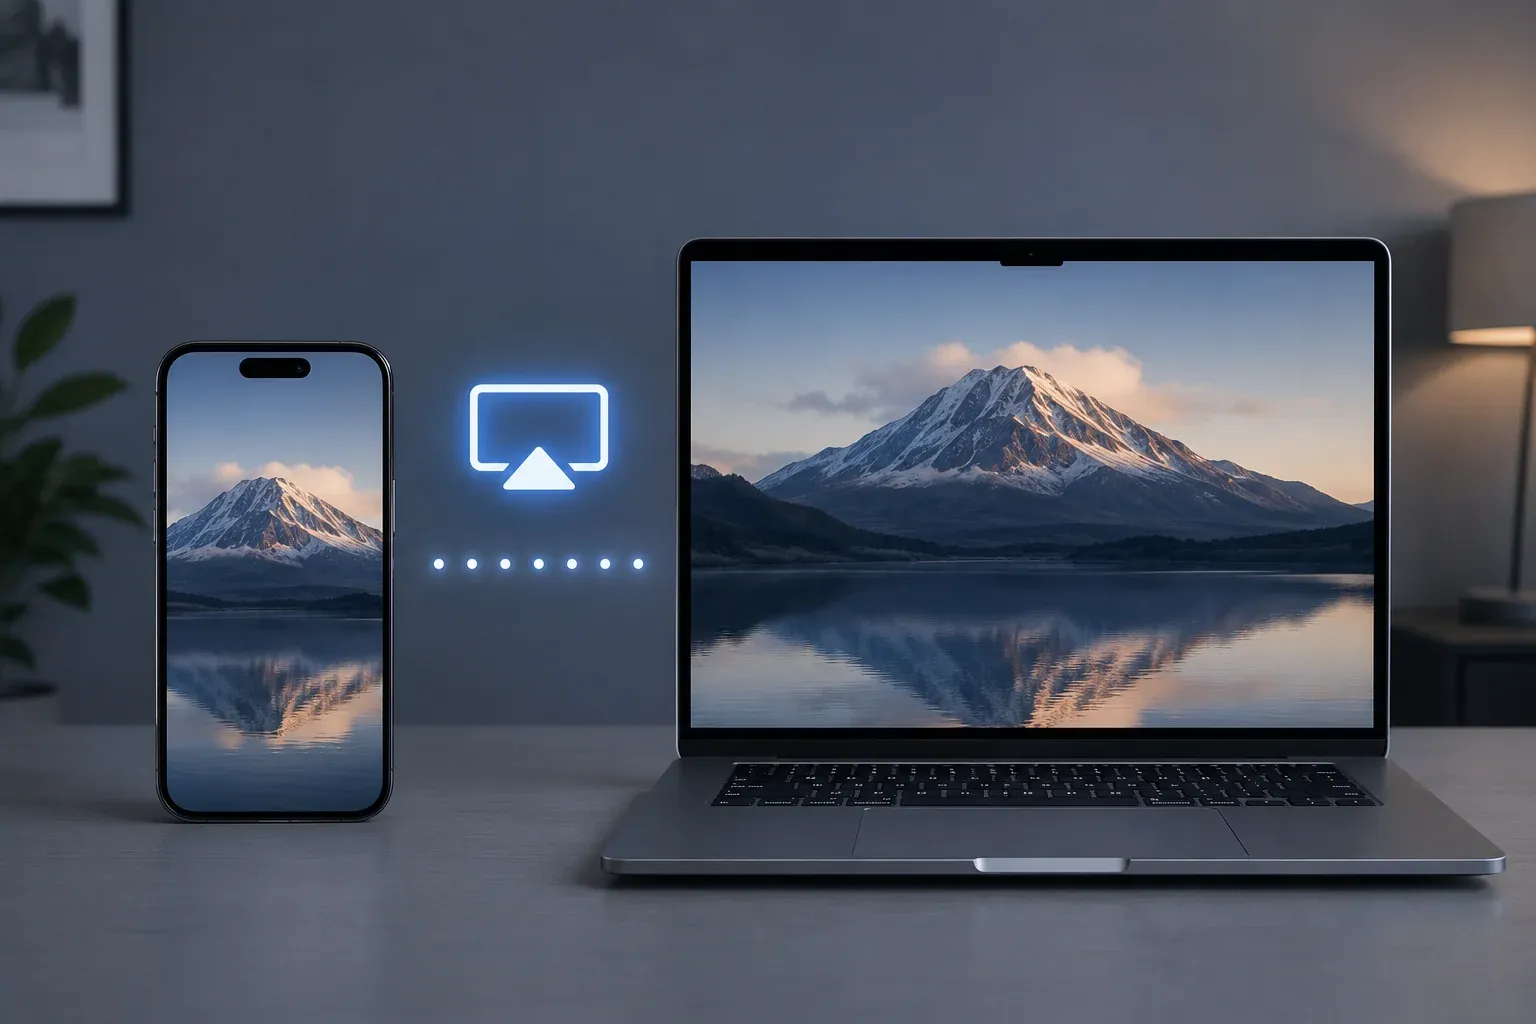
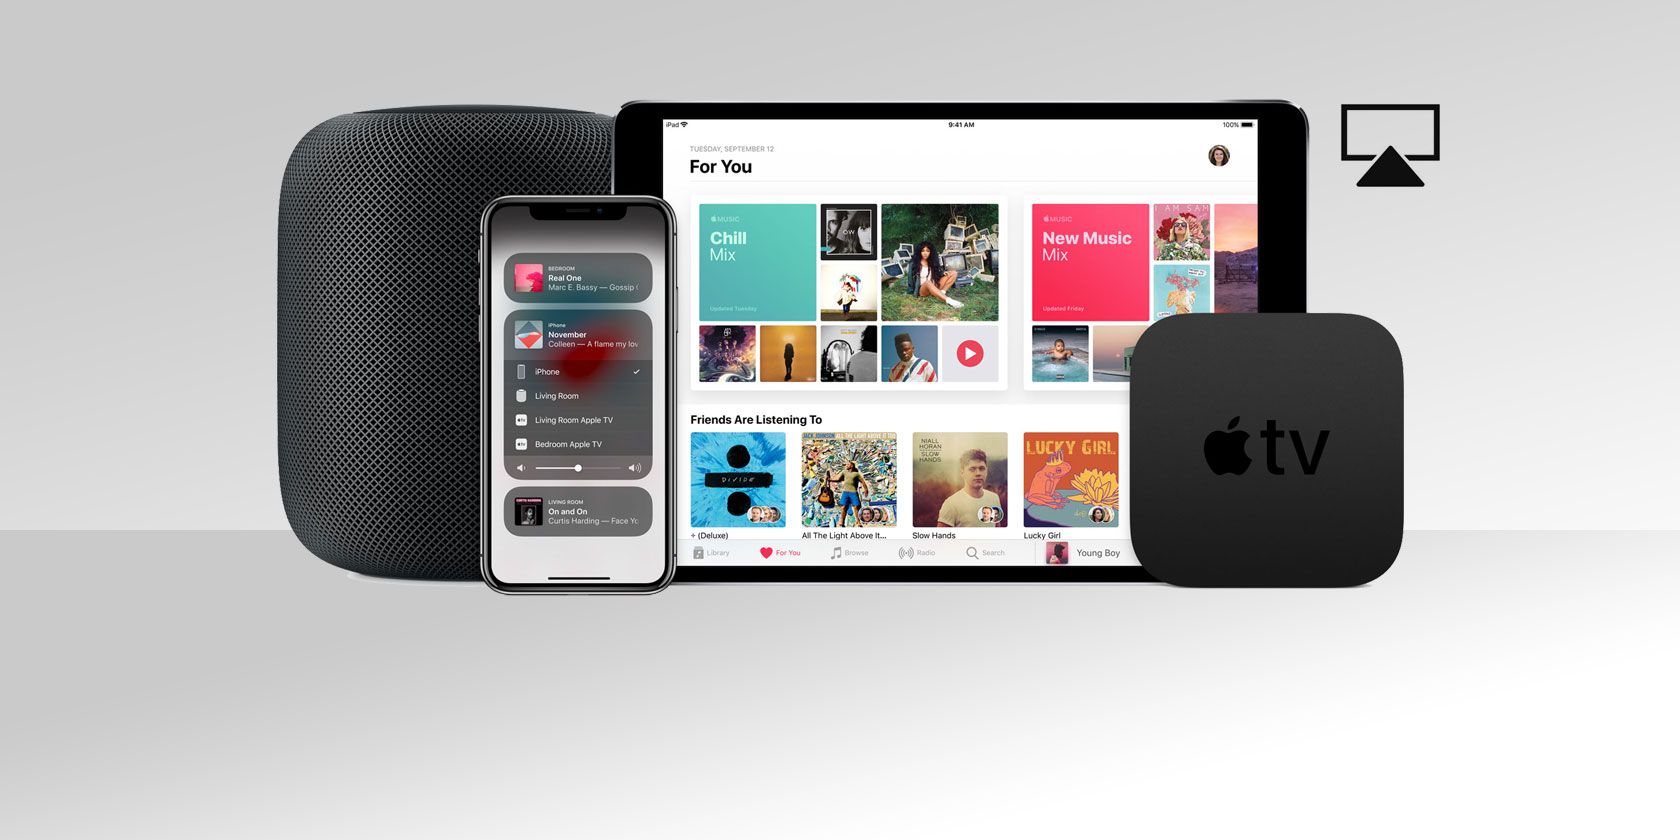
AirPlay from an iPhone to a MacBook works by using the AirPlay Receiver feature, which allows your Mac to act as a wireless destination for audio, video, and screen mirroring. By enabling this in macOS System Settings, your iPhone can stream content directly to your Mac's superior display and speakers over a local Wi-Fi network or a wired USB connection.
As we move through 2026, the integration within the Apple ecosystem has reached a level of maturity where the distinction between devices is increasingly fluid. One of the most practical examples of this synergy is the ability to use a MacBook as an AirPlay destination. Whether you are a professional presenting a mobile app prototype, a student watching a lecture from your phone on a larger screen, or a casual user wanting to blast Spotify through high-end MacBook Pro speakers, understanding the mechanics of AirPlay is essential.
The Evolution of AirPlay to Mac
Historically, AirPlay was a one-way street: you could send content from an iPhone or Mac to an Apple TV or compatible smart television. It wasn't until the release of macOS Monterey in 2021 that Apple officially unlocked the "AirPlay Receiver" capability for the Mac. This transformed the MacBook from a content creator into a versatile content receiver.
In the 2026 landscape, this feature relies on the AirPlay 2 protocol. Unlike the original AirPlay, AirPlay 2 offers significantly reduced latency, enhanced buffering, and the ability to stream audio to multiple devices simultaneously. When you AirPlay from an iPhone to a MacBook, you are utilizing a sophisticated handshake between iOS and macOS that prioritizes security and playback stability.
Core Requirements for AirPlay to Mac
Not every Apple device supports this feature. Because the process involves real-time video decoding and high-fidelity audio processing, certain hardware and software thresholds must be met to ensure a smooth experience.
Hardware Compatibility
To use your MacBook as an AirPlay receiver, you generally need a model from 2018 or later. The specific list includes:
- MacBook Pro: 2018 and later models.
- MacBook Air: 2018 and later models.
- iMac: 2019 and later (or the iMac Pro).
- Mac mini: 2020 and later.
- Mac Studio: All models.
On the sender side, any iPhone running iOS 15 or later is capable of transmitting to a Mac, though newer iPhones with A-series chips provide better efficiency for high-bitrate 4K streams.
Software and Account Settings
Both devices should ideally be signed into the same Apple ID. While this is not strictly required for AirPlay to function, it simplifies the process by bypassing security prompts. Furthermore, both devices must have Wi-Fi and Bluetooth enabled. Even if you are using a wired connection for lower latency, Bluetooth is often used for the initial "discovery" phase where the iPhone "sees" the MacBook.
How the Technology Works
When you initiate an AirPlay session, several technical processes happen in the background within milliseconds.
- Discovery: The iPhone uses a protocol called Bonjour (mDNS) over Wi-Fi and Bluetooth Low Energy (BLE) to scan for available receivers. Your MacBook broadcasts its availability if the AirPlay Receiver setting is toggled on.
- The Handshake: Once you select the MacBook, the devices establish a point-to-point link. If both devices are on the same Apple ID, they use a pre-shared cryptographic key to verify each other. If not, the Mac may display a four-digit code that you must enter on the iPhone.
- Compression and Streaming: For screen mirroring, the iPhone captures its display buffer and encodes it into a video stream (usually H.264 or HEVC). This stream is sent over the network to the Mac, which decodes it using hardware acceleration.
- Audio Synchronization: AirPlay 2 uses an advanced timing clock to ensure that audio remains perfectly synced with the video, even if there are minor fluctuations in network speed.
Step-by-Step Configuration
To begin using your MacBook as a display for your iPhone, you must first ensure the Mac is ready to receive the signal.
Step 1: Enable AirPlay Receiver on Mac
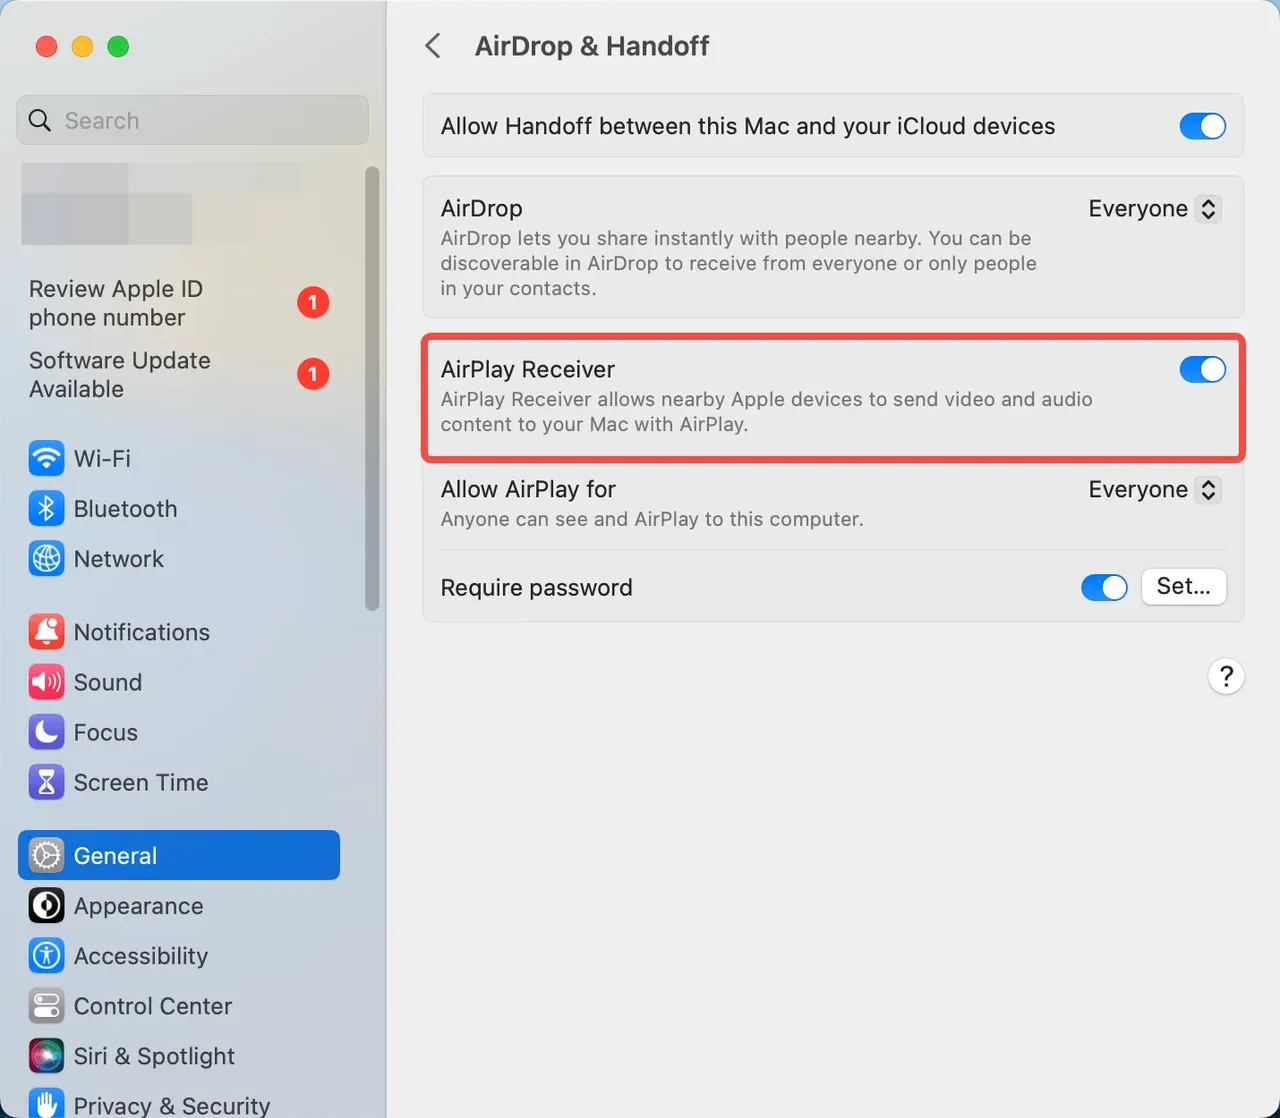
- Click the Apple Menu () and select System Settings.
- Navigate to General in the sidebar.
- Click on AirPlay & Handoff.
- Locate the AirPlay Receiver toggle and switch it to On.
- Under "Allow AirPlay for," choose your preference:
- Current User: Only devices signed into your Apple ID can see the Mac. This is the most secure and seamless option.
- Anyone on the Same Network: Useful for offices or sharing with friends, but requires a password or on-screen code.
- Everyone: Allows any nearby device to attempt a connection (not recommended for public spaces).
Step 2: Initiating the Stream from iPhone
There are two primary ways to send content: Screen Mirroring and Media Streaming.
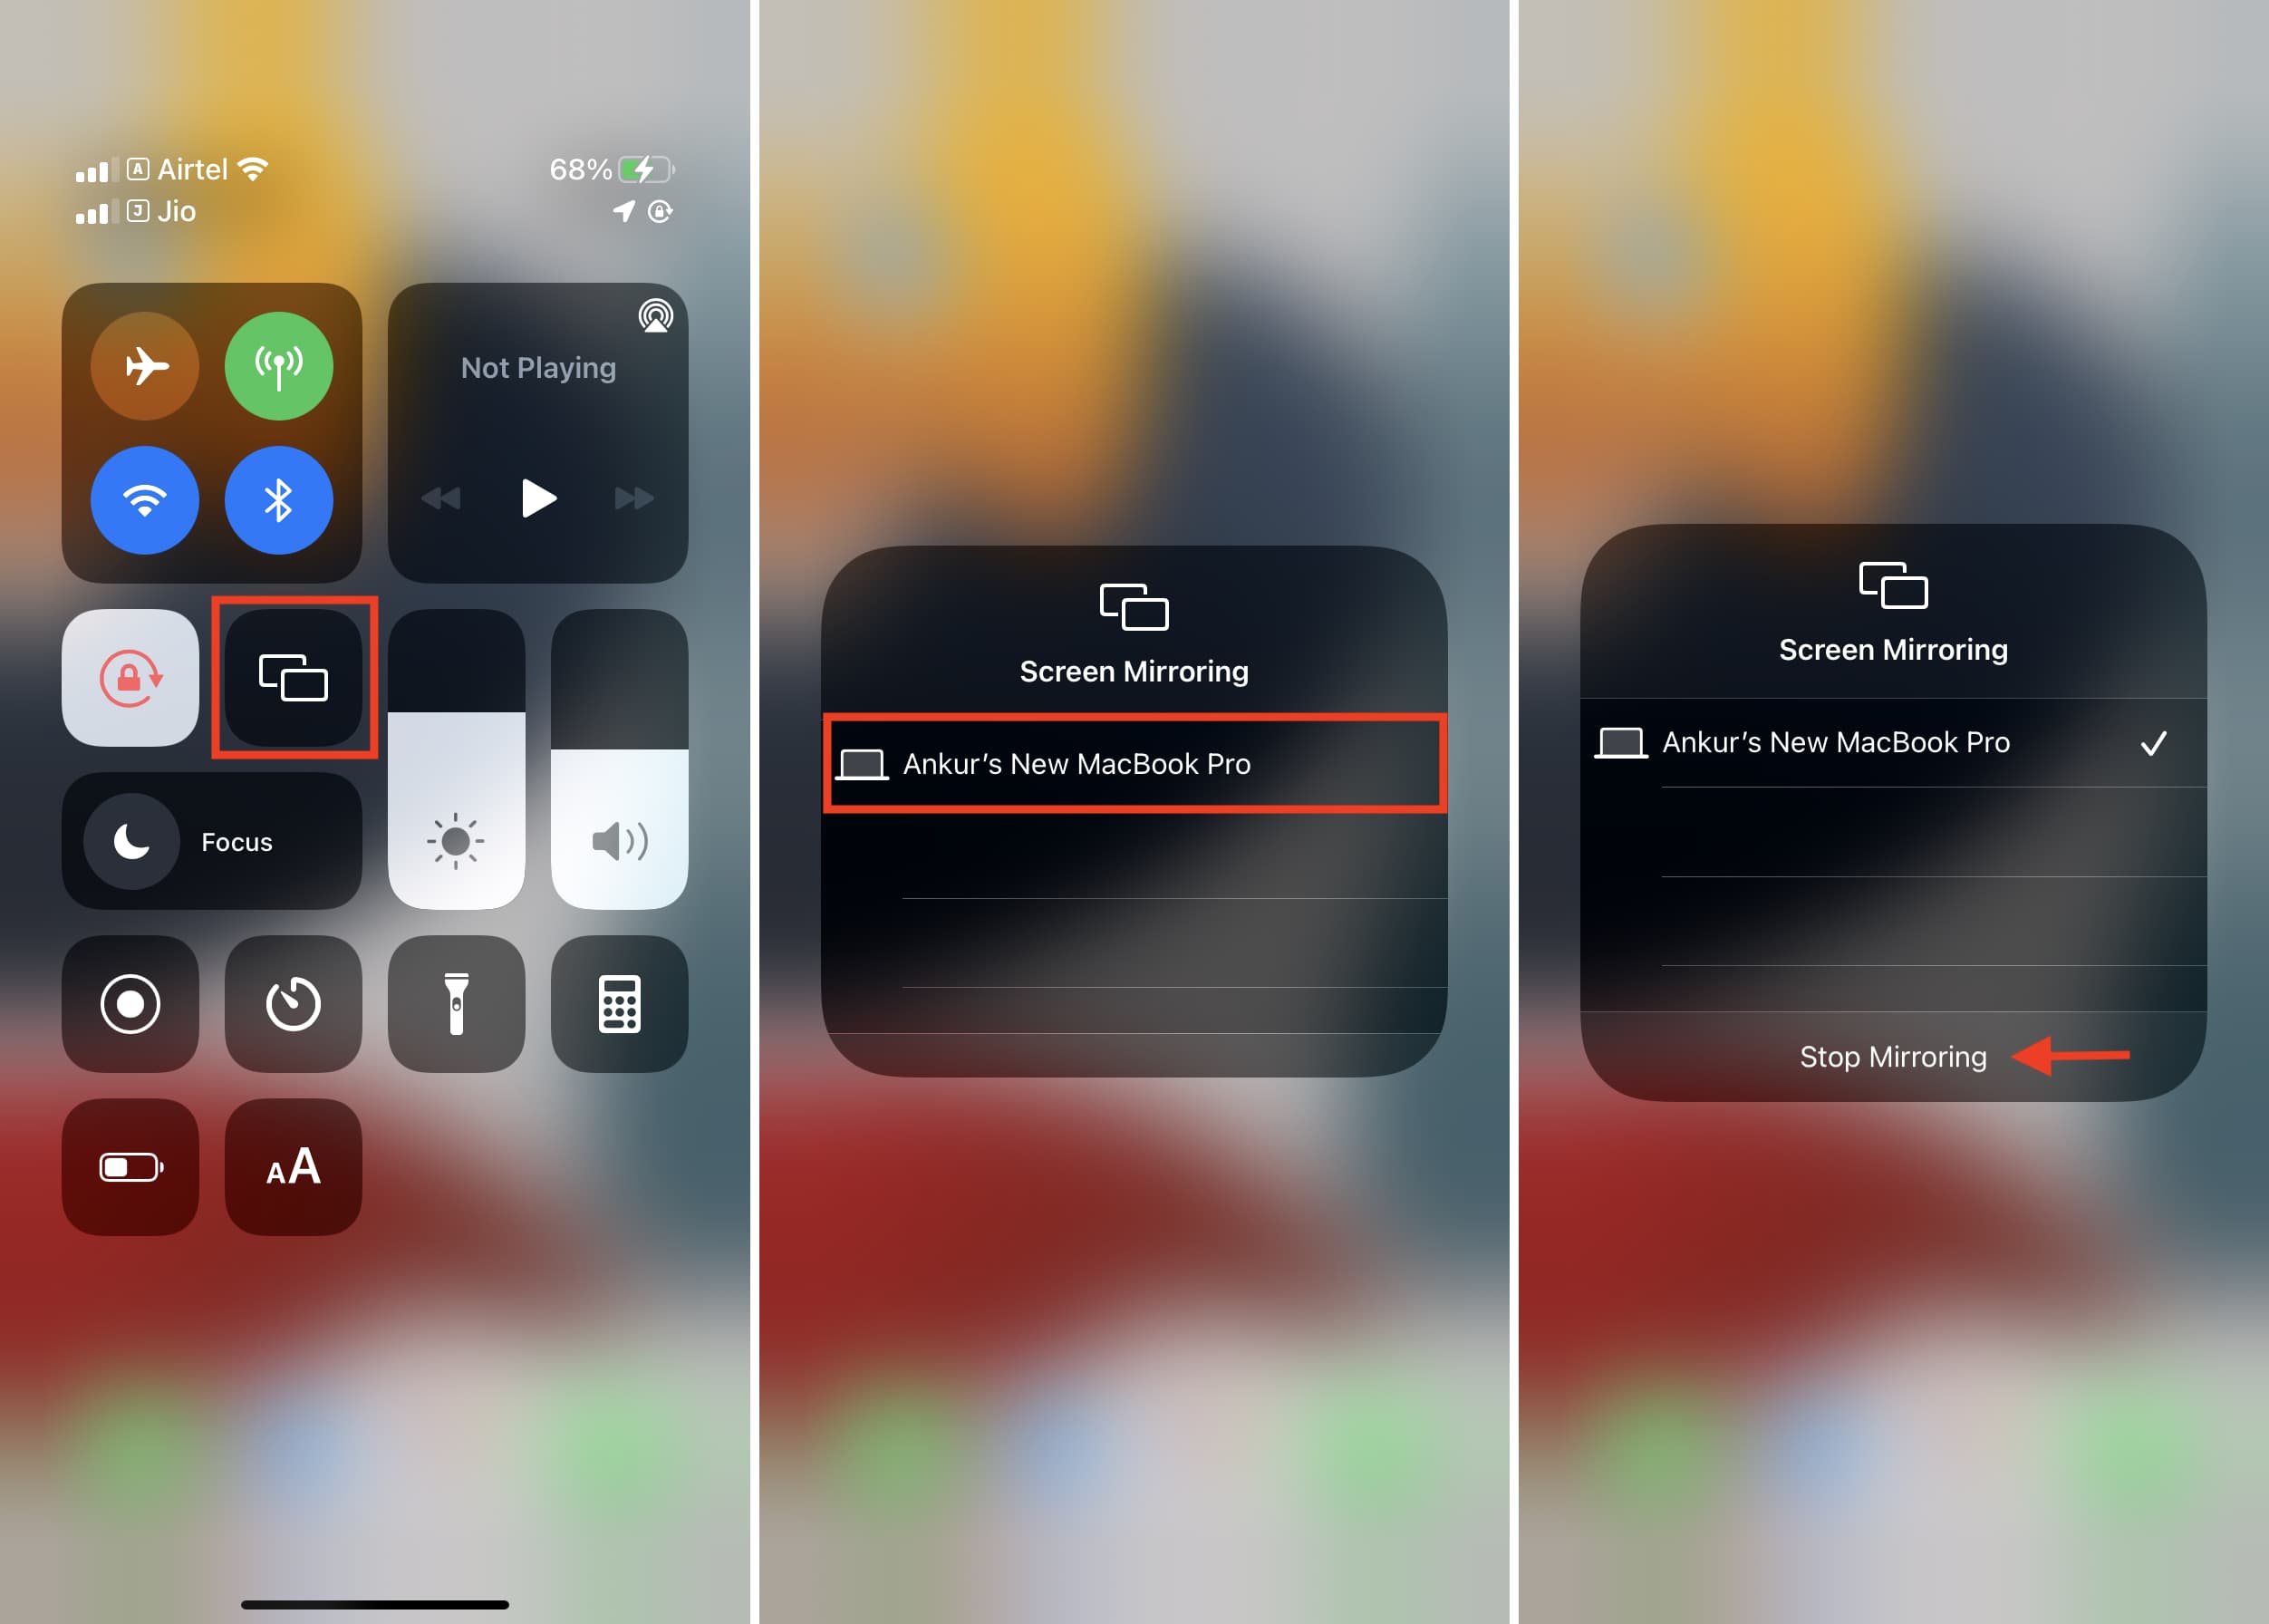
- Screen Mirroring: Swipe down from the top-right corner of your iPhone to open Control Center. Tap the Screen Mirroring icon (two overlapping rectangles). Select your MacBook from the list. Your entire iPhone screen will now appear on the Mac.
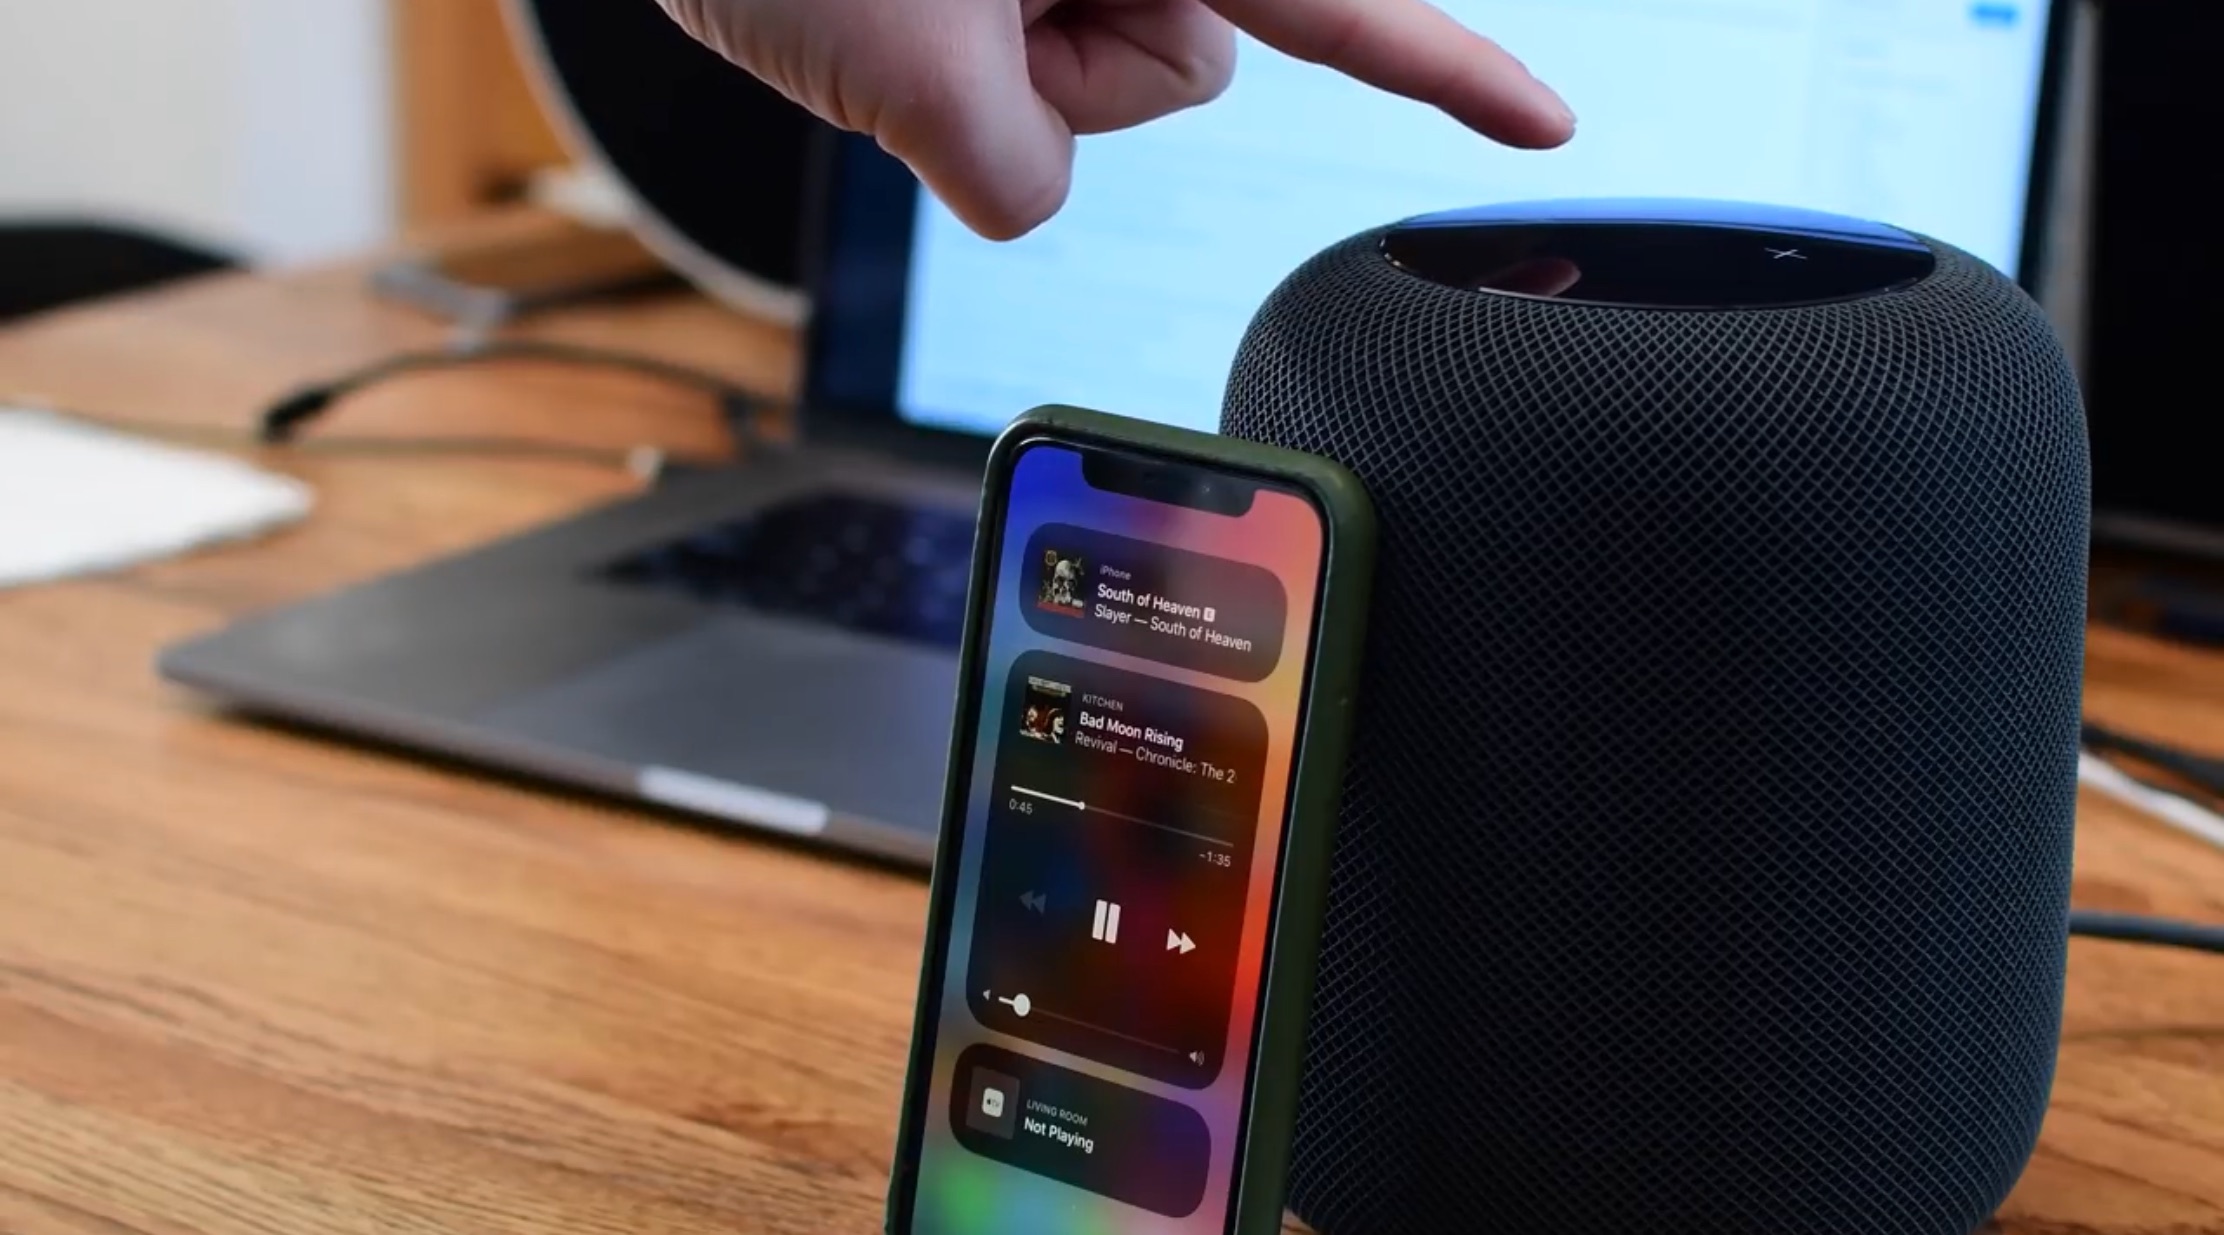
- Media Streaming: Open an app like YouTube, Photos, or Music. Look for the AirPlay icon (a triangle pointing into a rectangle). Tap it and select your MacBook. In this mode, only the media plays on the Mac, while your iPhone interface remains free for other tasks.
Wired vs. Wireless AirPlay
While AirPlay is primarily a wireless technology, it can function over a wired connection. This is a critical tip for power users in 2026 who require the lowest possible latency.
If you connect your iPhone to your MacBook using a USB-C to Lightning or USB-C to USB-C cable (depending on your iPhone model), the AirPlay stream can travel over the wire. This bypasses potential Wi-Fi interference and congestion. This is particularly useful in crowded office environments or when recording your iPhone screen for a tutorial using QuickTime Player on the Mac.
| Feature | Wireless AirPlay (Wi-Fi) | Wired AirPlay (USB) |
|---|---|---|
| Convenience | High (Move around the room) | Low (Tethered by cable) |
| Latency | Low (depends on router) | Minimal (Best for gaming/demo) |
| Interference | Subject to 2.4GHz/5GHz noise | Immune to wireless noise |
| Setup | Requires Wi-Fi network | Plug-and-play |
| Battery Impact | Higher drain on iPhone | iPhone charges from MacBook |
Practical Use Cases for 2026
The utility of AirPlay to Mac extends far beyond just "watching videos."
- Professional Presentations: Instead of fumbling with adapters to plug your iPhone into a projector, you can AirPlay your iPhone to your MacBook, which is already connected to the boardroom display. This allows you to walk around the room while demonstrating a mobile app.
- Enhanced Audio: If you have a MacBook Pro with a high-fidelity six-speaker sound system, it likely sounds much better than your iPhone’s internal speakers. Using AirPlay to stream your iPhone's Music app to the Mac provides an immediate audio upgrade.
- Video Calls on a Large Screen: You can AirPlay a FaceTime or Zoom call from your iPhone to your Mac. This allows you to use the iPhone’s superior rear camera (via Continuity Camera features) while seeing your colleagues on the larger MacBook display.
Troubleshooting Common Issues
Even with Apple’s focus on "it just works," technical glitches can occur. Here are the most common solutions for AirPlay failures:
- Devices Not Appearing: Ensure both devices have Bluetooth and Wi-Fi turned on. Often, simply toggling Airplane Mode on the iPhone for 10 seconds will reset the discovery services.
- Firewall Blocking: On your Mac, go to System Settings > Network > Firewall. If the firewall is on, click Options and ensure that "AirPlay Receiver" is allowed to receive incoming connections.
- Network Mismatch: Ensure both devices are on the same SSID. Many modern routers split the 2.4GHz and 5GHz bands; while AirPlay should work across them, keeping them on the same band often resolves lag.
- DRM Restrictions: Some streaming services (like Netflix or certain cable provider apps) may restrict AirPlay due to digital rights management (DRM) agreements. If you see a black screen with audio, this is likely the cause.
- Restarting the "AirPlayXPCHelper": Advanced users can open Activity Monitor on the Mac, search for "AirPlayXPCHelper," and force-quit it. macOS will automatically restart the process, often clearing any "stuck" connections.
Security and Privacy Considerations
When you enable your Mac as an AirPlay receiver, you are essentially opening a port for incoming data. Apple mitigates security risks through several layers:
- Encryption: The stream is encrypted end-to-end, meaning someone "sniffing" your Wi-Fi cannot see what you are streaming.
- On-Screen Passcodes: By setting "Require Password" in the AirPlay Receiver settings, you ensure that no one can hijack your screen without your physical consent.
- User Proximity: The use of Bluetooth for discovery ensures that only devices in relatively close proximity can even see the MacBook as an option.
Frequently Asked Questions
Can I use AirPlay to Mac as a second monitor?
Not exactly. AirPlay to Mac mirrors or streams content from the iPhone to the Mac. If you want to use a device as a second monitor for your Mac, you should use Sidecar (which works with an iPad) or Universal Control. AirPlay is intended for sharing content from the mobile device to the computer.
Does AirPlay to Mac work without Wi-Fi?
Yes, it can work via Peer-to-Peer AirPlay. This uses Bluetooth for discovery and creates a temporary ad-hoc Wi-Fi network between the two devices. However, this is generally less stable than using an established Wi-Fi network or a wired USB connection.
Why is there a delay when I mirror my iPhone screen?
Mirroring requires the iPhone to compress video in real-time and the Mac to decompress it. On standard Wi-Fi networks, a latency of 50ms to 500ms is common. To minimize this, ensure you are on a 5GHz or 6GHz (Wi-Fi 6E/7) network, or use a USB cable to connect the devices directly.
Can I AirPlay from an iPhone to an older Mac that doesn't support it?
Official support is limited to 2018 and newer Macs. For older models, you would need to use third-party software such as AirServer or Reflector. These apps emulate the AirPlay protocol and allow older versions of macOS to act as receivers.
Can I record the AirPlay stream on my MacBook?
Yes. Once you are AirPlaying your iPhone screen to your Mac, you can use QuickTime Player or a screen recording tool (Cmd + Shift + 5) to capture the Mac's screen, effectively recording the iPhone's output.
Summary of Next Steps
To get the most out of AirPlay from your iPhone to your MacBook, start by verifying your hardware compatibility and ensuring both devices are updated to their latest OS versions (iOS 19+ and macOS 16+ in the 2026 timeframe).
- Test the connection: Enable the receiver on your Mac and try mirroring your iPhone screen.
- Optimize your environment: If you experience lag, switch to a 5GHz Wi-Fi band or use a USB-C cable for a "pro" setup.
- Adjust security: Set your "Allow AirPlay for" to "Current User" to ensure a frictionless experience that doesn't require a passcode every time you want to share a photo or video.
By mastering these settings, you turn your MacBook into a powerful extension of your iPhone, bridging the gap between mobile portability and desktop performance.