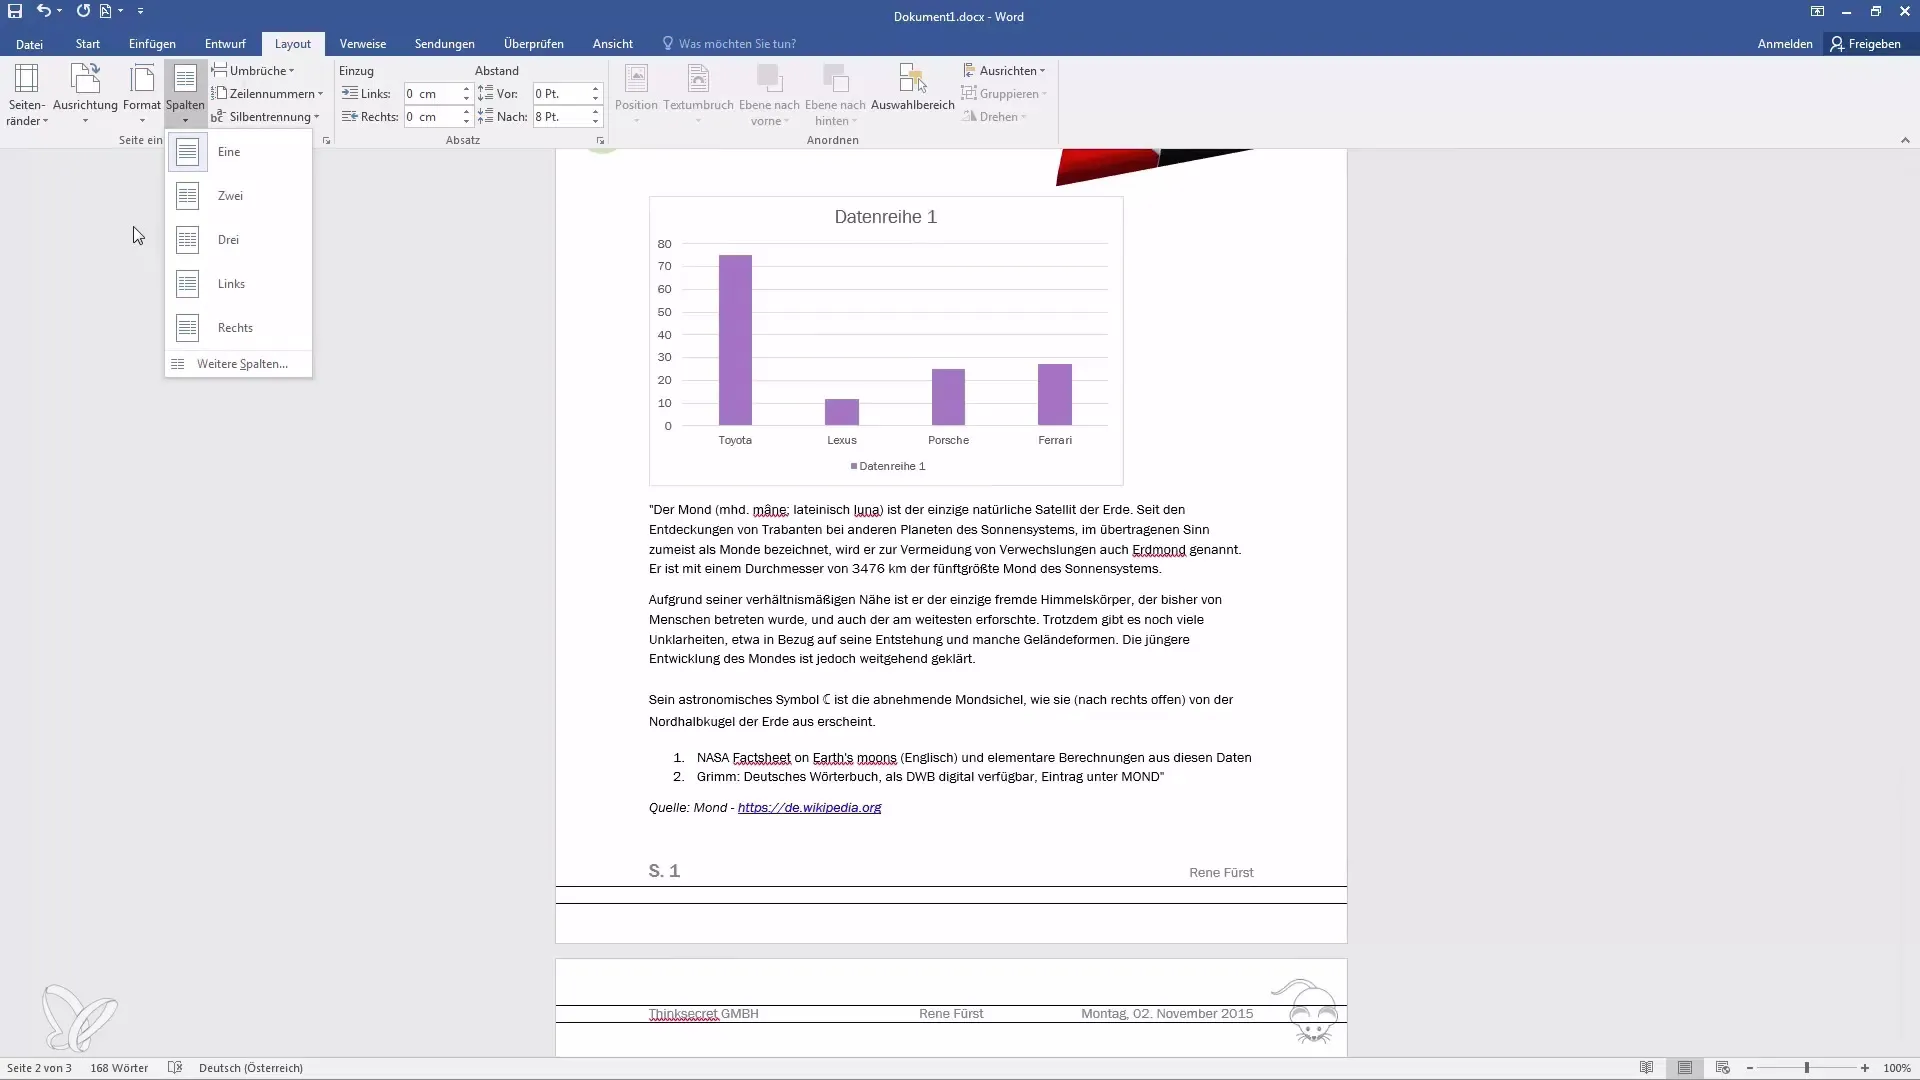
To write in two columns in Microsoft Word, navigate to the Layout tab on the Ribbon, click the Columns button in the Page Setup group, and select Two. This instantly splits your text into two equal vertical sections. For more control, choose More Columns to adjust width and spacing.
The ability to format a document into multiple columns is a fundamental skill for creating professional newsletters, academic papers, brochures, and scripts. While the basic process is straightforward, mastering the nuances of column breaks, section management, and balanced alignment is essential for producing high-quality documents. In 2026, Microsoft 365 continues to offer sophisticated tools to manage these layouts across desktop and cloud environments.
Understanding the Column Feature in Microsoft Word
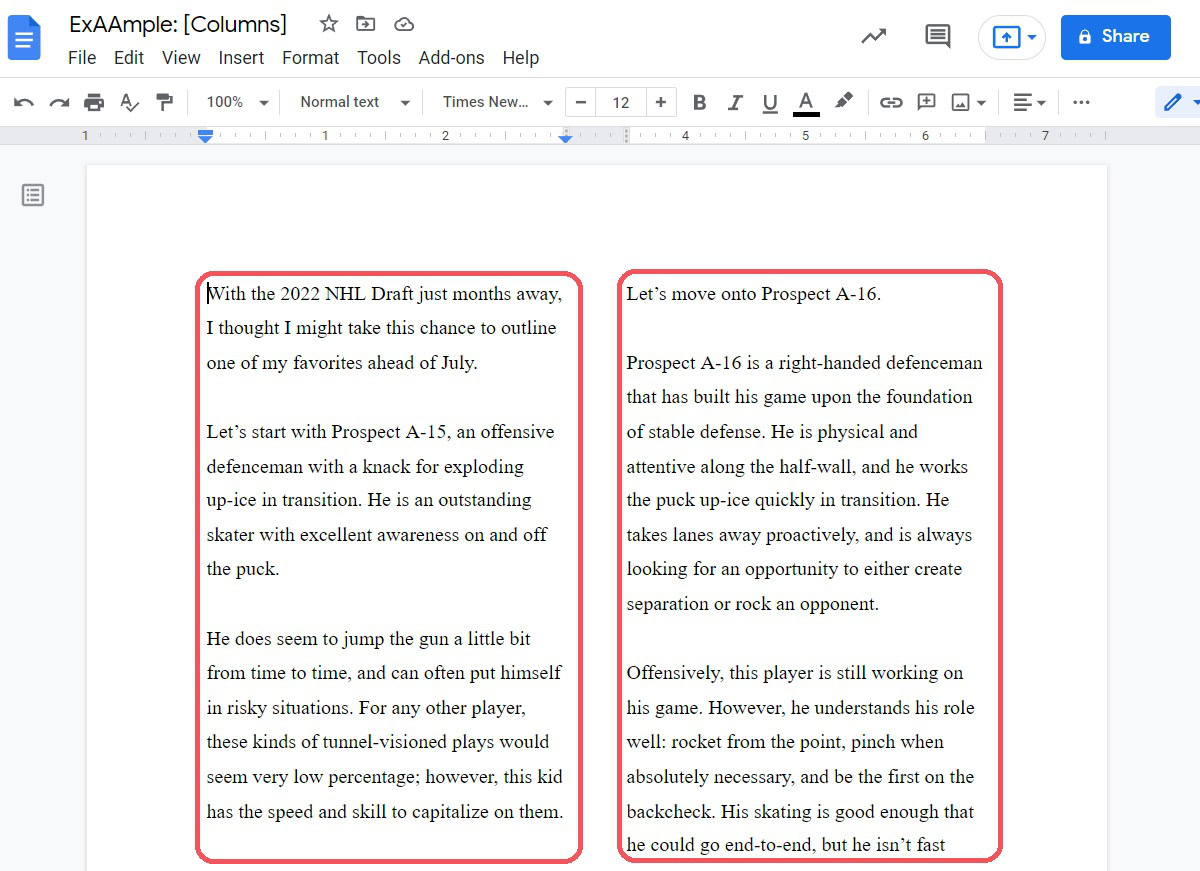
Microsoft Word treats columns as a property of sections. When you apply a two-column layout to a document, Word is essentially instruction the layout engine to flow text into two parallel containers within the margins. Unlike tables, which keep data in specific cells, columns allow text to flow naturally from the bottom of the first column to the top of the second.
This functionality is critical for readability. Long lines of text spanning an entire letter-sized page can be fatiguing for the eye. By using two columns, you shorten the line length, which often increases reading speed and comprehension. This is why newspapers and journals have utilized multi-column formats for centuries.
Step-by-Step: Setting Up Two Columns
Setting up a basic two-column layout can be done at any stage of document creation—whether you are starting with a blank page or reformatting an existing manuscript.
- Open your document: Ensure you are in the Print Layout view (found under the View tab), as this provides the most accurate representation of how your columns will appear on the physical or PDF page.
- Access the Layout Tab: Click on the Layout tab in the top Ribbon. This tab contains all settings related to page geometry, including margins, orientation, and columns.
- Select Columns: Click the Columns icon. A dropdown menu will appear with several presets:
- One: The standard full-width layout.
- Two: Splits the page into two equal halves.
- Three: Splits the page into three equal parts.
- Left: Creates a narrow left column and a wide right column.
- Right: Creates a narrow right column and a wide left column.
- Apply the Change: Click Two. Your existing text will automatically reflow into the new structure.
Applying Columns to Specific Parts of a Document
Often, you do not want the entire document to be in two columns. For instance, you might want a full-width title at the top, followed by two columns of body text.
To apply columns to only a portion of your text:
- Highlight the specific text you wish to split.
- Go to Layout > Columns > Two.
- Word will automatically insert Section Breaks (Continuous) before and after the selected text to isolate the formatting change.
Alternatively, place your cursor where you want the two-column layout to begin, go to Columns > More Columns..., select Two, and in the Apply to dropdown menu, select This point forward.
Advanced Column Customization
The default column settings are sufficient for most tasks, but professional publishing often requires precise adjustments to the "gutter" (the space between columns) and column widths.
Using the "More Columns" Dialog Box
To access advanced settings, click Layout > Columns > More Columns.... This dialog box offers several critical features:
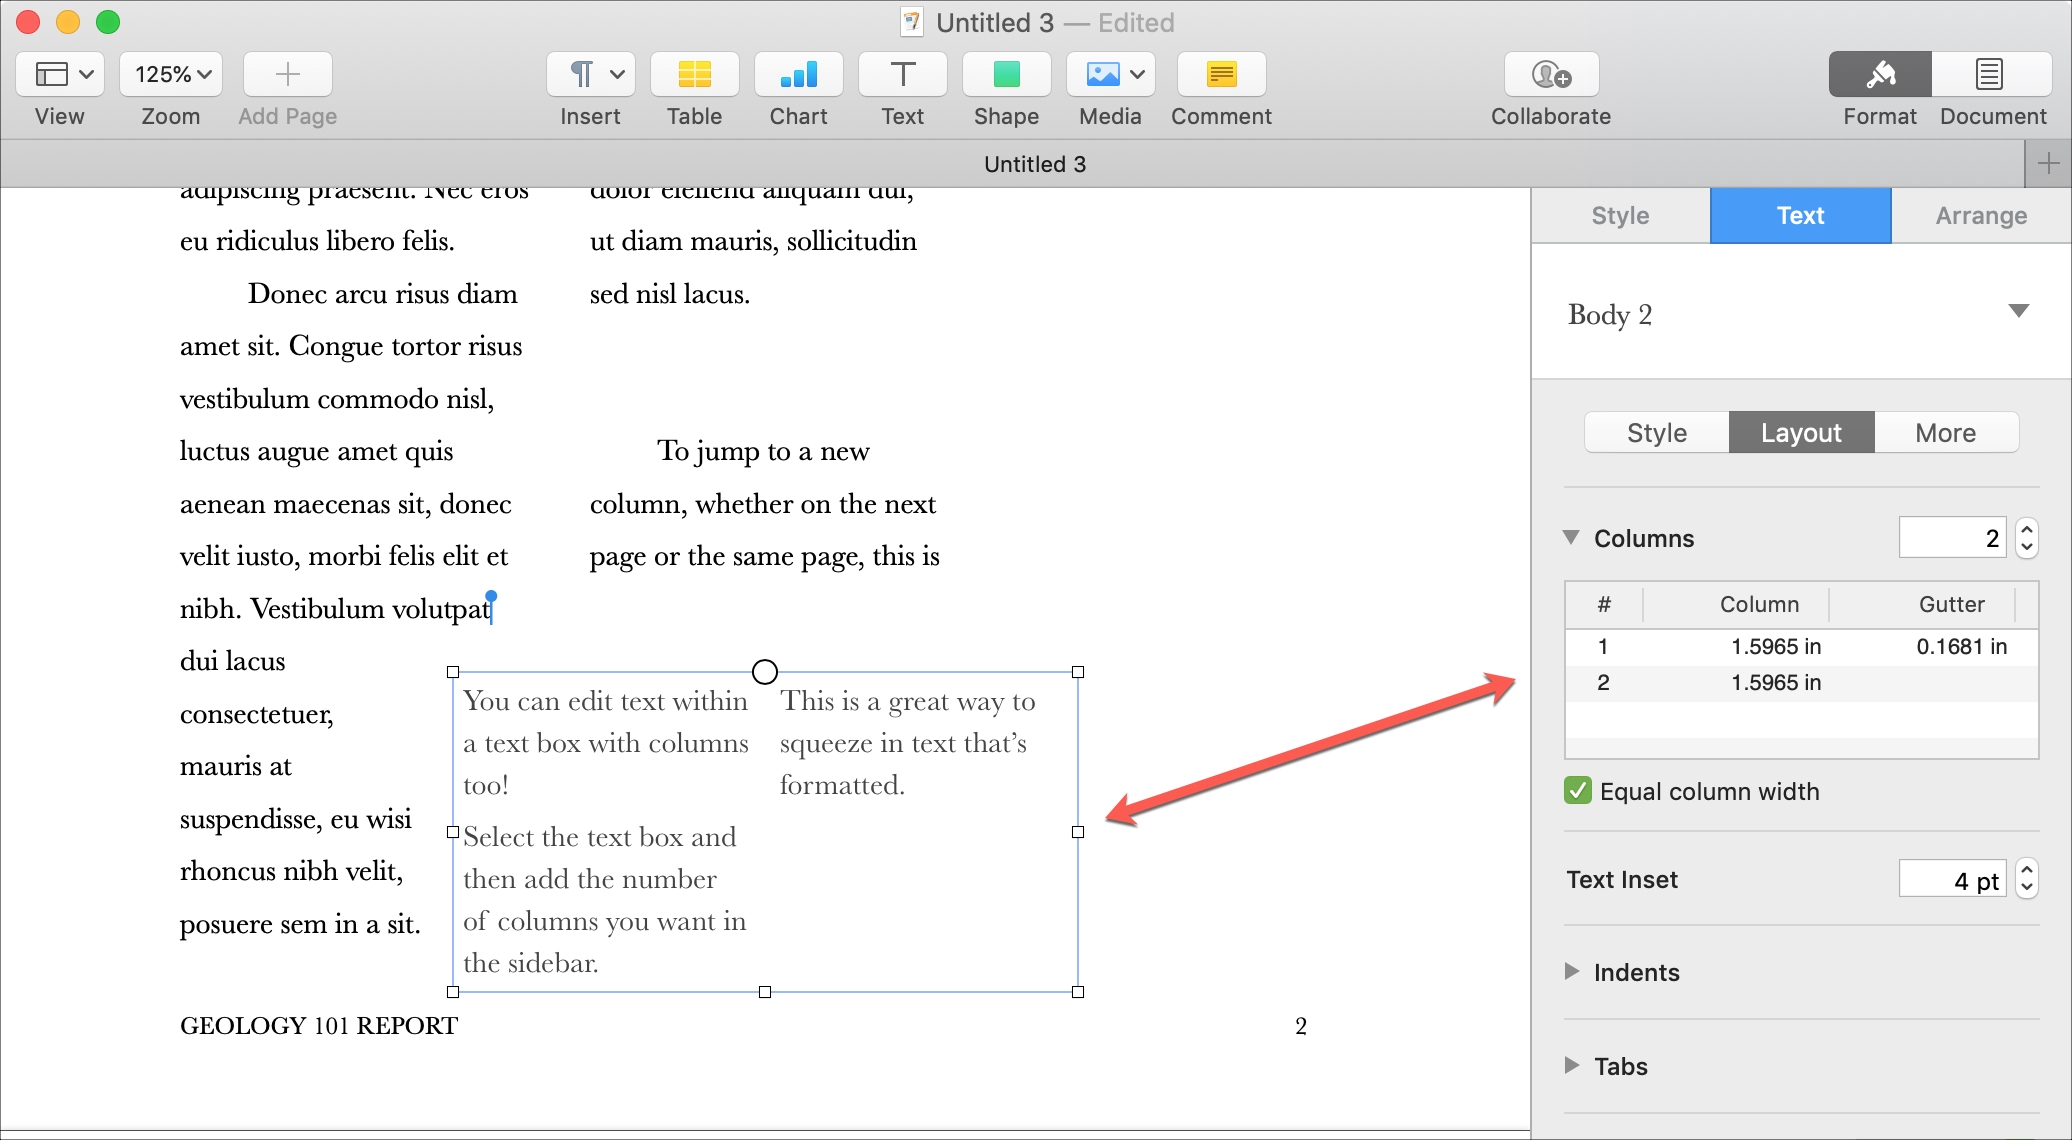
- Width and Spacing: By default, the Equal column width checkbox is selected. If you uncheck this, you can manually enter different widths for "Column 1" and "Column 2." This is useful for creative layouts or sidebars.
- Spacing (The Gutter): You can increase or decrease the white space between columns. A standard spacing is usually 0.5 inches, but you may want to reduce this to 0.2 or 0.3 inches for denser academic texts.
- Line Between: Checking this box places a vertical line exactly in the center of the gutter. This is a common requirement for newsletters and legal documents to help the reader distinguish between the two flows of text.
Adjusting Columns via the Ruler
If the Ruler is visible (View > Ruler), you will see gray areas in the top margin indicator representing the gutters. You can hover your mouse over these gray areas until the cursor becomes a double-headed arrow, then click and drag to manually adjust the column widths and the spacing between them. This provides a more tactile, visual way to format without typing in specific measurements.
Managing Flow with Column Breaks
One of the most common frustrations when working with two columns is text ending up in the "wrong" column. If you want a specific heading or paragraph to start at the top of the second column, do not use the Enter key to create space. This creates "dirty" formatting that will break if you add or delete text later.
Instead, use a Column Break:
- Place your cursor immediately before the text you want to move.
- Go to Layout > Breaks.
- Select Column.
This tells Word: "Regardless of how much space is left in the first column, move the following text to the top of the next column." The keyboard shortcut for this action is Ctrl + Shift + Enter.
How to Balance Columns
When you reach the end of a document or a section, you might find that the left column is full while the right column is only half-full (or empty). This creates an unbalanced, "bottom-heavy" look.
To force Word to distribute the text evenly across both columns at the end of a section:
- Place your cursor at the very end of the text in the second column.
- Go to Layout > Breaks.
- Under the Section Breaks category, select Continuous.
Word will instantly recalculate the distribution and pull text from the first column into the second until both are roughly the same length. This is a vital step for professional-looking reports and brochures.
Choosing the Right Tool: Columns vs. Tables
It is a common mistake to use columns when a table would be more appropriate, or vice versa. Understanding the technical difference is key to efficiency.
| Feature | Columns | Tables |
|---|---|---|
| Primary Purpose | Continuous text flow (Newsletters, papers). | Side-by-side data or fixed alignment. |
| Flow Direction | Flows from bottom of col 1 to top of col 2. | Text stays within its specific cell. |
| Borders | Only a "Line Between" is possible. | Full control over cell borders and shading. |
| Ease of Use | Best for long-form narrative writing. | Best for resumes, lists, or comparisons. |
| Responsivity | Adjusts automatically if font size changes. | Rigid; content may overflow cell boundaries. |
Use columns when the reader is meant to read down the first column and then continue at the top of the second. Use a two-column table when you have items that must stay strictly aligned horizontally, such as a bilingual translation or a technical specification list.
Troubleshooting Common Column Issues
Working with columns can sometimes lead to unexpected layout behavior. Here are the most common issues and how to resolve them.
Images Overlapping or Breaking Columns
When you insert a picture into a two-column layout, Word may struggle with text wrapping. By default, images are often "In Line with Text," which can create massive gaps in your columns.
- Solution: Right-click the image, select Wrap Text, and choose Square or Tight. This allows the text to flow neatly around the image within the confines of the column. If the image is large, you can drag it to the center of the page, and Word will wrap text from both columns around it.
Uneven Vertical Alignment
If the tops of your two columns don't align perfectly, it is usually due to paragraph spacing.
- Solution: Select all text, go to the Home tab, click the Paragraph settings launcher (the small arrow in the corner), and ensure that "Spacing Before" and "Spacing After" are consistent. Also, ensure your "Line Spacing" is the same for all paragraphs.
Columns Disappearing in Word for the Web
If you open a multi-column document in the web version of Word (via a browser), you might see everything in a single column.
- Solution: Word for the Web often simplifies the view for editing. To see the actual two-column layout, you must switch to Reading View or select File > Print > Print to PDF to see how the final layout actually looks.
Expert Design Tips for Two-Column Layouts
To elevate your document from a basic Word file to a professional publication, consider these design principles:
- Justification: While "Align Left" (ragged right) is easier to read on the web, "Justified" text (where both edges are straight) often looks more professional in two-column print layouts. However, be careful of "rivers" of white space. If you justify your text, enable Hyphenation (Layout > Hyphenation > Automatic) to help Word break long words and keep spacing even.
- Font Selection: In two columns, line lengths are shorter. A slightly smaller font (10pt or 10.5pt) often looks better than the standard 12pt, especially if you are using a serif font like Times New Roman or Georgia.
- The Gutter Rule: If you plan on binding the document (e.g., in a folder or spiral binding), make sure your outer margins are wide enough. The space between columns (the gutter) should generally be smaller than the outside margins to keep the eye focused on the content.
- Accessibility: For users with visual impairments who use screen readers, columns can sometimes be tricky. Microsoft Word’s "Check Accessibility" tool (under the Review tab) can verify that your reading order is correct. Generally, Word handles column reading order well, but it is always worth a final check.
Frequently Asked Questions
How do I stop two columns and go back to one on the same page?
To return to a single column, place your cursor at the end of your two-column text. Go to Layout > Columns > One. However, this will often turn the entire document back to one column. To do it correctly for just the bottom of the page, go to Layout > Columns > More Columns, select One, and in the Apply to box, choose This point forward.
Can I have different widths for each column?
Yes. Go to Layout > Columns > More Columns.... Uncheck the box that says Equal column width. You can then manually type in the exact width for Column 1 and Column 2. This is very useful for creating a "sidebar" effect where the left column is narrow (e.g., 2 inches) and the right column is wide (e.g., 4.5 inches).
Why is the "Columns" button grayed out?
The Columns button may be grayed out if you are currently editing inside a text box, a header, or a footer. Columns are a page-level and section-level formatting tool. Click back into the main body of the document to re-enable the feature. It may also be disabled if the document is restricted for editing.
How do I add a vertical line between my two columns?
This is a built-in feature. You do not need to draw a line manually using the "Shapes" tool. Go to Layout > Columns > More Columns... and check the box labeled Line between. Word will automatically draw and maintain a perfectly centered vertical line that grows or shrinks as your text fills the columns.
Is there a shortcut to switch between columns?
There is no direct "jump" shortcut to move the cursor from the bottom of column one to the top of column two, other than clicking with your mouse. However, you can use Ctrl + Shift + Enter to force a column break, which moves the cursor and all following text to the next column.
Final Recommendations
When writing in two columns in Word, the most effective approach is to finish writing your content in a standard one-column layout first, then apply the column formatting at the end. This prevents the distraction of text jumping between columns while you are still in the drafting phase. Always remember to use Continuous Section Breaks to balance your columns at the end of a document for a polished, symmetrical finish. For academic or professional submissions, verify the specific column width and gutter requirements of the publisher, as these can often be adjusted precisely within the More Columns menu.