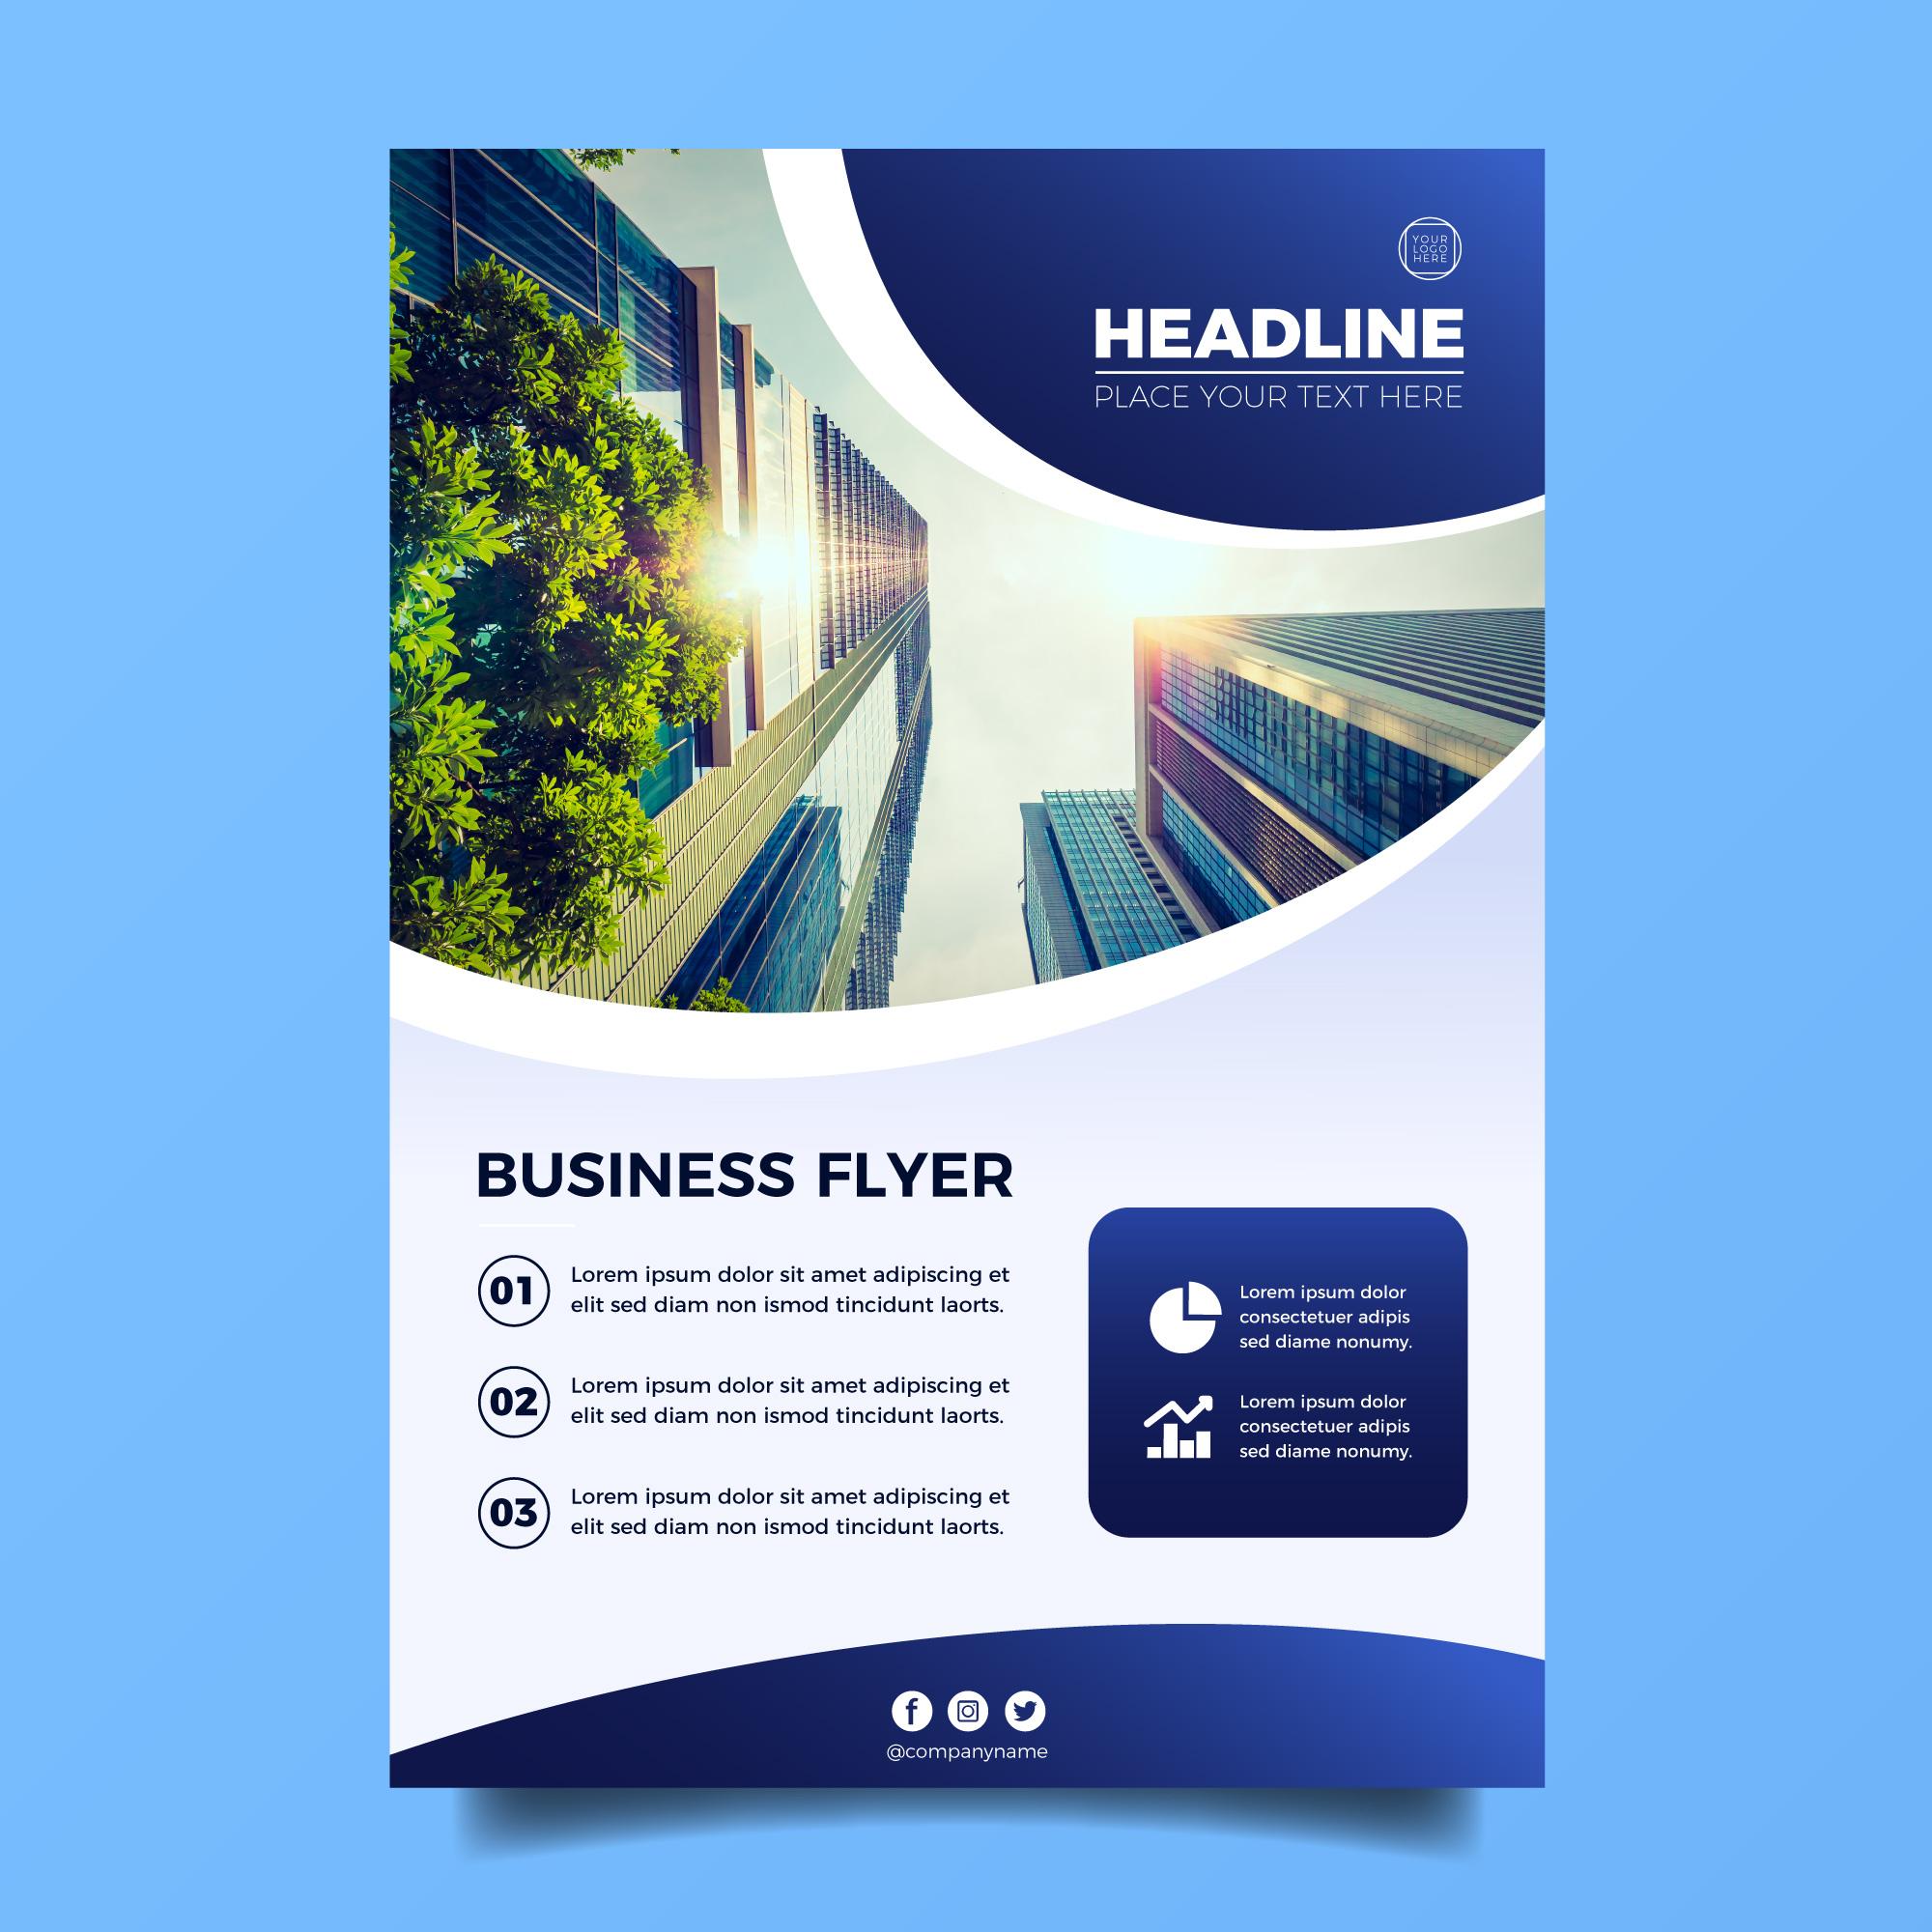
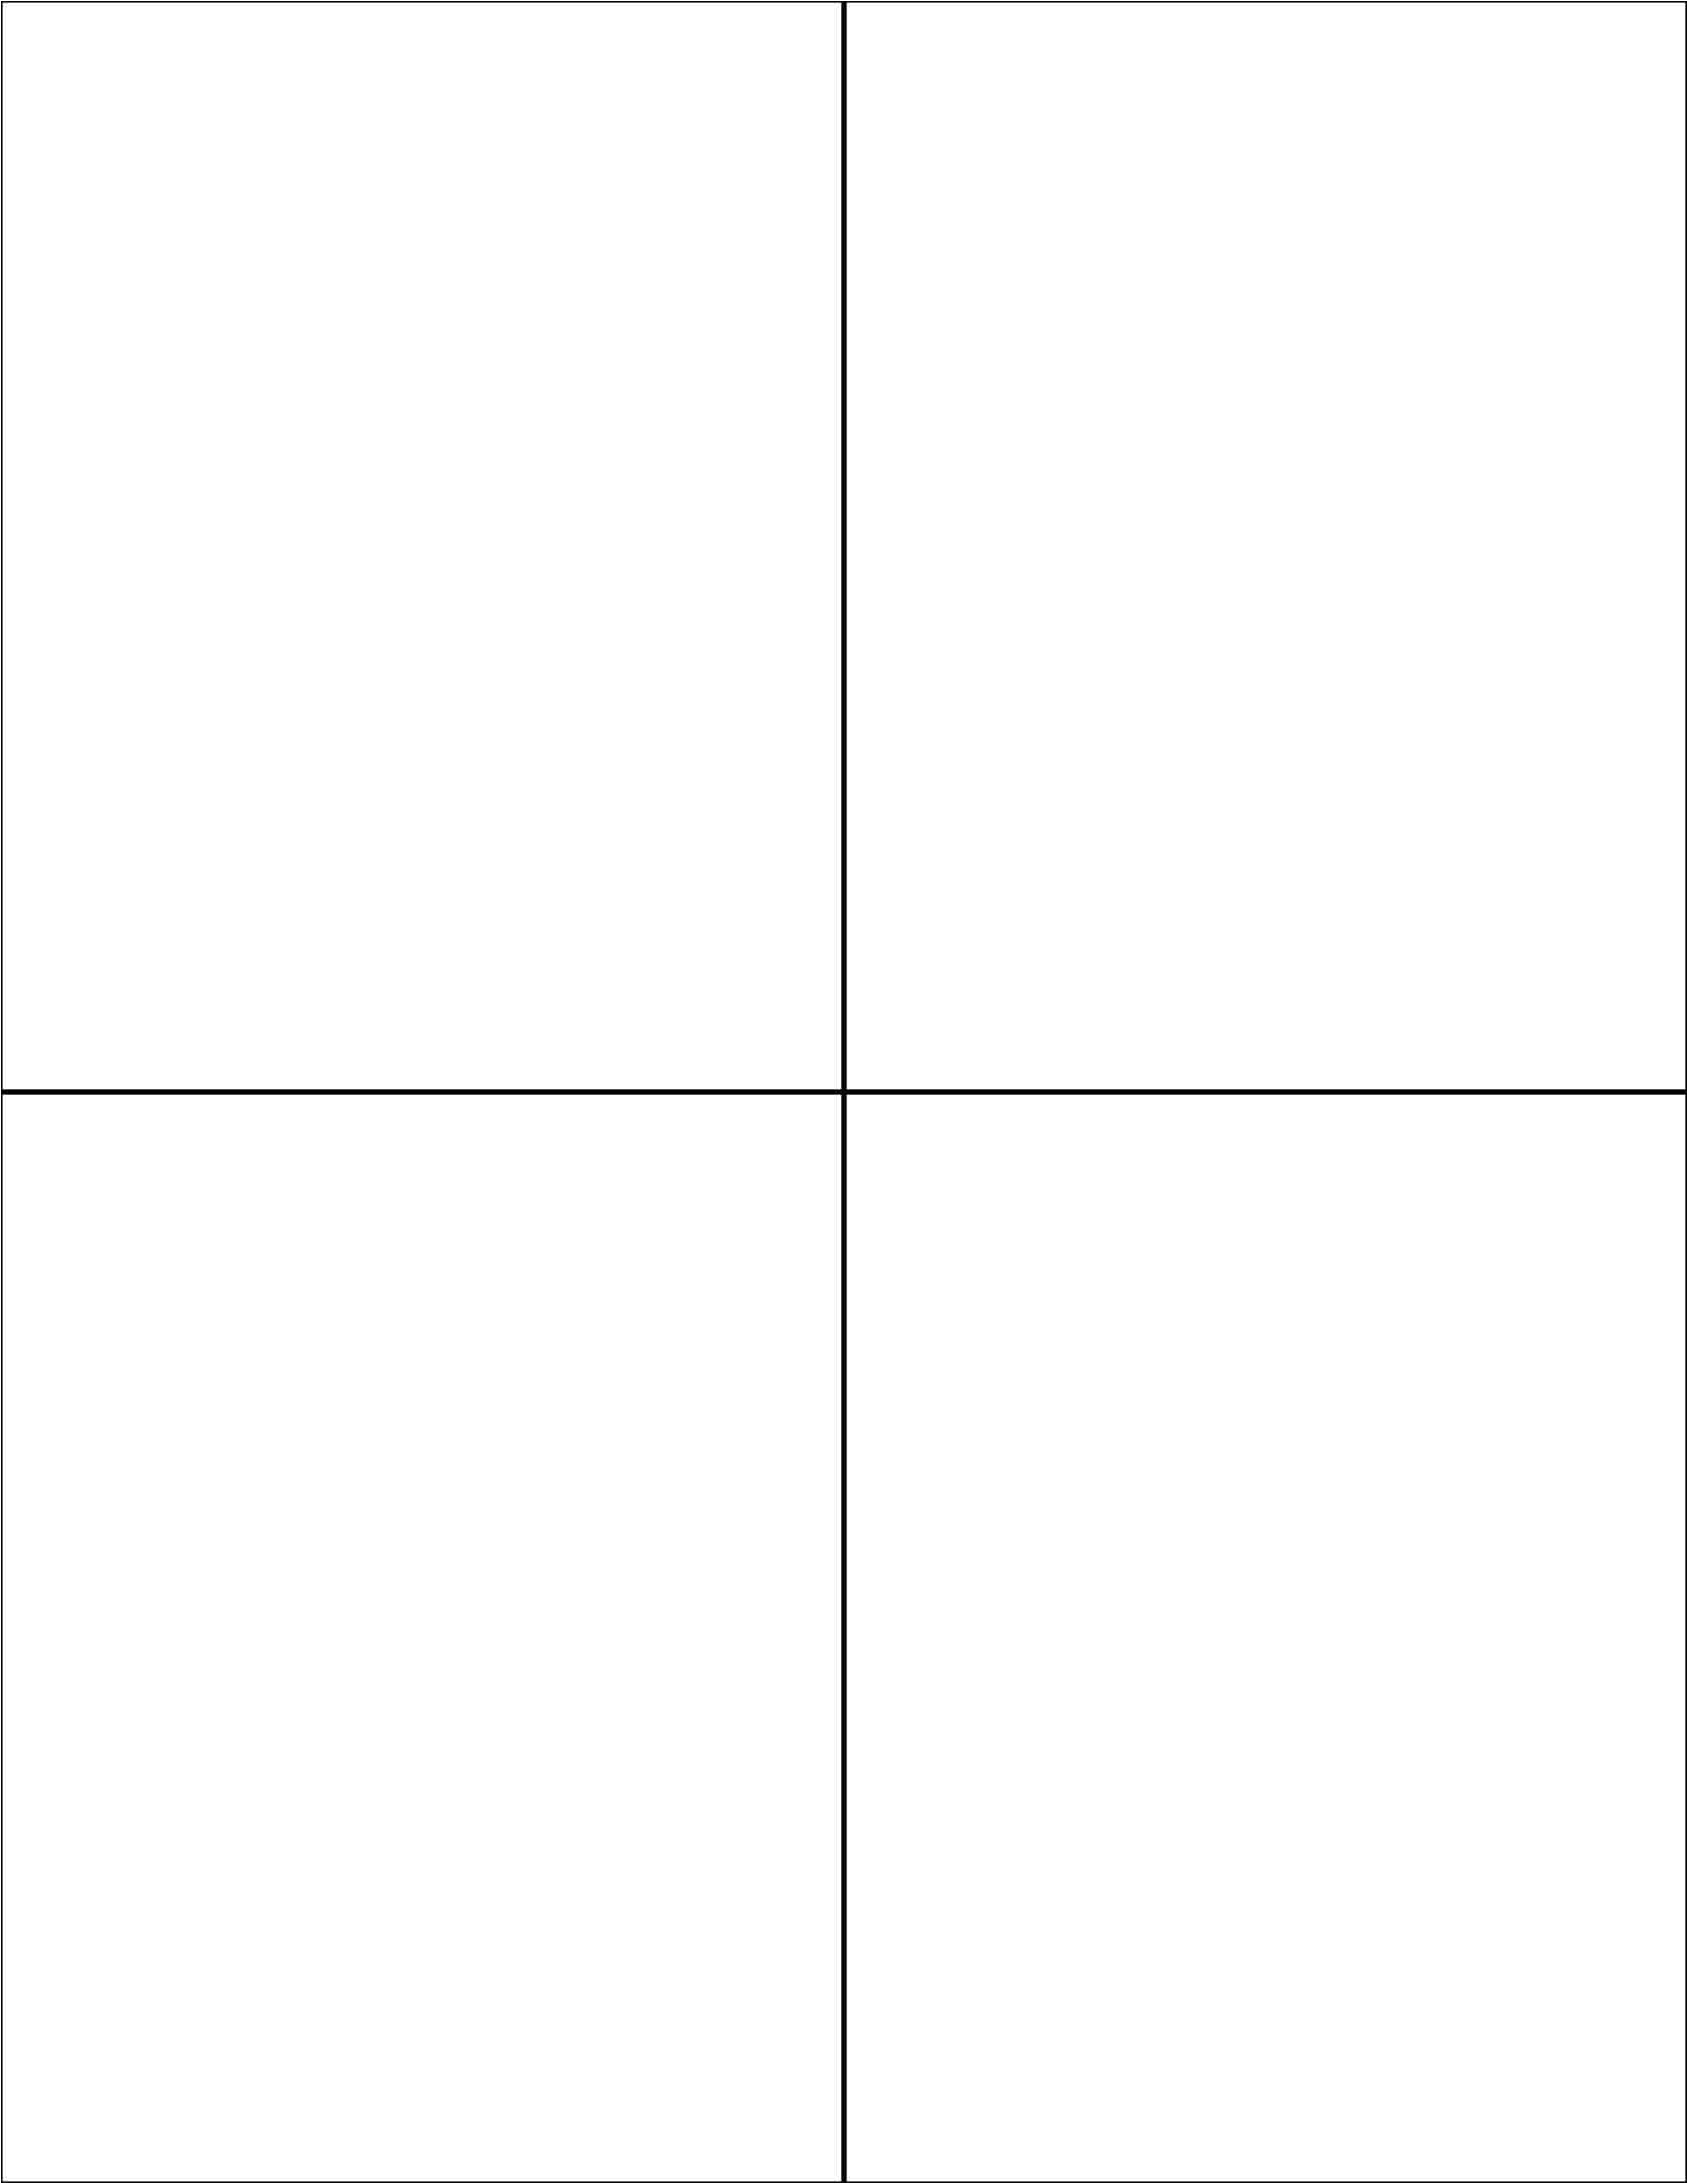
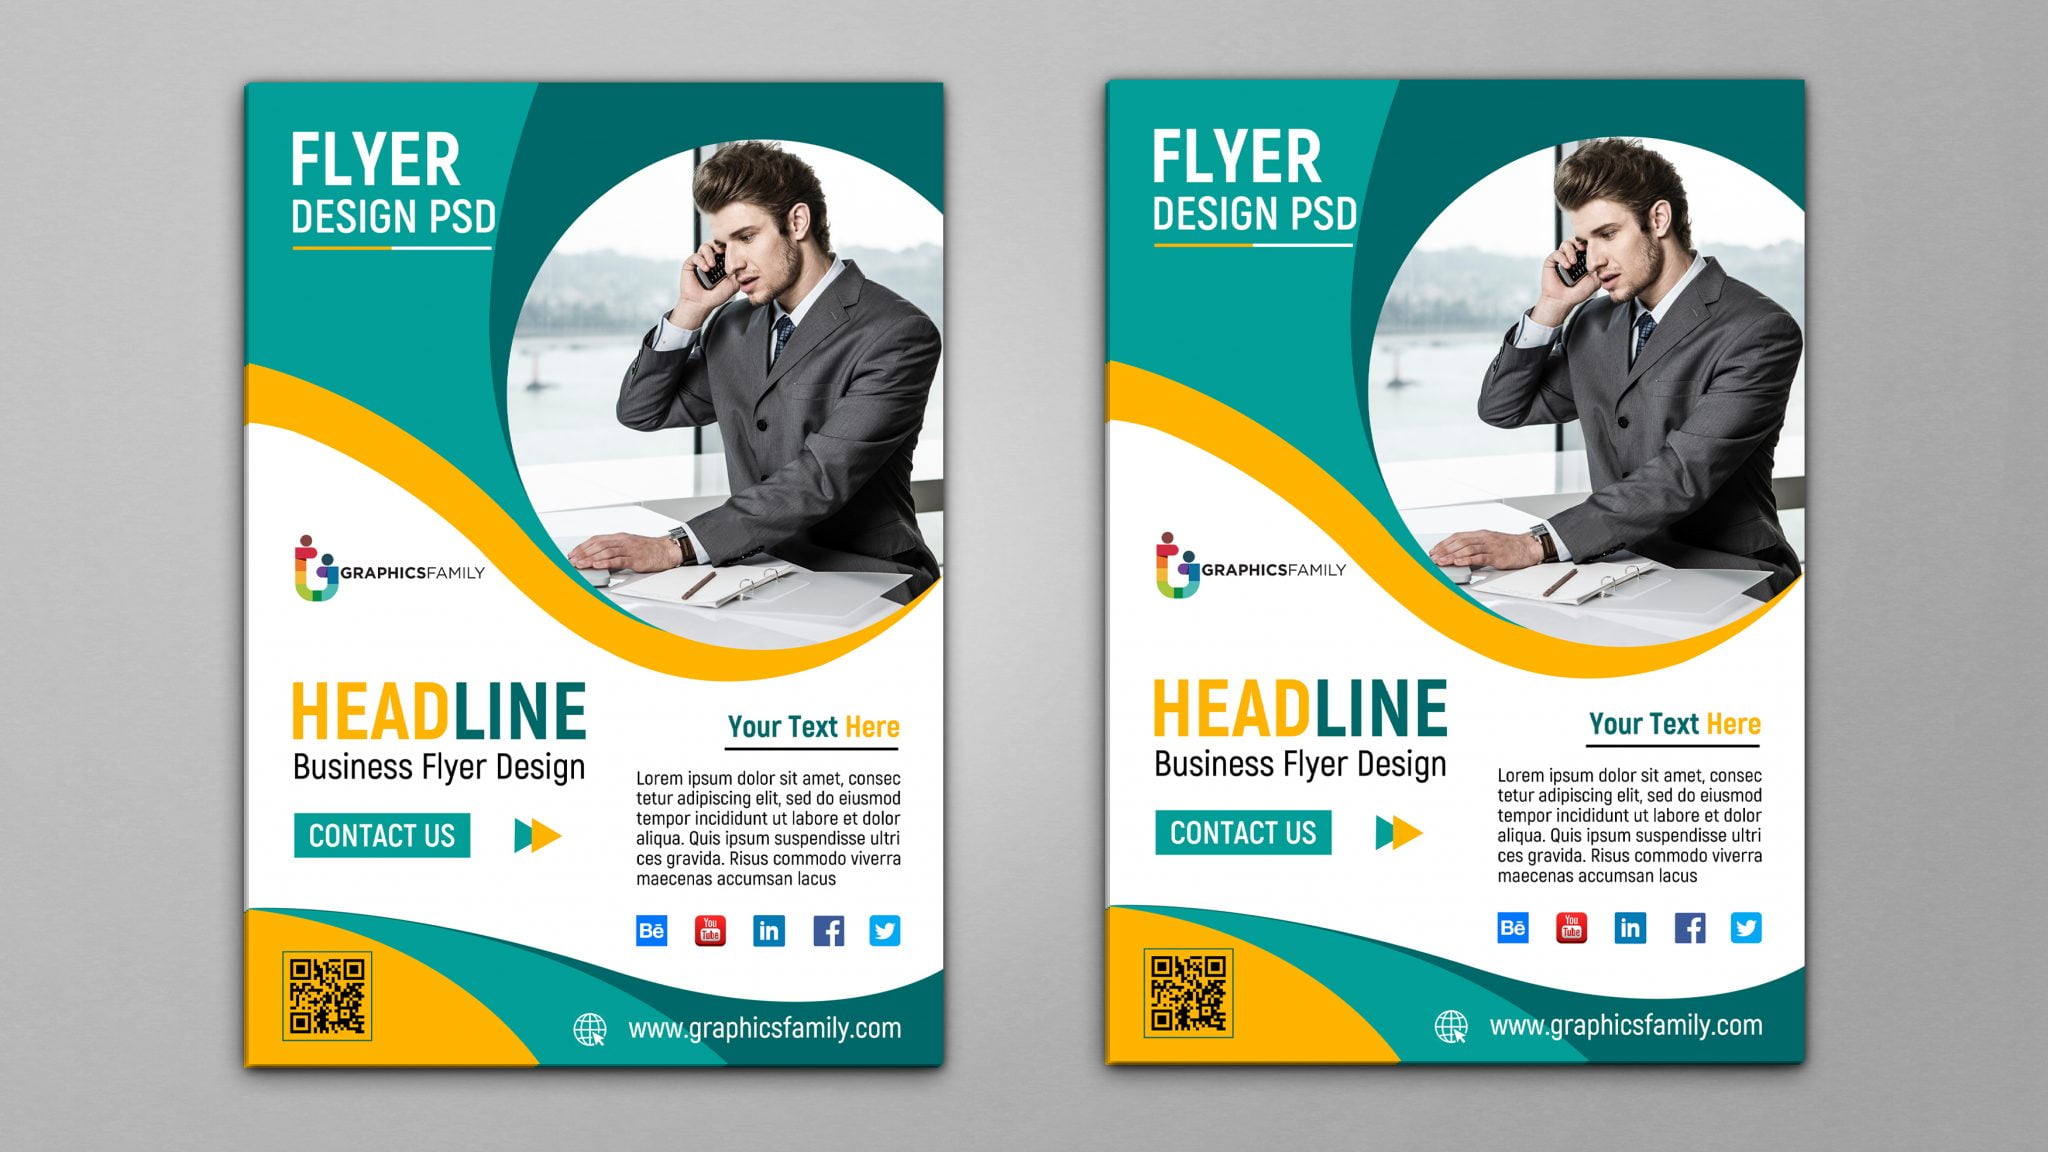
A 4 per page flyer template in Microsoft Word allows you to print four identical or unique quarter-page advertisements on a single sheet of 8.5" x 11" or A4 paper. This layout, often called a "4-up" template, is most effectively created using the Table tool for maximum layout control, the Labels feature for standardized dimensions, or Print Settings to scale a full-page design down.
Quarter-page flyers remain a staple for local marketing, event reminders, and promotional coupons in 2026 because they balance visibility with extreme cost-efficiency. By utilizing the full surface area of a single sheet of paper, you reduce printing costs by 75% compared to full-page flyers, making them ideal for high-volume distribution. However, designing for this smaller canvas requires a specific technical approach to ensure that margins, font sizes, and image resolutions remain professional and readable after cutting.
Understanding the Quarter-Sheet Flyer Format
Before diving into the technical setup, it is essential to understand the dimensions you are working with. On a standard U.S. Letter sheet (8.5" x 11"), a 4-per-page flyer measures 4.25" x 5.5". On an international A4 sheet, the resulting A6 flyers measure 105mm x 148mm.
Designing in this smaller "quarter-sheet" format presents unique challenges. Unlike a full-page flyer where you have ample white space, a 4-up flyer must be punchy and concise. In 2026, the integration of digital elements—specifically high-density QR codes—is mandatory for these physical handouts, as they bridge the gap between a brief physical reminder and a comprehensive digital landing page.
Method 1: Creating a 4-Up Template Using Tables (The Professional Choice)
The most reliable way to ensure your flyers are perfectly aligned for cutting is to use Word's table functionality. This method provides "containers" for your content, ensuring that the design on the top-left is identical to the bottom-right.
Step 1: Page Setup and Margin Removal
Standard printer margins often interfere with 4-up layouts, leading to uneven flyer sizes.
- Open a new document in Microsoft Word.
- Navigate to the Layout tab and select Margins.
- Choose Narrow (0.5") or, for better results, select Custom Margins and set all sides to 0.25".
- Ensure the orientation is set to Portrait for 4.25" x 5.5" flyers.
Step 2: Inserting the 2x2 Table
The table acts as the skeleton for your four flyers.
- Go to the Insert tab and click Table.
- Select a 2x2 grid.
- Highlight the entire table. Under the Table Layout tab, look at the Cell Size group.
- Set the Height and Width. For a standard 8.5" x 11" page with 0.25" margins, set the height to exactly 5.25" and the width to 4.0".
- Important: Set the Row Height to "Exactly" rather than "At Least" in the Table Properties. This prevents the table from expanding and pushing the fourth flyer onto a second page if you add too much text.
Step 3: Design and Replication
Design your first flyer in the top-left cell. Use text boxes and images with "Tight" or "In Front of Text" wrapping for easier positioning. Once the first flyer is perfect, copy all the content and paste it into the remaining three cells.
Method 2: Using the Labels Feature for Standardized Sizes
If you prefer not to build a table manually, Word’s Labels tool can automate the process. This is particularly useful if you are using pre-perforated paper from suppliers like Avery.
- Go to the Mailings tab and click Labels.
- Click Options.
- Under Label Vendors, select Avery US Letter.
- Look for product numbers like 5389 or 3263, which are specifically designed for "Postcards" or "4 per page" layouts.
- Click OK, then click New Document.
- Word will generate a document with a table layout perfectly matched to those dimensions. You can now design within the first box and copy/paste your content into the others.
Method 3: Scaling a Full-Page Design at Print Time
If you already have a full-page flyer designed, you do not necessarily need to redesign it into a 4-up template. You can use the printer driver to handle the layout.
- Open your full-page flyer (8.5" x 11").
- Press Ctrl + P to open the Print menu.
- In the settings, look for the option that says 1 Page Per Sheet.
- Change this to 4 Pages Per Sheet.
- In the Copies box, enter 4.
- The printer will automatically scale your design down and fit four instances of it onto one page.
Caution: This method can sometimes lead to very small text. If your original design used 10pt font, the scaled version will be roughly 5pt, which is unreadable for most people. Always verify legibility when using the scaling method.
Technical Specifications for Small-Format Flyers
When working with a 4-per-page flyer template in Word, you must adhere to specific technical constraints to ensure the final product looks professional.
Typography and Readability
In a quarter-page format, hierarchy is everything. Use a "mobile-first" design mentality:
- Headlines: Minimum 18pt to 24pt.
- Body Text: Minimum 10pt. Avoid "light" font weights that may disappear during low-quality printing.
- Contact Info: 11pt to 12pt. Ensure your website or QR code is the most legible element.
Image Resolution and Compression
Because the flyers are small, any blurriness in your images will be magnified. Ensure all images are 300 DPI (dots per inch). When you insert images into Word, the software often compresses them to save file size. To prevent this:
- Go to File > Options > Advanced.
- Under Image Size and Quality, check the box Do not compress images in file.
- Set the Default resolution to 300dpi or "High fidelity."
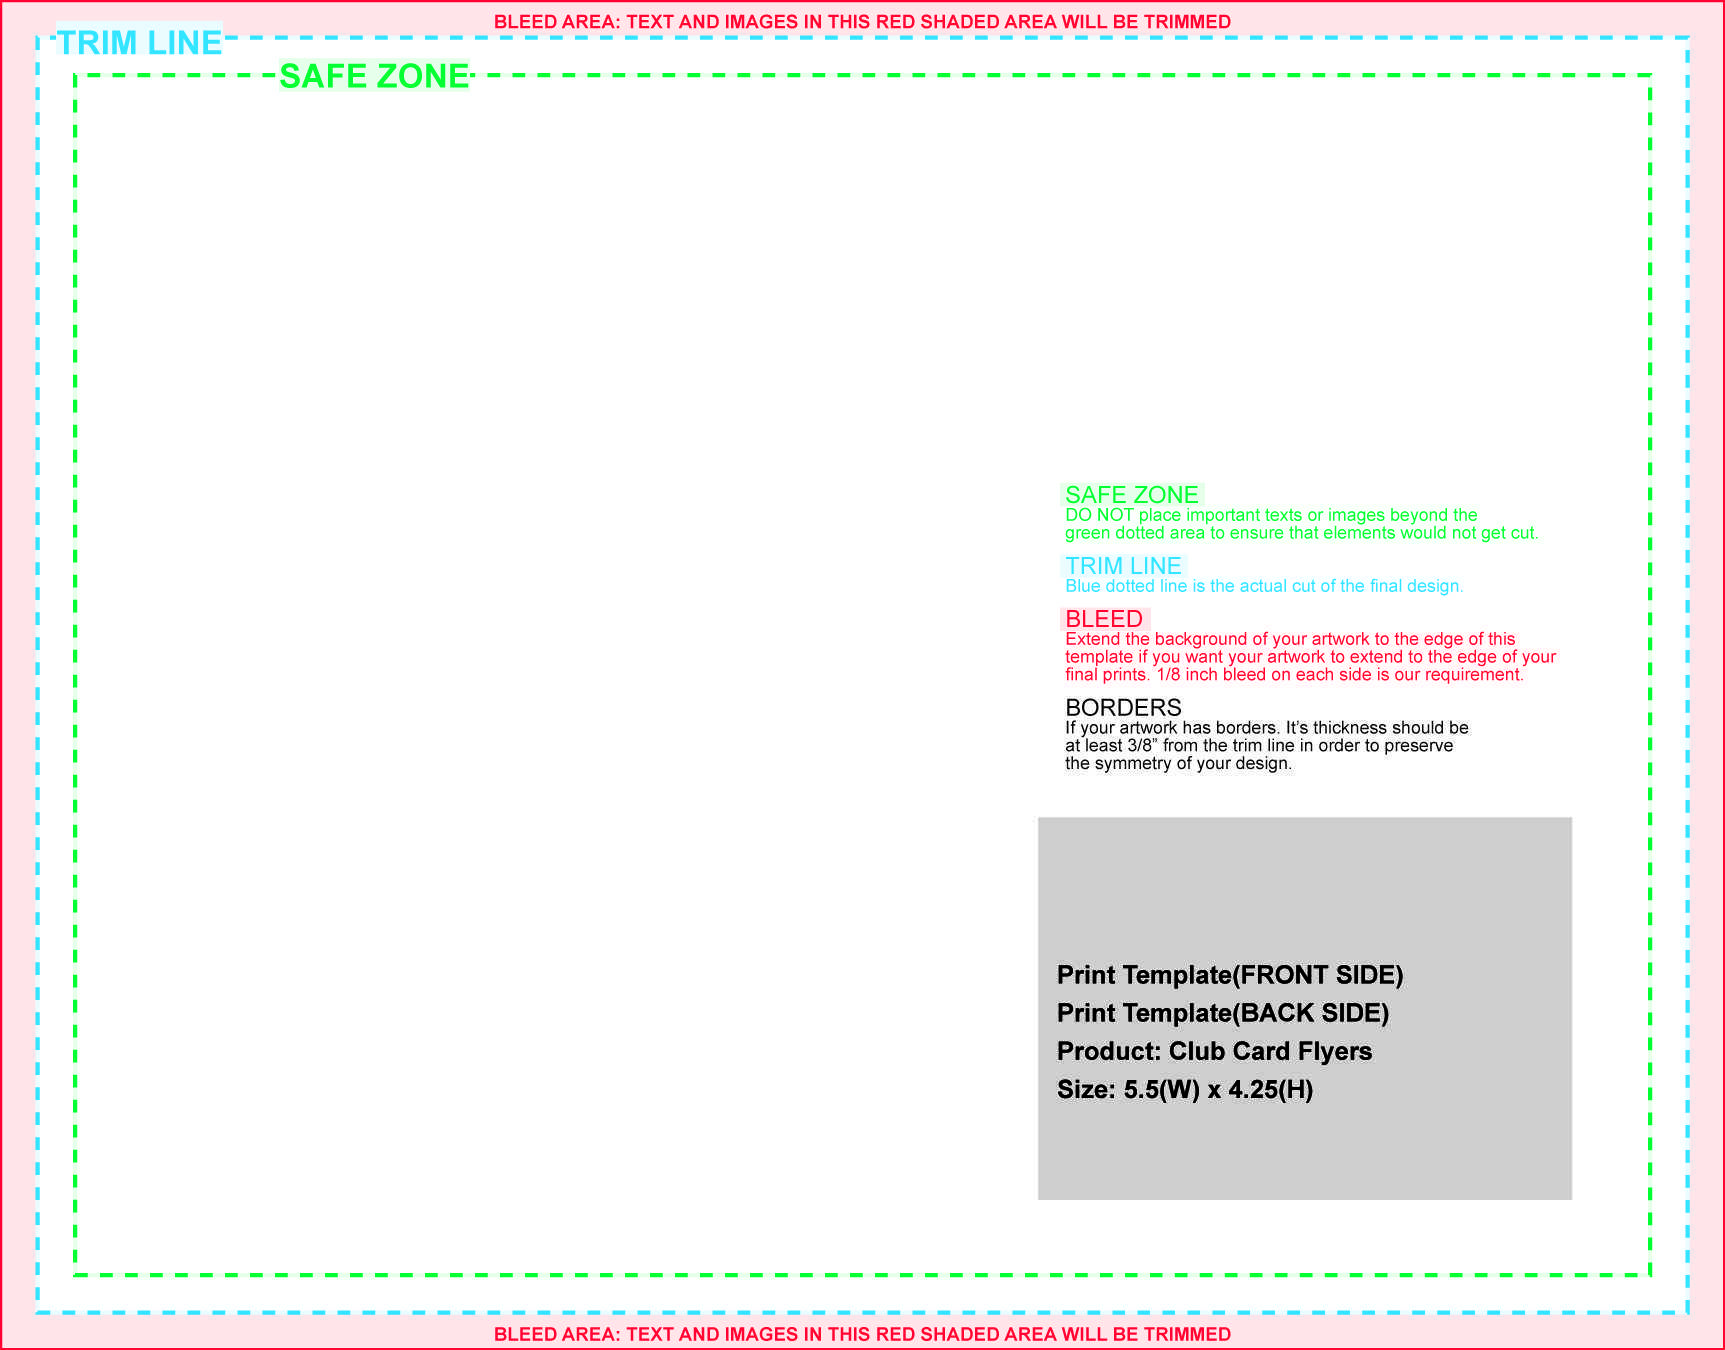
The "Safe Zone" and Bleed
Printers cannot print to the very edge of the paper (unless you have a professional-grade "full bleed" printer). When designing your 4-up template:
- Keep all critical text at least 0.25 inches away from the table borders.
- If you intend to cut the flyers with a guillotine, allow for a "gutter" (space between the flyers) so that slight misalignments during cutting don't slice through your text.
Comparison of 4-Up Flyer Creation Methods
| Method | Best For | Ease of Use | Layout Control |
|---|---|---|---|
| Table Method | Custom designs and manual cutting | Moderate | High |
| Labels Feature | Pre-perforated paper (Avery) | Easy | Moderate |
| Print Scaling | Existing full-page flyers | Easiest | Low |
| Mail Merge | Unique data (e.g., serialized coupons) | Advanced | High |
Essential Design Elements for 2026 Flyers
Physical flyers in 2026 serve as a "hook" to digital experiences. A successful 4-per-page flyer should include the following elements:
- High-Contrast Headline: Use a sans-serif font for clarity. In a stack of flyers, you have less than two seconds to grab attention.
- Dynamic QR Codes: Unlike static URLs, dynamic QR codes allow you to track scan rates and change the destination URL without reprinting the flyers. Ensure the QR code is at least 0.75" square for reliable scanning.
- A Single Call to Action (CTA): Do not overwhelm the reader. Use phrases like "Scan to Book," "Claim 20% Off," or "Join the Waitlist."
- Visual Breathing Room: Beginners often try to fill every square inch. White space (empty space) actually guides the eye toward the most important information.
Printing and Finishing Your Flyers
The quality of your 4-up flyer is determined as much by the finishing process as the digital design.
Paper Weight Selection
Using standard 20lb office paper for flyers can feel flimsy and cheap. For a professional result in 2026, use 28lb or 32lb "Premium Inkjet/Laser" paper. It is bright white and thick enough to prevent "show-through" if you decide to print on both sides. For a truly premium feel (like a business card or postcard), use 65lb or 80lb cardstock, but verify that your printer's tray can handle that weight to avoid paper jams.
Cutting Techniques
Since you are printing 4 per page, you will need to make two cuts: one vertical and one horizontal.
- Guillotine Cutter: Best for bulk. You can cut 10-20 sheets at once.
- Rotary Trimmer: Best for precision and preventing "paper creep."
- Scissors: Not recommended for professional use as it is difficult to maintain a perfectly straight edge across 4.25 inches.
Troubleshooting Common Layout Issues
The Fourth Flyer is on a Second Page
This is the most common issue in Word. It happens because Word adds a small paragraph space after every table. To fix this:
- Reduce your bottom margin slightly.
- Ensure your table row height is set to "Exactly" and not "At Least."
- Highlight the tiny paragraph marker on the second page and set its font size to 1pt and its line spacing to 0.0.
Images Shift When Copy-Pasting
If your images jump around when you copy them from the first cell to the others, change the Wrap Text setting to "In Line with Text" before copying, or group all objects (Select all > Right-click > Group) to move them as a single unit.
The Borders are Uneven After Printing
Printers often pull paper slightly crookedly. If your flyers have a visible border or frame, the misalignment will be obvious. Expert Tip: Avoid using "Box Borders" around the edge of each flyer. Instead, use a background color that extends slightly past the intended cut line, or keep the background white so that minor cutting errors remain invisible.
Frequently Asked Questions
Can I make a 4 per page flyer in Word for Mac?
Yes. The process is almost identical. You will find the Table and Layout tools in the same ribbon locations. The Print Scaling feature is found within the macOS Print Dialog under "Layout" > "Pages per Sheet."
What is the best resolution for images on a small flyer?
For physical printing, 300 DPI is the industry standard. Using web-quality images (72 DPI) will result in "pixelation" or blurriness when printed, making your flyer look unprofessional and making small text or QR codes difficult to read.
How do I make each of the 4 flyers different?
Simply use the Table Method and treat each cell as an independent workspace. You can have a different coupon code, different image, or different offer in each of the four cells. This is an excellent way to "A/B test" which marketing message performs best.
Why does my printer cut off the bottom of the flyer?
Most home and office printers have a "non-printable area" (usually 0.2" to 0.3") at the bottom where the rollers grip the paper. To fix this, ensure your table doesn't extend into the final 0.5" of the page, or use a printer that supports "Borderless Printing."
Practical Recommendation
For the best results in 2026, use the Table Method with a 2x2 grid and 0.25" custom margins. This gives you the most creative freedom while ensuring your flyers are sized correctly for standard cutting tools. Always print a single test sheet on plain paper and cut it out to verify that your margins and font sizes are correct before committing to a high-volume print run on expensive cardstock.