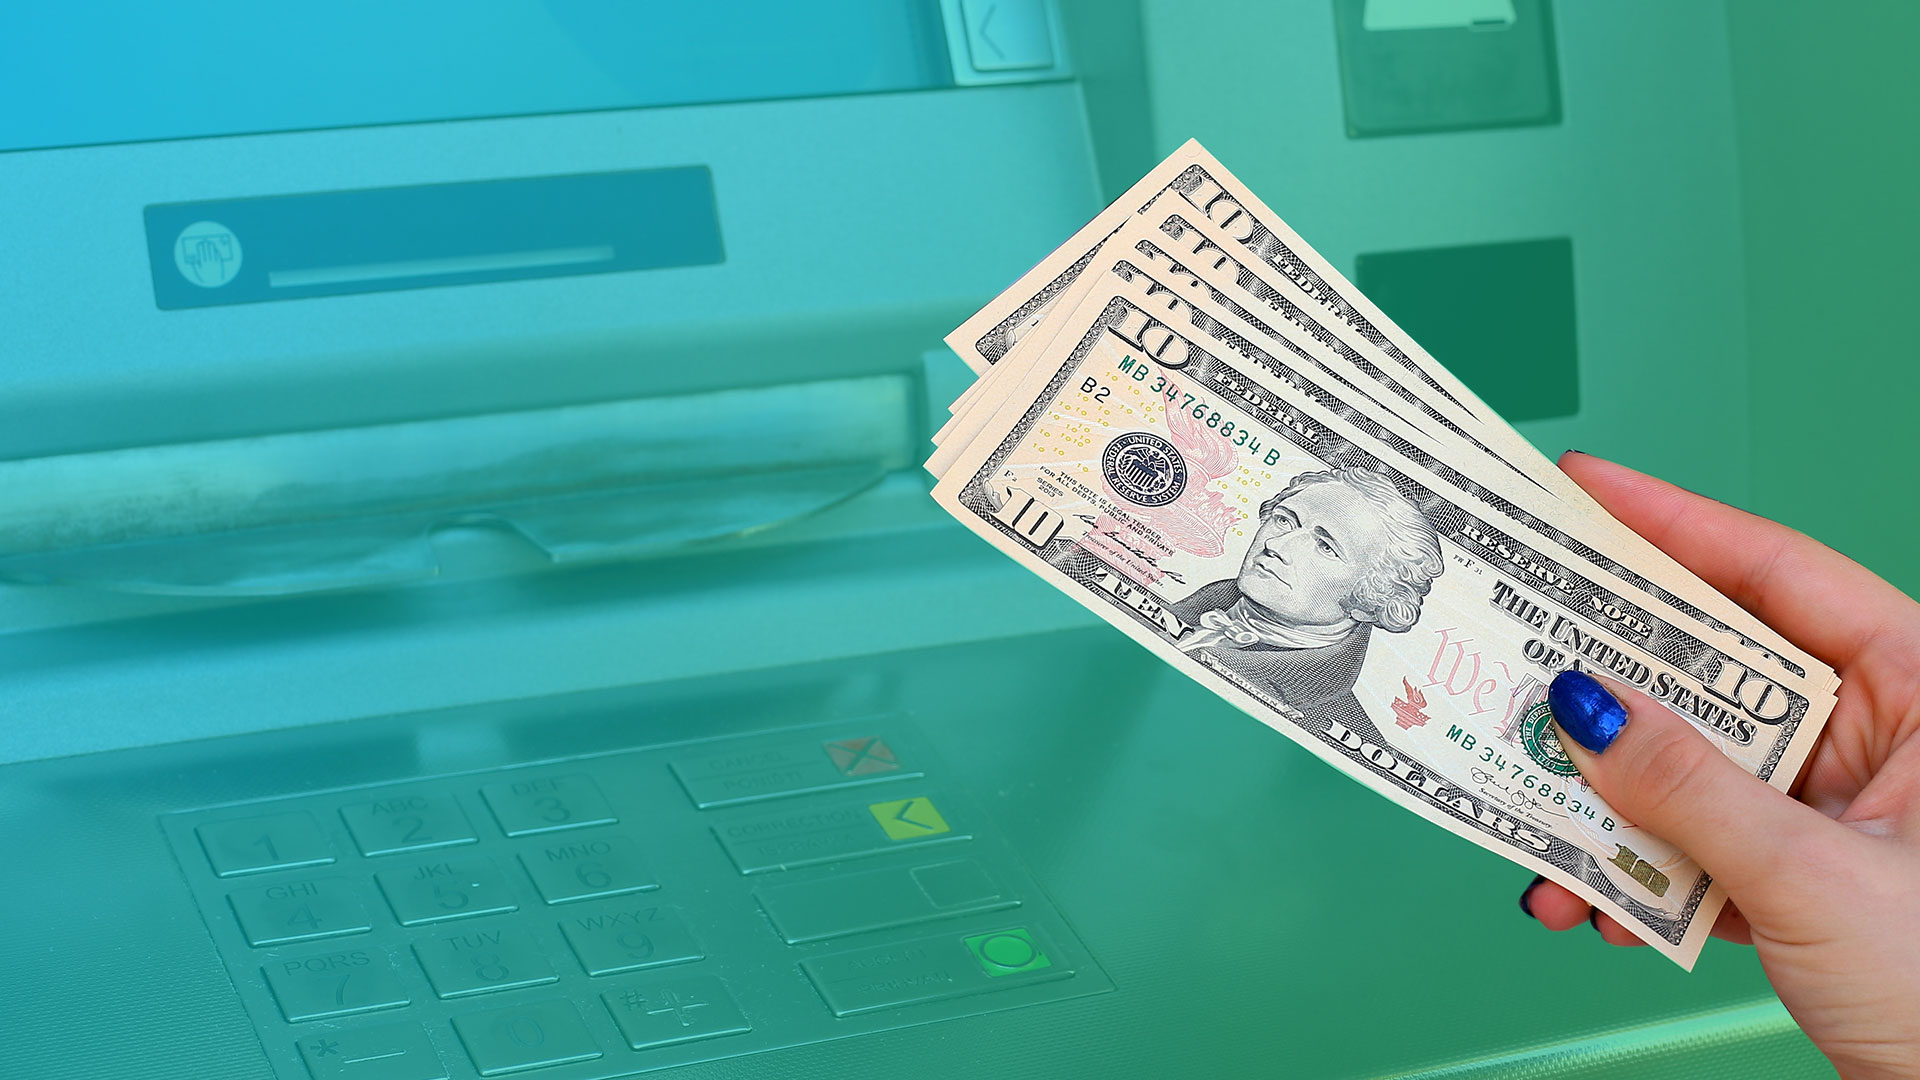
Depositing money into a checking account is a fundamental aspect of personal finance, allowing account holders to manage daily expenses, pay bills, and maintain liquid cash reserves. Whether you receive physical currency, a paper check from an employer, or a transfer from an external financial institution, understanding the primary methods to fund your checking account ensures your money is secure, accessible, and ready for use.
Managing your cash flow effectively requires knowing the mechanics, timelines, and potential fees associated with different deposit channels. While traditional banking relied almost exclusively on physical teller interactions and brick-and-mortar branches, modern financial technology has expanded these capabilities significantly. Today, account holders can utilize ATM networks, mobile applications, and electronic transfers to achieve the same result with varying degrees of speed and convenience.
This comprehensive guide explores the three most reliable and widely used methods to deposit money into your checking account. By examining the prerequisites, step-by-step procedures, funds availability schedules, and potential limitations of each approach, you can select the method that best aligns with your daily habits and financial needs.
Understanding Checking Account Deposits: Prerequisites and Fundamentals
Before initiating any deposit, you must understand how financial institutions process and clear funds. A checking account is designed for frequent transactions, making liquidity a primary priority. However, depositing funds does not always mean immediate availability. Banks and credit unions operate under specific regulatory guidelines, such as Regulation CC in the United States, which dictate how long institutions can hold deposited funds before making them available for withdrawal or debit card purchases.
Account Verification and Ownership
To successfully deposit money, the financial institution must correctly identify the destination account. You will need your checking account number, routing number, or a debit card linked directly to the account. For third-party or business deposits, additional verification steps—such as identification checks or explicit authorization signatures—may be required by teller staff or automated systems.
The Importance of Receipt Retention
Regardless of the deposit method you choose, retaining transaction receipts, confirmation numbers, or reference codes is essential. These records serve as your primary proof of transaction in the event of processing delays, clerical errors, or lost funds. Always keep physical receipts until the transaction clears your account ledger, and save digital confirmation screenshots for remote deposits.
Method 1: Using Mobile Check Deposit via Smartphone App
Mobile check deposit has transformed personal finance by allowing account holders to submit paper checks without visiting a physical branch or an ATM. By using your smartphone's camera and your bank's official mobile application, you can capture images of a check and transmit them electronically for processing.
MOBILE CHECK DEPOSIT WORKFLOW
- Endorse Check
- Open App
- Capture Photos
- Review Details
- Submit
- Funds Available
Prerequisites for Mobile Deposit
- Eligible Account: Your bank or credit union must offer mobile banking features, and your specific account type must support remote deposit capture.
- Smart Device: A compatible smartphone or tablet equipped with a high-resolution camera and an active internet connection.
- Official Banking App: Downloaded exclusively from official application stores (Apple App Store or Google Play Store) to ensure data security.
Step-by-Step Deposit Procedure
- Endorse the Check: Sign your name on the back of the check on the designated signature line. For security, many financial institutions require you to write "For Mobile Deposit Only at [Bank Name]" below your signature.
- Log In Securely: Open your bank's mobile application and authenticate your identity using a secure password, PIN, or biometric verification (such as facial recognition or fingerprint scanning).
- Select the Deposit Feature: Navigate to the menu, select "Deposit," and choose "Deposit a Check."
- Enter Check Details: Input the correct numerical amount of the check. Select the specific checking account you wish to fund if you hold multiple accounts with the institution.
- Photograph Both Sides: Place the check on a dark, flat, well-lit surface. Align the front of the check within the app’s camera frame and capture the image. Repeat this process for the back of the check, ensuring all signatures and endorsement restrictions are clearly visible.
- Review and Submit: Verify that the entered amount matches the numerical value on the check and that the images are not blurry. Tap "Submit" or "Confirm" to transmit the deposit.
Processing Times and Funds Availability
Most mobile deposits submitted on a business day before the bank's daily cutoff time (often 4:00 PM or 5:00 PM local time) are processed the same day. Under standard banking regulations, initial portions of the funds—frequently the first $225—may be available by the next business day, while the remaining balance typically clears within two business days. Large checks or accounts in negative standing may face extended holds.
Method 2: Depositing Cash or Checks at an ATM
Automated Teller Machines (ATMs) provide a convenient middle ground between digital banking and physical branch visits. Modern deposit-taking ATMs allow you to deposit both cash and checks directly into your checking account without interacting with a human teller, often extending your banking hours beyond standard branch schedules.
Types of ATM Deposits
- Enveloplex / Envelope-Based ATMs: Older machines require you to insert cash or checks into a paper envelope along with a completed deposit slip. These require manual verification by bank staff later.
- Smart / Envelope-Free ATMs: Modern deposit-taking ATMs feature optical scanners that count cash or read check images in real-time, displaying the verified total on the screen before you confirm the transaction.
Step-by-Step ATM Deposit Procedure
- Insert or Tap Your Card: Approach an ATM operated by your bank (or an in-network partner to avoid fees) and insert your debit card, or tap it against the contactless reader if supported.
- Enter Your PIN: Input your secure 4-digit personal identification number.
- Select the Transaction Type: Choose "Deposit" from the main menu and select your checking account as the target destination.
- Insert Cash or Checks:
- For cash, feed untangled, flat bills directly into the cash slot when prompted by the machine's mechanical rollers.
- For checks, insert endorsed paper checks face-up into the designated check-insertion slot.
- Verify the Amount: The ATM screen will display an itemized count of the cash or an optical scan of the check along with the total value. Review this amount carefully for accuracy.
- Confirm and Print Receipt: Confirm the deposit transaction. Select whether you want a printed receipt, an email receipt, or both. Retain this record until the deposit clears your statement.
ATM Deposit Considerations and Fees
- Network Restrictions: Always use ATMs branded by your specific financial institution. Using out-of-network ATMs for deposits is rarely supported and can result in rejected transactions or unexpected fees.
- Cutoff Times: Just like mobile deposits, ATMs have daily processing cutoff times. Deposits made late at night, on weekends, or during federal holidays are usually processed on the next business day.
Method 3: Visiting a Physical Bank Branch or Teller
For transactions involving large sums of physical cash, complex check endorsements, or accounts with specific security restrictions, visiting a brick-and-mortar branch and interacting with a human teller remains the most definitive deposit method.
Prerequisites for Teller Deposits
- Government-Issued Photo ID: A valid driver's license, state identification card, or passport may be requested by the teller to verify your identity, especially if you are withdrawing funds simultaneously or do not have an established account history with that specific teller.
- Completed Deposit Slip: While some branches no longer require paper slips if you present a debit card, many still utilize pre-printed or blank deposit slips where you must write your name, account number, the date, and an itemized breakdown of cash and checks.
Step-by-Step Branch Deposit Procedure
- Prepare Your Materials: Organize your cash by denomination and ensure all checks are properly endorsed with your signature and account number on the reverse side.
- Complete the Deposit Slip: Fill out the account number, name, and the exact monetary breakdown of coins, paper currency, and individual check amounts. Calculate the total deposit sum accurately.
- Queue for a Teller: Wait in the designated teller line or take a queue ticket depending on the branch layout.
- Present Items to the Teller: Hand your identification, deposit slip, cash, and checks to the teller.
- Verify the Transaction Summary: The teller will process the transaction through their terminal, count physical cash using automated currency counters, and print a physical receipt detailing your updated available balance and any funds on hold.
Advantages of Teller Deposits
- Immediate Cash Handling: Physical cash is immediately recognized by the teller system, reducing clerical errors associated with automated scanners.
- Complex Transactions: Tellers can handle third-party checks, foreign currency conversions, cashier's checks, and specialized business deposits that automated machines cannot process.
Comparison of Checking Account Deposit Methods
Selecting the correct deposit method depends on the type of funds you possess (cash versus checks), your time constraints, and your physical proximity to banking infrastructure. The following table provides a direct comparison of the three primary deposit methods to help you evaluate speed, convenience, and limitations.
| Deposit Method | Primary Use Case | Average Processing Speed | Common Limitations | Potential Fees |
|---|---|---|---|---|
| Mobile Check Deposit | Paper checks up to specific daily/monthly limits | 1 to 2 business days | Requires smartphone, good lighting, and clear camera | Generally free (some banks charge for instant clearing) |
| ATM Deposit | Cash or paper checks outside of branch hours | Same day to 2 business days | Must use bank-owned or in-network ATMs | Free in-network; out-of-network fees apply if supported |
| Teller Deposit | Large cash sums, complex checks, or cashiers' checks | Immediate availability for cash; standard holds for checks | Limited by branch operating hours and location | Free at your own bank; non-customers may face check-cashing fees |
Frequently Asked Questions
Can I deposit cash using my mobile phone camera?
No. Mobile check deposit applications utilize optical character recognition (OCR) specifically calibrated to read paper checks. Physical currency notes lack the routing numbers, magnetic ink, and endorsement lines required by mobile scanning software. To deposit physical cash, you must visit a physical bank branch or an envelope-free ATM that accepts cash deposits.
What happens if I make a mistake on a mobile check deposit?
If you enter the wrong amount or upload a blurry image, the bank's automated verification system or human review team will typically reject the deposit. You will receive a notification via the mobile app or email explaining the reason for rejection (such as "unreadable image" or "amount mismatch"). You can then correct the error and resubmit the deposit. Never throw away a paper check until it has fully cleared and settled in your account ledger.
Are there limits on how much money I can deposit?
Yes. Financial institutions impose daily and monthly limits on mobile check deposits to manage fraud risk. ATM deposits may also have physical capacity limits regarding how many bills or checks can be inserted in a single transaction. If you need to deposit exceptionally large sums, visiting a physical bank branch with a teller is recommended.
Why is my deposited money on hold?
Banks place temporary holds on deposited funds to protect against bounced checks, fraudulent items, or insufficient funds from the paying institution. Under banking regulations, standard holds generally last between one and seven business days, depending on the source of the check, the age of your account, and the total deposit amount.
Can someone else deposit money into my checking account?
Yes, third parties can deposit money into your checking account, but methods vary. Someone can hand cash or a check directly to a teller at your bank if they have your full legal name and checking account number. However, third parties cannot use your mobile banking application or your debit card at an ATM to make deposits without possessing your confidential credentials, which violates banking security terms of service.
Conclusion and Recommended Next Actions
Depositing money into your checking account is a straightforward process once you align your deposit type with the appropriate channel. For everyday paper checks, mobile deposit applications offer unmatched convenience from your home or office. When dealing with physical cash or urgent deposits outside of standard business hours, an in-network ATM provides a reliable alternative. For complex transactions or large financial sums, visiting a physical branch teller remains the gold standard for accuracy and personalized service.
To ensure seamless financial management, review your bank’s specific fee schedule, mobile deposit limits, and daily cutoff times. Always retain your transaction receipts and monitor your online banking ledger until all deposited funds transition from a pending status to available balances.