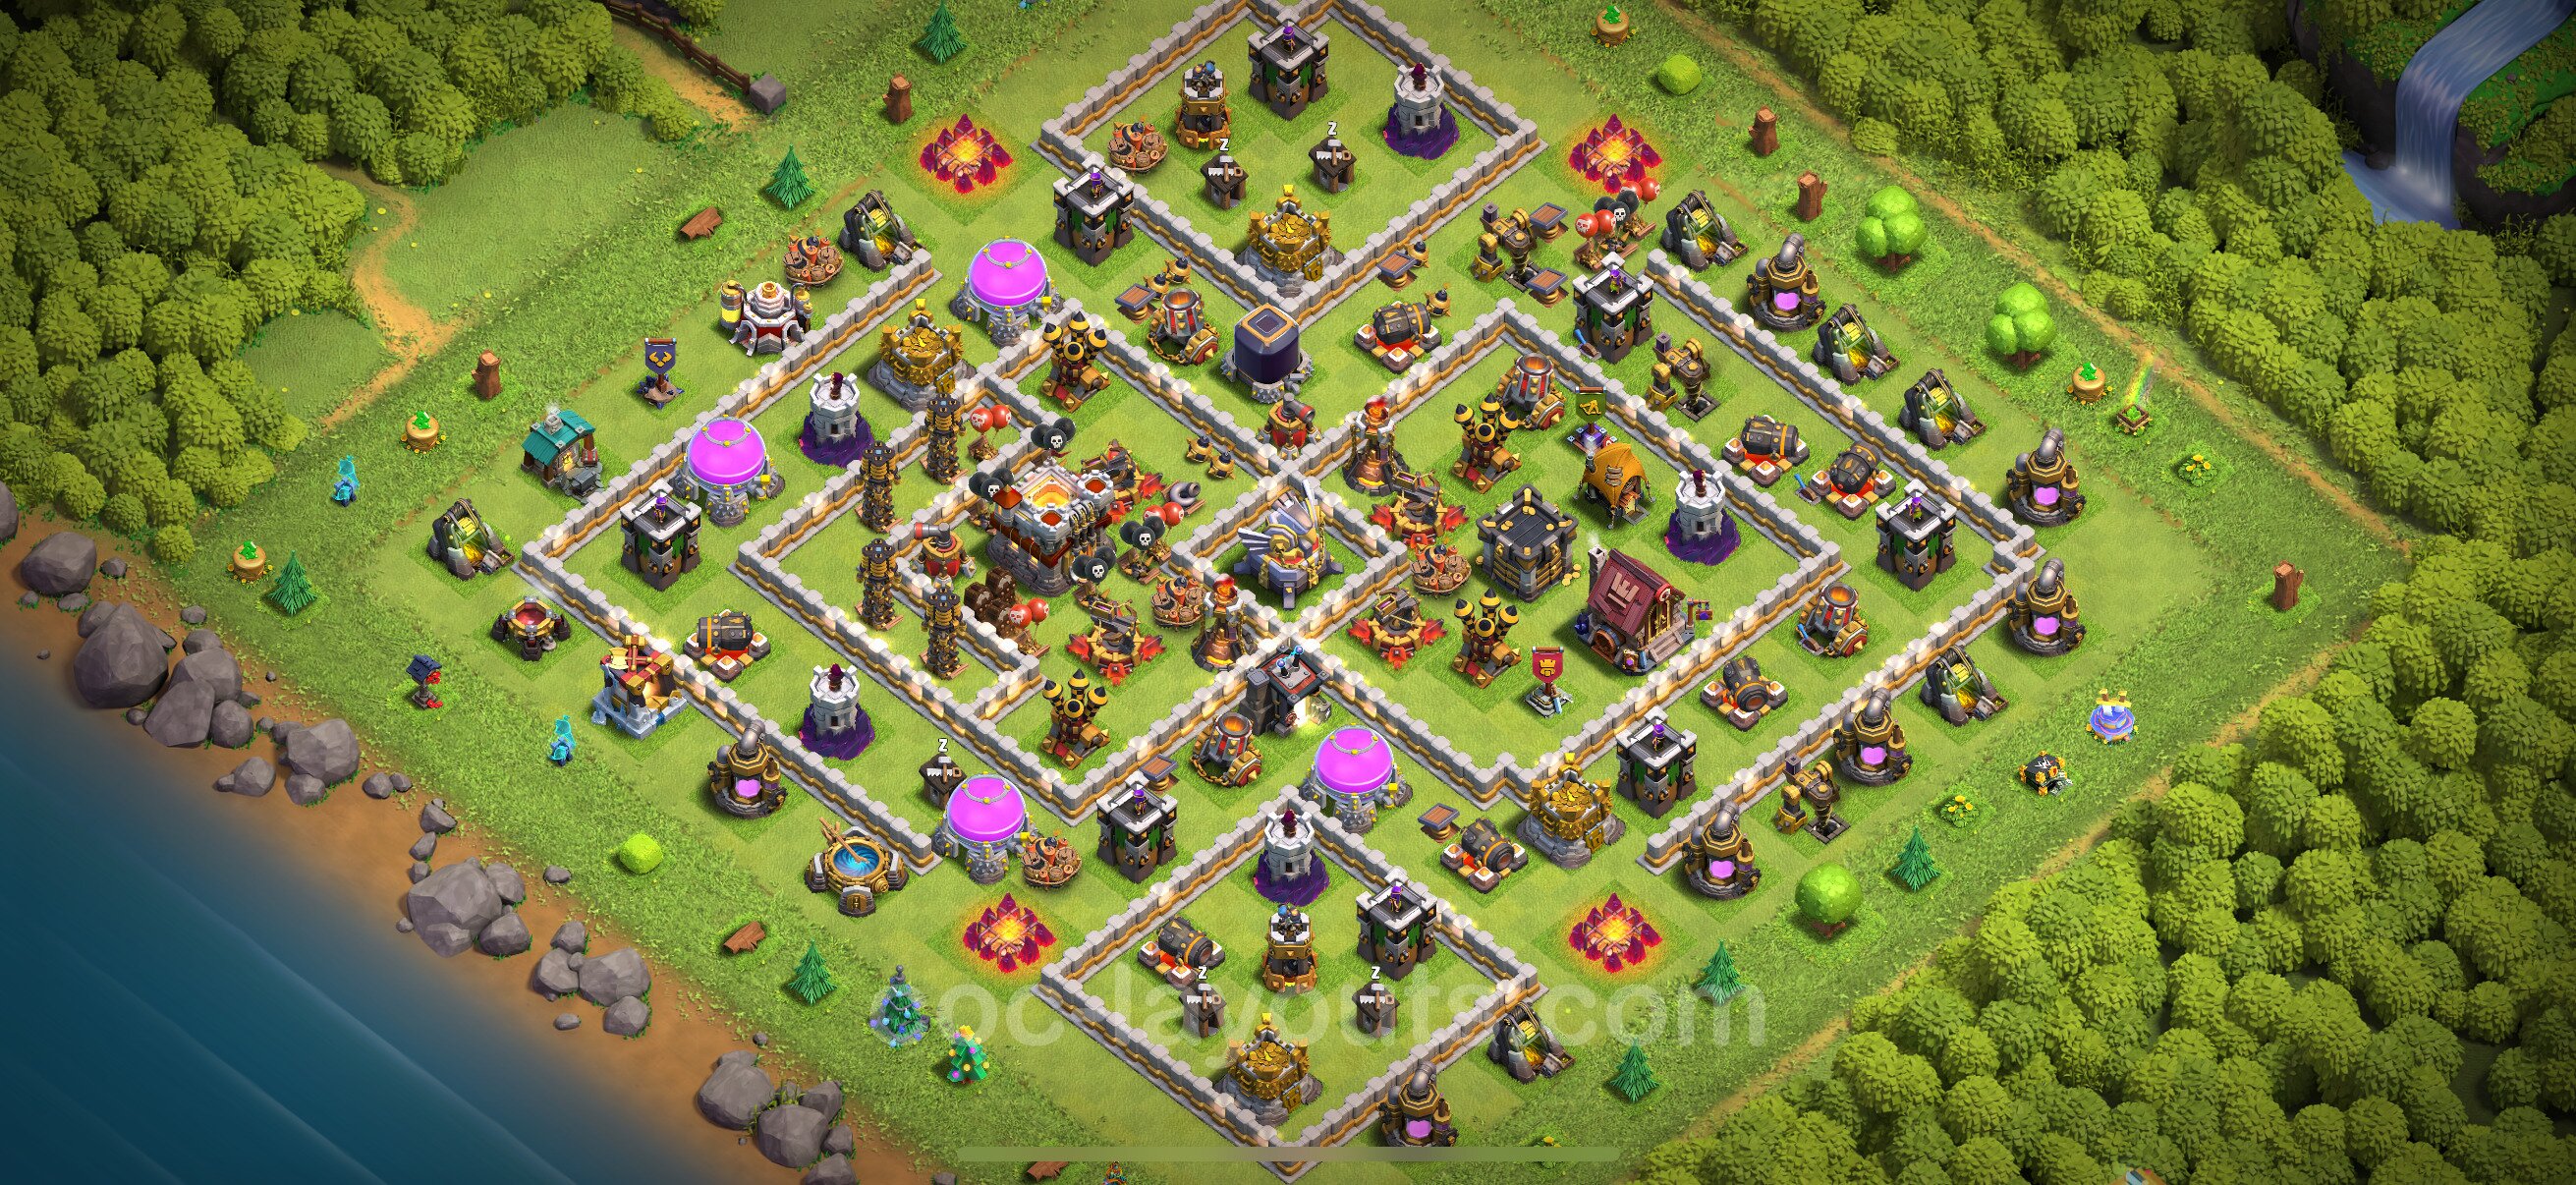
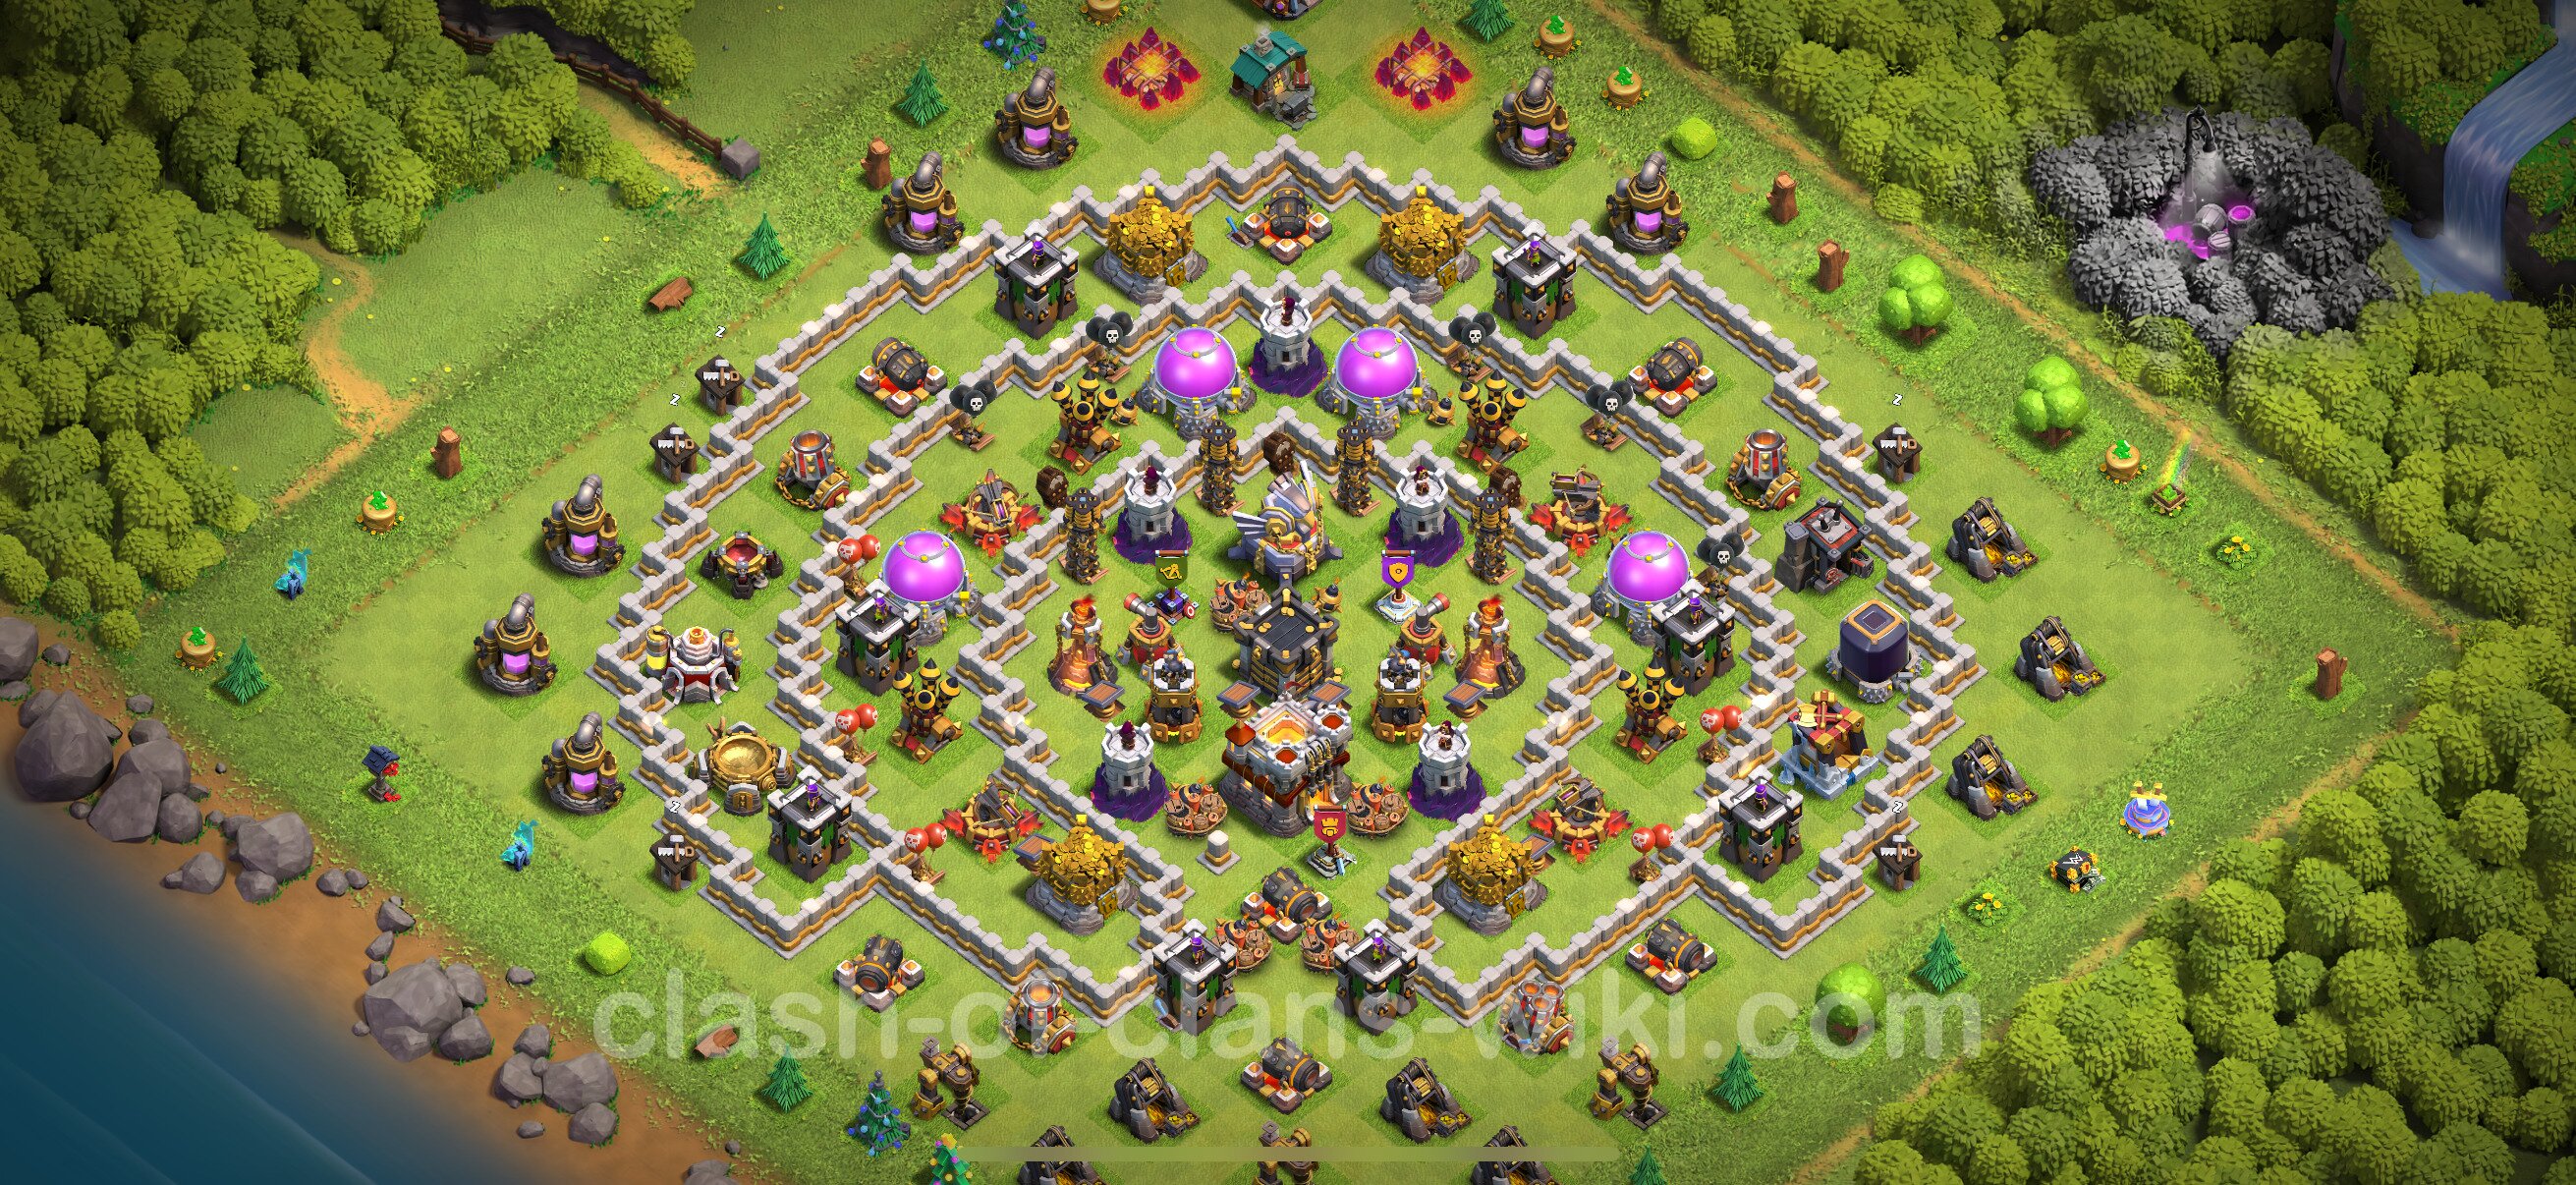
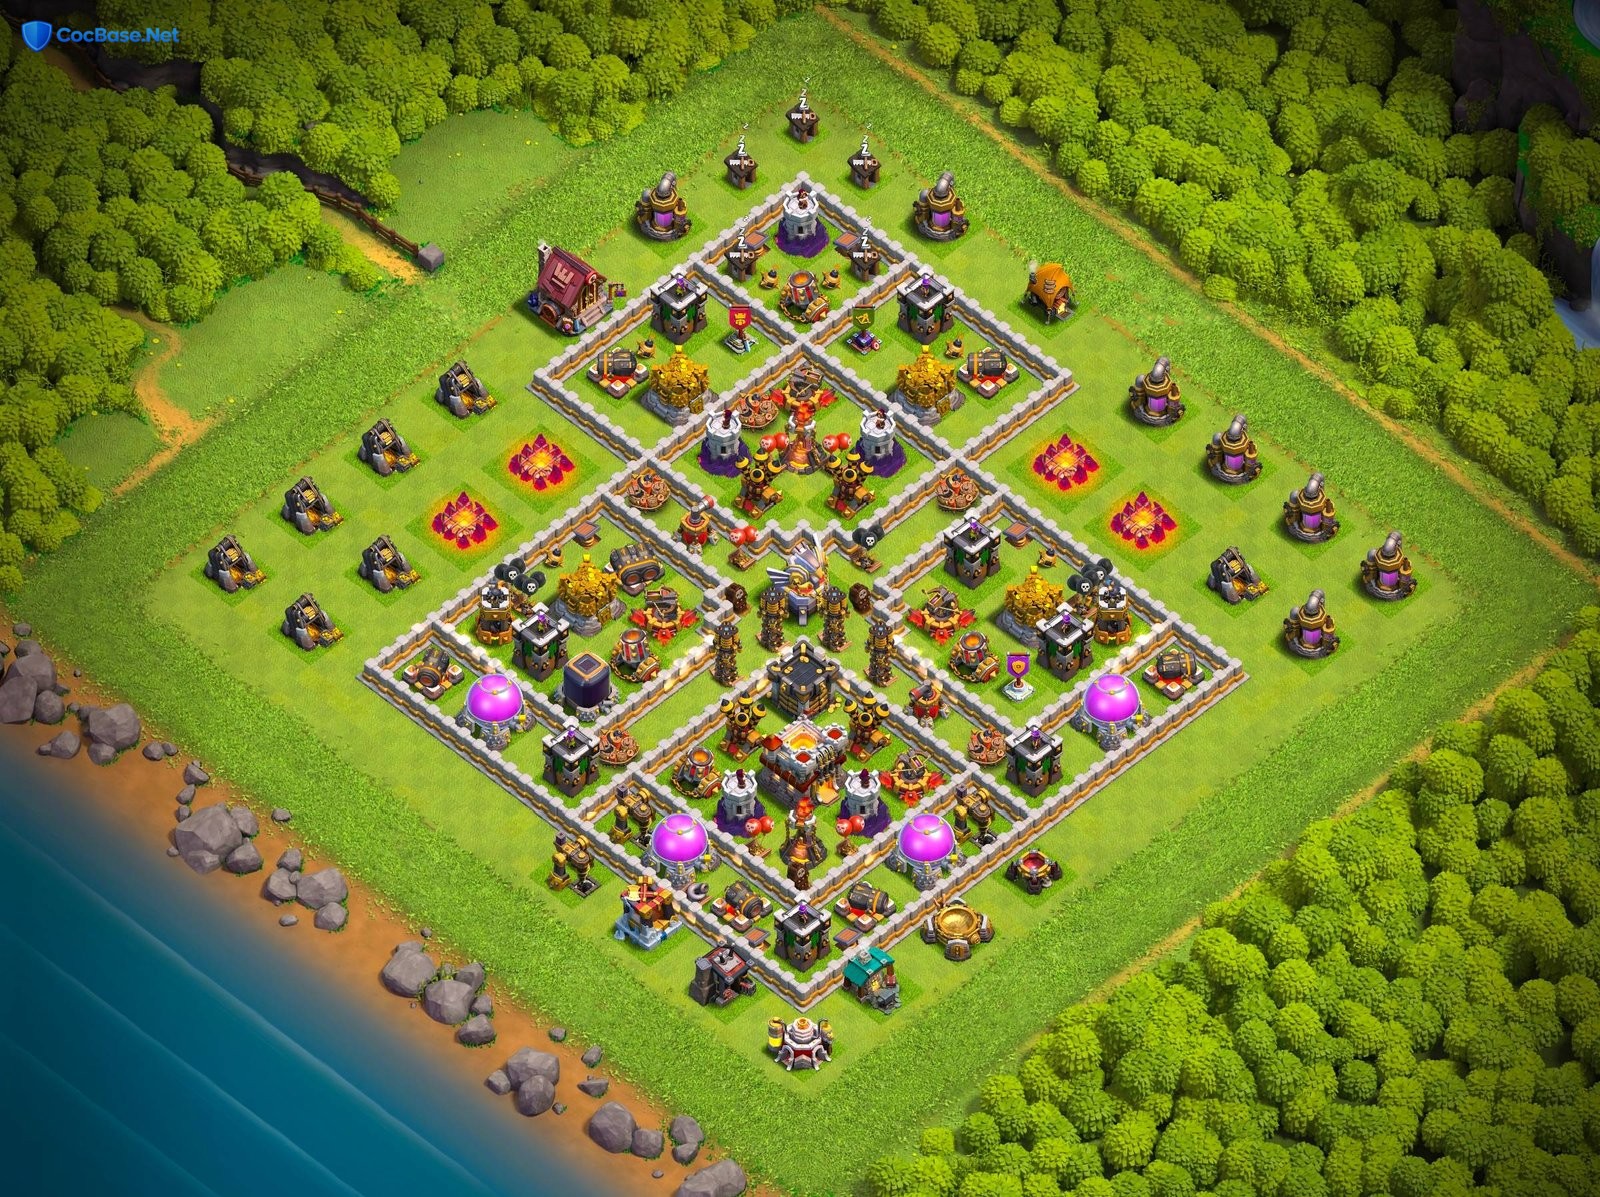
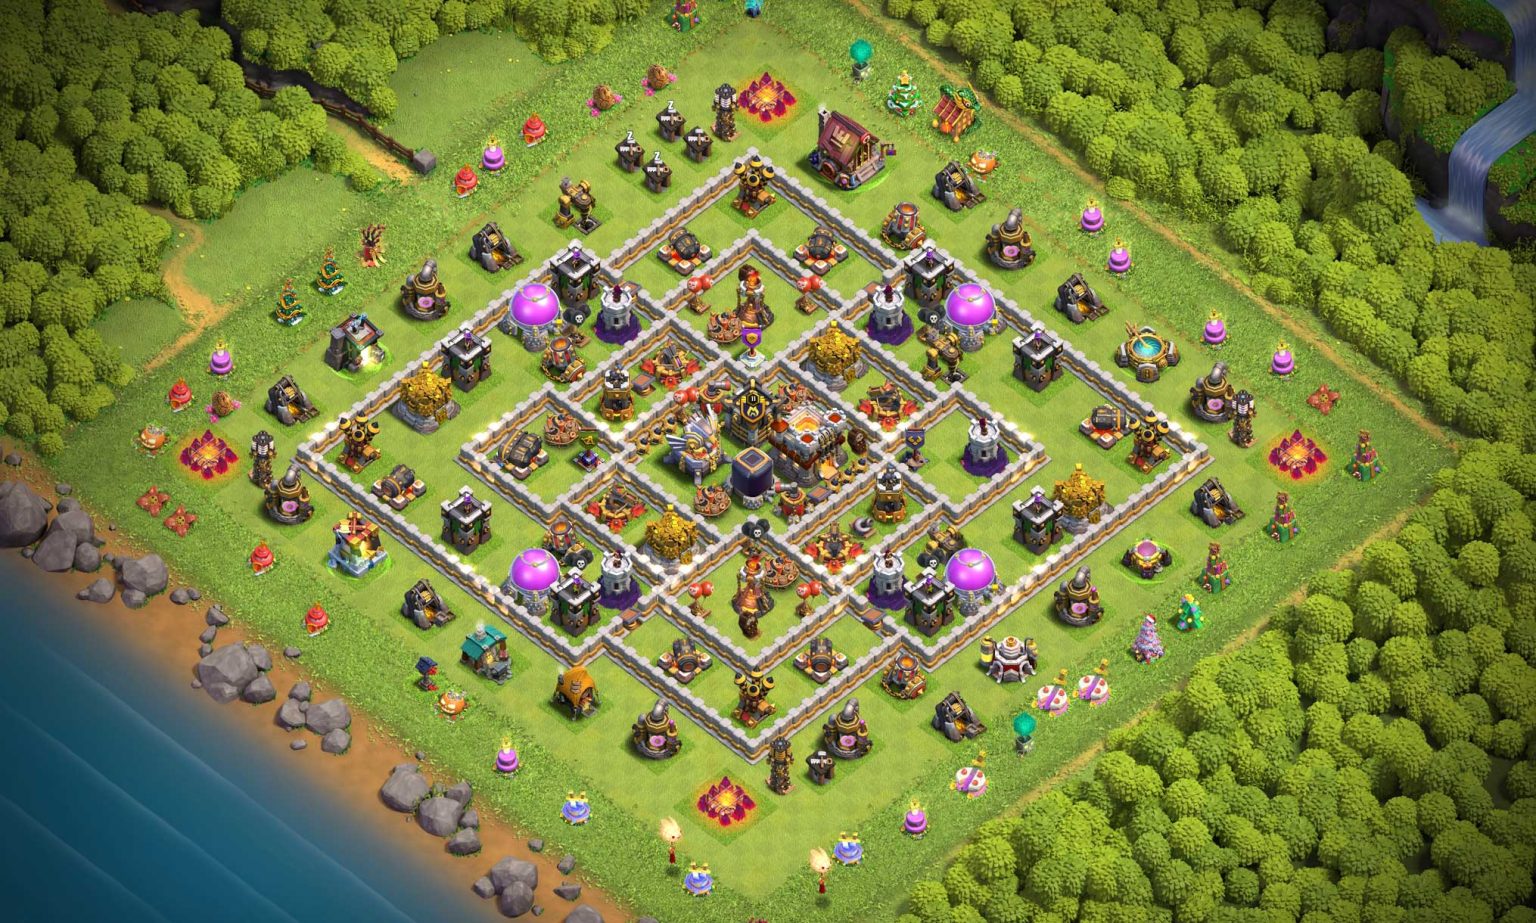
Optimizing your Town Hall 11 base is essential for progression, as this level introduces the Eagle Artillery and significant defensive upgrades that alter attack dynamics. Choosing the right layout depends on your primary objective: protecting resources, pushing trophies, or defending against specific war compositions like Queen Charge or Hybrid attacks.
Town Hall 11 marks a critical shift in the Clash of Clans experience. At this stage, players gain access to the Eagle Artillery, a game-changing defense that forces attackers to reconsider their entry points. By utilizing specialized layouts designed for TH11, you can effectively counteract common strategies used by attackers, such as mass miner attacks, E-Drag sweeps, or complex Queen Walks. The choice of layout is not merely aesthetic; it is a tactical decision that dictates whether you lose valuable gold and elixir or successfully defend your storages during a raid.
Understanding the TH11 Defensive Landscape
To select the right base, you must first understand the threats you face. At TH11, the defensive meta revolves around the Eagle Artillery. If your base layout leaves this structure vulnerable to an early snipe, your core defenses will quickly fall. Effective bases distribute high-hit-point buildings to buffer against heavy hitters while placing splash damage defenses—such as Wizard Towers and Mortars—strategically to handle mass troop compositions.
When evaluating a layout, consider the "pathing" of enemy troops. Good base designers use walls and trap placement to force pathing into "kill zones." For instance, placing giant bombs between high-health structures punishes Hog Rider or Miner compositions. Conversely, air defenses must be positioned to cover critical air-targeting defenses, preventing Lava Hounds from tanking effectively for Balloons.
Categorizing TH11 Base Designs
Layouts generally fall into three categories: Farming, Trophy Pushing, and War. Each requires a different philosophy regarding building placement.
Farming Layouts
In a farming layout, the primary goal is to protect your storages. Gold, Elixir, and Dark Elixir should be distributed across multiple compartments so that an attacker cannot steal everything in a single raid.
- Centralized Resource Hubs: Place the Town Hall in a protected location, but prioritize the Dark Elixir storage in the deepest, most fortified core.
- Compartmentalization: Use walls to create many small rooms. This slows down troops like Giants or Golems, keeping them occupied while your defenses deal damage.
Trophy Pushing Layouts
Trophy bases prioritize the survival of the Town Hall. If you are aiming for higher leagues, you must minimize the risk of being two-starred.
- Town Hall Protection: The Town Hall is placed at the center of the base, surrounded by your strongest defenses.
- Baiting Mechanisms: Use exterior buildings to draw attackers into unfavorable angles, forcing them to expend their spells early before they reach the core.
Clan War Layouts
War bases are designed to prevent the three-star. These layouts often utilize "anti-three-star" designs, where the Town Hall is positioned slightly off-center to force the attacker into an awkward pathing scenario that leaves their troops exposed to the Eagle Artillery or Inferno Towers for a longer duration.
Tactical Considerations for Base Construction
Building a base from scratch is an art, but copying proven layouts is a common way to learn. Regardless of the source, you should verify if the layout accommodates your specific building levels. If you are a fresh TH11, do not use a base design that relies on max-level X-Bows if yours are still at TH10 levels, as the hit-point discrepancy will change the outcome of the battle.
Essential Components to Master
- Inferno Towers: At TH11, you have access to two Inferno Towers. Setting them to "Multi-target" is generally preferred to counter mass troop attacks, whereas "Single-target" is more effective against heavy units like P.E.K.K.A.s or Heroes.
- Trap Placement: Never stack all your traps in one place. Spread your Spring Traps to catch incoming giants and your Seeking Air Mines to disrupt Lava Hounds.
- Hero Positioning: Keep your Grand Warden close to your defensive core. His aura provides a significant hit-point boost to nearby structures, making it much harder for attackers to clear the center.
Comparison of Base Layout Priorities
| Objective | Resource Priority | Defensive Focus | Primary Threat |
|---|---|---|---|
| Farming | Storages | Splash Damage | Goblins / Barch |
| Trophy Push | Town Hall | Eagle Artillery | Queen Charge |
| Clan War | Core Defenses | Anti-3 Star Pathing | Hybrid / E-Drag |
Troubleshooting Common Weaknesses
If your base is consistently being three-starred, you likely have one of two problems: poor trap placement or a lack of defensive synergy.
- The "Queen Walk" Vulnerability: If your base is easily cleared by a Queen Walk, it means your air defenses are too close to the outer walls. Ensure that your Air Sweepers are pointing away from the most likely entry points of the Queen, or place storage buildings in a way that forces the Queen to circle the base rather than entering the core.
- The E-Drag Chain: Electro Dragons thrive on buildings placed exactly one tile apart. To counter this, ensure that your high-value defenses—like the Eagle Artillery or Inferno Towers—are separated by at least two tiles to prevent the chain lightning effect from destroying multiple key structures at once.
Selecting and Implementing Your Layout
When you find a layout that suits your needs, look for a "Copy Link" feature. This is the most efficient way to import a base design directly into your game. Once you have imported a design, take the time to customize it. No off-the-shelf design is perfect for every player; modify the wall placement based on the specific levels of your defenses.
Steps to Customize Your Base
- Import: Use a trusted source or clanmate link to bring the layout into your editor.
- Audit: Identify the weakest defensive point. Is an Air Defense exposed? Move it deeper.
- Test: Monitor your defense replays. If you notice a specific troop combination consistently clearing your base, adjust your trap configuration to counter that specific unit.
- Refine: Continue to update your wall layout as you upgrade your walls to higher levels, as higher-level walls can withstand more "wall breaker" hits.
FAQ: Frequently Asked Questions
How often should I change my TH11 base layout? You should rotate your base layout every few weeks or whenever you notice you are being consistently cleared by the same type of attack. Keeping your base unpredictable makes it harder for opponents to plan a successful raid.
Is it better to use a symmetrical or asymmetrical base? Asymmetrical bases are generally more effective because they are harder to path for attackers. Symmetrical bases are easy for experienced players to predict and plan against, making them riskier in competitive Clan War scenarios.
Do walls really matter at TH11? While air attacks ignore walls, ground-based attacks are heavily dictated by them. Upgrading walls increases the time it takes for high-HP troops to penetrate your compartments, allowing your defenses to deal more total damage.
What is the most important defense to upgrade first at TH11? Prioritize the Eagle Artillery and your Inferno Towers. These are the "power" defenses of the TH11 level and provide the biggest deterrent against attackers.
Can a single base work for both farming and war? It is difficult to maintain one base for both. A farming base leaves the Town Hall vulnerable to protect resources, while a war base prioritizes the Town Hall at all costs. You should use the "Layout Editor" in the game to save multiple slots so you can switch easily between them.
Recommendations for Success
To succeed at Town Hall 11, do not fall into the trap of neglecting your traps. While defenses like Cannons and Archer Towers are important, the strategic placement of Giant Bombs and Spring Traps often determines the difference between a one-star defeat and a successful defense. Always keep your layout updated as you complete your building upgrades, and observe your defensive logs regularly to identify patterns in how your base is being dismantled. Consistent refinement is the hallmark of a high-level player.