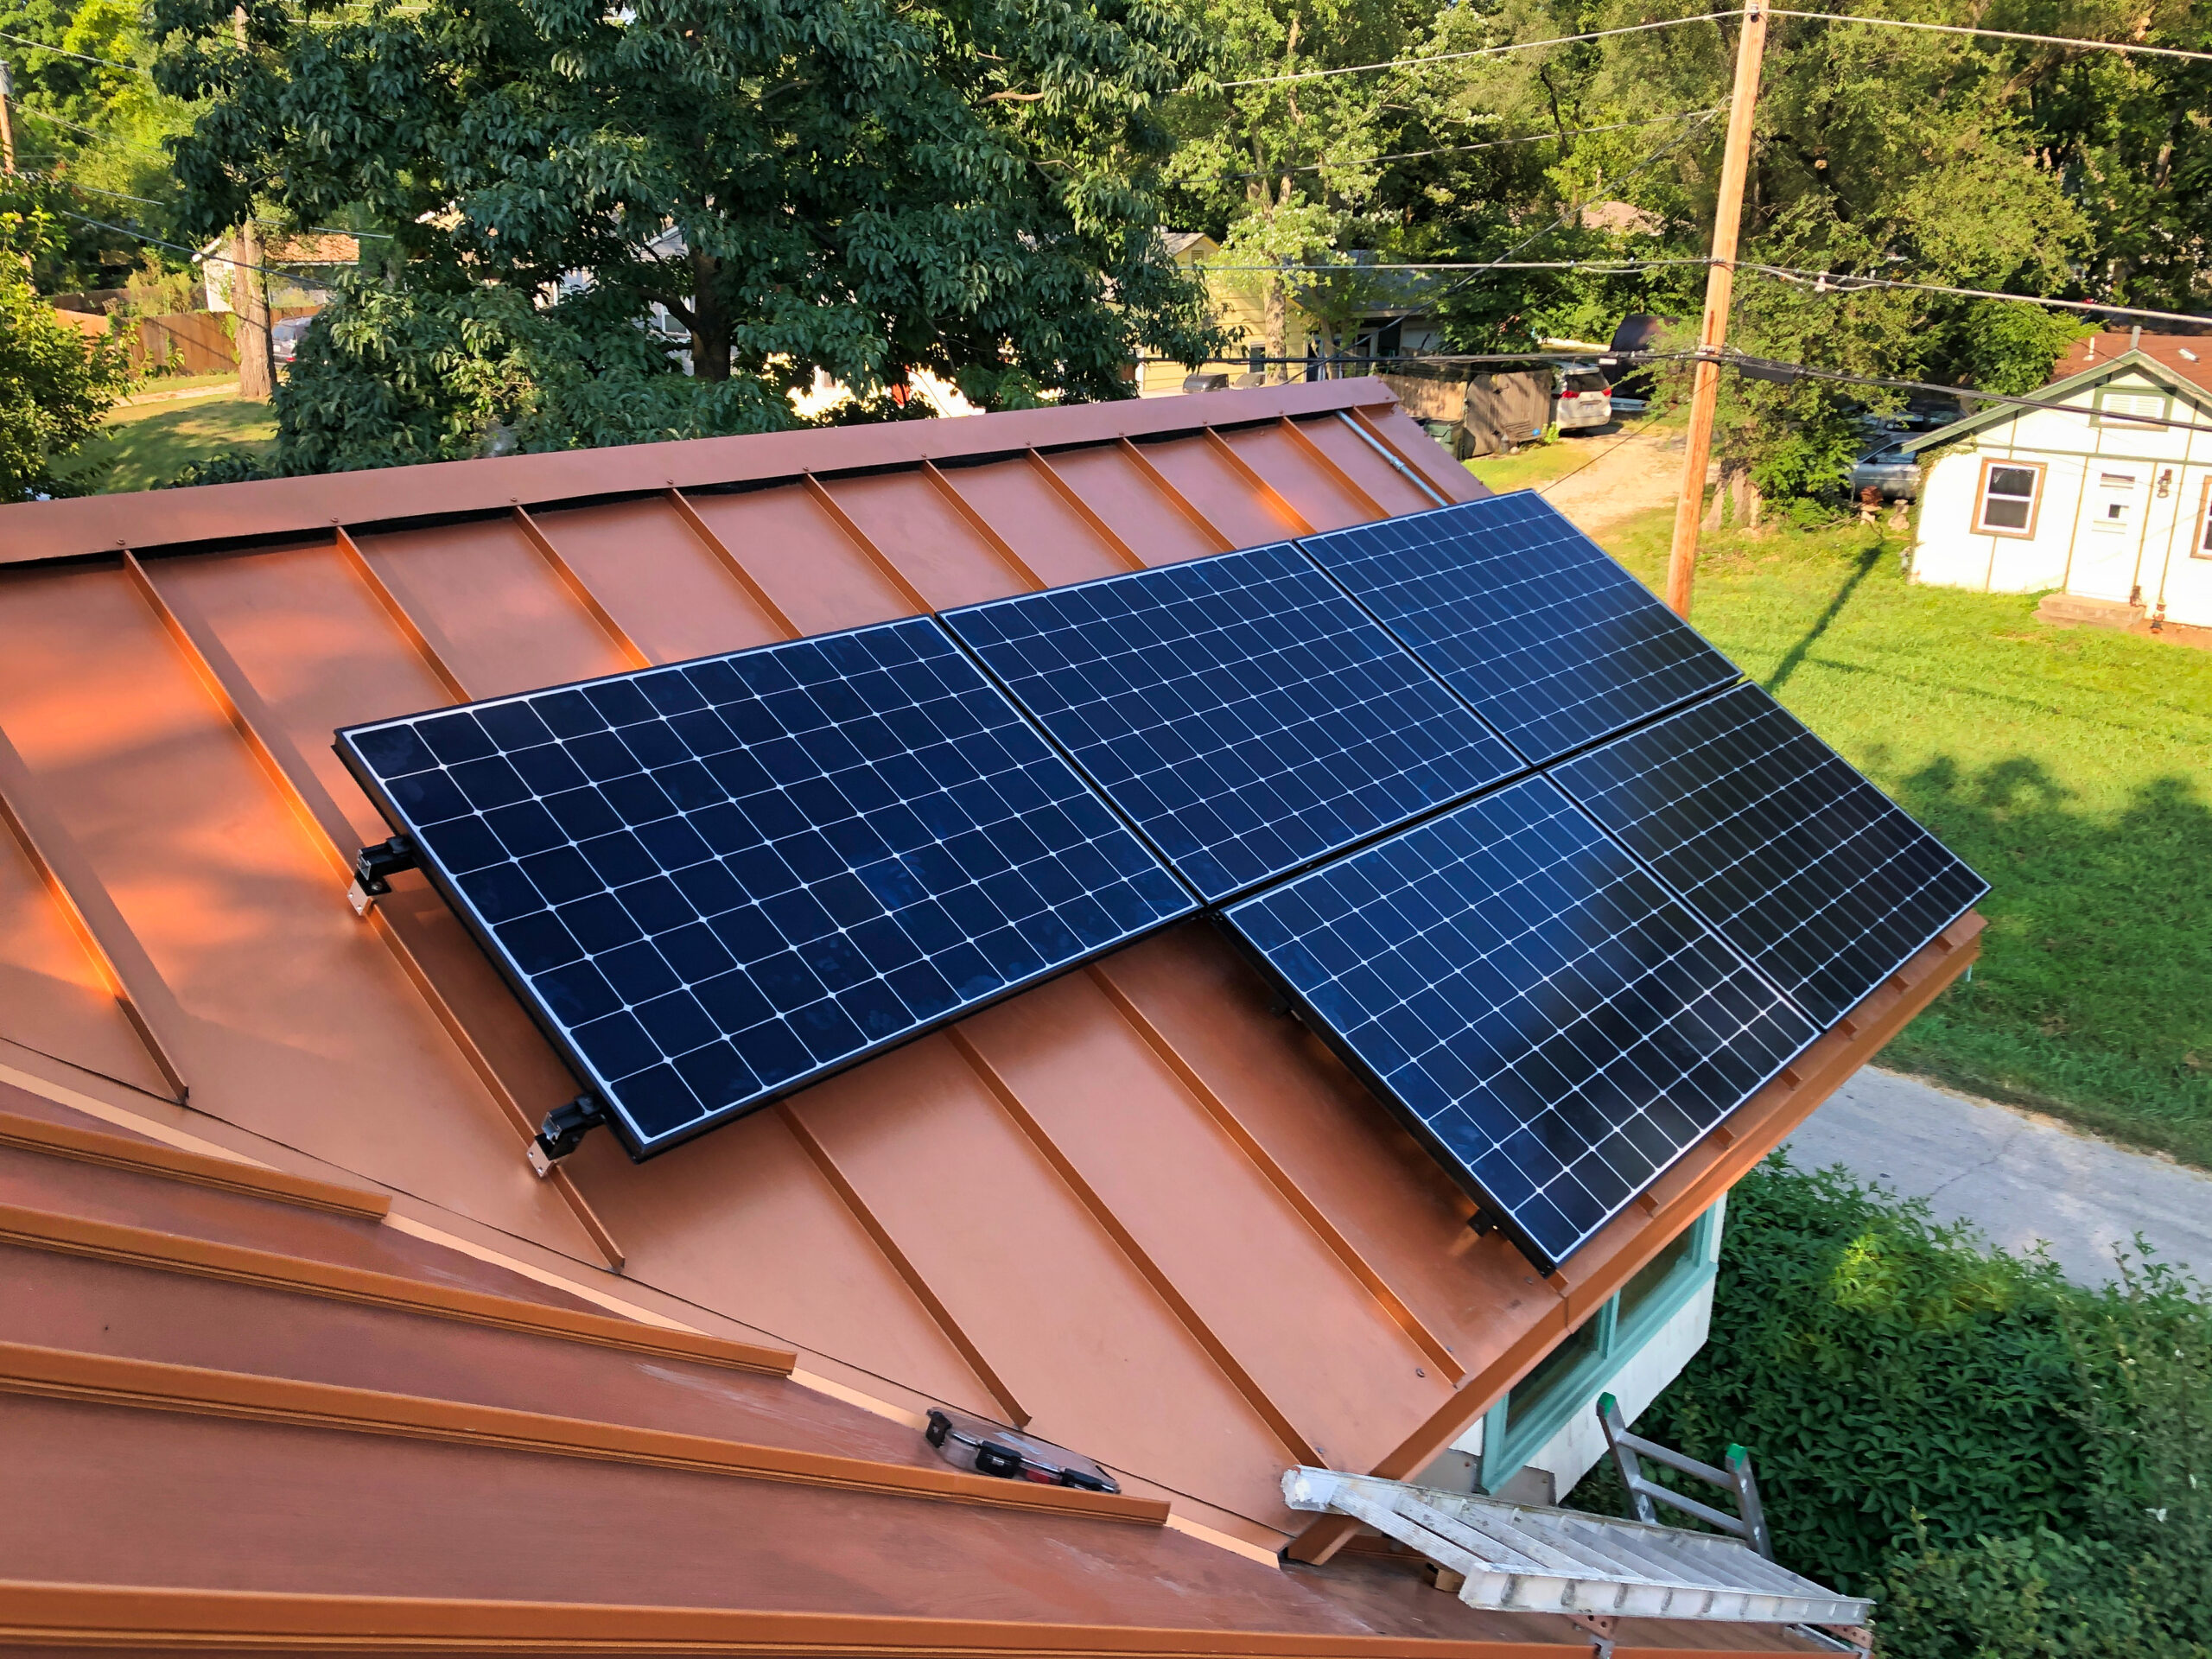
Once solar panels are physically mounted on your roof, Step 2 involves the electrical integration of the system. This phase includes installing the inverter, connecting the solar array to your home’s main electrical panel, and setting up system monitoring. Following these electrical connections, the project transitions into the inspection and utility commissioning phase required for legal operation.
For many homeowners in 2026, the sight of shimmering silicon cells on the roof marks a moment of triumph. However, the physical mounting of the panels—while the most visible part of the project—is only the beginning of the functional life of a solar energy system. Moving from "panels on the roof" to "power in the wires" requires a meticulous sequence of electrical engineering, safety compliance, and administrative hurdles.
The Immediate Transition: From Mounting to Wiring
The moment the final rail is tightened and the last module is clipped into place, the installation crew shifts focus from roofing and carpentry to electrical systems. This is the core of Step 2. While the panels are the "engines" of the system, they produce Direct Current (DC) electricity, which is incompatible with the Alternating Current (AC) used by your home appliances and the regional power grid.
During this phase, electricians will run conduit—the protective piping for electrical wires—from the roof down to your inverter and electrical service panel. In 2026, many high-end installations utilize "concealed conduit" runs through the attic to preserve the home's aesthetic, while others use external EMT (Electrical Metallic Tubing) painted to match the siding. The goal of this wiring is to create a safe, weather-resistant path for the energy to travel from the roof to the conversion equipment.
Installing the Inverter: The Brain of the System
The most critical component installed during Step 2 is the inverter. Depending on the system design chosen during the planning phase, this involves one of three primary technologies:
- String Inverters: A single, large box usually mounted in the garage or on an exterior wall. All DC wiring from the roof leads here, where it is converted to AC in one central location.
- Microinverters: Small units attached to the back of each individual solar panel. In this setup, the conversion from DC to AC happens on the roof, and the wires coming down are already AC-standard.
- Power Optimizers: A hybrid approach where small devices under the panels "condition" the DC power before sending it to a central string inverter for conversion.
As of 2026, the industry has seen a significant shift toward "Smart Inverters" that can communicate directly with utility companies to help balance the grid. During Step 2, the installer must configure the inverter's software settings to comply with local utility requirements, ensuring that the system will automatically shut down in the event of a local power outage—a safety feature known as "anti-islanding."
Integration with the Home Electrical Panel
Once the inverter is in place, it must be "tied" into your home's main service panel (the breaker box). This is a delicate operation that often requires a brief, planned power outage. The electrician will install a new circuit breaker dedicated to the solar system.
In older homes, Step 2 may reveal that the existing electrical panel is insufficient to handle the added load of a modern solar array. In such cases, a "Main Lug Emon" or a full panel upgrade (MPU) might be necessary. This is particularly common in 2026 as homeowners add electric vehicle (EV) chargers and heat pumps alongside their solar installations, pushing 100-amp or 200-amp panels to their limits.
The Battery Storage Connection (Optional but Common)
In the current 2026 energy landscape, Step 2 frequently includes the installation of a home battery backup system, such as a Tesla Powerwall 3 or an Enphase IQ Battery. If your contract includes storage, this is the stage where the battery is mounted and the "Gateway" or "Transfer Switch" is installed. This hardware acts as a traffic controller, deciding when to pull power from the panels, when to charge the battery, and when to send excess energy back to the grid.
Connecting a battery adds significant complexity to Step 2. It requires "critical loads" wiring, where essential circuits (like the refrigerator, well pump, or internet) are separated into a sub-panel to ensure they stay powered during a grid failure.
System Milestones: From Installation to Activation
To help visualize the timeline, the following table outlines the standard progression after the panels are secured to the roof. Note that "Step 2" technically encompasses the electrical work, but the process cannot be considered complete until the final "Step 5" is reached.
| Phase | Description | Typical Duration | Primary Stakeholder |
|---|---|---|---|
| Step 1 | Physical Roof Mounting and Racking | 1–2 Days | Solar Installation Crew |
| Step 2 | Electrical Wiring, Inverter & Battery Install | 1–2 Days | Certified Electrician |
| Step 3 | Municipal Building & Safety Inspection | 1–7 Days | City/County Inspector |
| Step 4 | Utility Interconnection Application/Review | 2–4 Weeks | Local Utility Provider |
| Step 5 | Permission to Operate (PTO) & Activation | 1 Day | Utility & Homeowner |
Navigating the Inspection Phase (The "Paperwork" Step 2)
Once the wiring is complete and the inverter is humming, the system is technically capable of producing power. However, you must not turn it on yet. Step 2 concludes with a transition into the Inspection Phase.
A representative from your local "Authority Having Jurisdiction" (AHJ)—usually a city or county building inspector—must visit the site. They will verify that the installation matches the approved plans, that the roof attachments are flashed properly to prevent leaks, and that the electrical work meets the National Electrical Code (NEC). In 2026, inspectors pay close attention to "Rapid Shutdown" stickers and safety labels, which allow firefighters to quickly de-energize the roof in an emergency.
If the inspector finds any discrepancies, the installer must return to rectify them. Only after a "passed" inspection sticker is applied to the meter socket or inverter can the project move to the utility for the final blessing.
Interconnection and the "Permission to Operate" (PTO)
The final administrative hurdle after Step 2 is the Interconnection Agreement with your utility company. Even though the panels are yours and the roof is yours, the utility owns the wires that connect your home to the rest of the world. They need to ensure that your solar system won't "backfeed" power into the lines in a way that endangers lineworkers.
In 2026, many utilities have streamlined this process with digital "Net Metering" applications. The utility may require a "Bi-directional Meter" to be installed at your home. This meter tracks both how much electricity you buy from the grid and how much excess solar energy you send back. Once the utility processes the final inspection report and verifies the meter, they issue a formal "Permission to Operate" (PTO). This is the official green light to flip the switch and start saving money.
Monitoring and Software Setup
The final piece of the Step 2 puzzle is the digital setup. Modern solar systems are "Internet of Things" (IoT) devices. Your installer will connect your inverter to your home Wi-Fi or a cellular bridge. They will then set up your monitoring account (via an app on your smartphone).
Through this app, you can see real-time data on:
- How many kilowatts (kW) your roof is currently producing.
- Your home's total energy consumption.
- The state of charge of your battery (if applicable).
- The environmental impact (trees planted or CO2 offset).
This monitoring is vital because it allows the installer to remotely diagnose issues. If one panel starts underperforming, the software will often flag it before you even notice a change in your utility bill.
Common Pitfalls and Troubleshooting at Step 2
While Step 2 is largely handled by professionals, homeowners should be aware of common issues that can cause delays:
- Failed Inspections: Often caused by minor labeling errors or a ground wire that isn't quite tight enough. A reputable installer will handle the "fix" and the re-inspection at no extra cost.
- Utility Backlogs: In high-solar-volume regions, utilities can sometimes take weeks to process PTO. It is essential to stay in communication with your project manager during this waiting period.
- Wi-Fi Connectivity: If your inverter is located far from your router, the monitoring system may drop its connection. In 2026, many installers use Mesh Wi-Fi extenders or hardwired Ethernet to prevent this.
- Supply Chain for Meters: Occasionally, a utility may run out of the specific bi-directional meters required for solar homes, leading to a frustrating delay right at the finish line.
Safety and Maintenance Post-Installation
Even though the system is solid-state (meaning it has no moving parts), it requires some awareness. After Step 2 is finalized and the system is live, you should establish a basic maintenance routine. In most climates, rain will keep the panels clean enough to function effectively. However, in dusty regions or areas with heavy pollen, a light rinsing with a garden hose (never a pressure washer) twice a year can improve efficiency by 5–10%.
Furthermore, you should familiarize yourself with the "AC Disconnect" switch. This is usually a lever located near your utility meter. In the event of a fire or a major electrical emergency, flipping this switch will instantly stop the flow of solar electricity into your home's system.
Financial Considerations in 2026
By the time you reach Step 2, you have likely already paid a significant portion of the system cost or finalized your loan documents. However, this is the point where you should gather all "Final Invoice" and "Passed Inspection" documents for tax purposes.
The federal Residential Clean Energy Credit (the successor to the original ITC) remains a cornerstone of solar financing in 2026. To claim this credit, you generally need to show that the system was "placed in service" during the tax year. The date of your PTO (Permission to Operate) is often used as the official date for this requirement. Ensure your installer provides a comprehensive "close-out" packet containing all warranties and serial numbers for your records.
Summary of Next Actions
If your panels have just been installed and you are waiting for the next phase, here is what you should do:
- Confirm the Schedule: Ask your project manager exactly when the electrician is scheduled to complete the internal wiring and inverter installation.
- Clear the Workspace: Ensure the electrician has easy access to your main electrical panel and the area where the inverter will be mounted.
- Prepare for a Brief Power Outage: Be ready for a 1–2 hour window where your power may be turned off to allow for the safe connection of the solar circuit.
- Verify Wi-Fi Credentials: Have your Wi-Fi password ready for the technician so they can configure the monitoring app.
- Patience with the Utility: Understand that once the physical work is done, the timeline moves into the hands of the local government and the utility company.
By understanding that Step 2 is about the invisible flow of energy and the legal requirements of the grid, you can manage your expectations and ensure a smooth transition to renewable energy independence.
Frequently Asked Questions
Can I turn on my solar panels as soon as the electrician finishes Step 2? No. Even if the system is fully wired, you must wait for the official Permission to Operate (PTO) from your utility company. Operating the system before PTO can lead to fines from the utility, and your meter may actually charge you for the electricity you export because it isn't yet programmed to handle net metering.
How long does the electrical work in Step 2 usually take? For a standard residential system, the electrical wiring and inverter installation typically take one full day. If you are adding complex components like a whole-home battery backup or an upgraded main electrical panel, it may extend into a second day.
What happens if my roof leaks after the panels are installed but before Step 2 is finished? You should immediately contact your solar installer. Most reputable solar contracts include a "roof penetration warranty" (often 10–25 years) that covers leaks caused by the mounting hardware. It is best to resolve any structural issues before the final electrical inspections are completed.
Does the inverter have to be inside my house? Not necessarily. Most modern solar inverters are NEMA 4X rated, meaning they are designed to withstand outdoor conditions, including rain and snow. They are commonly mounted on the side of the house near the utility meter or inside the garage. The choice often depends on local building codes and your personal aesthetic preference.
Why does the utility need to get involved if the panels are on my roof? Because your system is "grid-tied," it becomes part of the larger electrical infrastructure. The utility must ensure that your system's output is high-quality (stable voltage and frequency) and that it possesses safety shut-offs to protect workers who might be repairing lines during a blackout.
Is Step 2 the same for DIY solar installations? The technical steps are the same, but the burden of coordination is much higher. A DIYer must pull their own electrical permits, schedule their own inspections, and submit their own interconnection application to the utility—tasks that a professional solar company typically handles on behalf of the homeowner.