To optimize Adobe Premiere export settings, navigate to the Export tab and select H.264 or H.265 (HEVC) for web use. For the highest quality, ensure "Match Source" is selected for resolution and frame rate, set the Bitrate Encoding to VBR, 1-pass, and target 15–20 Mbps for 1080p or 45–60 Mbps for 4K.
The export process in Adobe Premiere Pro is the final, critical bridge between your creative vision and your audience’s screen. By 2026, the software has refined its "Export Mode," moving away from the cluttered pop-up windows of the past toward a streamlined, visual workflow. However, the technical fundamentals—bitrates, codecs, color spaces, and containers—remain as vital as ever to ensure your video looks professional and plays smoothly on every device.
Understanding the Modern Export Interface
Since the major UI overhaul several versions ago, Adobe Premiere Pro has integrated the export process into a dedicated workspace. This shift was designed to help editors visualize exactly how their content will appear on specific platforms before they hit the "Export" button.
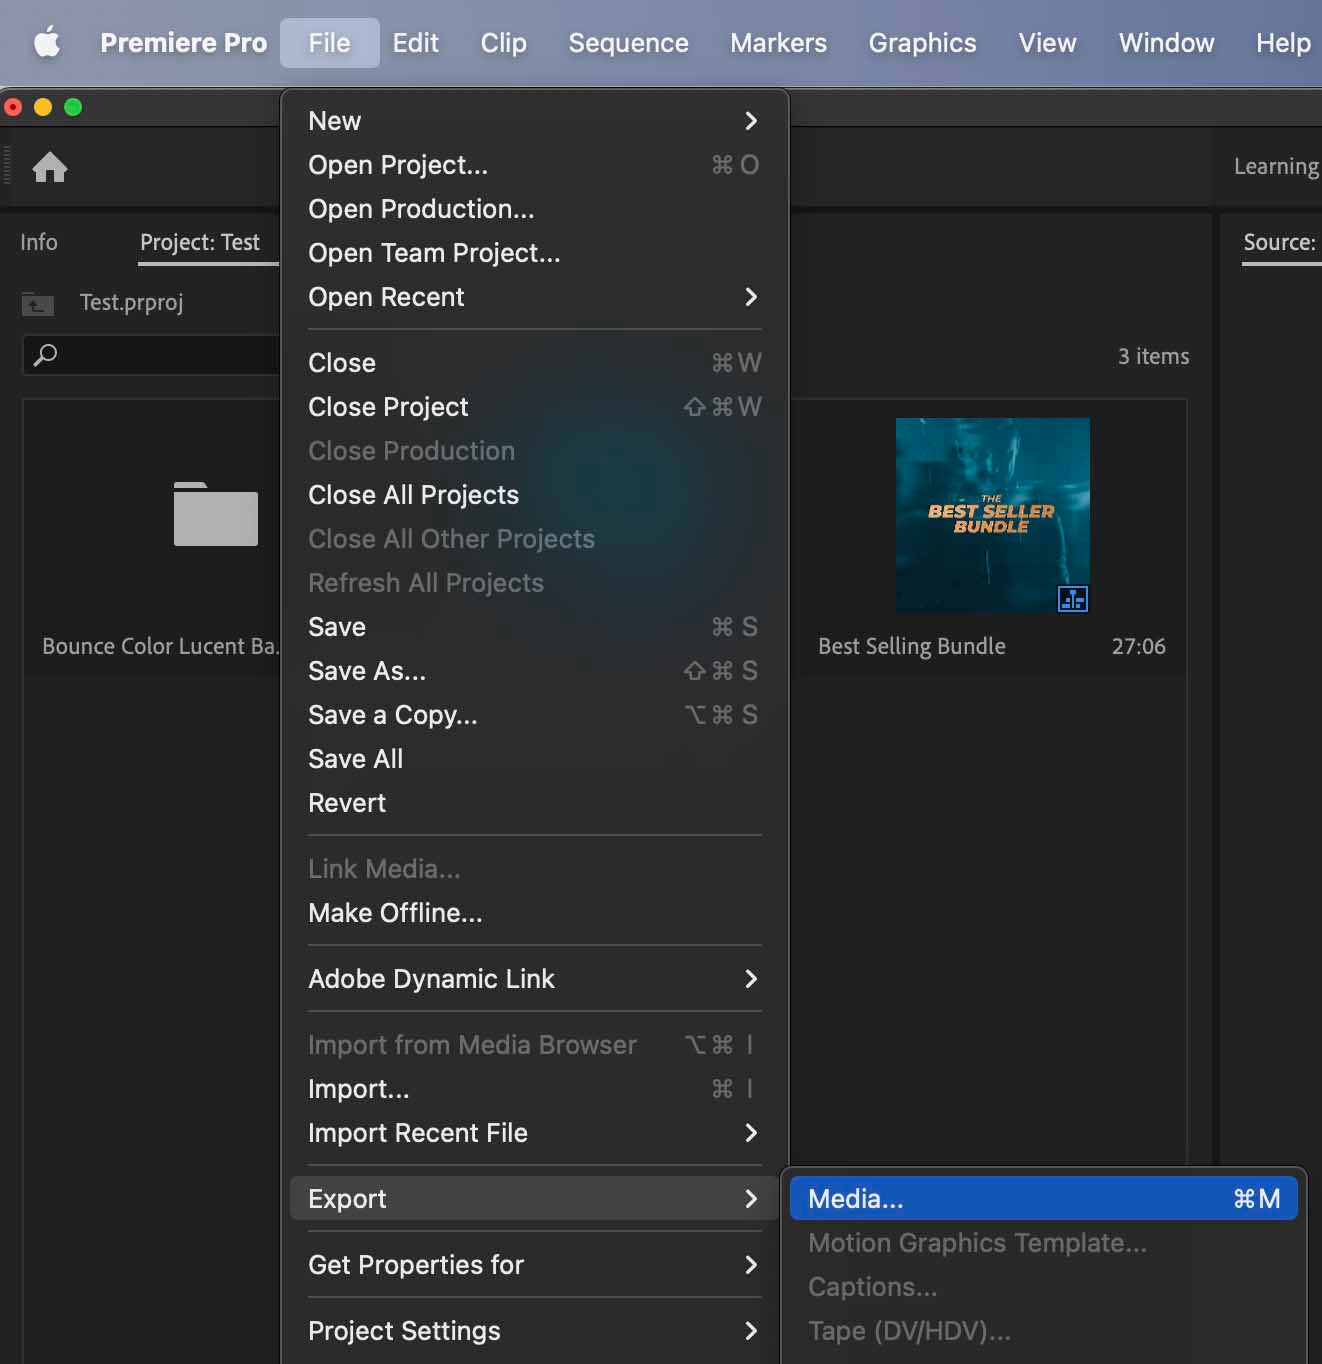
When you finish your edit and move to the Export tab (Shortcut: Ctrl+M on Windows or Cmd+M on macOS), you are presented with three main areas:
- The Header: Where you define the file name and the local or cloud destination.
- The Settings Panel: A vertical column on the left that allows you to toggle on various presets for YouTube, Vimeo, Twitter (X), and Facebook, or create custom local files.
- The Preview Window: A central area where you can check your framing, aspect ratio, and any overlays (like timecodes or watermarks) before finalizing the file.
Choosing the right destination is the first step. While the presets are generally reliable, a professional editor must understand the underlying manual adjustments to troubleshoot issues like artifacts, color shifting, or excessive file sizes.
Core Video Settings: Format and Codec
The "Format" dropdown menu is the most important decision in the export process. It determines the wrapper or container of your video file.
H.264 (AVC) vs. H.265 (HEVC)
In 2026, H.264 remains the universal standard for high-definition web delivery. It offers the best balance between file size and compatibility. However, H.265 (HEVC) has become the primary choice for 4K, 8K, and HDR content. HEVC is roughly 50% more efficient than H.264, meaning you can achieve the same visual quality at half the bitrate. If you are delivering high-resolution content for modern smartphones or smart TVs, HEVC is the superior choice, provided your target audience has devices manufactured within the last several years.
Apple ProRes
For professional archival or "Mezzanine" files (files intended for further editing or broadcast), Apple ProRes is the industry standard. Specifically, ProRes 422 HQ or ProRes 4444 preserves significantly more color information and detail than compressed web formats. These files are much larger but ensure that your project is "future-proofed" against further compression cycles.
Mastering Bitrate Settings
Bitrate is the amount of data processed per second, usually measured in Megabits per second (Mbps). It is the single most significant factor in determining the visual quality and the final file size of your video.
Constant Bitrate (CBR)
CBR maintains the same data rate throughout the entire video. While this makes file sizes predictable, it is inefficient. A static shot of a person talking requires much less data than an action sequence. Using CBR on a complex video often results in "wasted" data during simple scenes and "blocking" artifacts during complex ones.
Variable Bitrate (VBR) 1-Pass
VBR 1-Pass is the standard for most web exports. Premiere analyzes the timeline and allocates more data to complex frames and less to simple ones. The "1-Pass" means it does this on the fly as it renders. It is fast and generally provides excellent results for social media and YouTube.
Variable Bitrate (VBR) 2-Pass
VBR 2-Pass is the "gold standard" for high-quality delivery. During the first pass, Premiere analyzes the entire sequence to create a map of where data is needed. During the second pass, it performs the actual encode. This results in the most efficient data distribution possible. Use this for premium client deliveries or when you have a strict file size limit but want the highest possible quality.
Recommended Bitrates for 2026
| Resolution | Frame Rate | Recommended Bitrate (H.264) | Recommended Bitrate (HEVC) |
|---|---|---|---|
| 1080p (HD) | 24 / 30 fps | 15 - 20 Mbps | 8 - 12 Mbps |
| 1080p (HD) | 60 fps | 25 - 30 Mbps | 15 - 18 Mbps |
| 4K (UHD) | 24 / 30 fps | 45 - 60 Mbps | 25 - 35 Mbps |
| 4K (UHD) | 60 fps | 60 - 80 Mbps | 40 - 50 Mbps |
| 8K | 24 / 30 fps | N/A (Use HEVC) | 80 - 100 Mbps |
Advanced Rendering Options
Below the bitrate settings, you will find several checkboxes that can significantly impact render time and quality.
Render at Maximum Depth
This setting tells Premiere to process video at the highest possible bit depth (usually 32-bit float). This is particularly important if you have used heavy color grading, effects, or transitions. It helps prevent "banding"—those ugly visible lines in gradients like skies or shadows.
Use Maximum Render Quality
This option is vital if you are scaling your video (e.g., exporting a 4K sequence as a 1080p file). It uses a higher-quality scaling algorithm that preserves sharpness and reduces aliasing (jagged edges). If your export resolution matches your sequence resolution, this setting has a negligible effect.
Hardware vs. Software Encoding
Premiere Pro leverages your computer's GPU (Graphics Processing Unit) through Hardware Encoding. This can make exports up to 5x faster. However, in rare cases of hardware incompatibility or very specific high-end encoding requirements, Software Encoding (using only the CPU) may be more stable or offer slightly better compression at the cost of significantly longer render times. For 99% of creators in 2026, Hardware Encoding is the correct choice.
Audio Export Configurations
Audio is often overlooked, but poor audio export settings can ruin a high-quality visual production. For most video exports, the AAC (Advanced Audio Coding) format is preferred.
- Sample Rate: 48,000 Hz (48kHz) is the standard for video. Avoid 44.1kHz unless specifically requested for a music-only delivery.
- Channels: Stereo is the standard. Ensure you aren't accidentally exporting Mono unless your project is specifically designed for it.
- Audio Quality: High.
- Bitrate: 320 kbps. This is the "transparency" threshold where most listeners cannot distinguish the compressed file from the original uncompressed source.
Exporting for Specific Platforms
In 2026, vertical video and social media optimization are no longer afterthoughts; they are the primary delivery method for many editors.
YouTube and Vimeo
YouTube's compression algorithms are aggressive. To combat this, it is often recommended to export at a slightly higher bitrate than YouTube's "recommended" specs. Exporting a 1080p project as a 4K file (Upscaling) can sometimes trigger YouTube to use a higher-quality codec (VP9 or AV1) on their servers, resulting in a cleaner look for your viewers.
Instagram and TikTok (Vertical Video)
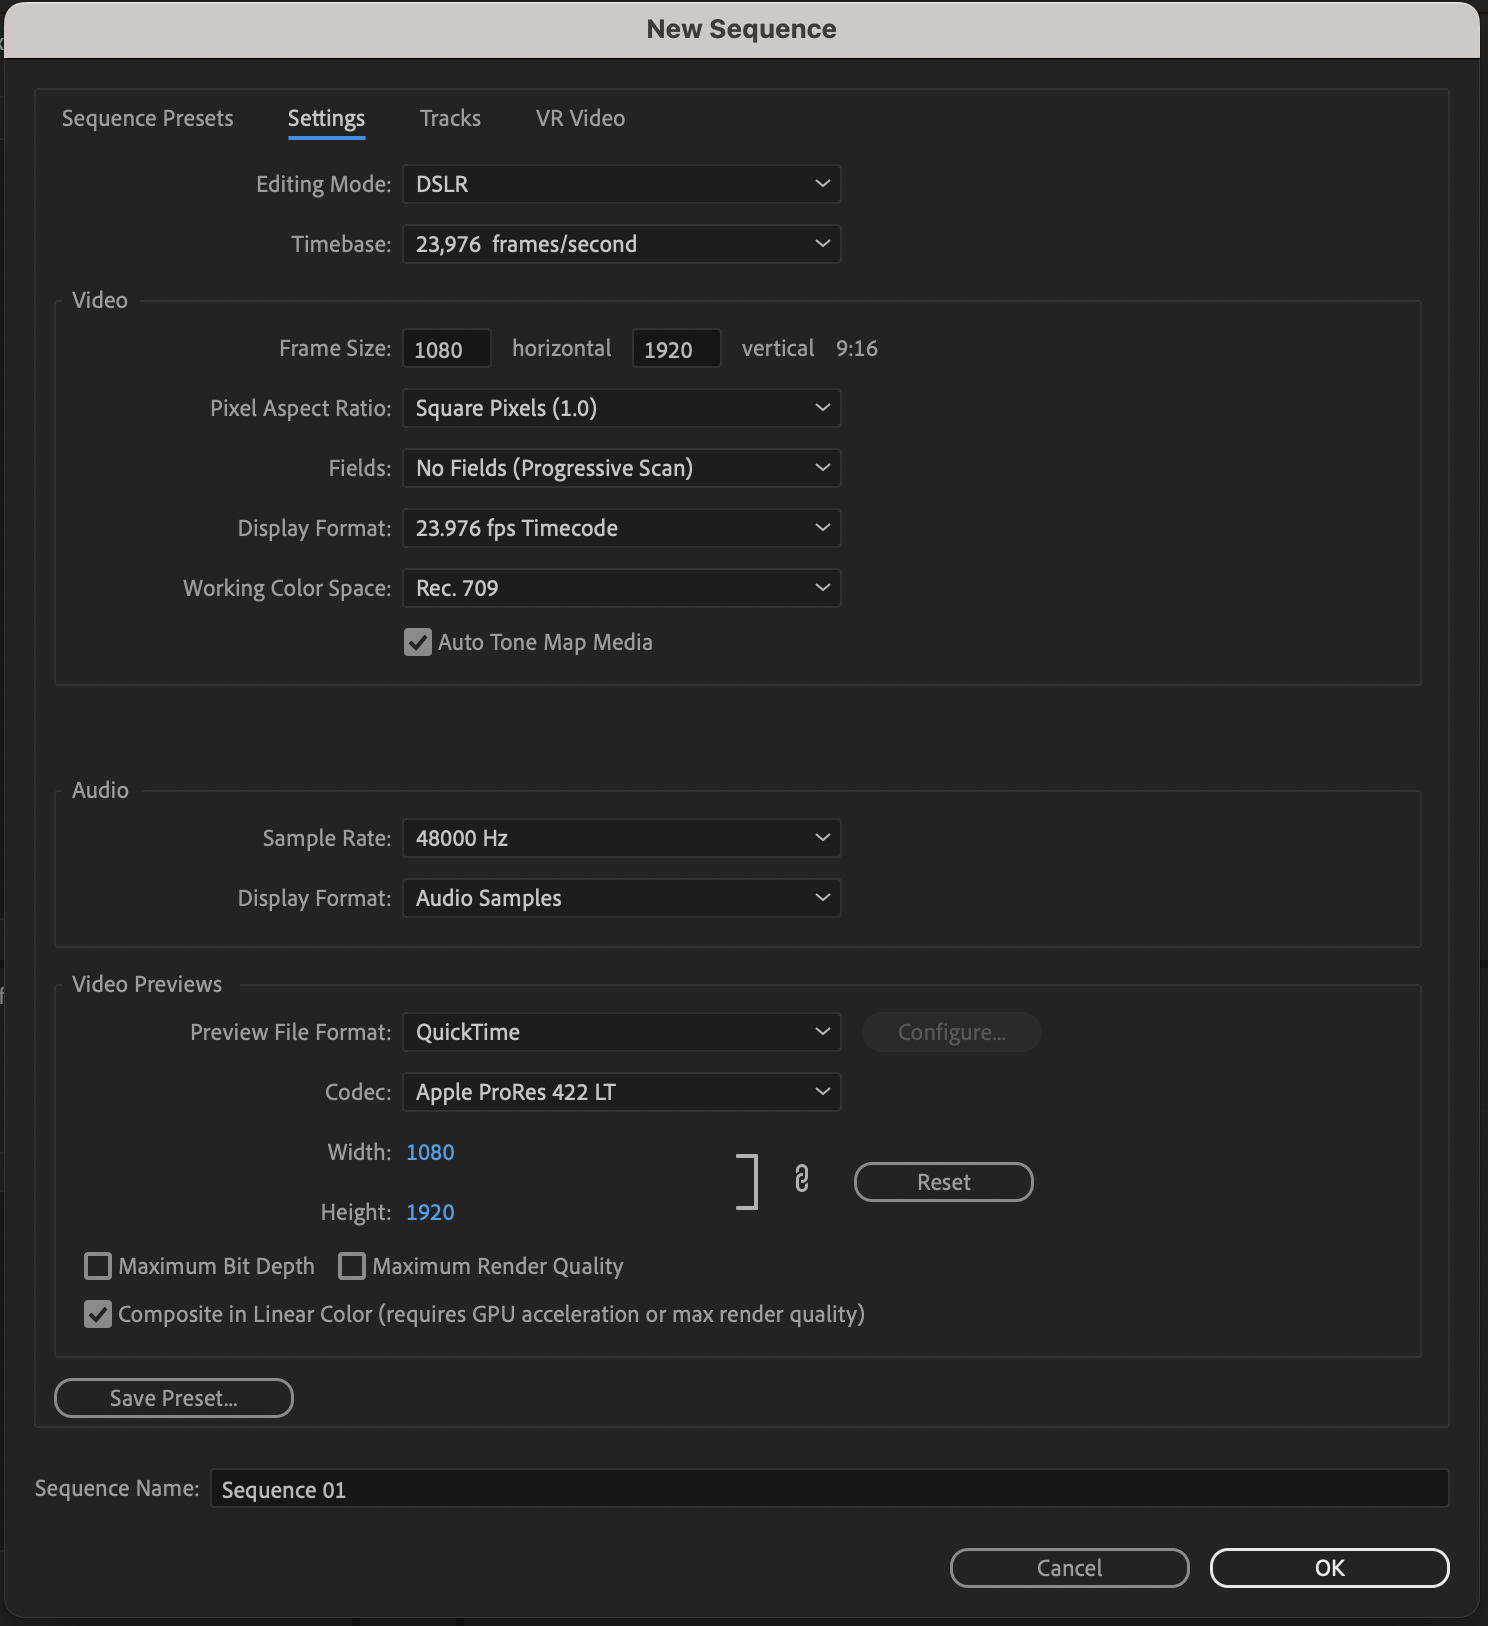
For vertical content, your resolution should be 1080 x 1920. Most mobile platforms prefer H.264. Crucially, keep your file sizes under control; if your file is too large, the platform's internal compressor will crush the quality during the upload. Aim for a bitrate around 10–15 Mbps for vertical HD.
HDR (High Dynamic Range)
If you are working with HDR footage (like Rec. 2100 PQ or HLG), you must ensure your export settings reflect this. Under the "Video" tab, change the Color Primaries and Transfer Characteristics to match your sequence. High Dynamic Range exports require 10-bit encoding, which is available under the HEVC (H.265) or ProRes formats.
Common Export Issues and Troubleshooting
Even with the best settings, errors can occur. Here are the most frequent hurdles editors face:
1. The "File Not Found" or Media Offline Error
This usually happens if Premiere loses the link to a source file during the export process. Always "Render and Replace" heavy effects or dynamically linked After Effects compositions before your final export to ensure stability.
2. Color Shifting (The "QuickTime Gamma Bug")
Sometimes, an exported video looks washed out when played back in VLC or QuickTime compared to how it looked in Premiere. This is often due to how different players interpret gamma metadata. To fix this, you can apply a "Gamma Compensation" LUT in the Effects tab of the Export window, or ensure you are exporting in the Rec. 709 color space with proper tags.
3. Export Crashes at a Specific Percentage
If your export always fails at, for example, 45%, navigate to that exact timestamp in your timeline. There is likely a corrupt frame, a heavy plugin, or a complex transition at that point. Try rendering that small section of the timeline (In to Out) to see if it triggers the same error.
The Role of Adobe Media Encoder
While you can export directly from Premiere, clicking "Send to Media Encoder" allows you to queue multiple sequences. This is essential for professional workflows where you need to export different versions (e.g., a 16:9 version for YouTube and a 9:16 version for TikTok) simultaneously. Media Encoder runs as a separate background process, allowing you to continue editing in Premiere while the renders happen in the background.
FAQ: Adobe Premiere Export Settings
Why is my exported video file so large?
Large file sizes are usually caused by a high Target Bitrate. If you are exporting a 10-minute video at 50 Mbps, the file will be massive. For web use, try lowering the bitrate to 15-20 Mbps for 1080p. Additionally, ensure you are using a compressed format like H.264 instead of an uncompressed format like AVI or a mezzanine format like ProRes.
What is the best export setting for YouTube in 2026?
The best setting is Format: H.264 or HEVC, Preset: Match Source - High Bitrate, with a manual adjustment to VBR 1-pass. Set the target bitrate to 20 Mbps for 1080p or 60 Mbps for 4K. Ensure "Use Maximum Render Quality" is checked if you have scaled any footage.
Should I use H.264 or H.265 (HEVC)?
Use H.264 if you need maximum compatibility with older devices and websites. Use H.265 (HEVC) if you are exporting 4K or HDR content and want to keep file sizes small without sacrificing quality. HEVC is the modern standard but requires more processing power to encode and decode.
Why does my video look blurry after exporting?
Blurriness is often caused by a mismatch between the sequence resolution and the export resolution. Ensure your export settings match your source (e.g., exporting 1080p as 1080p). It can also be caused by a bitrate that is too low, forcing the encoder to discard detail to meet the size limit. Increase your bitrate to see if the clarity improves.
How do I export a video with a transparent background?
To export transparency (Alpha Channel), you cannot use H.264. Instead, change the Format to QuickTime and the Video Codec to Apple ProRes 4444. Under the "Video" tab, ensure that Bit Depth is set to 8-bpc + alpha or 16-bpc + alpha. This creates a file that can be overlaid on other footage in another project.
Practical Recommendation
For the vast majority of projects in 2026, the safest and most effective choice is to use H.264 with a Match Source - High Bitrate template. Manually verify that your Bitrate Encoding is set to VBR, 1-pass and that your Target Bitrate aligns with the platform requirements (generally 15-20 Mbps for HD). This configuration provides a fast render time, excellent visual fidelity, and a file size that is easy to upload and share across all digital platforms.