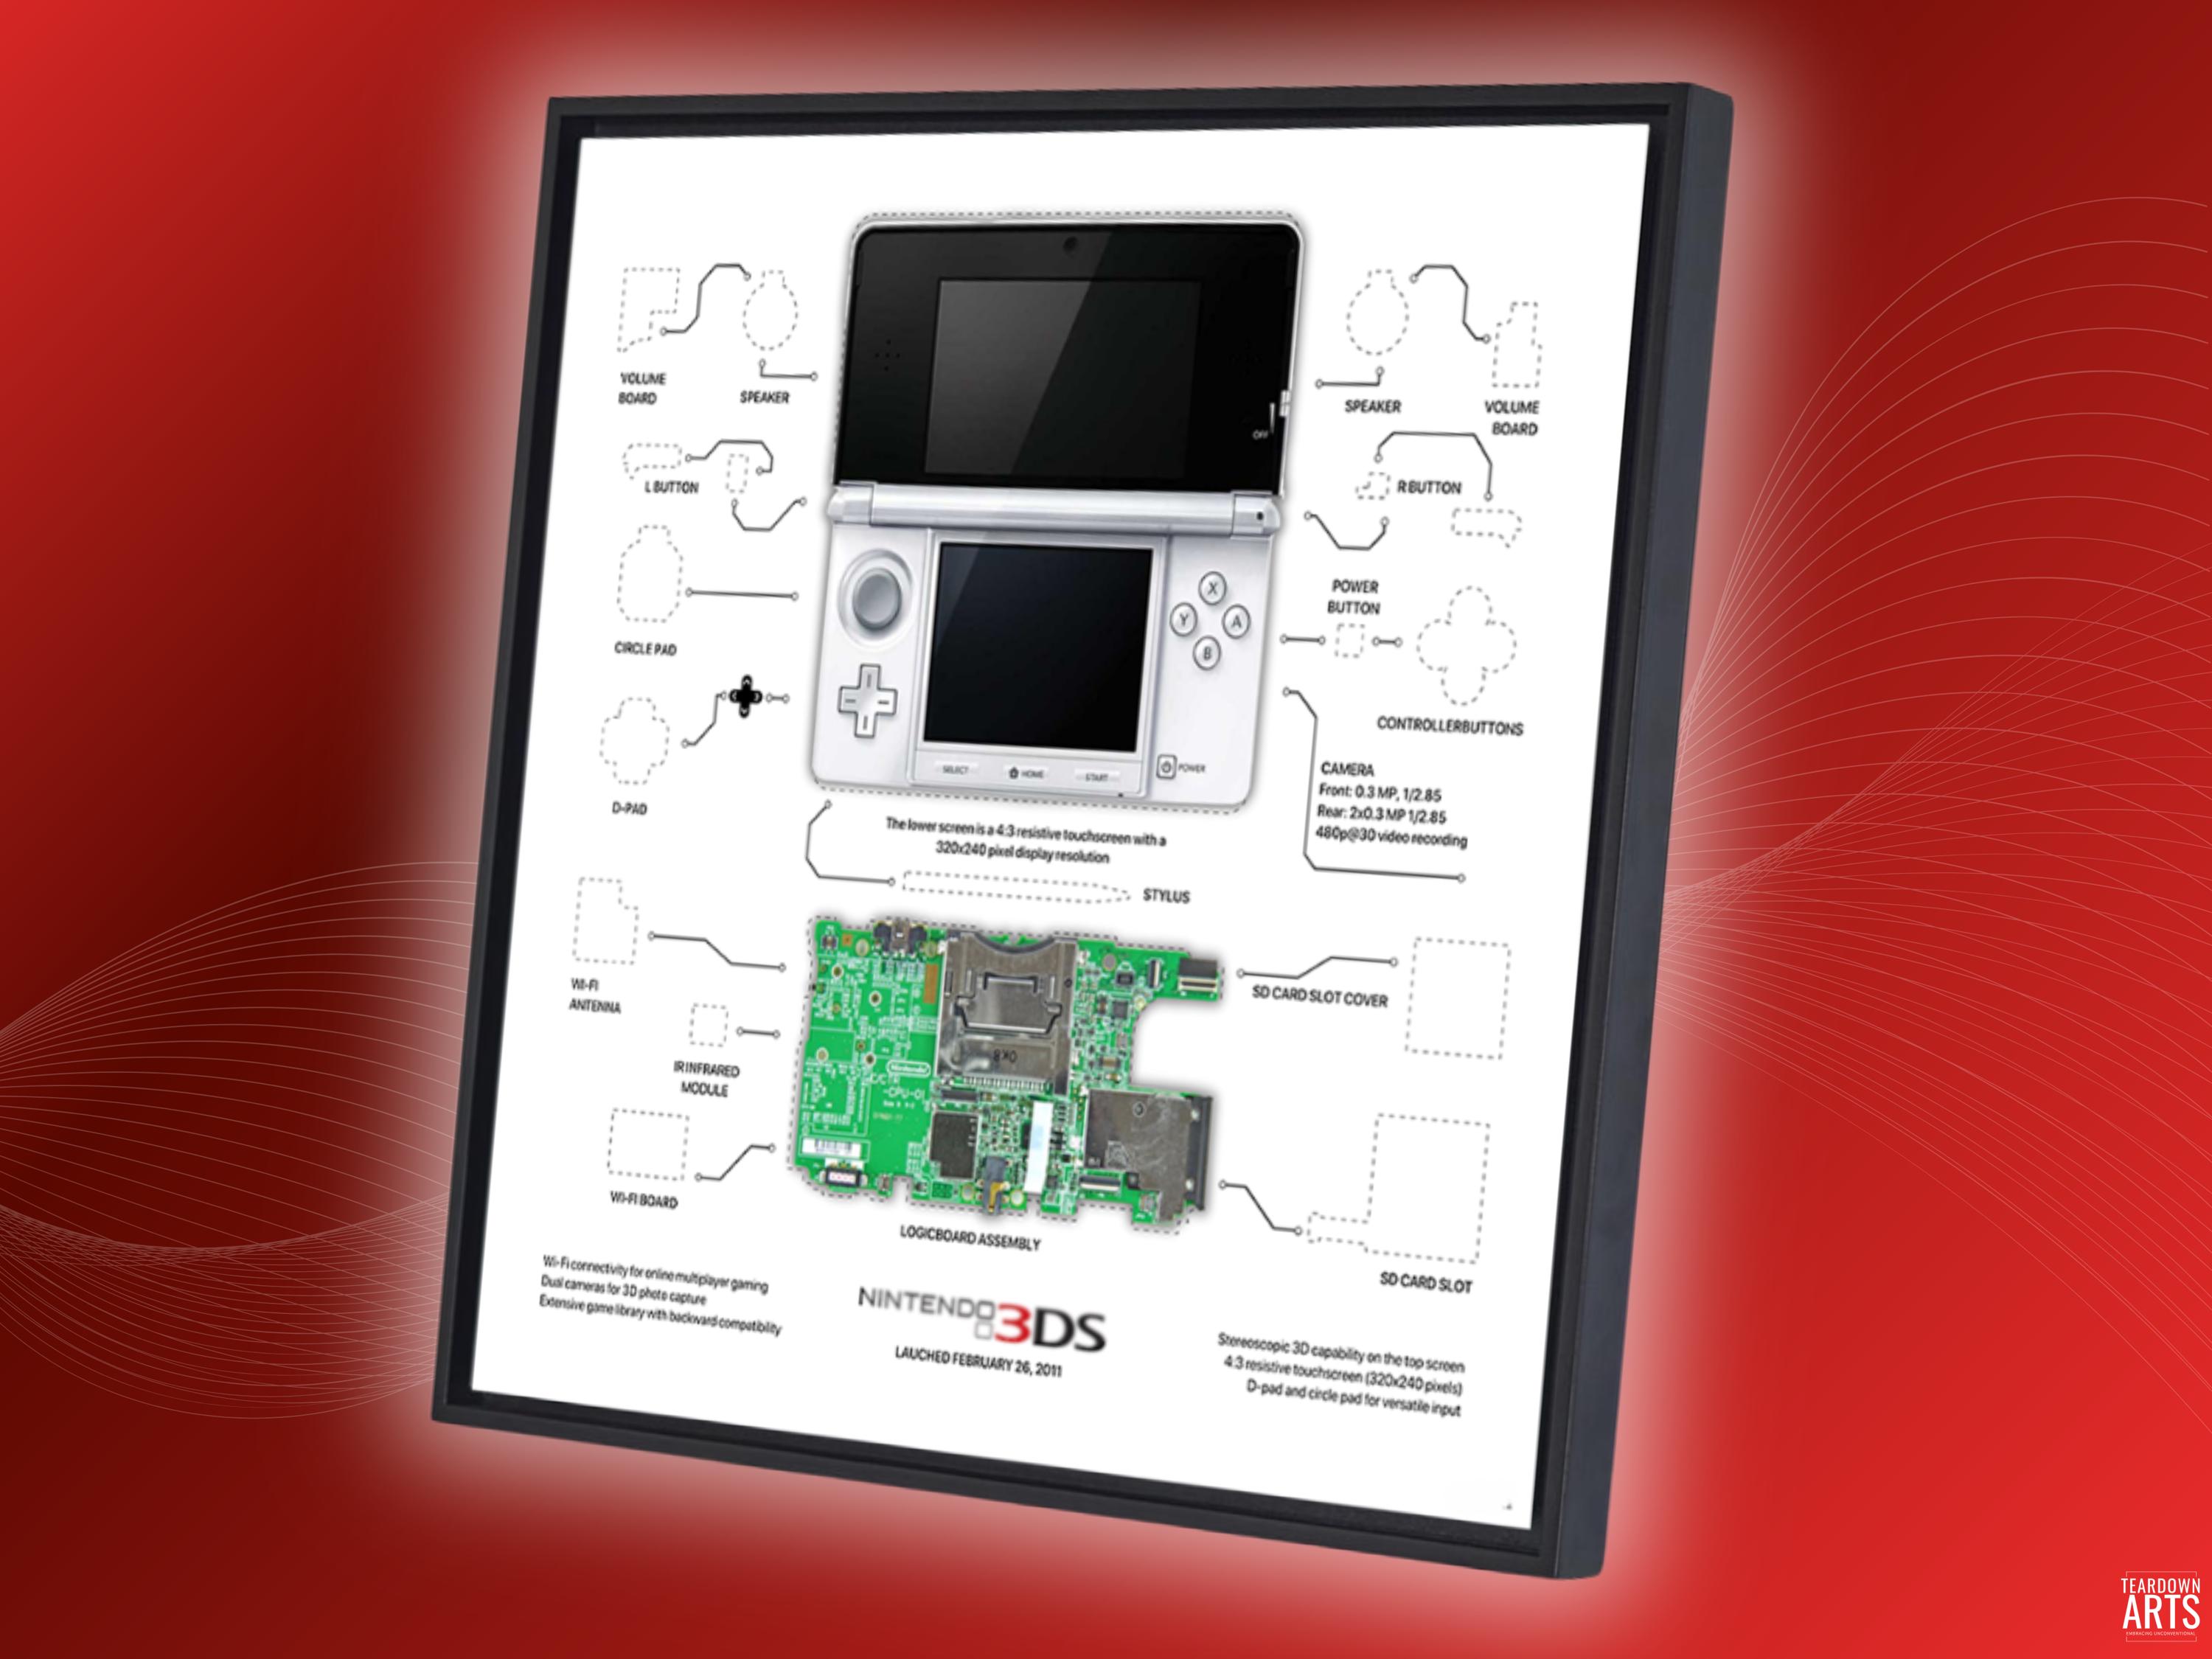
Taking apart a New Nintendo 3DS XL requires patience, precision, and an understanding of its intricate internal layout, which differs significantly from original 3DS models and standard consumer electronics. Whether you are replacing a worn-out battery, fixing a broken shoulder button, or swapping a damaged top screen, mastering the disassembly process prevents irreversible damage to delicate ribbon cables and plastic housing clips.
Understanding the New 3DS XL Architecture
Before taking a screwdriver to any console, technicians must recognize that the New Nintendo 3DS XL is built like a layered puzzle. Unlike older handheld systems where components were housed in modular blocks, the New 3DS XL integrates its circuit boards tightly with structural chassis elements. The upper shell houses the stereoscopic 3D display, the webcam modules, and the Wi-Fi antennas, while the lower body contains the motherboard, game card slot, circle pad module, and the primary battery compartment.
Working on this device demands an organized workspace and specialized tools. Standard household screwdrivers will strip the micro-fasteners securing the casing. Furthermore, static electricity poses a constant threat to exposed surface-mount components on the motherboard. Understanding the hardware layout before beginning prevents costly mistakes and ensures a smooth repair workflow.
Insight 1: Essential Tools and Workspace Preparation
A successful repair starts long before you turn the first screw. Attempting a New 3DS XL teardown with improper tools almost invariably leads to stripped screw heads, snapped plastic clips, or punctured lithium-ion batteries.
Recommended Toolkit Specifications
- JIS #00 or Phillips #00 Screwdriver: Nintendo uses Japanese Industry Standard (JIS) screws. While a standard Phillips #00 screwdriver can work, a proper JIS driver fits snugly, reducing the risk of cam-out and stripped threads.
- Non-Conductive Spudgers: Essential for prying open housing seams and lifting fragile ZIF (Zero Insertion Force) connectors without shorting out active circuits.
- Fine-Tipped Tweezers: Required for handling microscopic springs, ribbon cable latches, and routing antenna wires.
- Magnetic Screw Mat: With screws of varying lengths scattered across the backplate and internal shields, a grid-based magnetic mat ensures every fastener returns to its exact original position upon reassembly.
Maintaining a clean, well-lit, and static-free workspace is equally vital. Keep your work surface clear of liquids and debris, and consider wearing an anti-static wrist strap, especially when handling bare motherboards or display connectors.
Insight 2: Navigating the Outer Shell and Battery Compartment
Gaining entry to the New 3DS XL internals begins with the external backplate. Unlike the original 3DS model, which required removing the entire bottom housing to access basic internal parts, the New 3DS XL features a removable back cover held in place by two captive screws.
| Step | Phase | Key Caution |
|---|---|---|
| 1 | Backplate Removal | Loosen captive screws gently. |
| 2 | Battery Extraction | Lift using pull-tab; avoid tools. |
| 3 | Mid-Frame Separation | Disconnect battery thermistor. |
| 4 | Motherboard Exposure | Unseat ribbon cables carefully. |
| 5 | Screen & Hinge Access | Manage delicate hinge locking pin |
Removing the Back Cover Safely
- Loosen the two Phillips screws on the lower back cover. Note that these screws are designed to stay captive within the plastic cover so they do not get lost.
- Pry the cover away gently using a plastic opening tool near the hinge slots. Avoid using metal screwdrivers, which will mar the matte or glossy plastic finish.
- Lift the lithium-ion battery out of its compartment. If the battery is stuck due to aging adhesive, apply gentle pressure from beneath rather than prying with sharp metal implements, which can puncture the pouch and cause a thermal event.
Insight 3: Handling Delicate ZIF Connectors and Ribbon Cables
The interior of the New 3DS XL is a dense web of ribbon cables connecting the lower motherboard to the upper screen, speakers, cameras, and controls. Ruining a single ribbon cable or ZIF connector can instantly brick a subsystem or render the entire console irreparable.
Zero Insertion Force (ZIF) connectors utilize tiny hinged flaps or sliding latches to secure ribbon cables in place. To release a cable safely, flip the locking latch up or slide it outward by approximately one millimeter using a fine spudger or fingernail. Never pull a ribbon cable directly out of its socket while the latch is closed, as this will shear off the copper contact traces.
When reassembling the device, ensure the ribbon cable is inserted completely straight and pushed all the way into the connector slot before snapping the latch back down. Crooked insertions lead to intermittent contact issues, malfunctioning touchscreens, or unresponsive shoulder buttons.
Insight 4: The Complexities of Top Screen and Hinge Replacements
Replacing a lower screen or a motherboard is relatively straightforward, but tackling the top screen or the housing hinge assembly is universally recognized as the most challenging aspect of New 3DS XL repair.
The hinge mechanism routes multiple ribbon cables—including fragile camera wires, speaker lines, and the wide display cable—through a narrow metal barrel. Feeding these cables through the hinge without pinching, twisting, or tearing them requires immense dexterity.
Best Practices for Hinge and Top Screen Work
- Sequence Matters: Always thread the cables from the top shell down through the hinge barrel toward the lower motherboard, never the reverse.
- Use Protective Tape: Wrap the delicate ends of the ribbon cables in thin tape temporarily to protect them from sharp metal edges inside the hinge channel.
- Inspect Hinge Alignment: Ensure the plastic hinge lock is properly oriented before snapping the upper and lower housing halves together; forcing misaligned hinges will crack the plastic surrounding the screen pivot points.
Insight 5: Common Reassembly Pitfalls and Verification
Reassembling the console incorrectly can lead to frustrating troubleshooting loops where the system appears completely dead or exhibits erratic behavior upon powering on.
Critical Post-Assembly Checklist
- Check the MicroSD and Game Card Pins: Ensure the spring-loaded mechanisms are properly seated in their metal housings before closing the mid-frame.
- Verify Shoulder Button Springs: The L and R shoulder buttons rely on tiny metal torsion springs that easily pop out of place. Double-check their placement before tightening the external casing.
- Test Before Final Torquing: Before screwing down every internal shield, reconnect the battery and power the console on to verify that the touch screen, upper display, 3D slider, Wi-Fi module, and audio output function correctly.
If the console refuses to turn on, check the battery connection and ensure the small interconnect ribbon for the power button board is fully seated. Rushing the reassembly phase is the primary cause of post-repair failures.
Frequently Asked Questions
Can I repair a New 3DS XL with standard household tools?
No. Standard household screwdrivers lack the precision needed for micro-fasteners and often strip screw heads. You need a dedicated electronics repair kit featuring JIS-compatible bits, non-conductive spudgers, and precision tweezers.
Why is the top screen replacement considered so difficult?
The top screen requires routing multiple fragile ribbon cables through a tight mechanical hinge barrel. A single misstep can tear the display cable or camera wires, destroying the replacement part instantly.
Is it safe to leave the battery connected during disassembly?
Never keep the battery connected while performing internal repairs. Always remove the battery immediately after taking off the back cover to prevent accidental short circuits on the motherboard.
How do I fix stripped screws on the backplate?
If a backplate screw is stripped, use a rubber band placed flat over the screw head to provide extra grip for the screwdriver, or use a specialized micro-extractor tool designed for electronics.
What should I do if my console turns on with a loud pop and immediately shuts off?
This usually indicates a short circuit or a disconnected backlight cable. Check the upper screen ribbon cable connections, as an improperly seated display cable frequently triggers this safety shutdown behavior.
Next Actions for Successful Repair
Before purchasing replacement parts or opening your console, evaluate the exact nature of your hardware failure. If you are dealing with a simple battery degradation or a broken circle pad, the repair is manageable for a patient beginner. However, if your console requires a top screen replacement, weigh the cost of replacement screens and specialized tools against purchasing a pre-owned system. Proceed methodically, keep your workspace organized, and always prioritize cable safety above speed.