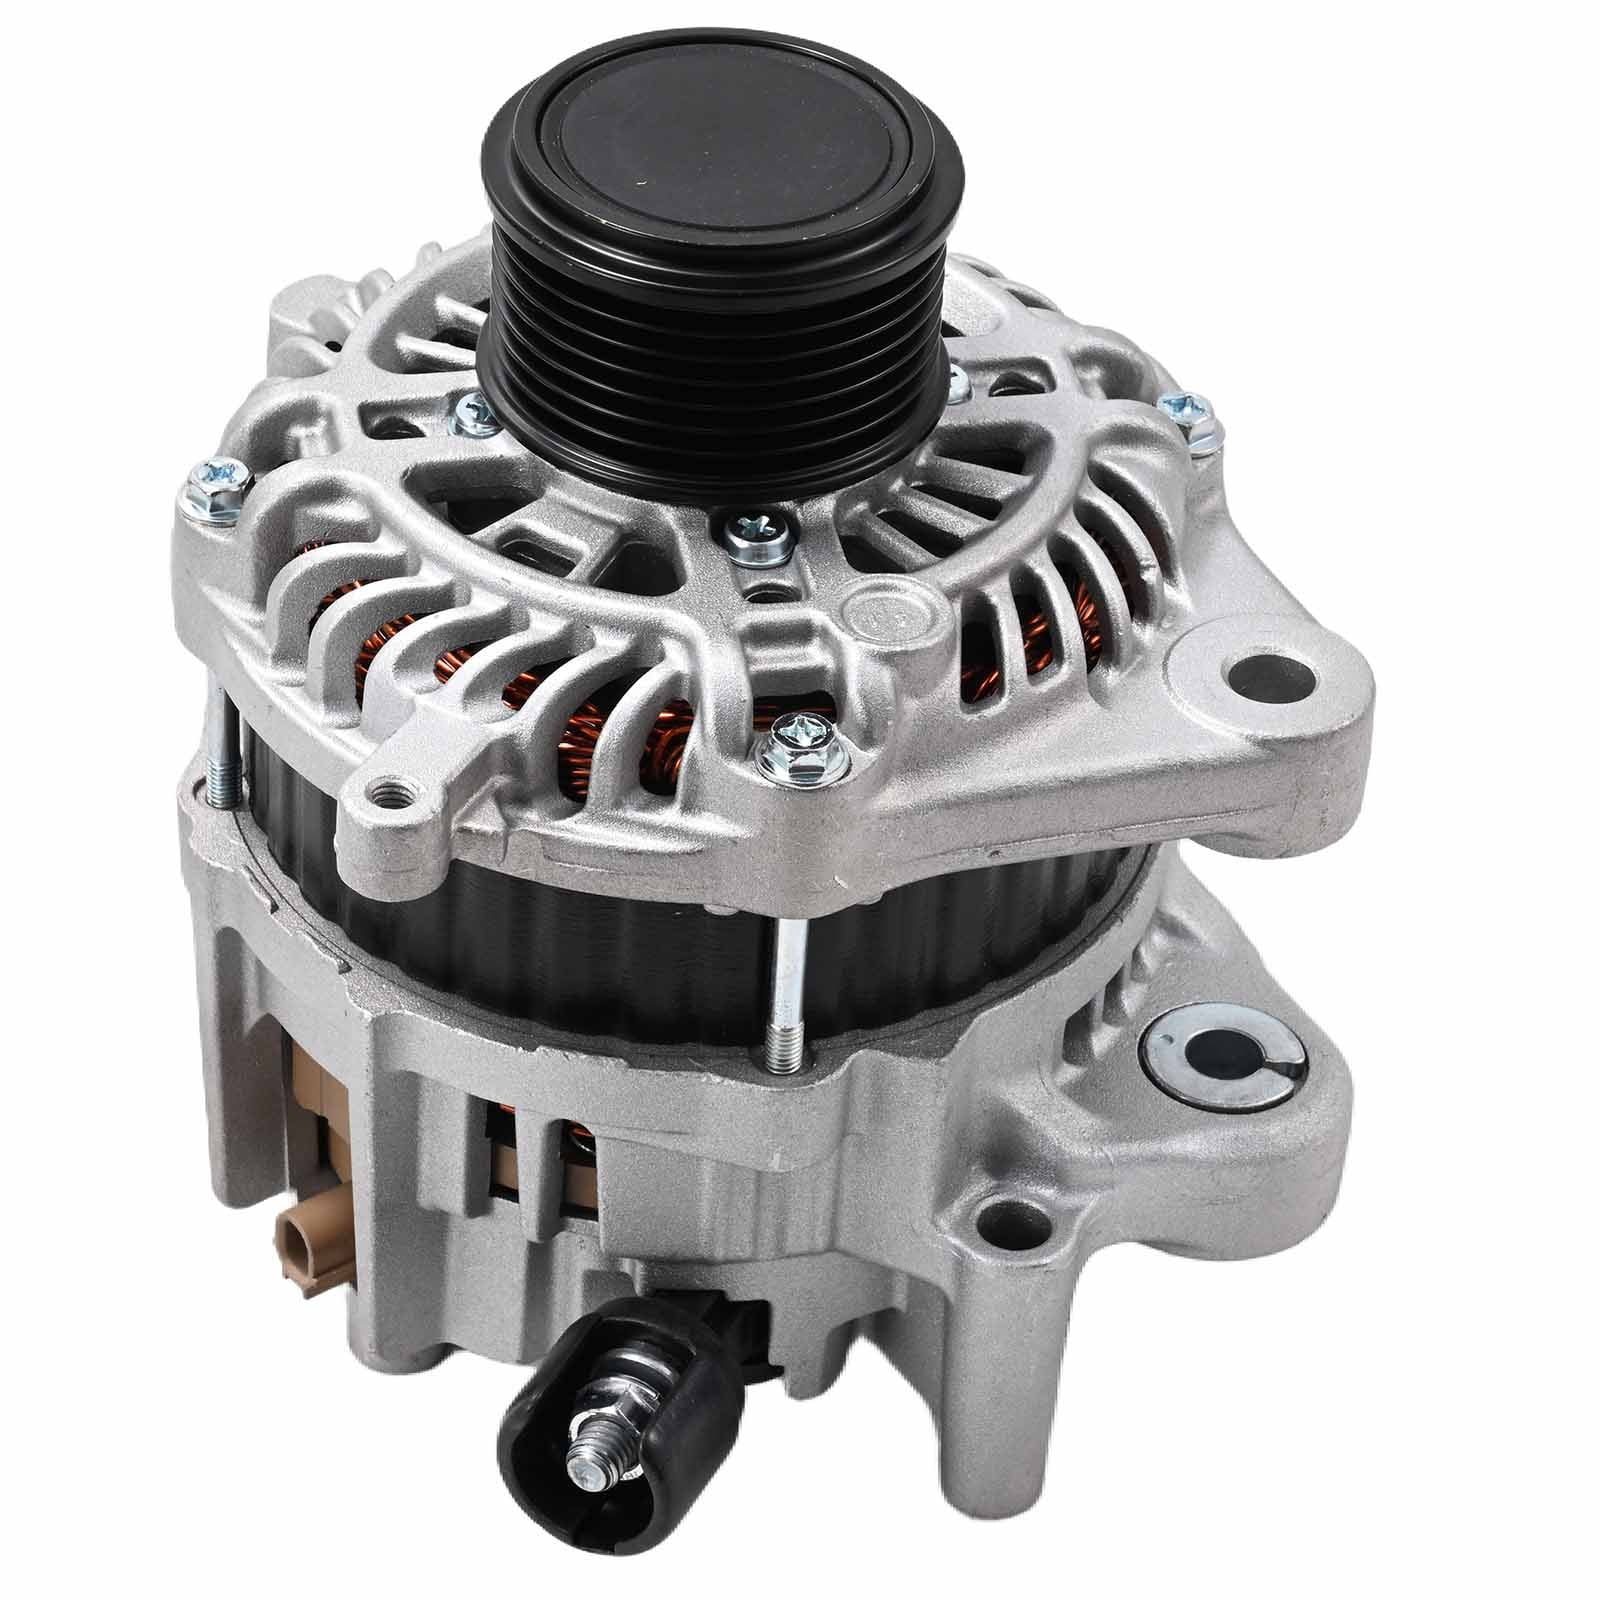
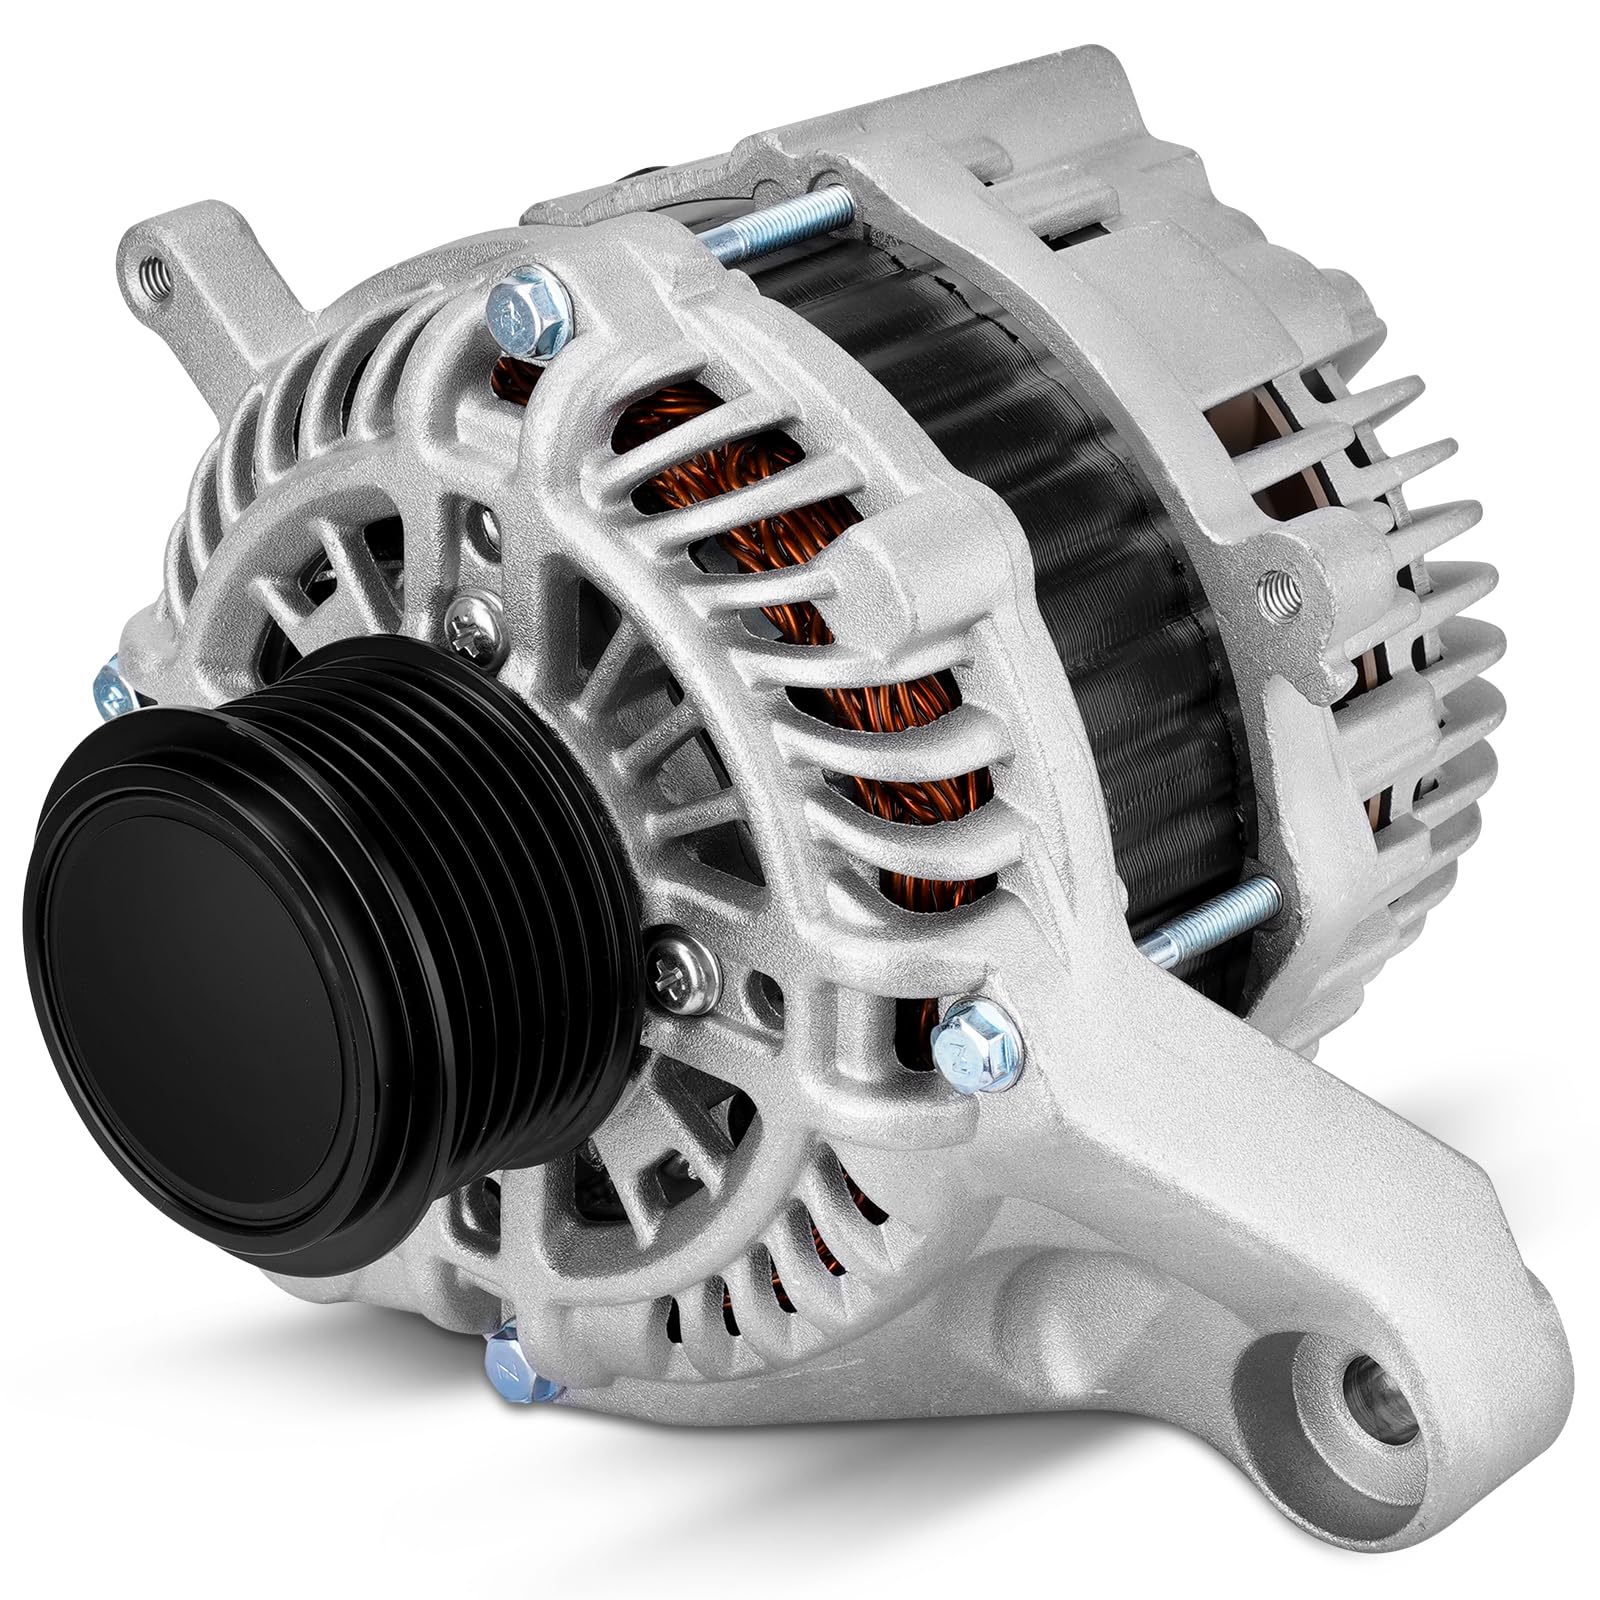
Replacing the alternator on a 2015 Honda Accord involves disconnecting the negative battery terminal, removing the drive belt and interfering components like the intake air duct or cooling fan shroud depending on the engine, unbolting the electrical connections and mounting bolts, swapping the unit, and reversing the process to restore proper electrical charging.
Understanding the 2015 Honda Accord Charging System
The 2015 Honda Accord relies on a sophisticated charging system designed to maintain battery charge and power the vehicle’s electrical accessories while the engine runs. Depending on the specific trim level, your 2015 Accord is equipped with either a 2.4-liter direct-injected four-cylinder engine or a 3.5-liter V6 engine. Both engine configurations utilize a serpentine belt-driven alternator equipped with an internal voltage regulator that communicates directly with the Powertrain Control Module (PCM).
Unlike older automotive electrical systems that maintained a constant charging voltage, the charging system in the 2015 Accord is managed dynamically. The Electrical Load Detector (ELD) module monitors electrical current draw, allowing the computer to adjust alternator output based on real-time vehicle demands. This maximizes fuel efficiency and reduces mechanical drag on the engine. When the alternator fails, the battery is no longer replenished, leading to a cascading electrical failure that will eventually disable the vehicle.
Recognizing the early warning signs of alternator failure helps prevent unexpected roadside breakdowns. Because modern vehicles depend heavily on steady voltage, a failing charging system manifests through several distinct symptoms rather than a simple dead battery.
- Dim or Pulsing Headlights: Interior lights, dashboard illumination, and headlights may brighten or dim noticeably as engine RPM fluctuates.
- Battery Warning Light: The dedicated battery-shaped icon or a "Check Charging System" message on the multi-information display illuminates on the instrument cluster.
- Electrical Accessory Malfunctions: Power windows may roll up and down slowly, the blower motor may weaken, and heated seats or infotainment screens may reset or exhibit erratic behavior.
- Whining or Growling Noise: A failing alternator bearing can produce a distinct high-pitched whine or grinding sound from the accessory belt area, which typically grows louder with increased engine speed.
- Slow Cranking or Complete No-Start: If the alternator has stopped charging entirely, the battery voltage will drop below the threshold required to crank the starter motor.
Diagnostic Procedures and Testing Prerequisites
Before purchasing and installing a replacement alternator, you must verify that the alternator is genuinely at fault. A weak battery, a loose or corroded battery terminal, or a slipping serpentine belt can mimic exact alternator failure symptoms. Proper diagnosis saves time and prevents unnecessary parts replacement.
Begin with a visual inspection under the hood of your 2015 Honda Accord. Inspect the serpentine belt for cracks, glazing, or incorrect tension. A loose or worn belt will slip on the alternator pulley, preventing the rotor from spinning fast enough to generate adequate electrical output. Next, check the battery terminals and the main charging cable connection at the back of the alternator. Corrosion, grease, or loose hardware will impede electrical flow, causing low system voltage.
To test the charging system accurately, use a digital multimeter set to DC volts:
- Measure the battery voltage with the engine turned off. A healthy, fully charged battery should read approximately 12.6 volts.
- Start the engine and measure the voltage across the battery terminals again.
- A properly functioning alternator should push system voltage up to between 13.5 and 14.5 volts with the engine running.
- Turn on high-beam headlights, the air conditioner blower on high, and the rear defroster. The voltage should remain stable above 13.0 volts. If the voltage drops steadily toward 12 volts or lower, the alternator is failing to support electrical loads and requires replacement.
Tools, Equipment, and Safety Requirements
Performing a 2015 Honda Accord alternator replacement requires standard mechanic's tools along with a few specific items to ensure safety and efficiency. Working on automotive electrical systems carries inherent risks of electrical shock and short circuits, making preparation essential.
- Tools Required:
- Metric socket set (typically 10mm, 12mm, 14mm, and deep sockets)
- Ratchet and extension bars
- Serpentine belt tool or a long-handled 3/8-inch breaker bar
- Combination wrench set
- Digital multimeter
- Trim removal tools (for plastic clips)
- Work light or headlamp
- Safety Gear and Supplies:
- Safety glasses and mechanic gloves
- Terminal cleaning brush and wire brush
- Replacement serpentine belt (recommended if the current belt has high mileage)
Always disconnect the negative battery cable before touching any electrical connections on the alternator. The main battery cable running to the alternator is permanently hot (connected directly to the positive battery terminal without a fuse), and accidental contact with grounded chassis metal will cause a severe electrical short, sparks, or component damage.
Step-by-Step Replacement Guide for the 2.4L and 3.5L Engines
While the core procedure is similar for both engine types, the 2.4L four-cylinder and 3.5L V6 configurations in the 2015 Honda Accord feature distinct packaging under the hood. The four-cylinder alternator is mounted on the front-passenger side of the engine block, whereas the V6 alternator sits lower and tighter near the firewall or passenger side, often requiring the removal of auxiliary components for adequate clearance.
Step 1: Disconnect the Battery
Park the vehicle on a flat, level surface, engage the parking brake, and open the hood. Locate the battery on the driver's side of the engine bay. Use a 10mm wrench to loosen the nut on the negative (black) battery cable terminal, lift the cable off the terminal, and tuck it safely aside so it cannot spring back and make accidental contact.
Step 2: Remove Interfere Components and Relieve Belt Tension
To access the alternator mounting bolts and electrical connections, you may need to remove the plastic intake air duct leading to the throttle body. Use a flathead screwdriver or clip pliers to release any plastic push-pins.
Next, relieve tension on the serpentine belt:
- Attach a 3/8-inch breaker bar or a dedicated serpentine belt tool to the automatic belt tensioner pulley bolt.
- Rotate the tensioner pulley to release tension on the belt.
- Slip the serpentine belt off the alternator pulley, and hook the remaining belt securely out of the work area. Inspect the belt for wear while it is accessible.
Step 3: Disconnect Alternator Electrical Connections
At the rear of the alternator, locate the main electrical harness and the heavy power wire:
- Remove the rubber protective boot covering the main charging output terminal nut.
- Use a 10mm socket or wrench to remove the nut securing the heavy battery cable ring terminal to the alternator stud. Carefully slide the cable off and tuck it away.
- Locate the plastic electrical connector plug containing the control wires. Press down on the locking tab and pull the connector straight off the alternator housing. If the locking tab is stiffened by engine heat, use a small pick to gently release it.
Step 4: Unbolt and Extract the Old Alternator
The alternator is held in place by two or more structural mounting bolts:
- Locate and loosen the mounting bolts using a ratchet and the appropriate metric socket (typically 12mm or 14mm).
- Support the alternator with one hand as you remove the final bolt.
- Alternator bodies can fit tightly inside their mounting brackets due to steel sleeve inserts. Gently rock the alternator back and forth to slide it free from the mounting ears, then maneuver it upward and out through the engine bay.
Step 5: Install the New Alternator
Compare the replacement alternator side-by-side with the original unit to verify that mounting holes, electrical plug orientations, and pulley offsets match precisely.
- Maneuver the new alternator into position on the mounting brackets.
- Thread the mounting bolts in by hand to ensure they do not cross-thread, then torque them securely to manufacturer specifications.
- Plug the electrical wiring harness back into the alternator housing until the locking tab clicks into place.
- Slide the main battery cable ring terminal onto the output stud, thread the 10mm nut, and tighten it firmly. Slide the protective rubber boot back over the terminal.
Step 6: Reinstall the Belt and Test the System
- Rotate the belt tensioner pulley with your breaker bar once more, and route the serpentine belt back over the alternator pulley and all other accessory pulleys. Double-check that the belt ribs are properly seated inside every pulley groove.
- Reinstall any intake ducts or covers removed during disassembly.
- Reconnect the negative battery terminal and tighten the 10mm clamp securely.
- Start the engine and verify that the serpentine belt tracks smoothly without squealing. Use your multimeter to confirm that charging voltage reads between 13.5 and 14.5 volts at the battery terminals.
| Component / Step | 2.4L Four-Cylinder Engine | 3.5L V6 Engine |
|---|---|---|
| Alternator Location | Front-passenger side, easily accessible from top | Lower passenger side, tighter clearance |
| Clearance Requirements | Minimal; intake snorkel removal usually sufficient | May require removal of coolant reservoir or belt cover |
| Primary Socket Sizes | 10mm, 12mm, 14mm | 10mm, 12mm, 14mm |
| Belt Routing Check | Standard 4-cylinder serpentine diagram | Complex V6 belt routing with multiple idlers |
Cost Analysis: DIY vs. Professional Replacement
When facing alternator failure, vehicle owners must weigh the financial and time investments of completing the repair at home versus hiring a professional mechanic or dealership service center.
Opting for a DIY replacement keeps labor costs at zero. A new or remanufactured alternator for a 2015 Honda Accord typically costs between $150 and $350, depending on whether you purchase an aftermarket unit or an OEM Honda part. Additional supplies, such as a new serpentine belt, run an extra $20 to $40. For someone with basic hand tools and an hour or two of free time, this represents significant financial savings.
Conversely, professional replacement at an independent repair shop or Honda dealership introduces labor charges. Mechanics typically allocate 1.5 to 2.5 hours of labor for this job. At average labor rates ranging from $100 to $180 per hour, professional labor adds $150 to $450 to the total bill. Total repair costs at a shop generally range from $350 to $800. Choosing professional service provides warranty coverage on both parts and labor, offering peace of mind if a component fails prematurely.
Common Mistakes and Troubleshooting Post-Installation
Avoiding common installation errors prevents premature part failure and frustrating follow-up repairs.
The most critical mistake is failing to disconnect the negative battery terminal before starting work. Accidentally bridging the alternator's main battery stud to a grounded metal wrench will create a massive electrical arc that can blow main fuses or damage sensitive onboard computers. Always disconnect the battery first.
Another frequent error is improper belt routing or insufficient tensioning. If the serpentine belt is offset by a single rib on any pulley, it will shred itself within minutes of engine startup. Always inspect the belt alignment across all pulleys before starting the vehicle. Furthermore, ensure all wiring harness retainers and rubber terminal boots are correctly repositioned to prevent chafing against moving parts or hot exhaust components.
If the battery light remains illuminated on the dashboard after a new alternator is installed, check the multi-pin control connector. A bent pin, corrosion inside the plug, or an unseated connector will break communication between the alternator and the engine computer, preventing the charging system from activating. Clear any stored diagnostic trouble codes using an OBD-II scanner to reset the system status.
Frequently Asked Questions
Can I drive my 2015 Honda Accord with a failing alternator?
Driving with a failing alternator is strongly discouraged. Once the alternator stops producing electricity, the vehicle runs entirely on reserve battery power. Within a short distance—often 10 to 30 miles depending on electrical accessory usage—the battery voltage will drop too low to power the fuel injectors, spark plugs, and computer modules, causing the engine to stall completely in traffic.
Should I replace the battery when replacing the alternator?
Not necessarily, but you should have the battery professionally tested. A failing alternator places extreme strain on a battery by repeatedly discharging it. If the battery is more than three to five years old or has been deeply discharged multiple times, it may have internal plate damage and should be replaced alongside the alternator to ensure system reliability.
Are remanufactured alternators reliable for a 2015 Honda Accord?
Remanufactured alternators are widely used and generally reliable, provided they are sourced from reputable manufacturers that replace critical wear items like bearings, brushes, and voltage regulators. Look for units that include a solid warranty (such as a 1-year to limited lifetime replacement warranty) to protect against premature mechanical or electrical defects.
Do I need to reprogram the computer after replacing the alternator?
No computer reprogramming or flashing is required after replacing the alternator on a 2015 Honda Accord. The vehicle's Powertrain Control Module will automatically recognize the operating status of the new charging system once electrical connections are restored and voltage output stabilizes.
Why is my new alternator whining after installation?
A whining noise that increases in pitch with engine RPM typically indicates that the serpentine belt is overtensioned, placing excessive side-load on the new alternator bearing. Alternatively, it can indicate a misaligned belt or a defective bearing within the new unit itself. Recheck belt tension and alignment immediately to prevent bearing seizure.
Next Actions
If your 2015 Honda Accord exhibits charging system warnings, confirm the diagnosis using a digital multimeter at the battery terminals. If the charging voltage falls below 13.5 volts with the engine running, gather your safety gear, select a quality replacement alternator matching your engine type, and follow the disconnection and replacement steps outlined above to restore reliable operation.