Upgrading your home’s plumbing system is a strategic investment that improves water efficiency, prevents catastrophic leaks, and increases property value. Whether you are replacing aging galvanized steel pipes, installing high-efficiency fixtures, or upgrading your water heater, success requires careful planning, adherence to local building codes, and a clear understanding of your current system’s material composition.
Assessing Your Current Plumbing Infrastructure
Before purchasing materials or hiring contractors, you must identify the components of your existing system. Many homes built before the mid-1990s may contain materials that are now considered obsolete or prone to failure.
Common Pipe Materials
- Galvanized Steel: Commonly found in homes built before 1960. These pipes are prone to internal rust and scale buildup, which significantly restricts water pressure over time.
- Polybutylene: Frequently installed between 1978 and 1995, this gray plastic piping is notoriously susceptible to chemical reactions with common oxidants in water, leading to brittle failures and leaks. If you identify this material, an urgent upgrade is often recommended by insurance providers.
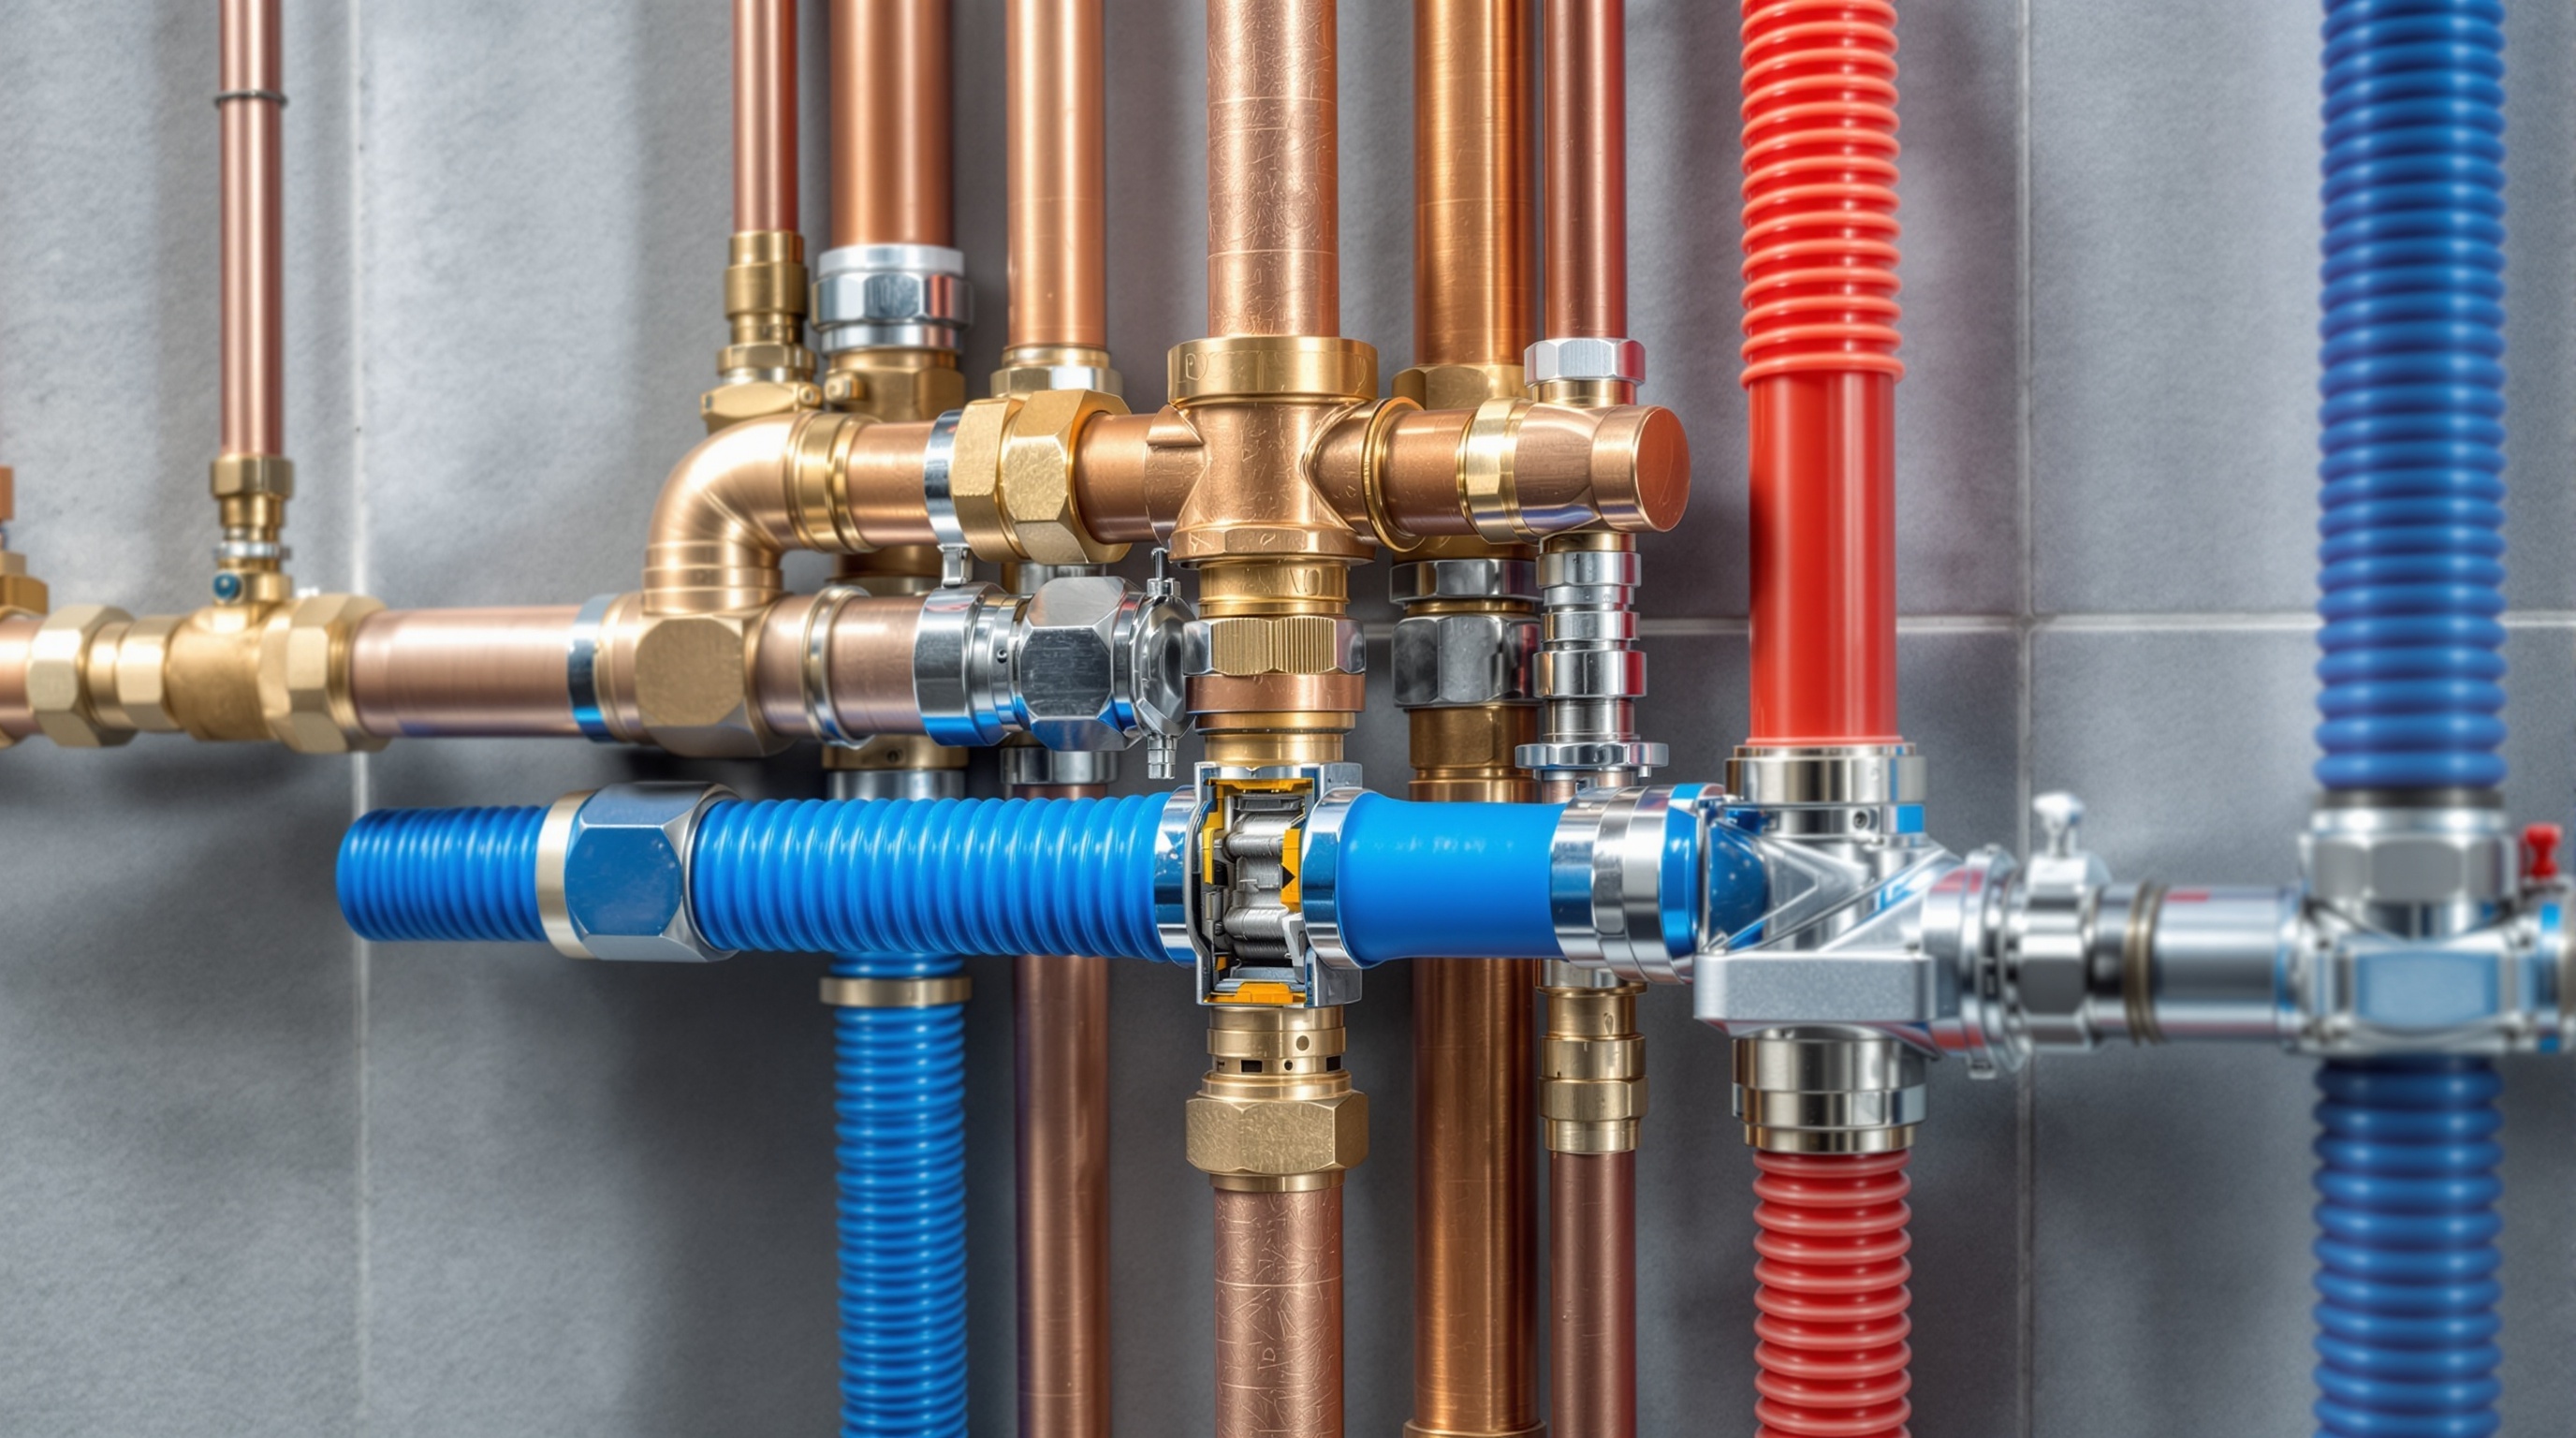
- Copper: Remains the industry standard for durability and longevity. While robust, aging copper may still develop pinhole leaks due to soft water corrosion.
- PEX (Cross-linked Polyethylene): The modern standard for residential supply lines. It is flexible, resistant to freezing, and does not corrode.
Identifying Hidden Issues
A professional plumbing audit is the most reliable way to assess your needs. Look for signs of trouble, such as fluctuating water pressure, "banging" sounds (water hammer), rust-colored water, or unexplained damp spots on drywall. If you are planning a renovation, an upgrade is essential if your current pipe diameters cannot support the flow requirements of new, modern high-flow fixtures.
Regulatory Requirements and Permitting
Plumbing upgrades are rarely considered "do-it-yourself" tasks in the eyes of local building departments. Almost every jurisdiction requires a permit for the replacement of supply or drain lines.
The Role of Local Building Codes
Building codes exist to ensure that plumbing systems are sanitary, prevent backflow contamination, and support adequate pressure. If you perform major work without a permit, you risk:
- Safety Hazards: Improperly vented drain systems can allow sewer gases, including methane and hydrogen sulfide, to enter your living space.
- Insurance Denial: Should a pipe burst in a section you upgraded illegally, your homeowner’s insurance policy may refuse to cover the resulting water damage.
- Real Estate Complications: During the sale of your home, inspectors will look for permit history. Unpermitted work often necessitates expensive retrofitting or price concessions during the closing process.
Always consult your local municipal website or the building department office to confirm which specific upgrades require inspections. In 2026, most jurisdictions require that all new installations meet the current International Residential Code (IRC) or local equivalent.
Strategic Planning for Fixture Upgrades
Upgrading fixtures—such as toilets, faucets, and showerheads—is the most accessible entry point for home plumbing improvement. However, these upgrades must be compatible with your existing water supply and drain capacity.
High-Efficiency Considerations
Modern fixtures are designed for water conservation. When selecting new components, look for labels that certify performance, such as those meeting EPA WaterSense standards.
- Toilets: Modern high-efficiency toilets (HET) use 1.28 gallons per flush (GPF) or less, compared to older 3.5 GPF models. Ensure your drain line can handle the lower volume to avoid debris buildup.
- Faucets: Installing aerators or low-flow faucets can reduce water consumption by up to 30%.
- Pressure Issues: If you are moving to a low-flow system, ensure your home’s pressure regulator (PRV) is functioning. High pressure can cause premature wear on new ceramic disc valves within modern faucets.
Comparing Pipe Material Options for Replacements
When replacing significant portions of your plumbing, you must choose the material that best balances longevity, installation cost, and local code compliance.
| Material | Primary Use | Pros | Cons |
|---|---|---|---|
| Copper (Type L/M) | Supply Lines | High durability, fire resistance, proven lifespan. | High material cost, requires professional soldering skills. |
| PEX (A, B, or C) | Supply Lines | Flexible, easier to route, corrosion-resistant. | Requires specialized crimping tools; susceptible to UV damage. |
| PVC (Schedule 40) | Drain/Waste/Vent | Easy to cut, solvent weld, inexpensive. | Not for pressurized water; brittle in extreme cold. |
| ABS | Drain/Waste/Vent | High impact resistance, easy to glue. | Some jurisdictions limit use in specific fire-rated walls. |
Execution: The Step-by-Step Approach
- Shutoff Verification: Locate your main water shutoff valve and test it. If it does not operate smoothly, replace it before starting any other work.
- Demolition and Access: Create necessary access panels in walls or floors. Use a professional-grade stud finder to locate pipes and electrical lines before cutting.
- Rough-in Installation: Lay out the new piping according to your plan. Ensure all horizontal drain lines have the correct slope (typically 1/4 inch per foot) to ensure proper drainage.
- Pressure Testing: Before closing up any walls, perform a system-wide pressure test. This involves pressurizing the lines with water or air to verify that all joints and fittings are leak-free.
- Final Connections and Trim: Once inspections are passed, install the final finish-trim fixtures.
Avoiding Common Pitfalls
The most common mistake during a plumbing upgrade is neglecting the "venting" portion of the system. Drainage pipes require air to move water effectively; without proper venting, fixtures will gurgle, drain slowly, and, in worst-case scenarios, allow sewer gas into the home due to trap siphoning.
Additionally, avoid mixing materials without proper transition fittings. For example, connecting copper directly to galvanized steel creates a galvanic reaction, which causes rapid corrosion at the junction point. Always use dielectric unions to isolate dissimilar metals.
Troubleshooting and Maintenance
Once your upgrade is complete, ongoing maintenance is necessary to maximize the life of your investment.
- Annual Valve Exercise: Every 12 months, turn every shutoff valve (under sinks and behind toilets) on and off. This prevents them from "freezing" in place due to mineral buildup.
- Water Heater Flushing: If your upgrade included a new water heater, flush the tank annually to remove sediment, which is the primary cause of heating element failure.
- Monitor Pressure: Use a simple screw-on pressure gauge to check your home’s water pressure. It should ideally be between 40 and 60 PSI. Anything over 80 PSI can stress your entire system and void warranties on new fixtures.
Frequently Asked Questions
Can I replace polybutylene pipes with PEX? Yes, PEX is the preferred replacement for polybutylene. You will need to use transition couplings specifically designed for these two different material types to ensure a leak-proof seal.
How do I know if my water pressure is too high? If you hear a loud banging sound when faucets are turned off quickly, you likely have water hammer. This is often caused by high pressure or a failed pressure regulator. Install a gauge on your outdoor hose bib to get an accurate reading.
Do I need to replace my main water line when upgrading inside pipes? Not necessarily. However, if you are increasing the number of fixtures in the home or moving from smaller-diameter pipes to larger ones, the main line may eventually become a bottleneck, leading to pressure drops when multiple fixtures are used at once.
Is it safe to leave old pipes in the walls if I install new ones? Abandoning old pipes is generally acceptable provided they are completely disconnected from the water supply and drained. However, if the old material contains lead, you should ensure it is removed entirely to prevent future accidental reconnection.
How long does a typical plumbing upgrade take? For a standard bathroom vanity upgrade, count on 1 to 2 days. For a whole-house repipe, expect a professional crew to take between 3 to 7 days, depending on the complexity of the structure.
Next Steps for Your Project
To begin your plumbing upgrade, first obtain a set of current floor plans or take detailed measurements of your home to sketch your layout. Schedule a consultation with a licensed plumber to verify your intended route and material choices. Once your plan is verified, apply for the necessary permits at your local building department before purchasing any materials. If you are inexperienced with soldering or crimping tools, reserve a portion of your budget for a professional to handle the connections, even if you perform the demo and preparation work yourself.