Audio issues on Apple AirPods Pro—such as crackling, static, reduced Active Noise Cancellation, or muted volume—usually stem from dirty acoustic meshes, outdated firmware, Bluetooth interference, or misconfigured iOS audio settings. Software glitches can be resolved by performing a hardware reset, while persistent physical defects or driver failures require servicing through Apple Support.
Initial Triage: Quick Fixes for Common AirPods Pro Audio Problems
Before committing to complex troubleshooting steps or scheduling a technician appointment, perform an initial triage. Most audio anomalies on the AirPods Pro (1st and 2nd Generation) occur due to minor obstruction, temporary wireless interference, or incorrect configuration settings on your host device.
1. Clean the Speaker Grilles and Microphones
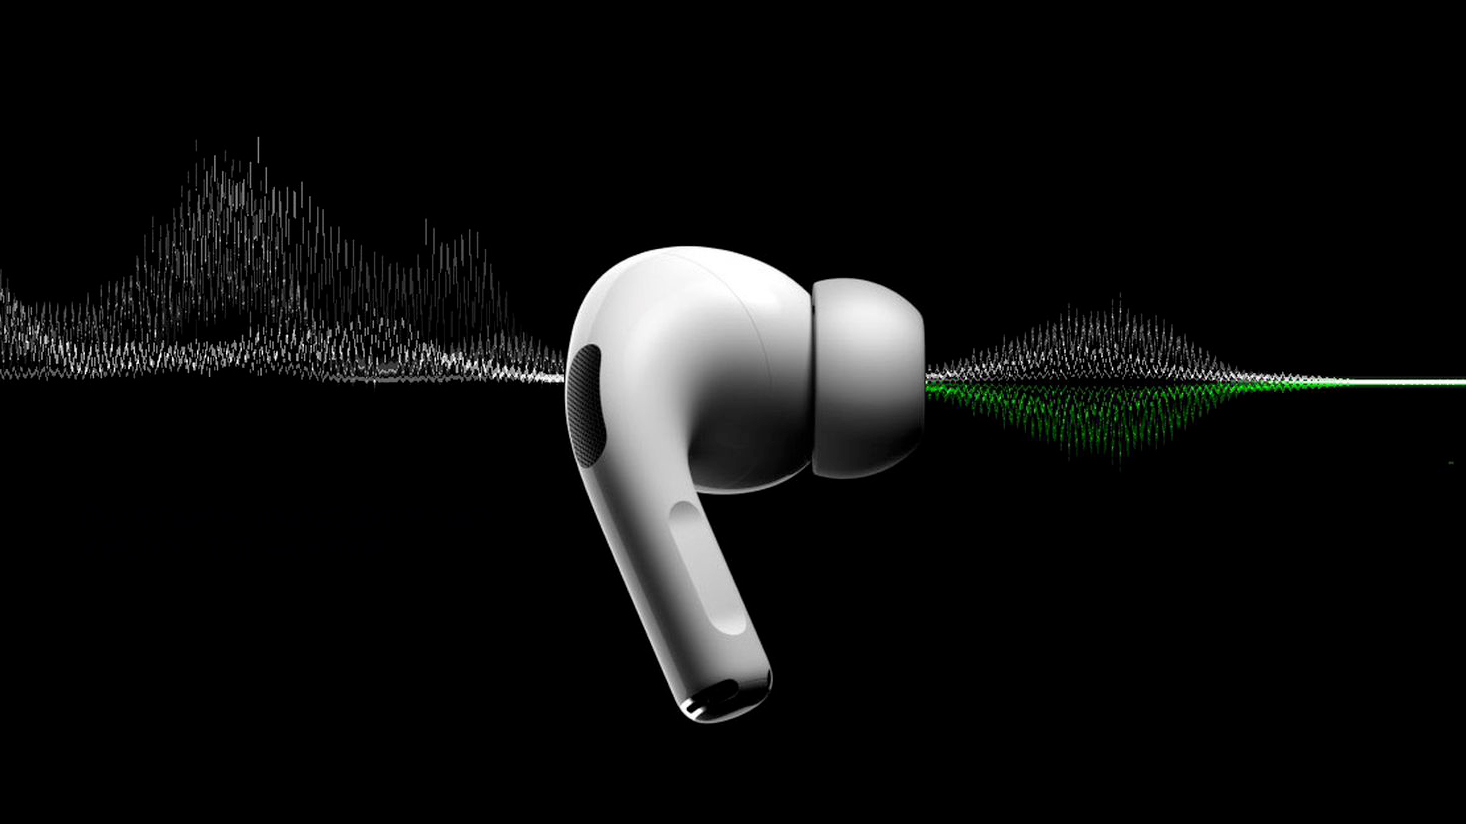
Accumulation of earwax, lint, skin oils, and dust on the external microphone grilles and internal speaker meshes is the leading cause of reduced volume, muffled sound, and malfunctioning Active Noise Cancellation (ANC). The AirPods Pro rely on outward-facing and inward-facing microphones to sample ambient noise and calculate anti-noise waves. When these grilles are blocked, the ANC algorithm miscalculates, producing static or hollow audio.
- Remove the silicone ear tips: Pull firmly at the base of the ear tip where it attaches to the AirPod body.
- Inspect the acoustic mesh: Look into the nozzle mesh and the black external microphone vents on the outer shell of each earbud.
- Clean using safe materials: Use a dry, lint-free microfiber cloth and a soft-bristled brush (such as a clean, dry toothbrush) to gently brush away debris. Avoid pressing downward into the mesh, which can push debris deeper into the driver housing.
- Avoid liquids and sharp objects: Do not use metal pins, paperclips, or harsh solvents like acetone. If necessary, slightly dampen a cotton swab with 70% isopropyl alcohol to wipe external surfaces, ensuring no liquid enters the speaker acoustic openings.
2. Check and Adjust iOS Audio Settings
Software audio balances on iOS, iPadOS, or macOS can unintentionally mute or distort sound output.
- Check Audio Balance: Open Settings on your iPhone or iPad, navigate to Accessibility > Audio & Visual, and verify that the Balance slider is centered between the Left (L) and Right (R) channels.
- Disable Headphone Accommodations temporarily: In Settings > Accessibility > Audio & Visual > Headphone Accommodations, toggle the setting off to test if custom frequency boosts are introducing audio clipping or artificial distortion.
- Toggle Spatial Audio: Swipe down from the top-right corner of your screen to open the Control Center, press and hold the Volume slider, and toggle Spatial Audio or Spatialize Stereo off. Unoptimized audio tracks can sound hollow or misaligned when spatial processing is active.
3. Verify Bluetooth Connection and Reduce Interference
Wireless earbuds operate on the standard 2.4 GHz ISM frequency band, which is susceptible to electromagnetic interference from surrounding hardware.
- Move away from interference sources: High-voltage power lines, Wi-Fi routers, microwave ovens, poorly shielded USB 3.0 cables, and dense metal structures can cause audio dropouts, popping sounds, or momentary desynchronization between the left and right earbuds.
- Disconnect secondary Bluetooth devices: If your iPhone or Mac is connected to multiple high-bandwidth Bluetooth devices (such as smartwatches, external keyboards, or wireless controllers), temporary bandwidth contention can degrade audio streams.
- Re-establish the connection: Place both AirPods Pro into the charging case, close the lid, wait 15 seconds, and re-insert them into your ears to initiate a fresh wireless handshake.
Diagnosing Specific AirPods Pro Sound Symptoms
Different audio issues point to distinct hardware or software root causes. Identifying your exact symptom ensures you apply the correct solution without unnecessary troubleshooting steps.
Crackling, Static, or Rattling Noises
Crackling or static sounds are among the most documented physical failure modes, particularly in early production runs of the AirPods Pro (1st Generation). This symptom often presents as a metallic rattle, crackle, or static crunch that worsens during physical movement, exercise, or when talking.
- Vibration-Induced Static: If the crackling occurs when you tap the casing or walk briskly, the cause is often an internal mechanical failure of the transducer driver or a loose feedback microphone diaphragm.
- Acoustic Feedback Loop: Blocked external microphone vents force the internal noise-canceling firmware to over-amplify specific frequencies, producing an audible high-pitched squeal or static hiss. Cleaning the microphone meshes frequently resolves feedback-driven static.
Reduced Active Noise Cancellation (ANC) or Bass Loss
If your AirPods Pro sound tinny, lack low-end bass response, or fail to isolate ambient noise effectively, the problem typically relates to acoustic seals or sensor miscalibration.
- Ear Tip Fit Test Failure: Active Noise Cancellation requires a tight seal within the ear canal. Navigate to Settings > Bluetooth, tap the Info (i) icon next to your AirPods Pro, and run the Ear Tip Fit Test. If the test reports a poor seal, try swapping between the small, medium, large, or extra-large silicone ear tips included in the box.
- Accumulated Debris in Inward-Facing Vents: The internal microphone monitors sound inside the ear canal to adjust bass EQ dynamically. If earwax blocks this inner port, the system reduces bass reproduction and degrades noise isolation performance.
Low Volume or Muffled Audio in One or Both Earbuds
When audio output drops drastically in one earbud despite volume indicators showing maximum output, the cause is almost always software balance issues, extreme debris build-up, or power management throttles.
- Low Power Mode Throttling: When an AirPod battery drops below critical thresholds (under 10%), power delivery to the driver amplifiers can fluctuate, causing reduced output or automatic channel shutting.
- Volume Limit Restrictions: Check if safety limits are active on your host device. Go to Settings > Sounds & Haptics > Headphone Safety and review the Reduce Loud Sounds threshold to ensure the system is not capping overall decibel levels.
Call Quality and Microphone Sound Issues
If callers complain that your voice sounds muffled, distant, or intermittent, the issue lies in the beamforming microphone array located at the stem of each AirPod.
- Stem Microphone Obstruction: Ensure the lower microphone port at the bottom tip of the stem is free of dirt, facial oils, or moisture.
- Microphone Selection Settings: By default, iOS automatically switches between the left and right microphone depending on optimal signal quality. Go to Settings > Bluetooth > AirPods Pro (i icon) > Microphone, and manually force the system to test Always Left or Always Right. If one microphone yields clear audio while the other is muffled, the non-functioning side has a hardware failure.
Step-by-Step Advanced Troubleshooting Protocol
If basic cleaning and setting adjustments do not rectify the sound issue, proceed with systematic advanced troubleshooting to isolate firm-level or operating system bugs.
- AirPods Pro Audio Issues
- Perform Physical Cleaning & Check Ear Tip Fit
- Does the issue persist?
- NO: Problem Resolved
- YES: Reset AirPods Pro to Factory Settings
- Does the issue persist?
- Force Firmware Update & Test Across Devices
- Does the issue persist?
- Seek Hardware Repair or Service Replacement
- Does the issue persist?
- Force Firmware Update & Test Across Devices
- Does the issue persist?
How to Reset Apple AirPods Pro
Resetting your AirPods Pro restores factory configuration, clears saved Bluetooth pairings, and flushes persistent memory errors in the internal audio processor chip (Apple H1 or H2).
- Place both AirPods Pro into the charging case and close the lid.
- Wait 30 seconds to allow the earbuds to enter complete sleep mode.
- Open the lid of the charging case.
- On your connected iPhone or iPad, go to Settings > Bluetooth, tap the Info (i) button next to your AirPods Pro, and select Forget This Device. Confirm your choice.
- With the charging case lid open, press and hold the setup button on the back of the case.
- Hold the button for approximately 15 seconds until the status light on the front of the case flashes amber, and then flashes white.
- Bring the open case close to your unlocked iOS device and follow the on-screen animation to re-pair the hardware.
How to Force an AirPods Pro Firmware Update
Outdated or corrupted firmware can cause unexpected playback glitches, audio dropouts, or degraded ANC performance. Unlike iOS, Apple devices do not offer a manual "Update Now" button for AirPods. However, you can trigger an automatic update check using a specific environment protocol:
- Insert both AirPods Pro securely into the charging case.
- Connect the charging case to a live power source using a Lightning cable, USB-C cable, or certified Qi wireless charging pad.
- Place your connected iPhone or iPad directly adjacent to the charging case.
- Ensure the host iOS device is connected to a stable Wi-Fi network and has an active internet connection.
- Leave both devices stationary and undisturbed for 20 to 30 minutes.
- To check your current firmware version, go to Settings > Bluetooth > AirPods Pro (i icon) > About > Version. Compare this number against Apple's official system documentation to confirm you are on the latest build.
Adjusting Headphone Accommodations and Audio Balance
Custom audio profile adjustments can overcome slight driver degradation or specific frequency losses.
- Go to Settings > Accessibility > Audio & Visual > Headphone Accommodations.
- Turn on Headphone Accommodations.
- Select Custom Audio Setup to perform an interactive listening test, or manually tune your audio for Balanced Tone, Vocal Range, or Brightness.
- Adjust the strength slider to Slight, Moderate, or Strong to amplify faint sound details that may be falling silent due to worn internal components.
Comparing AirPods Pro Audio Issues and Solutions
The following reference table outlines common sound symptoms, their primary underlying causes, and the verified resolution method:
| Symptom | Primary Cause | Immediate Remediation | Resolution Threshold |
|---|---|---|---|
| Crackling / Static during movement | Hardware failure of acoustic component or clogged outer vents | Clean outer grilles; run software reset | Hardware replacement if clean reset fails |
| Weak Bass / Ineffective ANC | Poor ear tip seal or obstructed inner feedback microphone | Clean inner nozzle; change ear tip size | Re-run Ear Tip Fit Test in iOS Bluetooth settings |
| Uneven Volume (Left vs. Right) | iOS audio balance misconfiguration or earwax blockage | Adjust L/R balance slider in Accessibility settings | Clean mesh with microfiber cloth and dry brush |
| Muffled Voice on Calls | Blocked stem microphone or Bluetooth bandwidth bottleneck | Clean bottom stem port; disconnect extra Bluetooth devices | Force primary microphone selection to left or right |
| Audio Dropouts / Popping | Wireless 2.4 GHz interference or host memory congestion | Move away from Wi-Fi routers; reboot host iPhone | Perform factory reset of AirPods Pro case |
| High-Pitched Squeal / Feedback | Feedback loop caused by covered mic ports during handling | Clean external microphone ports completely | Ensure hands or case sleeves do not cover vents |
Hardware Repair Options and Apple Service Programs
When software steps, cleaning, and factory resets fail to correct distorted audio or static, the issue is hardware failure. Microscopic solder joint fractures, blown driver diaphragms, or failed sensor chips cannot be corrected via software updates.
Apple Service Program for AirPods Pro (1st Generation) Sound Issues
Apple officially acknowledged a manufacturing defect in a subset of AirPods Pro (1st Generation) units manufactured before October 2020.
- Affected Symptoms: Units that display crackling or static sounds that increase in loud environments, during exercise, or while talking on the phone, or units where Active Noise Cancellation fails to function properly (resulting in loss of bass sound or an increase in background noise).
- Service Program Terms: Apple or an Apple Authorized Service Provider will examine your AirPods Pro to verify eligibility. Affected units (Left, Right, or both) are replaced free of charge.
- Eligibility Window: The program covers affected AirPods Pro (1st Generation) for 3 years after the first retail sale of the unit. Because production of affected units concluded in late 2020, most units fall outside this specific window unless supported by specific regional consumer protection laws. However, checking serial numbers with Apple Support remains a prudent first step.
Out-of-Warranty Replacement Options and AppleCare+
If your devices are outside warranty periods and do not qualify for a recall program, review your repair options through official channels:
- AppleCare+ Coverage: If you purchased AppleCare+ for Headphones, battery degradation and accidental hardware damage are covered subject to a minimal service fee (typically $29 USD per incident).
- Out-of-Warranty Replacement: Apple does not offer traditional component repairs for individual AirPods due to their sealed, glued enclosure construction. Instead, Apple offers single-bud replacements. Out-of-warranty replacement costs for an individual AirPod Pro earbud generally range between $89 and $99 USD per side, depending on the model generation.
- Third-Party Repairs: Independent repair shops rarely offer driver replacements for AirPods Pro due to the non-repairable physical design of the glued casing. Beware of cheap third-party replacement earbuds from unauthorized online sellers, as they will fail to pair correctly with original Apple charging cases and components.
How to Prevent Future AirPods Pro Audio Degradation
Preventive maintenance extends the lifespan of your audio drivers and keeps microphone arrays operating within optimal tolerances.
- Implement a weekly cleaning routine: Do not wait for earwax buildup to cause complete audio loss. Gently wipe the grilles weekly using dry cotton swabs.
- Keep charging cases dry and clean: Moisture and sweat trapped inside the charging well can migrate into the acoustic vents when earbuds are docked. Wipe down your AirPods Pro thoroughly after workouts before placing them back into the charging case.
- Store away from extreme temperatures: Prolonged exposure to high heat inside parked vehicles degrades the delicate diaphragm membranes inside high-excursion speaker drivers, leading to premature audio distortion.
- Keep your host devices updated: Operating system updates on iOS, iPadOS, and macOS frequently contain Bluetooth stack stability improvements that prevent connection drops and playback bugs.
Frequently Asked Questions
Why do my AirPods Pro crackle when I put them in my ear or press on them?
This physical crackle or popping sound is usually caused by physical pressure changing within the acoustic chamber when an external microphone port is blocked. When you press the earbud, trapped air forces the noise-canceling circuit to over-compensate, creating acoustic feedback. Clean all black microphone meshes on the earbud casing. If the crackling persists despite cleaning and software resets, an internal driver diaphragm has physically separated and requires replacement.
Can water or sweat cause AirPods Pro sound issues?
Yes. Although AirPods Pro (1st and 2nd Generation) are water and sweat-resistant under IEC standard 60529 (IPX4 rating), they are not completely waterproof. Liquid entering the speaker acoustic mesh or microphone ports will temporarily damp driver vibrations, causing low volume, muffled sound, or distorted noise cancellation. If exposed to sweat or water, dry the earbuds thoroughly with a microfiber cloth and let them air-dry upside down for several hours before placing them back in the charging case.
Why is one AirPod Pro quiet while the other is at normal volume?
Uneven volume levels between the left and right earbud usually stem from a shifted audio balance setting in your device accessibility menu, localized earwax obstruction in one speaker mesh, or uneven battery degradation. First, verify that Settings > Accessibility > Audio & Visual > Balance is perfectly centered. If balance is correct, thoroughly clean the lower volume earbud's speaker grille.
How do I run the Ear Tip Fit Test, and why does it matter for sound quality?
The Ear Tip Fit Test uses the internal microphone to measure sound levels inside your ear canal and evaluate acoustic leakage. Go to Settings > Bluetooth, tap the (i) icon beside your AirPods Pro, and select Ear Tip Fit Test. Press Play to run the acoustic sweep. A poor fit destroys low-frequency bass reproduction and prevents Active Noise Cancellation from cancelling ambient sounds effectively.
Will resetting my AirPods Pro fix static and background hiss?
Resetting your AirPods Pro clears corrupted configuration files, resets Bluetooth connection caches, and recalibrates sound profiles across channels. If static is caused by a wireless handshake error or temporary software failure, a hardware reset will resolve the issue. However, if the static stems from physical component breakdown or liquid damage inside the microphone housing, a reset will not restore audio fidelity, and hardware replacement is necessary.
Next Steps and Recommended Actions
To systematically resolve your AirPods Pro sound issues, execute the following actions in order:
- Perform a deep cleaning: Remove silicone ear tips and clear all microphone meshes and acoustic speaker openings using a dry microfiber cloth and soft brush.
- Adjust device audio settings: Check host Bluetooth balance settings, ensure Reduce Loud Sounds is configured correctly, and toggle Spatial Audio to rule out processing artifacts.
- Execute a hard reset: Unpair the AirPods Pro from your iOS device, place them in the case, and hold the setup button for 15 seconds until the status indicator flashes amber, then white.
- Test on an alternate device: Pair your AirPods Pro to a different smartphone, tablet, or computer. If the sound issue disappears on the second device, your primary host device requires an operating system reboot or network settings reset.
- Contact Apple Support: If static, muffled audio, or crackling persists across multiple devices after cleaning and resetting, initiate a service claim through Apple Support to evaluate your hardware replacement options.