Replacing the headlight assemblies or bulbs on a 2007 Chevrolet Trailblazer is a straightforward maintenance task that owners can perform with basic hand tools. To restore optimal light output and ensure road legality, you must select the correct bulb type, properly align the beam, and ensure the housing is sealed against moisture ingress to prevent premature failure of the reflectors.
The 2007 Chevrolet Trailblazer remains a popular vehicle in 2026 for its utility and rugged chassis design. However, as these vehicles age, the factory-installed headlight assemblies often suffer from plastic oxidation, known as "fogging," or internal electrical degradation. Whether you are dealing with a simple burnt-out bulb or a completely clouded housing that fails to project light effectively, understanding the components, legal requirements, and replacement procedures is essential for safety and compliance.
Understanding Your Trailblazer’s Lighting System
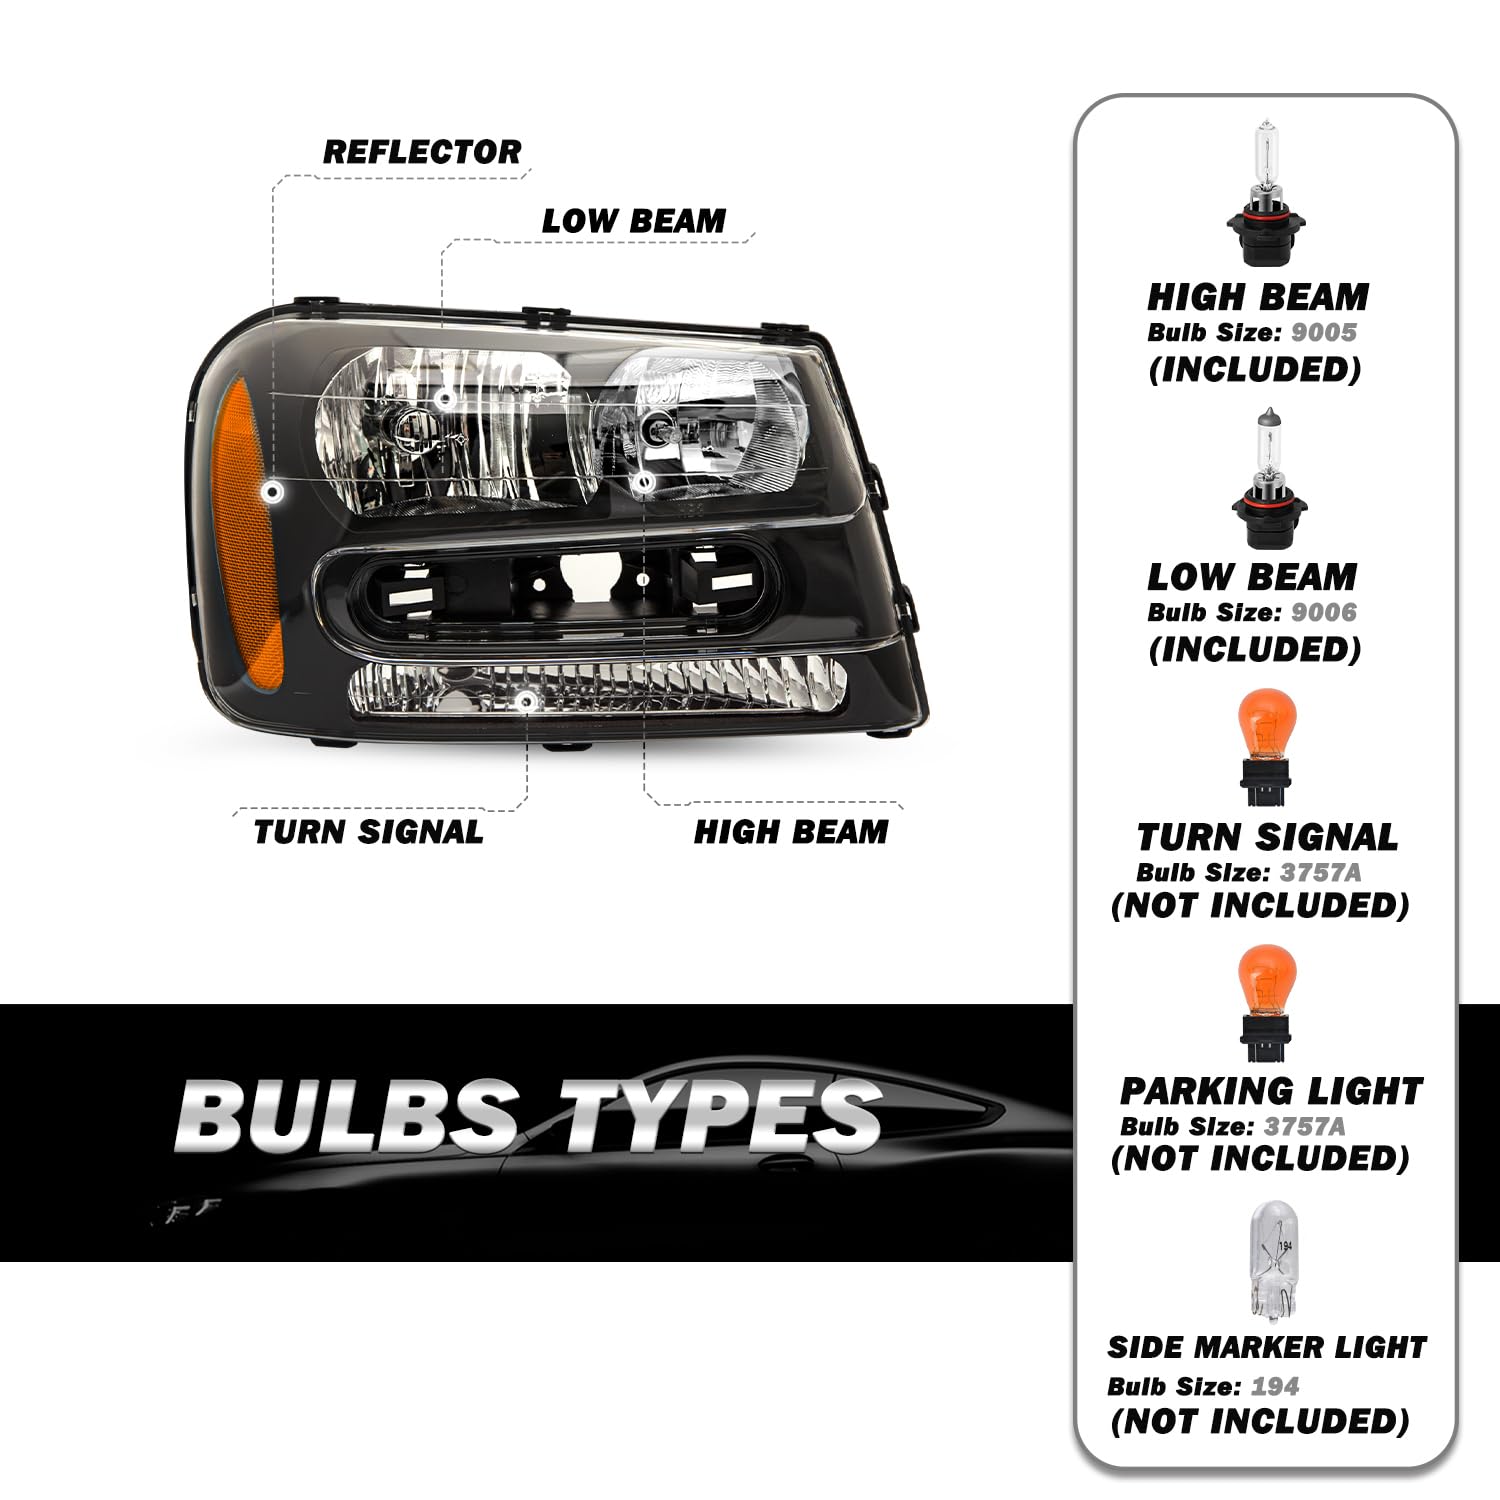
The 2007 Trailblazer utilizes a composite headlight system. Unlike older sealed-beam units, this assembly features a replaceable bulb situated behind a clear polycarbonate lens. The system is divided into two primary functions: the low beam and the high beam.
Bulb Specifications
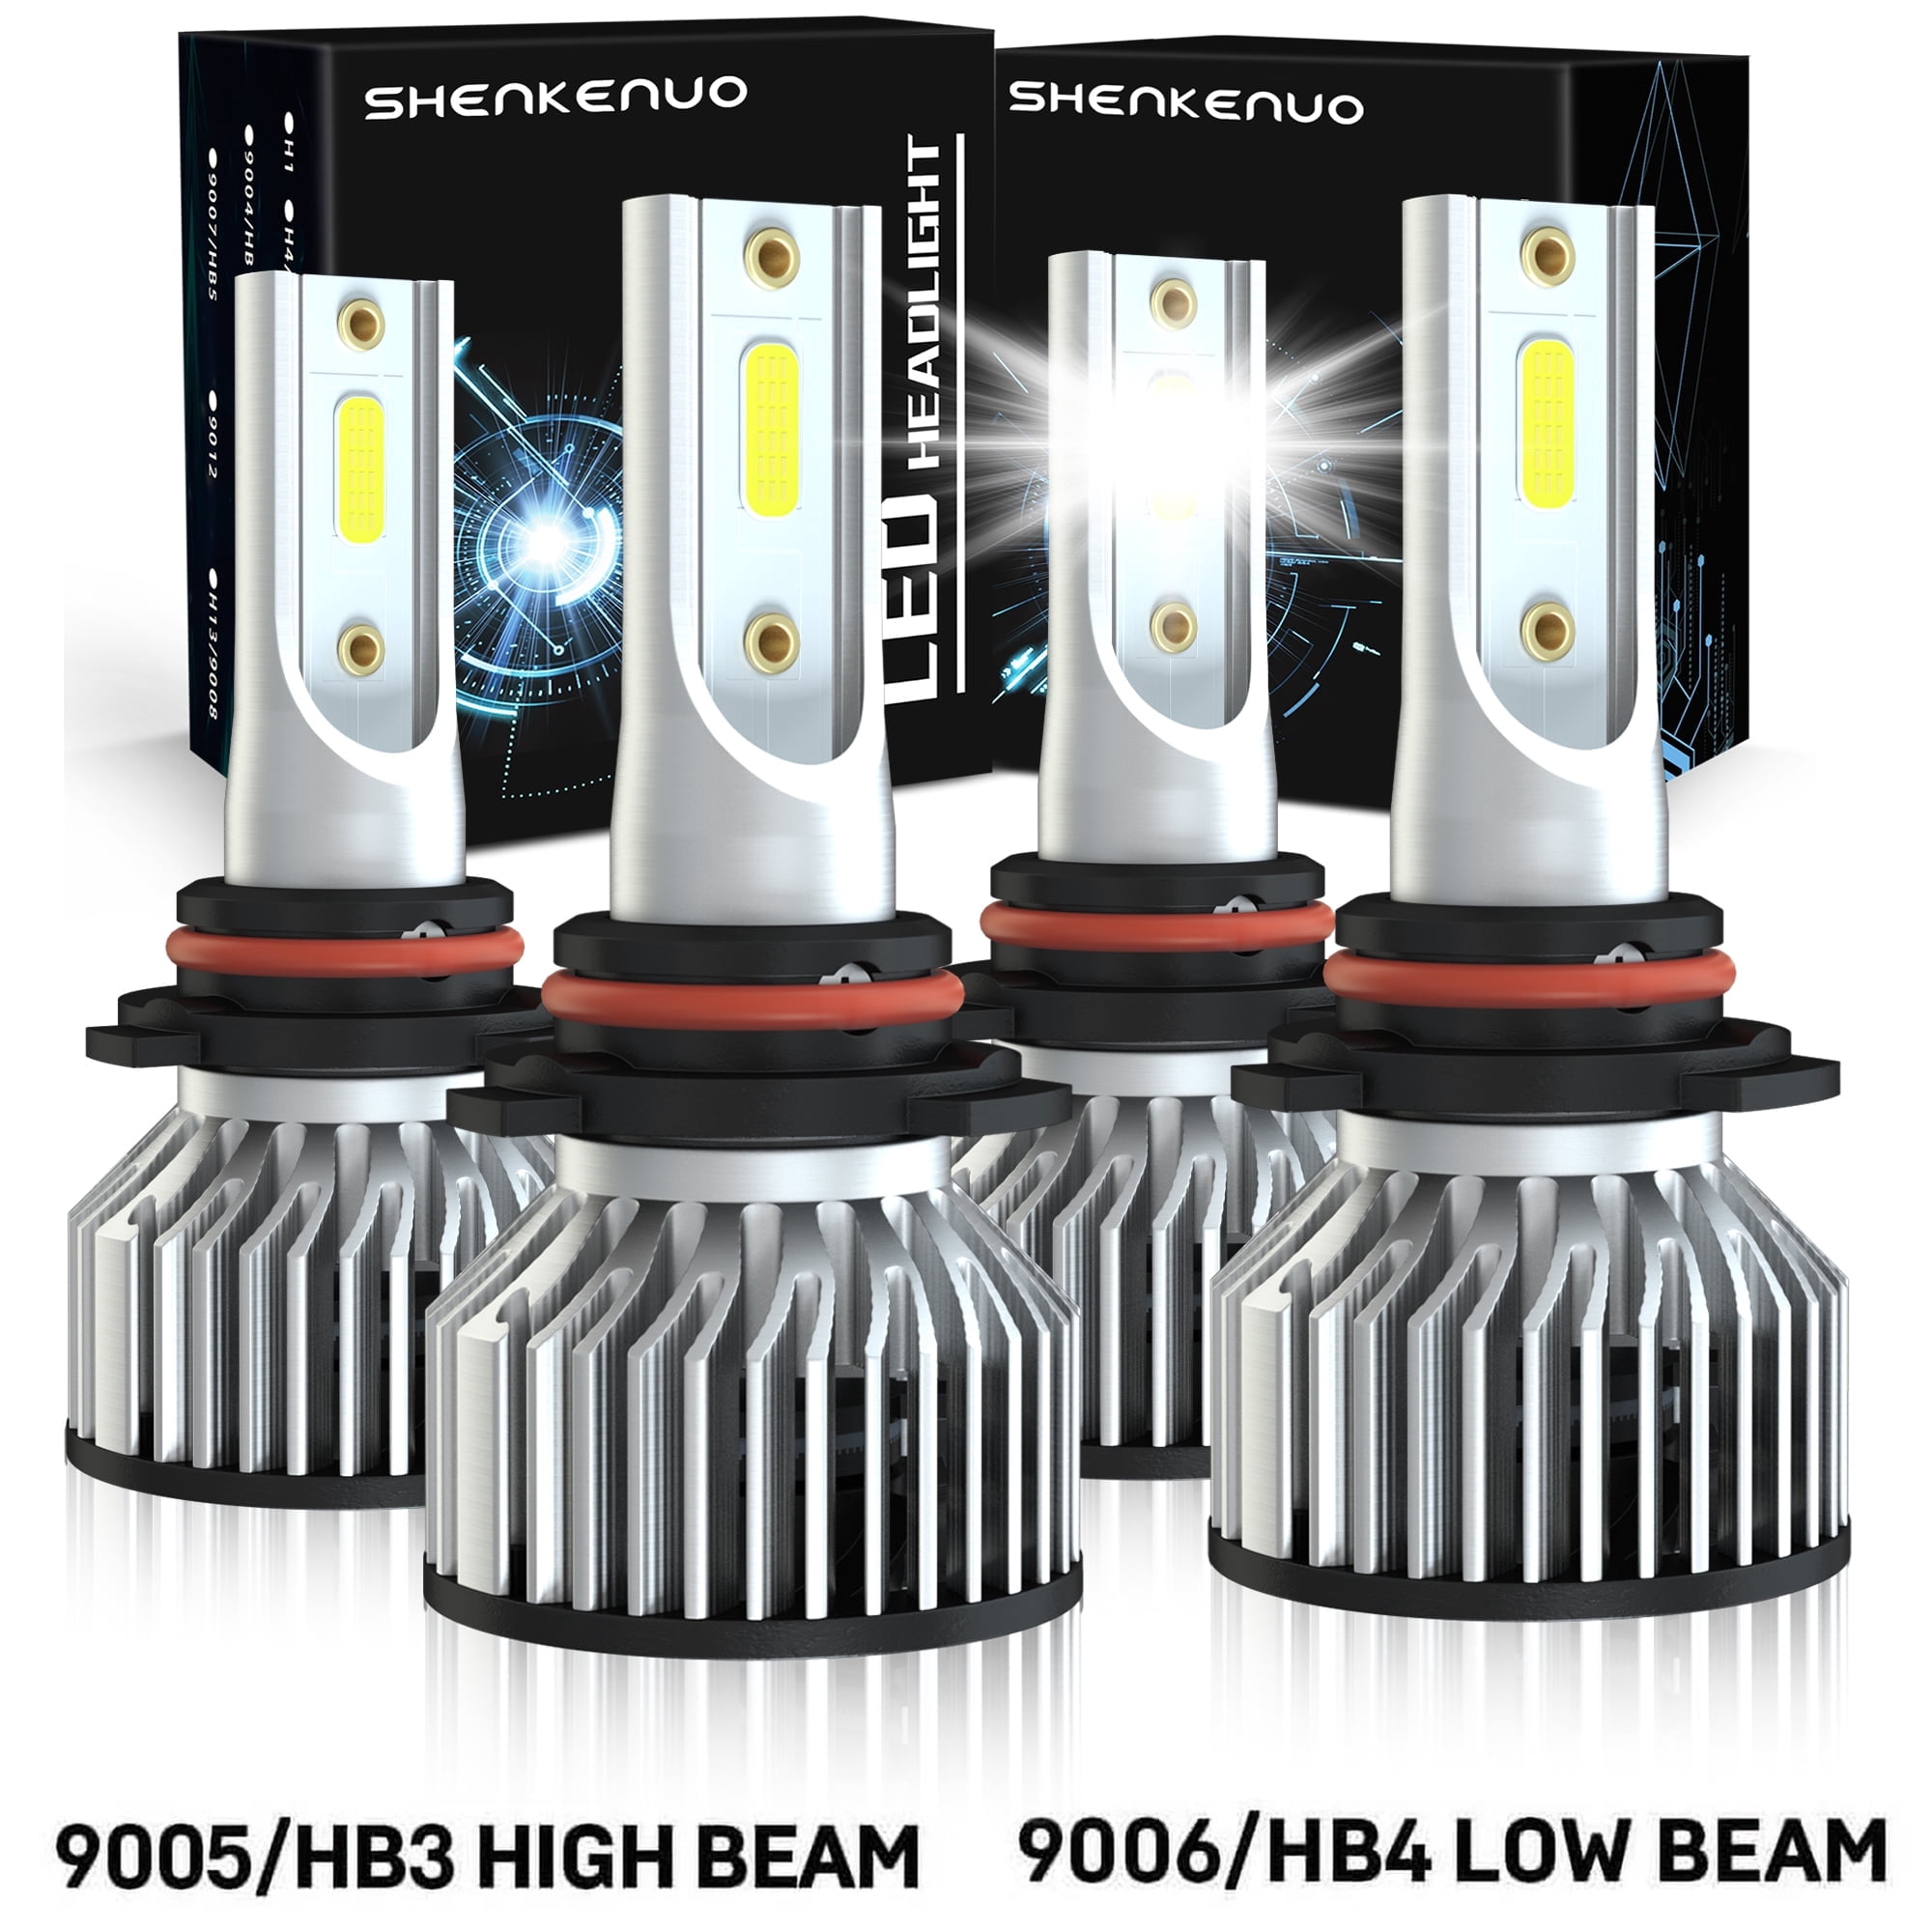
For the 2007 model year, General Motors standardized the following bulb types for the Trailblazer:
- Low Beam: 9006 (HB4)
- High Beam: 9005 (HB3)
- Turn Signal/Parking Lamp: 3157A (Amber)
It is critical to adhere to these specifications. Using "over-wattage" bulbs, such as 100-watt off-road variants, can melt the factory wiring harness or overheat the plastic housing, leading to permanent damage. Stick to standard 55-watt specifications to ensure the longevity of your electrical components.
Lens Oxidation and Clarity
The polycarbonate lens on the 2007 Trailblazer is prone to UV degradation. Over years of exposure to sunlight, the protective hard coat wears away, leading to a yellowed or hazy appearance. This haze acts as a light diffuser, scattering the beam pattern rather than projecting it down the road. While restoration kits can temporarily clear this haze, they do not replace the structural integrity of the UV coating. If the plastic is deeply pitted or cracked, replacement of the entire headlight assembly is the only permanent solution.
When to Replace vs. When to Restore
Determining whether your headlight issues require a simple bulb swap, a lens restoration, or a complete assembly replacement depends on the diagnostic results.
Diagnostics Checklist
- Dim or Yellowed Light: If the bulb is new but the light is still dim, the lens is likely oxidized. Attempt a restoration; if the result remains unsatisfactory, replace the assembly.
- Flickering or Intermittent Light: This usually indicates a poor ground connection, a corroded socket, or a bulb filament nearing its end of life.
- Moisture Inside the Housing: This signifies a failed seal. Water trapped inside the housing will cause the reflective chrome coating to flake off. In this case, restoration is impossible, and the assembly must be replaced.
- No Light: If the bulb filament is intact, check the fuse box located under the hood. Verify the headlight fuses and relays before assuming the bulb is the culprit.
Tools and Prerequisites for Installation
To perform a full assembly replacement on a 2007 Trailblazer, you will need a modest set of tools. Ensure the vehicle is parked on level ground and the engine is off with the keys removed from the ignition.
- 10mm Socket and Ratchet: Used for the fasteners securing the assembly.
- Flat-head Screwdriver: Helpful for prying plastic retainers.
- Microfiber Cloth: Essential for handling new bulbs.
- Gloves: Keeps oils from your skin off the glass bulb, which can cause it to explode under heat.
Safety Precautions
Always disconnect the negative terminal of your battery if you are performing electrical work beyond a simple bulb change. This prevents accidental short-circuiting of the headlight wiring harness. Furthermore, never touch the glass portion of a halogen bulb with bare fingers. The oils from your skin create hot spots on the quartz glass, significantly shortening the bulb’s service life.
Step-by-Step Headlight Assembly Replacement
Replacing the entire housing provides the best results for light output and aesthetic appeal. Follow these steps carefully to ensure a factory-fit finish.
1. Accessing the Fasteners
The 2007 Trailblazer design requires you to remove the radiator support cover (the plastic panel on top of the grille) to access the bolts holding the headlight in place. Use your screwdriver to pop the plastic clips holding the radiator cover in place and set the cover aside.
2. Removing the Assembly
Locate the two 10mm bolts securing the top of the headlight housing. Once these are removed, you must carefully release the locking tab located at the side of the housing. Gently pull the headlight assembly forward away from the vehicle. Avoid pulling too hard, as the wiring harness is still connected.
3. Disconnecting the Wiring
Rotate the bulb sockets counter-clockwise to remove them from the back of the assembly. Note the positions of each bulb so you can reinstall them correctly. Depress the locking tabs on the electrical connectors to disconnect the harness completely.
4. Installing the New Unit
Connect the wiring harness to your new headlight assembly. Test the lights by turning on the low beams, high beams, and turn signals before bolting the unit down. Once verified, seat the assembly into the mounting clips, secure the top bolts, and reinstall the radiator support cover.
Comparison of Replacement Options
| Option | Pros | Cons | Ideal For |
|---|---|---|---|
| OEM Assembly | Perfect fitment, OE quality | Expensive | Long-term ownership |
| Aftermarket Housing | Cost-effective, clear lens | Variable quality, potential gaps | Budget-conscious repairs |
| Bulb Replacement | Cheap, fast | Does not fix hazy lenses | Functional repairs |
| Lens Restoration | Very cheap | Temporary, labor intensive | Minor yellowing |
Troubleshooting Common Issues
If you have replaced your headlights and are experiencing performance issues, refer to the following guide:
- Misaligned Beams: If your lights are pointed too high or too low, use a Phillips screwdriver to turn the adjustment screws located on the back of the headlight housing. Perform this on a flat surface facing a garage door or wall to ensure even projection.
- Condensation: New aftermarket assemblies sometimes develop minor fogging due to humidity during installation. If this persists, ensure the rubber vent tubes on the back of the housing are not blocked.
- Electrical Gremlins: If the light still does not turn on after a bulb change, inspect the headlight socket for melted plastic. The original 2007 wiring was prone to heat fatigue, and a corroded socket will prevent electrical continuity. Replacement "pigtail" sockets are available at most auto parts stores.
Frequently Asked Questions
Can I upgrade my 2007 Trailblazer to LED headlights? Yes, but exercise caution. While LED bulbs are brighter, the reflectors in your 2007 headlights are designed for halogen bulbs. Putting an LED in a halogen housing often results in blinding oncoming traffic due to poor beam focus. If you choose LEDs, ensure they have a built-in "cut-off" line and are specifically designed for projector or reflector housing compatibility.
Do I need to aim my headlights after replacement? Yes. Whenever you replace an entire assembly, the alignment is likely to be slightly off. Park the vehicle 25 feet from a flat wall, mark the center of the low-beam hot spot with tape, and adjust the headlight screws so that the light sits just below your markings to avoid glaring other drivers.
Why do my headlights look yellow after I polished them? Polishing removes the outer layer of oxidation but exposes the soft, porous plastic underneath. Without a dedicated UV-resistant clear coat, the plastic will oxidize again within weeks or months. For permanent results, you must apply a high-quality UV sealant or clear coat immediately after polishing.
Is replacing the headlight assembly a legal requirement if the lens is foggy? In many jurisdictions, headlights must meet a minimum "lumen output" and beam clarity standard to pass inspection. Heavily oxidized lenses that impede light projection are technically unsafe and can be grounds for failing a state safety inspection.
Are the driver and passenger side headlights interchangeable? No. The 2007 Trailblazer headlight assemblies are side-specific. The mounting tabs and the shape of the housing are contoured to the specific curve of the front fender and grille of the driver or passenger side.
Final Recommendation
For the best balance of safety and visibility, prioritize replacing the entire assembly if your current lenses are severely clouded or cracked. While bulb replacement is a temporary fix for dim lighting, an assembly replacement restores the beam pattern to factory specifications, significantly improving your ability to see hazards at night. When choosing parts, look for high-quality aftermarket assemblies with a reputable warranty to avoid the frequent moisture issues associated with low-cost components. Always verify that your final beam alignment is checked against a wall to ensure you are not creating a safety hazard for oncoming traffic.