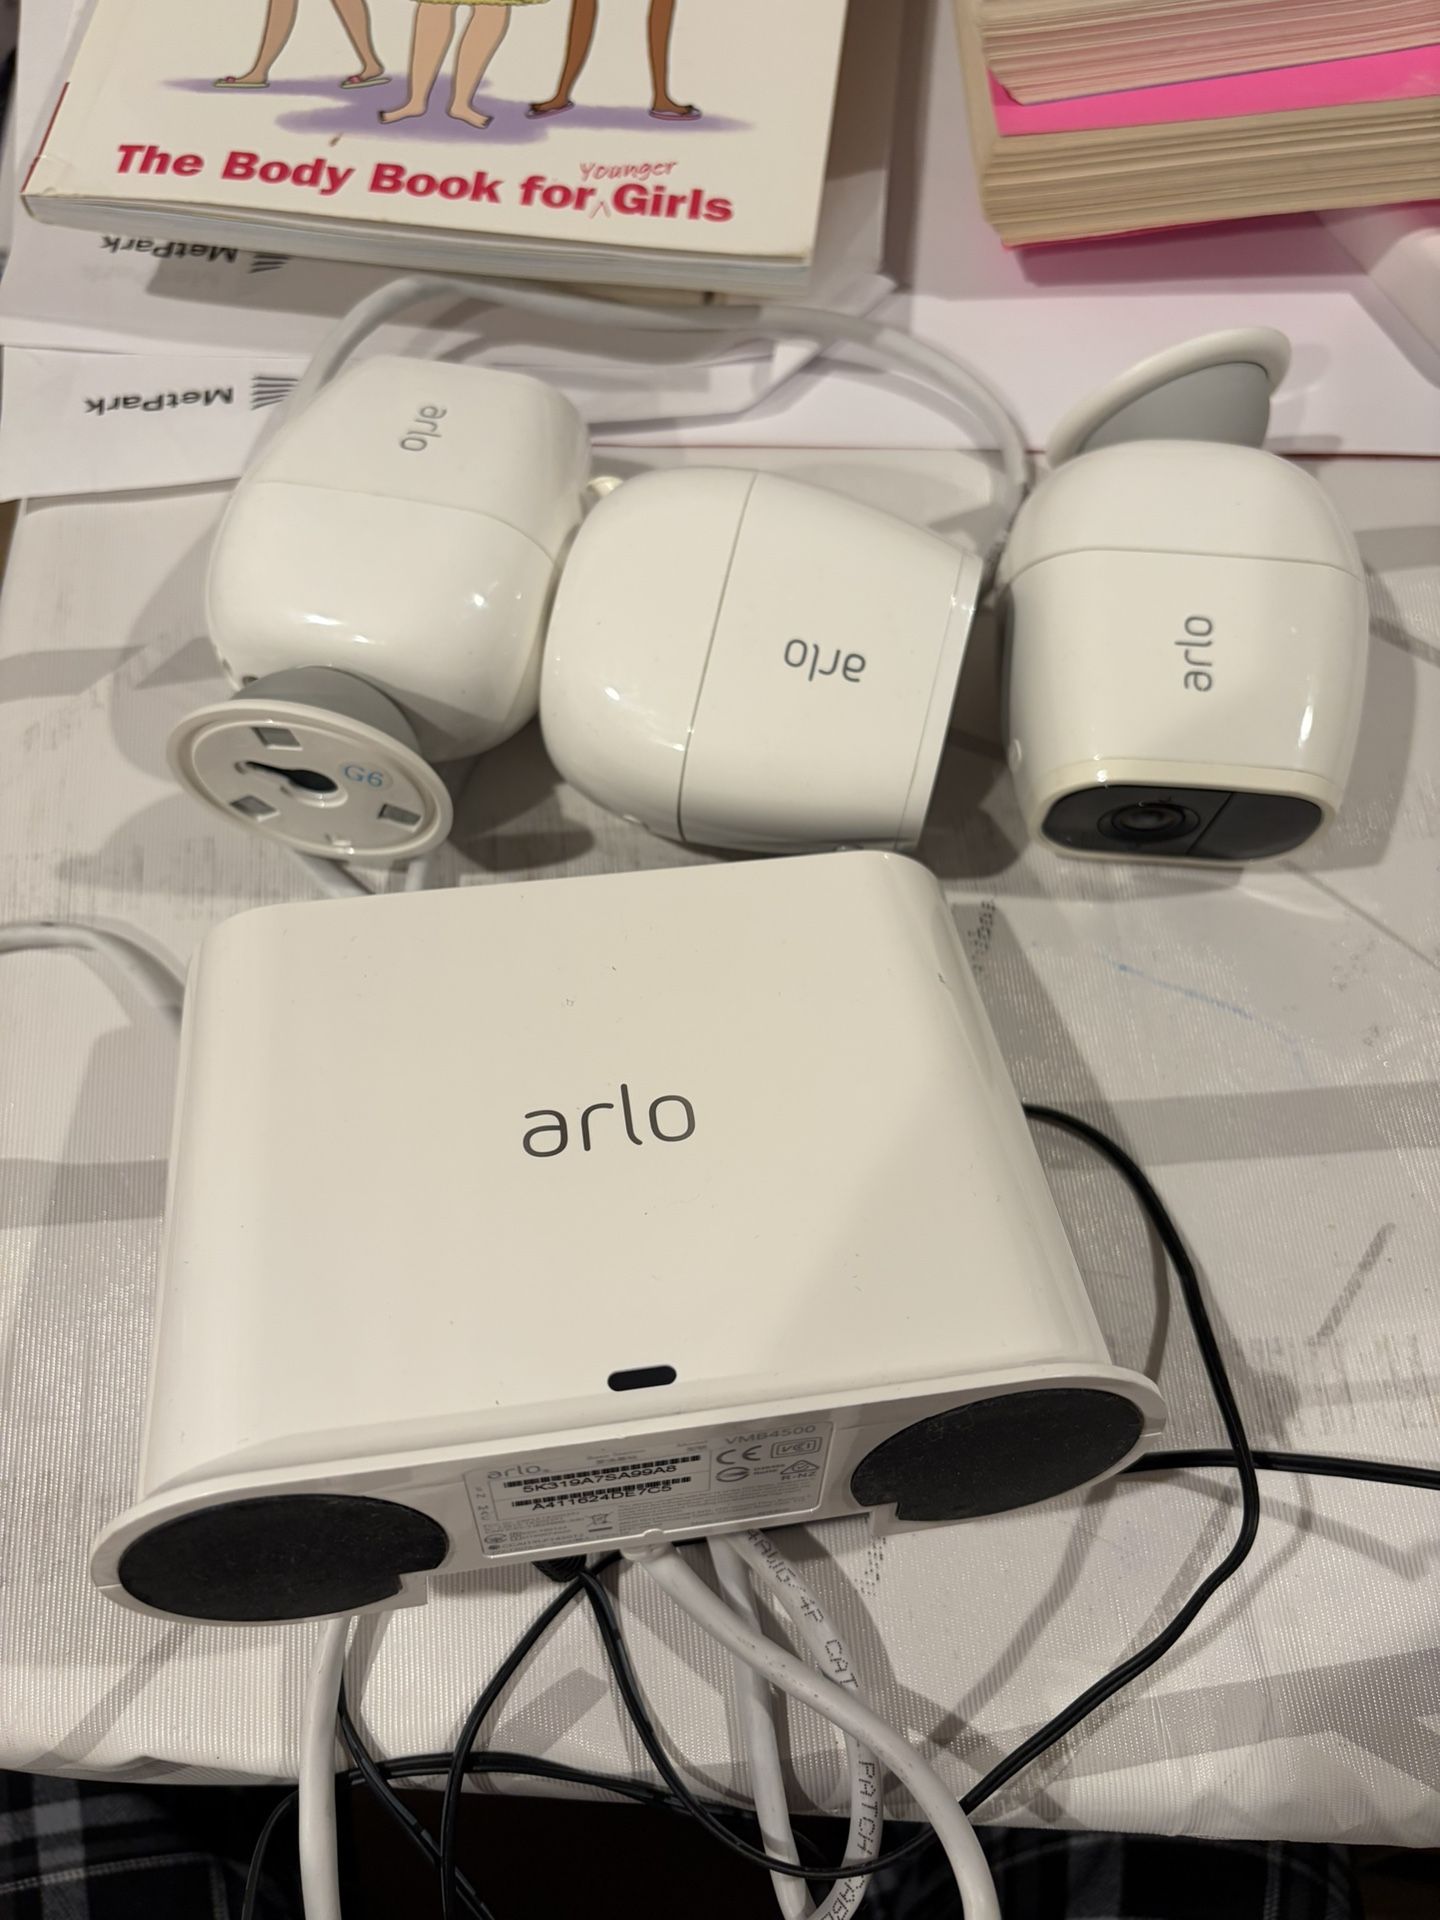
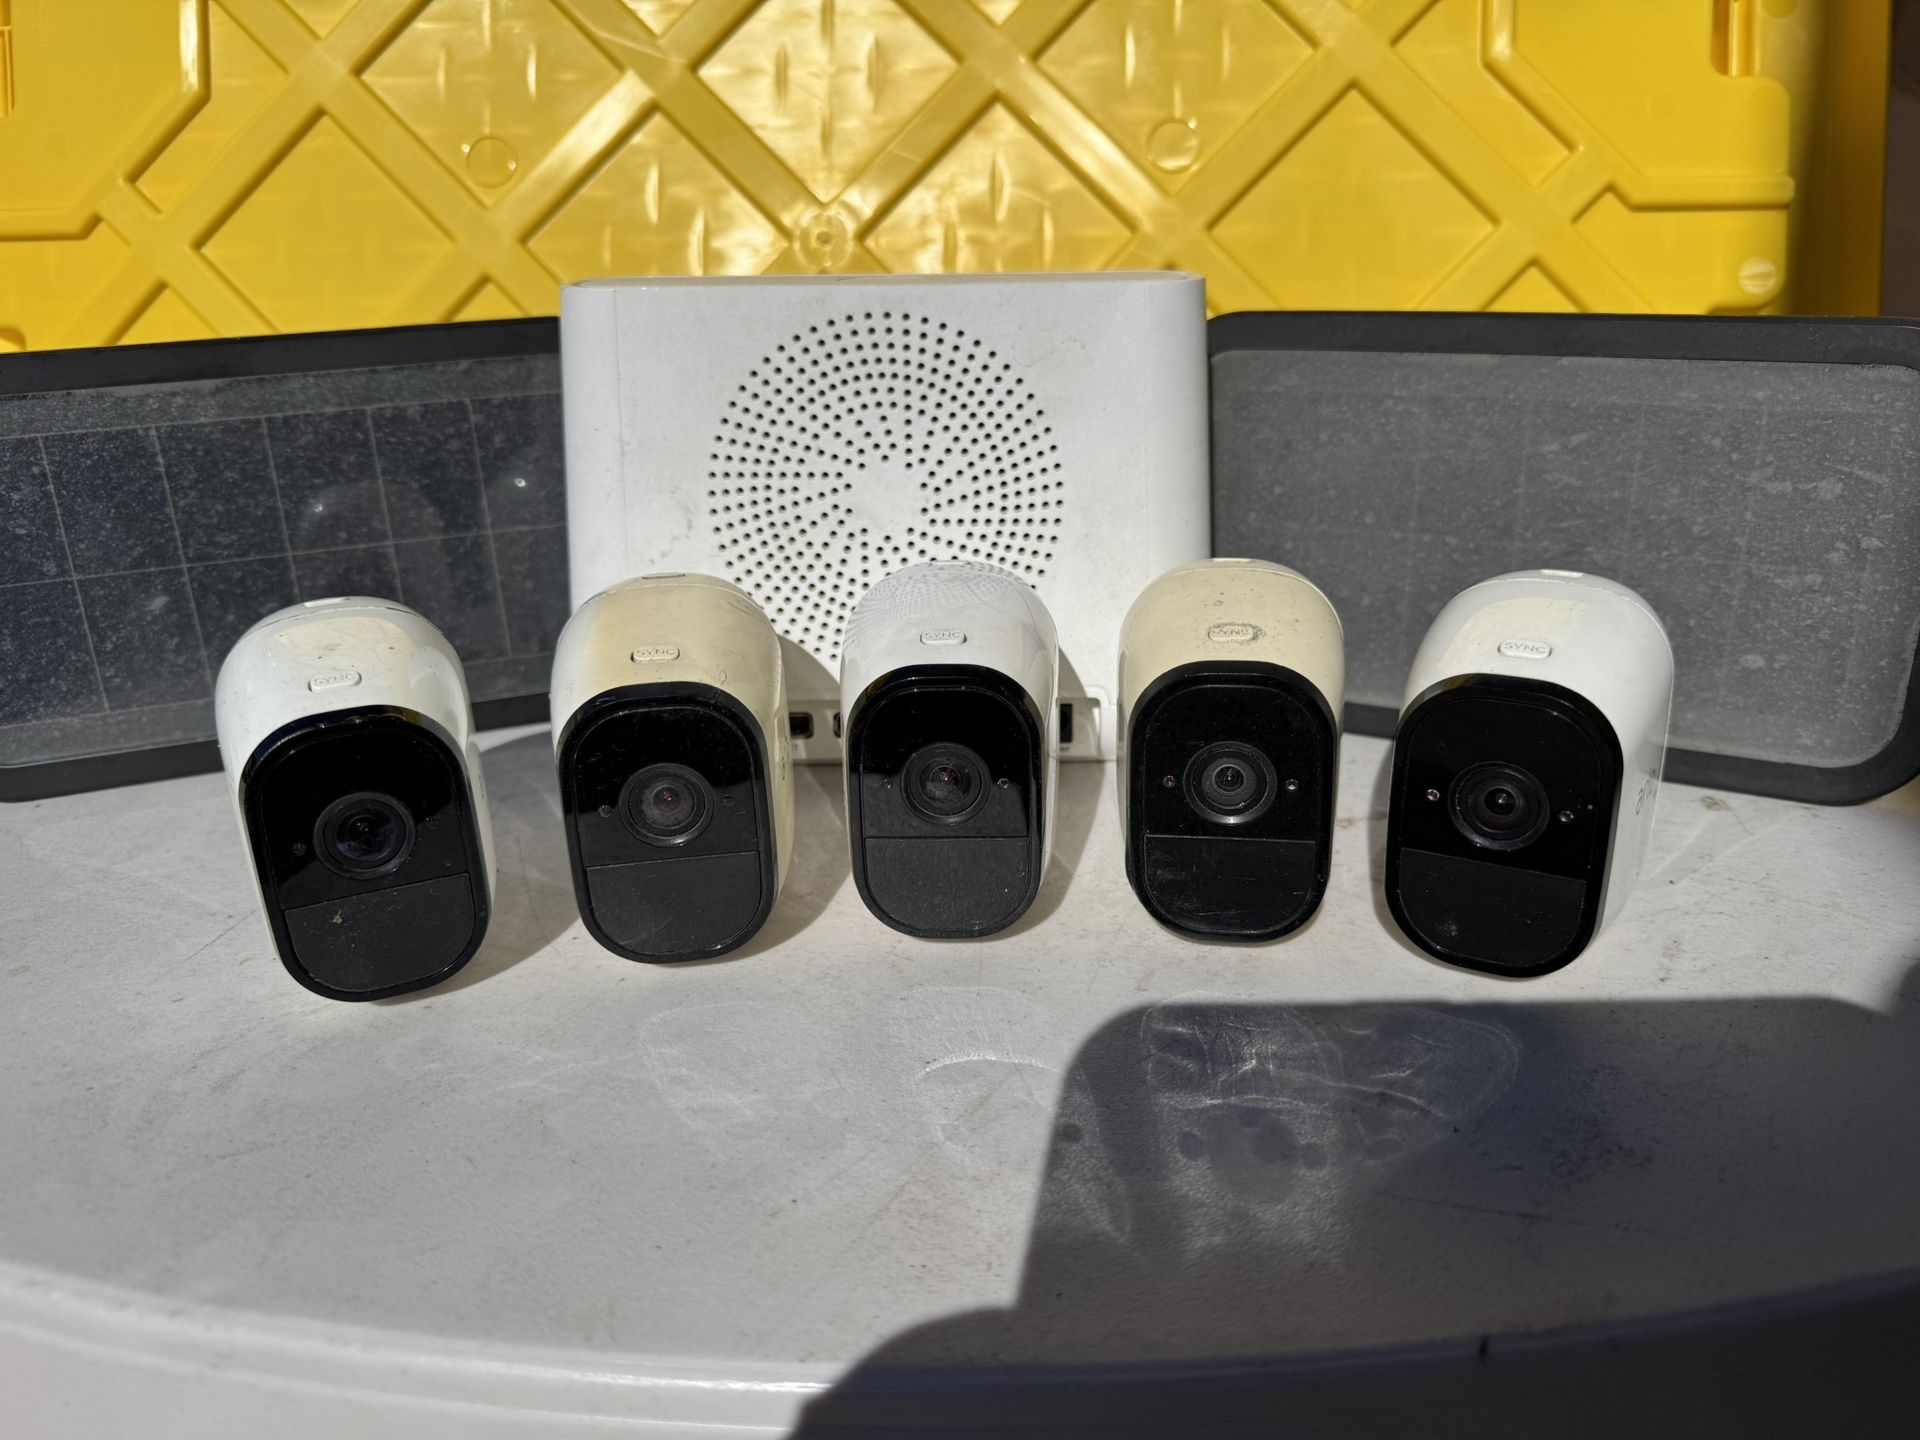
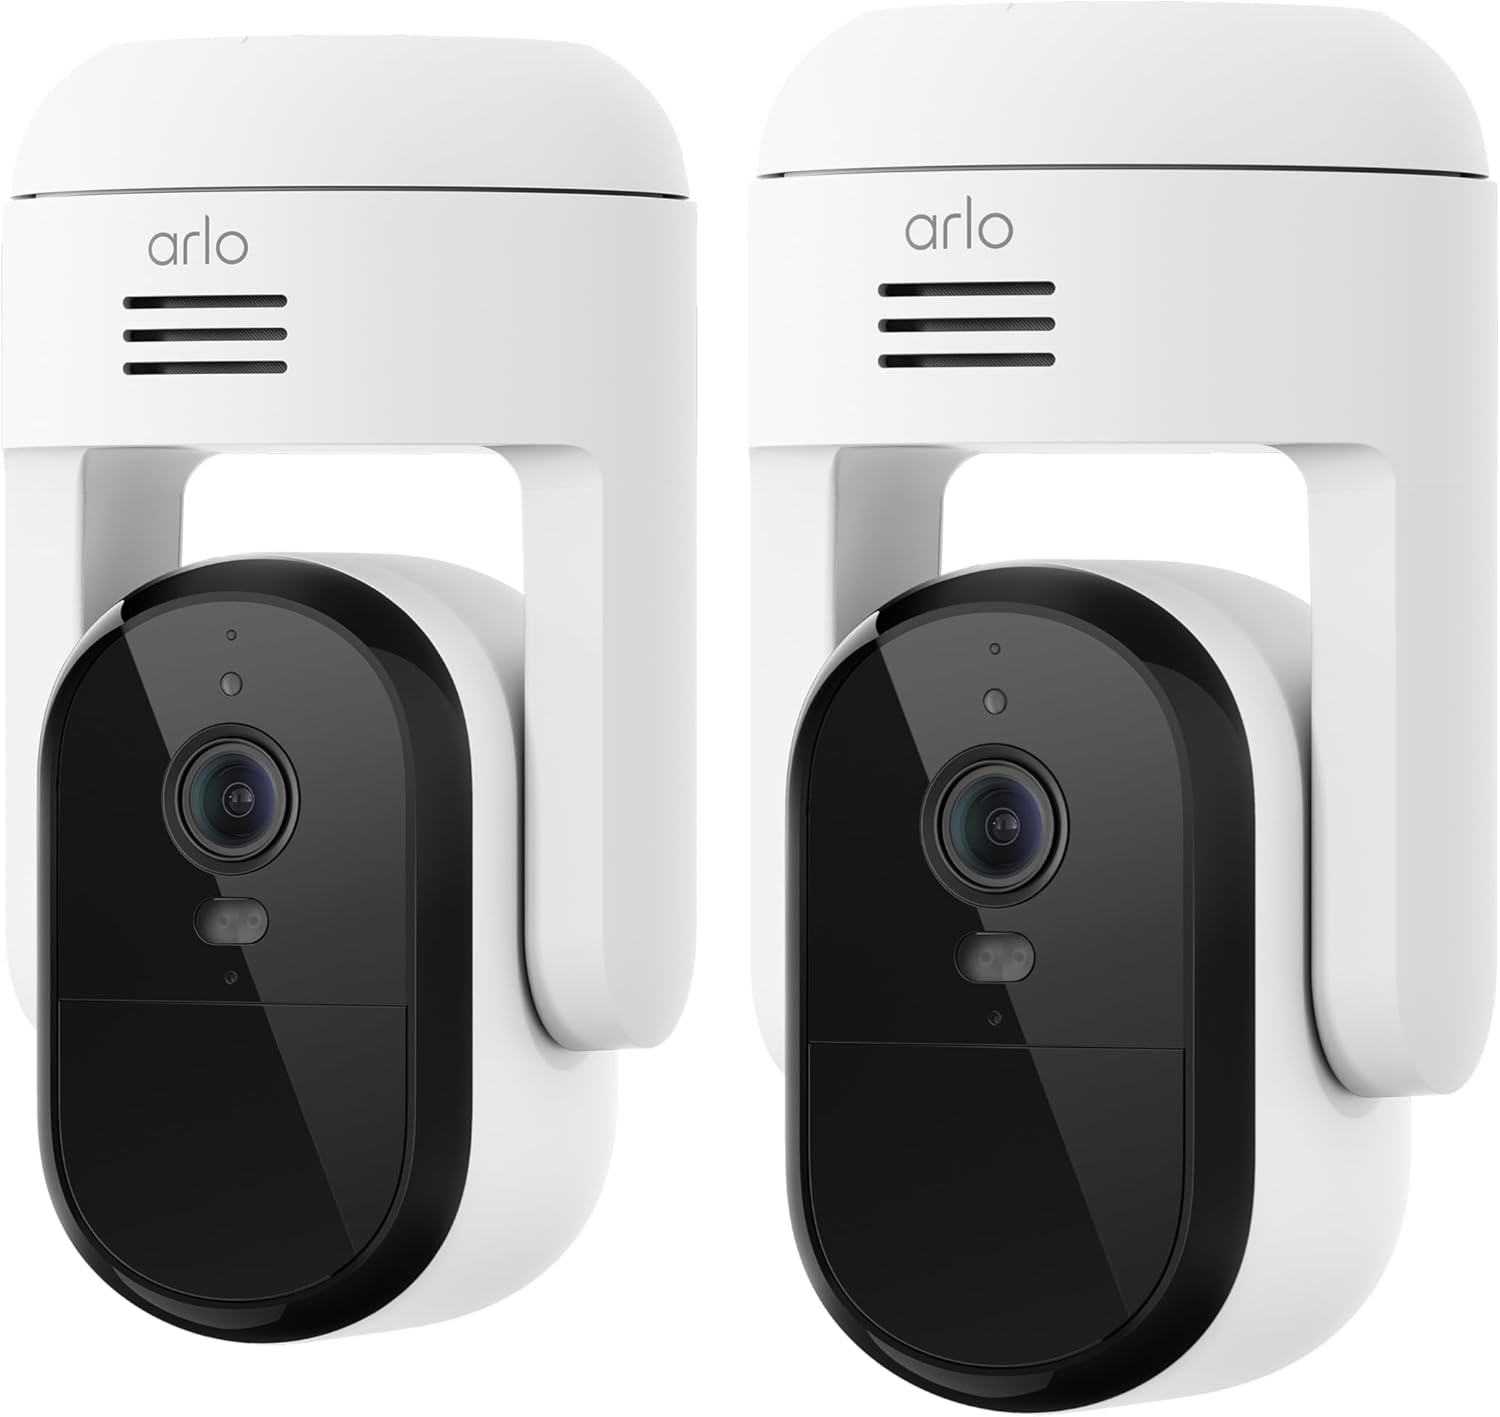
To set up Arlo security cameras, download the Arlo Secure App, create an account, and select "Add New Device." Follow the prompts to connect your camera to a 2.4GHz Wi-Fi network or an Arlo SmartHub. Once paired via the on-screen QR code, mount the hardware 6–10 feet high for optimal motion detection.
Effective home security relies not just on the quality of the hardware, but on the precision of the initial configuration. Arlo has established itself as a leader in the wireless security market by offering a balance of high-resolution video and user-friendly software. However, as the ecosystem has expanded to include the Pro 5S, Ultra 2, and the Essential Gen 2 series, the setup process has evolved to accommodate different connectivity standards and power requirements.
This guide provides a technical walkthrough for setting up your Arlo system in 2026, ensuring that your perimeter is secured with maximum efficiency and minimal false alerts.
Pre-Installation Prerequisites and Requirements
Before unboxing your hardware, you must ensure your home infrastructure can support the data demands of high-definition video streaming. Arlo cameras, particularly those capable of 2K and 4K resolution, require consistent upstream bandwidth.
Network Bandwidth and Stability
Each Arlo camera requires a minimum of 2 Mbps upload speed. If you are installing a multi-camera system—for example, a four-camera Ultra 2 kit—your internet plan should provide at least 10–15 Mbps of dedicated upload overhead to account for simultaneous streaming and cloud recording. You can verify your speeds using standard diagnostic tools like Speedtest by Ookla.
Wi-Fi Frequency Specifications
Most Arlo cameras, including the Essential and older Pro models, operate exclusively on the 2.4GHz Wi-Fi band. This frequency offers a longer range and better penetration through walls compared to 5GHz. However, newer models like the Arlo Pro 5S 2K feature dual-band support, allowing them to connect to 5GHz networks for faster data transfer when positioned near the router. Ensure your smartphone is connected to the specific band you intend the camera to use during the pairing process.
The Arlo Secure App
The Arlo Secure App (available on iOS and Android) serves as the central nervous system for your setup. In 2026, the app handles everything from initial Bluetooth handshakes to AI-driven object detection. Ensure your mobile device is running the latest OS version to avoid compatibility issues during the QR code scanning phase.
Choosing Your Connection Path: SmartHub vs. Direct Wi-Fi
One of the most critical decisions during setup is whether to use an Arlo SmartHub (or Base Station) or to connect your cameras directly to your home Wi-Fi router.
The Benefits of an Arlo SmartHub (VMB5000 / VMB4540)
While many Arlo cameras can now function as standalone devices, utilizing a SmartHub offers several technical advantages:
- Local Storage Backup: By inserting a microSD card or USB drive into the hub, you can maintain a local record of footage, which is vital if your internet connection fails.
- Extended Battery Life: The hub uses a proprietary low-power wireless protocol to communicate with cameras, which is often more energy-efficient than a standard Wi-Fi handshake.
- Cross-Device Triggering: A hub allows for more complex automation, such as having an outdoor camera trigger an indoor chime or siren.
- Arlo RF Range: The hub can often provide a more stable connection in larger homes where a standard router might struggle to reach exterior walls.
Direct Wi-Fi Connection
If you live in a smaller space or prefer a minimalist setup, connecting directly to Wi-Fi is faster and reduces hardware costs. This is the standard path for the Arlo Essential line and is a primary feature of the Arlo Pro 4 and Pro 5S.
Step-by-Step Digital Configuration
Once your requirements are met, follow these steps to initialize your devices.
1. Account Initialization
Open the Arlo Secure App and create a new account. If you already have one, ensure you are logged in and that your "Location" settings are enabled. Arlo uses geofencing to automatically arm or disarm your system based on your phone's physical presence, making this step foundational for automated security.
2. Powering the Device
Insert the battery into the camera. For the Essential Gen 2 series, which features an integrated battery, connect the USB-C charging cable until the LED indicator shows a full charge. Most Arlo cameras will enter "Pairing Mode" automatically upon receiving power, indicated by a blinking blue LED.
3. Adding the Camera to the App
Tap the "+" icon in the devices tab. Select "Cameras" and then choose your specific model. The app will prompt you to select your Wi-Fi network and enter the password. Note: If you are using a dual-band router that "meshes" 2.4GHz and 5GHz into one SSID, you may occasionally encounter pairing errors. Temporarily disabling the 5GHz band in your router settings can resolve this.
4. The QR Code Sync
The app will generate a QR code on your phone screen. Hold your Arlo camera approximately 4 to 8 inches away from the phone. When the camera recognizes the code, it will emit a chime. This chime indicates that the camera has successfully captured the encrypted network credentials.
5. Firmware Updates
Immediately after pairing, the app will likely notify you of a mandatory firmware update. Do not interrupt this process. Firmware updates in 2026 often include critical security patches and optimizations for battery management. The camera may blink amber and blue during this time and will reboot once finished.
Physical Installation and Mounting Strategy
The effectiveness of a security camera is heavily dictated by its placement. A poorly positioned camera results in late motion triggers and unusable footage.
Optimal Height and Angle
The ideal mounting height for an Arlo camera is between 6 and 10 feet (2–3 meters). This height is low enough to capture facial details clearly but high enough to remain out of reach of casual vandals. Angle the camera downward so that the horizon is in the top quarter of the frame. This ensures the Passive Infrared (PIR) sensor is focused on the ground where movement occurs.
Understanding the PIR Sensor Range
Arlo cameras use PIR sensors to detect heat signatures. These sensors are most sensitive to "side-to-side" movement rather than movement directly toward the lens. When choosing a location, position the camera so that an intruder would likely walk across its field of view.
Signal Strength Verification
Before drilling holes into your siding, use the Arlo Secure App's "Positioning Mode." This tool provides a real-time video feed with a signal strength indicator. If the signal is weak (yellow or red), the video will lag, and battery life will degrade as the camera struggles to maintain a connection. In such cases, consider a Wi-Fi extender or moving your SmartHub closer to the mounting point.
Comparison of Current Arlo Models (2026)
| Feature | Arlo Ultra 2 | Arlo Pro 5S 2K | Arlo Essential Gen 2 |
|---|---|---|---|
| Resolution | 4K HDR | 2K HDR | 1080p or 2K |
| Field of View | 180° Diagonal | 160° Diagonal | 130° Diagonal |
| Connectivity | SmartHub Required | Wi-Fi (2.4/5GHz) or Hub | Wi-Fi (2.4GHz) |
| Night Vision | Enhanced Color | Color | Color (Spotlight) |
| Best For | Large Properties | High-Traffic Areas | Entry-Level Security |
| Power Source | Removable Battery | Removable Battery | Integrated Battery |
Advanced Configuration and Optimization
After the hardware is mounted, you must fine-tune the software settings to minimize notifications for irrelevant events like swaying trees or passing cars.
Configuring Activity Zones
Activity Zones allow you to draw specific shapes within the camera’s view. The camera will only trigger a cloud recording or notification if motion is detected within these designated areas. This is essential for cameras facing a public sidewalk or street. Note that Activity Zones usually require the camera to be plugged into a power source or an active Arlo Secure subscription.
Smart Notifications and AI Filtering
Through the Arlo Secure subscription service, the system uses server-side AI to distinguish between people, vehicles, animals, and packages. In your settings, you can choose to be alerted only when a "Person" is detected, while still allowing the camera to record "All Other Motion" silently in the background.
Power Management Settings
If your camera is in a high-traffic area, the battery may deplete rapidly. Within the app, you can adjust the "Power Management" settings:
- Best Video: Prioritizes resolution and frame rate.
- Optimized: Balances quality and battery life.
- Best Battery Life: Reduces the bit rate and clip length to conserve power.
Troubleshooting Common Setup Issues
Even with a streamlined process, technical hurdles can occur. Here is how to resolve the most frequent complications.
The Camera Fails to Scan the QR Code This is often caused by screen glare or low brightness. Ensure your phone's brightness is at 100%. If the lens is smudged, wipe it with a microfiber cloth. Ensure you are not holding the phone too close; start at 4 inches and slowly move it back to 8 inches.
The Camera Appears Offline After Mounting This usually indicates a "signal drop." Metal siding, brick walls, and even certain types of glass can severely attenuate Wi-Fi signals. If the camera works indoors but fails outdoors, you require a range extender or an Arlo SmartHub positioned closer to the exterior wall.
The Base Station/SmartHub Cannot Be Found Ensure the SmartHub is connected directly to your router via the provided Ethernet cable. The LED on the front of the hub should be solid blue. If it is blinking amber, it indicates a connectivity or firmware error. Try power-cycling both your router and the SmartHub simultaneously.
Frequently Asked Questions
Do Arlo cameras require a monthly subscription?
While Arlo cameras provide basic features like live streaming and motion notifications for free, most models in 2026 require an Arlo Secure subscription for cloud video history, AI-powered object detection, and Activity Zones. Without a subscription, you generally only receive notifications without saved video clips unless you use a SmartHub with local storage.
How long does the Arlo battery last on a single charge?
On average, Arlo batteries last between 3 to 6 months. This varies significantly based on the number of "triggers" per day, the length of the recorded clips, and the ambient temperature. In extremely cold climates, battery chemistry becomes less efficient, and you may need to charge the devices more frequently or use an Arlo Solar Panel accessory.
Can I set up Arlo cameras without a smartphone?
No, the initial setup requires the Arlo Secure App on a mobile device to perform the QR code handshake. Once the system is configured, you can view your cameras and manage settings via the Arlo Web Portal on a desktop computer, but the initial "Add Device" process is mobile-centric.
Are Arlo cameras compatible with Apple HomeKit or Google Home?
Yes, most Arlo cameras (when used with a compatible SmartHub) support Apple HomeKit. Direct-to-Wi-Fi models generally support Google Assistant and Amazon Alexa. Integration allows you to view live feeds on smart displays like the Echo Show or Nest Hub and use voice commands to arm the system.
What is the maximum distance a camera can be from the Hub or Router?
In an open field, Arlo cameras can maintain a connection up to 300 feet away. However, in a standard residential environment with walls and interference, the practical limit is usually 50 to 100 feet. Placing the hub or router in a central, elevated location is the best way to maximize this range.
Final Recommendation for 2026
For the most robust and future-proof setup, we recommend the Arlo Pro 5S paired with an Arlo SmartHub (VMB5000). This combination provides the flexibility of dual-band Wi-Fi while retaining the security of local 2K/4K storage backups. After physical installation, always spend the first 48 hours monitoring your "false positive" notifications and adjusting your Activity Zones and Motion Sensitivity accordingly. This initial fine-tuning is what transforms a simple camera into a sophisticated security asset.