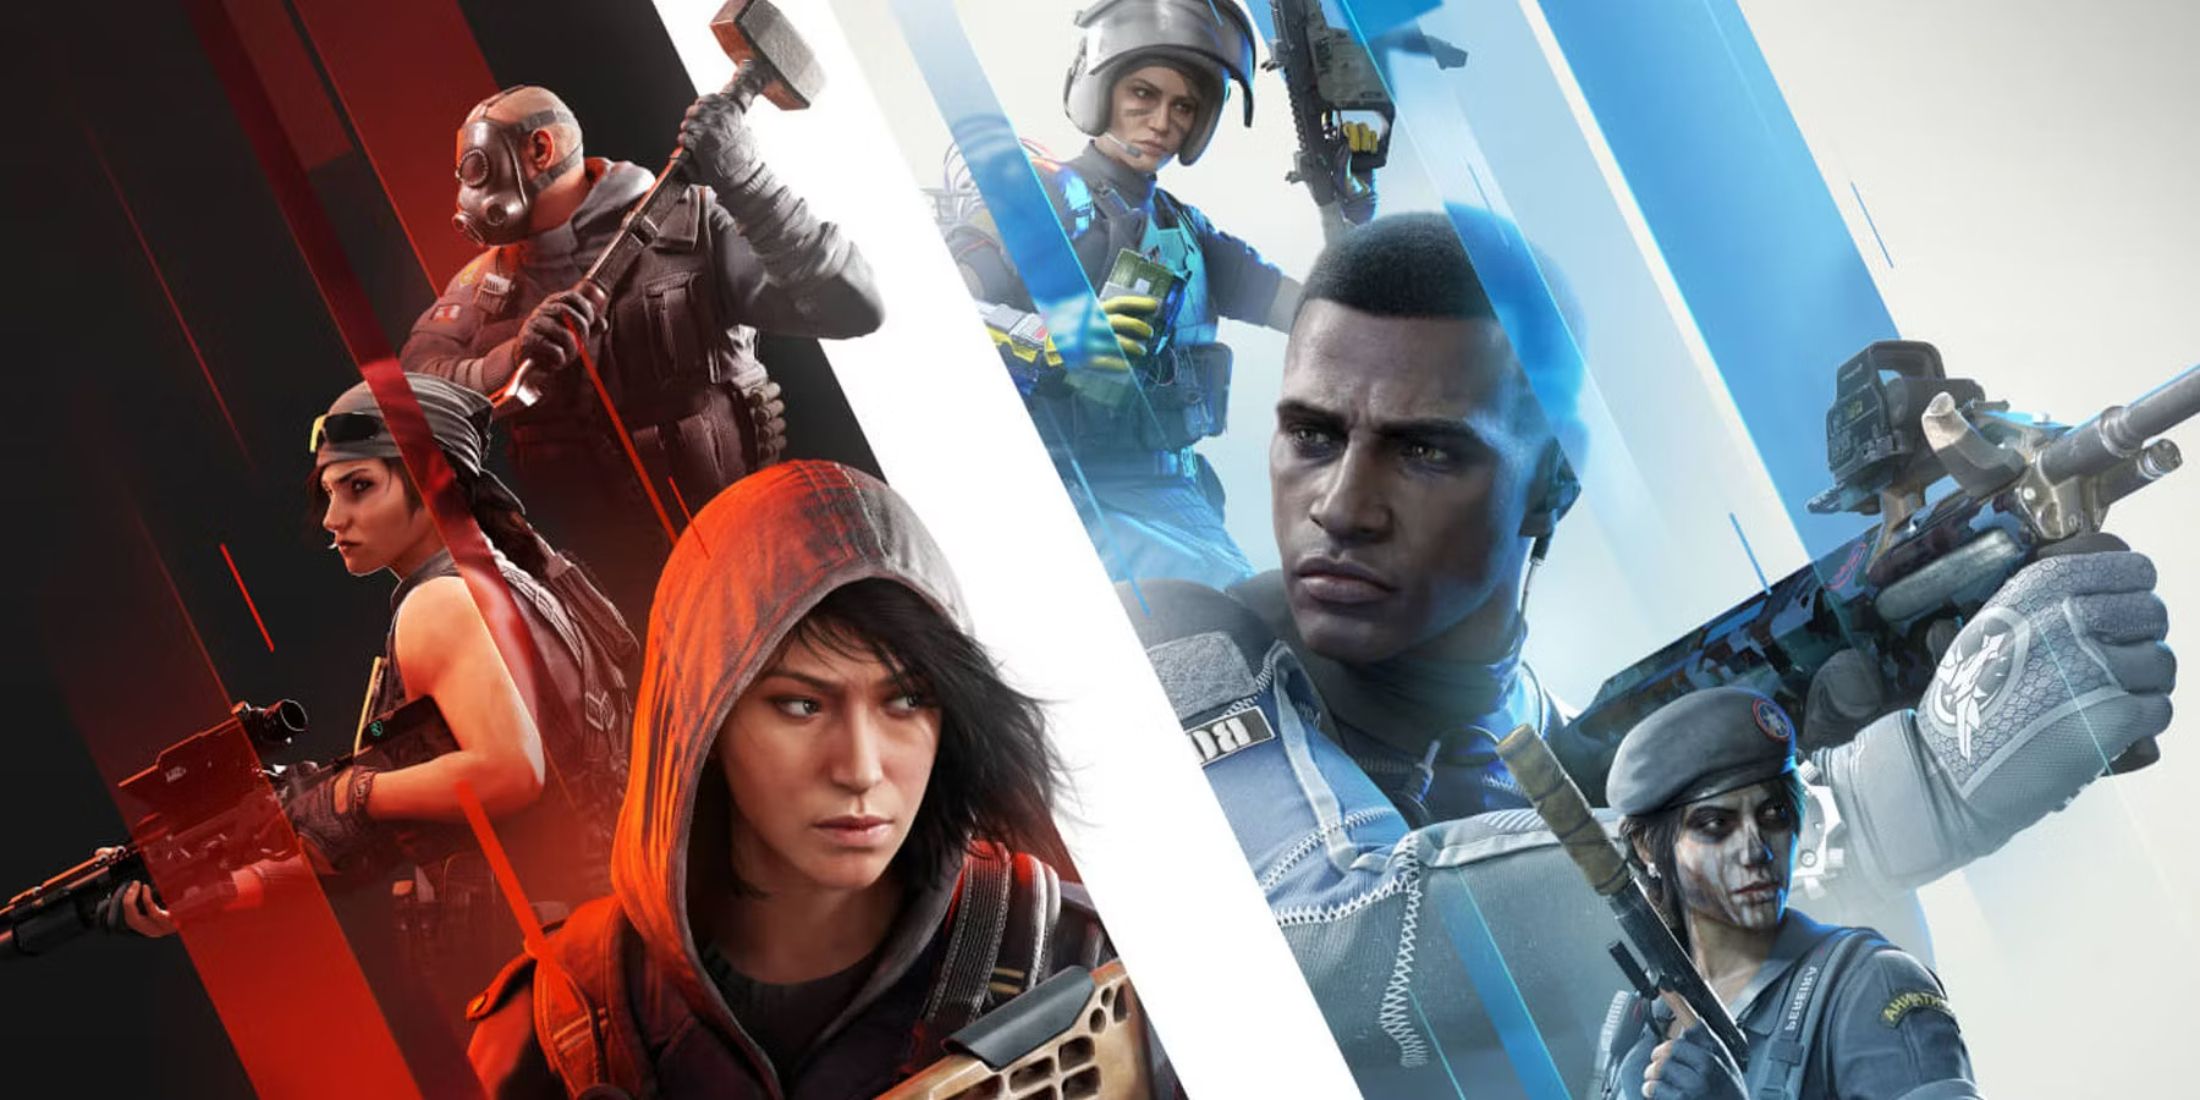
Understanding all Siege operators requires examining the expansive roster of specialized tactical units in Tom Clancy's Rainbow Six Siege, featuring dozens of unique Attackers and Defenders divided into distinct roles like Hard Breach, Support, Trap, and Intel. Each operative brings signature gadgets, primary and secondary weapon loadouts, and speed-versus-armor ratings that dictate meta strategies across destructible environments.
Evolution of the Rainbow Six Siege Operator Roster
Since its initial release by Ubisoft in December 2015, Tom Clancy's Rainbow Six Siege has evolved from a foundational roster of 20 base operators into a massive tactical ecosystem. Through successive seasonal updates—traditionally structured as multi-operation years—the game has consistently expanded its roster. This expansion introduces fresh counter-play dynamics, twists meta-strategies, and forces players to constantly adapt their defense setups and attack formations.
Navigating all Siege operators means looking past surface-level loadouts to understand how specific characters interact with reinforced walls, electronic countermeasures, acoustic cues, and map geometry. Operators are structurally split into two primary camps: Attackers, who must infiltrate, gather intelligence, and breach fortified objectives, and Defenders, who must fortify sites, deny entry, and manage time.
Attacker Archetypes and Core Roles
Attackers face the daunting task of dismantling entrenched defensive setups. To accomplish this, the offensive roster is categorized into specialized functional roles. Grasping these roles ensures that a team maintains a balanced composition capable of handling any defensive setup.
Hard Breachers and Support
Hard breaching is the cornerstone of modern Siege strategies. Without operators capable of destroying reinforced walls, teams are often funneled into predictable doorways and choke points.
- Thermite (FBI SWAT): The gold standard for vertical and horizontal breaching, capable of cutting large, traversable holes through reinforced surfaces using his Exothermic Charges.
- Hibana (S.A.W.): Utilizes X-KAIROS launcher pellets to punch precise, sightline-sized holes from a distance, offering unmatched versatility.
- Maverick (GSG 9): Employs a handheld Exothermic Torch that burns quietly through reinforcements without triggering conventional electronic counter-measures.
- Ace (F.I.N.S.): Deploys S.E.L.M.A. pneumatic breaching charges that automatically detonate multiple times to create full-standing height breaches.
Support operators complement hard breachers by protecting them from enemy utility, droning ahead, or recycling crucial gadgets. Characters like Thermite and Thatcher—whose EMP grenades disable electronic defenses—form the backbone of coordinated pushes.
Flank Watch, Entry Fraggers, and Intel Gathering
Beyond breaching, attack squads rely on entry fraggers to win opening duels and map-control specialists to secure the flanks.
- Ash (FBI SWAT) and Sledge (SAS): Exemplify entry-fragging utility, using explosive rounds and a tactical breaching hammer, respectively, to maintain high velocity and surprise.
- Nomad (SASF) and Gridlock (SASR): Secure map control by deploying trap-based flank-watch tools (Airjab launchers and Trax Stingers) that notify the team of approaching flankers and slow their movement.
- IQ (GSG 9) and Brazen/Brava: Provide vital electronic intelligence. IQ detects active defender gadgets through walls with her Electronics Detector, while Brava hacks enemy hardware using Kludge drones.
Defender Archetypes and Core Roles
Defenders must stall the clock, waste attacker utility, and deny access to the objective site. Defensive operator design revolves heavily around area denial, information control, and structural reinforcement.
Anchors and Site Setup
Anchors stay on or near the bomb site to prevent plants and win late-round gunfights.
- Smoke (SAS): Regarded as a premier area-denial anchor, using toxic gas canisters to block entryways and burn precious seconds in the closing moments of a round.
- Rook (GIGN) and Doc (GIGN): Provide passive and active medical sustainability. Rook distributes Trauma Plates that guarantee a downed state instead of an immediate death, while Doc heals teammates with his Stim Pistol.
- Kaid (GIGR) and Mute (SAS): Handle electronic reinforcement denial. Kaid electrifies reinforced walls and hatches using his Rtila electroclaws, while Mute jams incoming electronic signals with Signal Jammers.
Roamers and Interceptors
Roamers operate far from the objective site to hunt down attacking drones, disrupt soft breaches, and force attackers to spend utility early.
- Caveira (BOPE): Employs her Silent Step ability to flank unsuspecting attackers and interrogate downed enemies, revealing the real-time positions of the entire attacking team.
- Vigil (707th SMB): Erasers his presence from attacker cameras using his ERC-7 video disruptor, creating paranoia and uncertainty regarding his exact location.
- Oryx (Unbound): Features the ability to burst through soft walls and scale hatches vertically without relying on ropes or ladders, offering unpredictable vertical angles.
Comparative Overview of Operator Attributes
To effectively draft a team composition, players must evaluate operator speed, armor ratings, and primary gadget functions. The following reference table categorizes core archetypes across both factions.
| Operator Name | Faction / Unit | Side | Primary Role | Armor / Speed Rating | Key Gadget |
|---|---|---|---|---|---|
| Thermite | FBI SWAT | Attack | Hard Breach | 2 Armor / 2 Speed | Exothermic Charge |
| Thatcher | SAS | Attack | Support / Disruption | 2 Armor / 2 Speed | EMP Grenade |
| Jäger | GSG 9 | Defense | Anti-Projectile | 2 Armor / 2 Speed | Active Defense System (ADS) |
| Bandit | GSG 9 | Defense | Reinforcement Denial | 1 Armor / 3 Speed | Shock Wire |
| Hibana | S.A.W. | Attack | Ranged Hard Breach | 1 Armor / 3 Speed | X-KAIROS Launcher |
| Smoke | SAS | Defense | Area Denial | 2 Armor / 2 Speed | Compound Z8 Remote Gas Grenade |
| Mute | SAS | Defense | Signal Jamming | 2 Armor / 2 Speed | Signal Jammer (GC9) |
| Valkyrie | Navy SEAL | Defense | Intel Gathering | 2 Armor / 2 Speed | Black Eye Gyro Cam |
Meta Evolution and Operator Balancing
Ubisoft maintains a continuous balancing philosophy for all Siege operators, adjusting weapon recoil, gadget quantities, speed metrics, and health pools. Understanding these shifts prevents reliance on outdated strategies. For instance, the transition from fixed three-speed and one-speed tiers to standardized health systems (110 HP for light operators, 100 HP for medium, and 125 HP for heavy) changed how gunfights and utility trades occur.
Furthermore, the introduction of the "Attacker Repick" mechanic allows players to switch both their operator and loadout during the preparation phase after gathering initial drone intel. This system elevated niche operators—such as IQ, Twitch, or counter-pick defenders like Kapkan and Frost—because teams can dynamically respond to spotted setups rather than committing blindly during the operator selection screen.
Common Mistakes When Managing Operator Pools
When learning or mastering all Siege operators, players often fall into predictable behavioral traps that limit their competitive growth:
- One-Tricking a Single Operator: Relying exclusively on one character leaves teams vulnerable when that operator is banned during the competitive pick-and-ban phase. Maintain a pool of at least three attackers and three defenders.
- Ignoring Utility Synergy: Selecting operators purely based on gun performance rather than gadget synergy often results in teams lacking hard breachers, anti-projectile devices, or vertical denial.
- Failing to Adapt to Map Geometry: Certain operators shine on vertical maps (like Clubhouse or Villa) while suffering on horizontal-heavy maps (like Coastline). Match your operator choice to the specific map layout.
- Neglecting Passive Information: Overlooking audio cues and camera placements makes roamers easy targets and leaves anchors blind to fast rushes.
Frequently Asked Questions
How many operators are available in Rainbow Six Siege?
The total number of operators exceeds 60, with new additions arriving progressively across seasonal updates. Every season typically introduces one new operator (or occasionally two in older operational models), steadily expanding the tactical choices available for both Attack and Defense.
Can you play any operator for free?
Base operators released during the game's initial launch years are generally unlocked automatically or require minimal in-game currency (Renown) to acquire. Newer operators must be unlocked using Renown earned through matches or R6 Credits purchased via real-world transactions.
What is the difference between an Anchor and a Roamer?
Anchors stay on or immediately adjacent to the objective site to delay attackers and prevent bomb plants. Roamers move across distant rooms and floors to disrupt attacker setups, destroy gathering drones, and waste valuable round time before falling back to the site.
What does "Hard Breach" mean in Siege?
Hard breaching refers to an operator's ability to destroy reinforced walls and hatches. Normal soft walls can be breached by melee attacks, standard bullets, or breach charges, but reinforced surfaces require specialized thermal, chemical, or kinetic tools belonging to operators like Thermite, Hibana, Maverick, or Ace.
How does the operator ban system work?
In competitive and unranked playlists, teams participate in a pick-and-ban phase before the match begins. Each team can ban up to two operators (one attacker and one defender), removing them from play for the entire match to eliminate specific tactical threats or force alternative team compositions.
Next Actions for Mastery
To effectively master all Siege operators, begin by choosing a core trio of support, fragger, and anchor roles to practice in standard playlists. Focus on learning map layouts, mastering vertical destruction lines, and studying how individual gadgets interact with electronic jammers and anti-projectile systems. Regularly review patch notes from Ubisoft to stay informed on weapon recoil updates, health pool adjustments, and gadget balance changes.