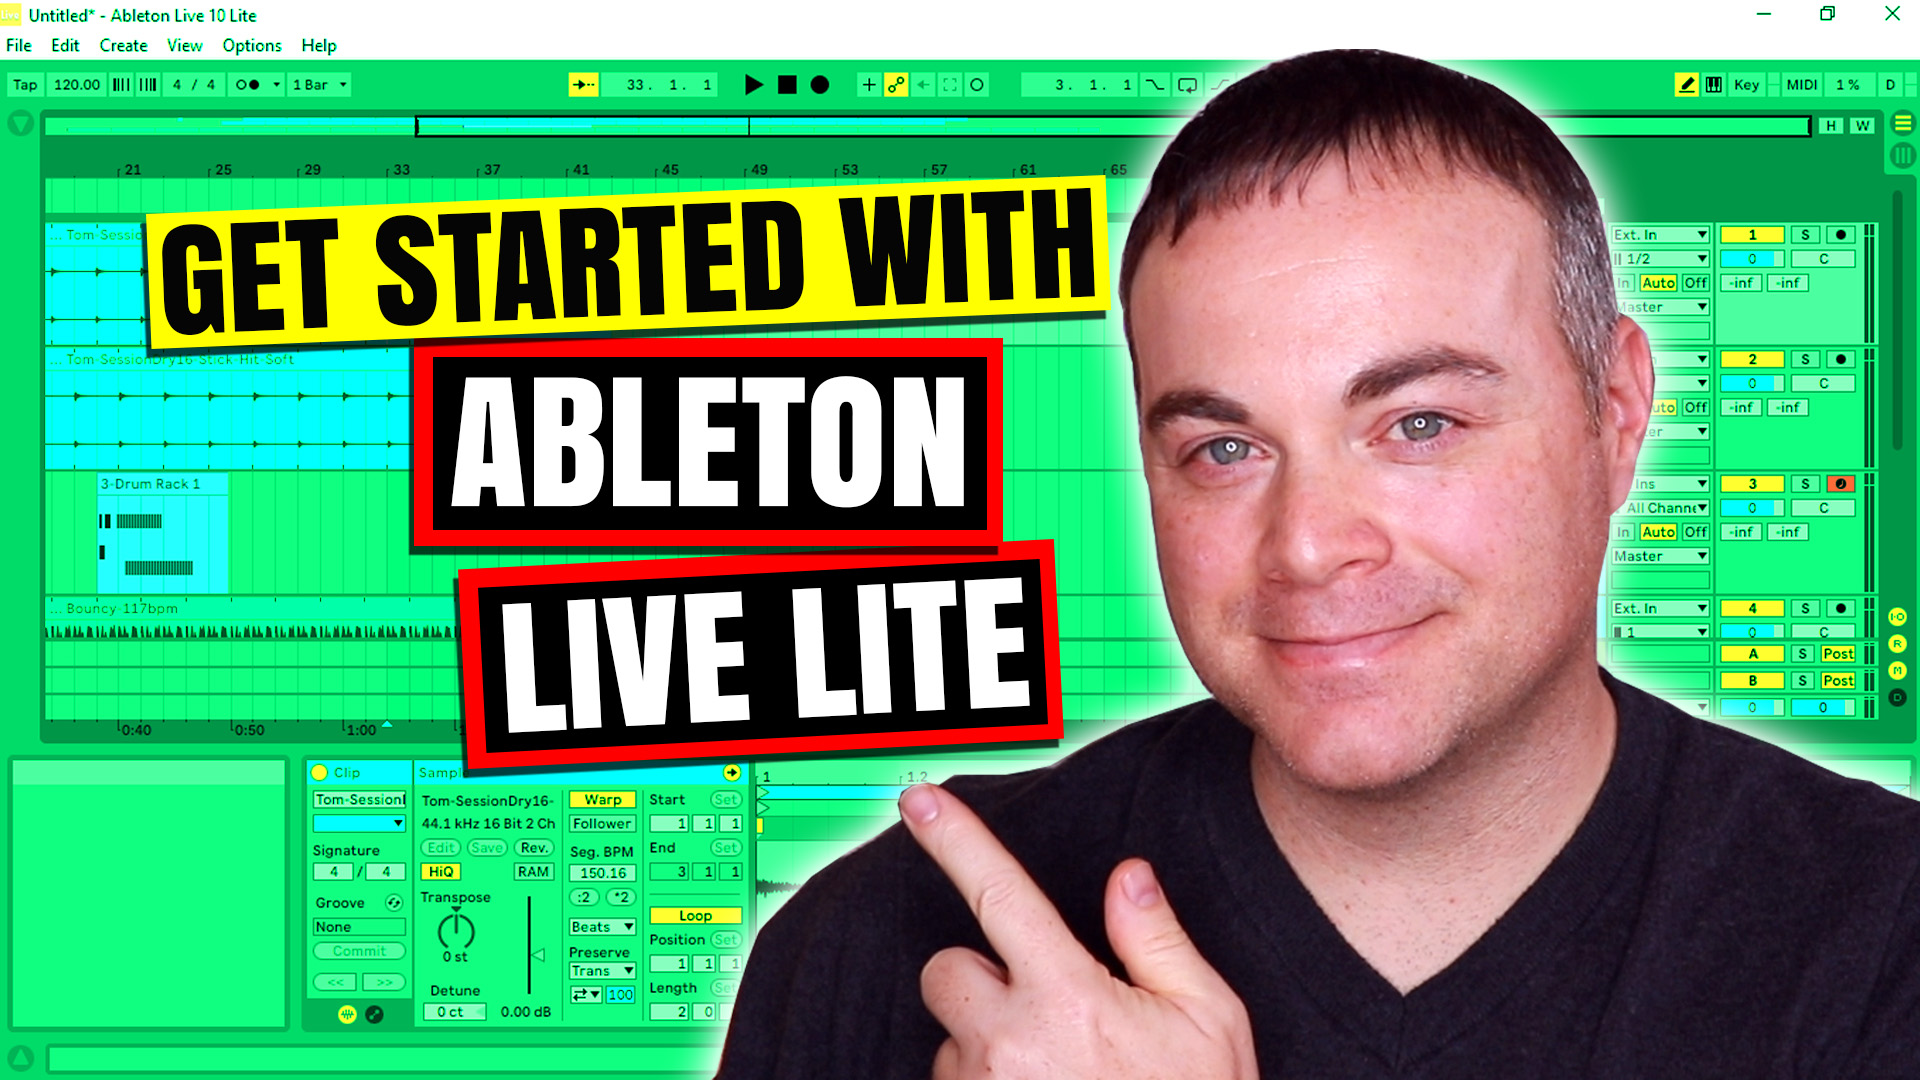
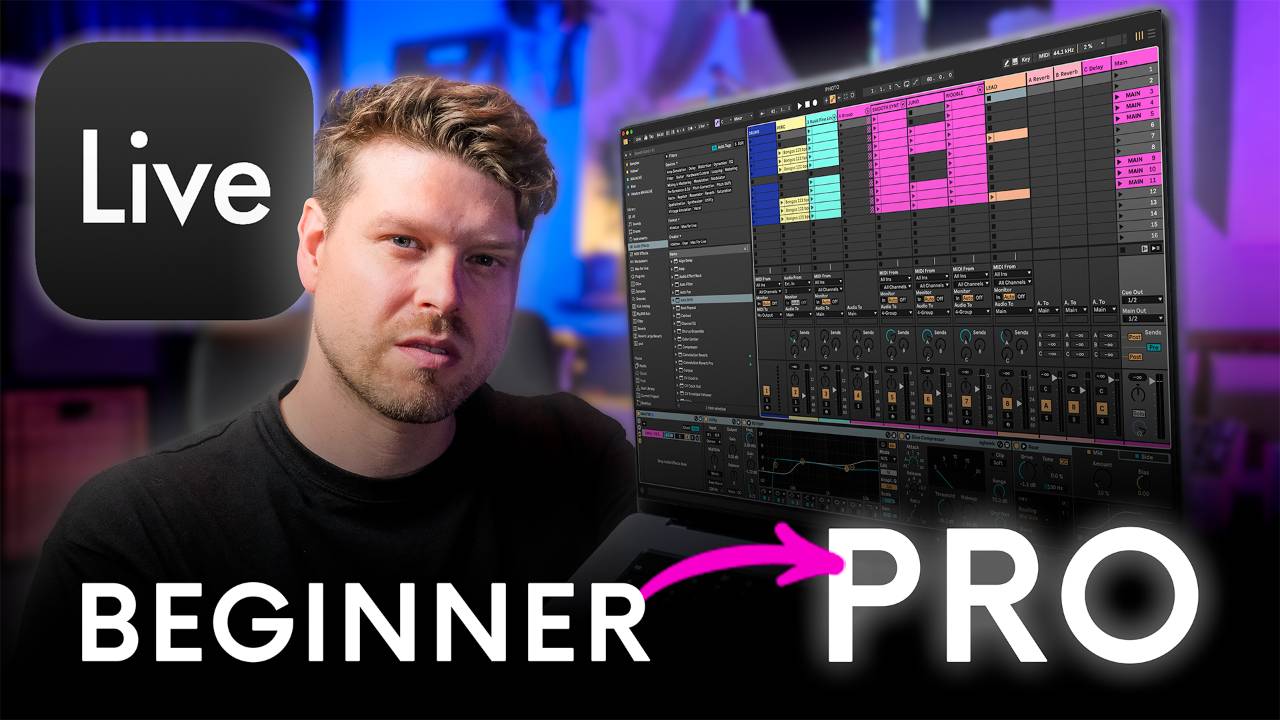
Getting started with Ableton Live involves understanding its two core workspaces—Session View and Arrangement View—setting up your audio interface and MIDI controller, and learning how to sequence MIDI clips, record audio, and apply basic mixing effects. This foundational guide walks you through every step required to build your first tracks from scratch.
Introduction to Ableton Live
Ableton Live occupies a unique position in the digital audio workstation (DAW) landscape. Unlike traditional software that mimics a linear tape machine from left to right, Ableton Live offers two distinct ways of working: the Session View and the Arrangement View.
For beginners, opening Ableton Live for the first time can feel overwhelming. The interface looks clean, almost minimalist, but it hides immense power underneath the hood. Whether your goal is to produce electronic music, record live bands, score films, or perform live electronic sets, understanding how Ableton approaches audio and MIDI processing is the key to unlocking your creative potential.
This guide will demystify the software, establish core terminology, and guide you through setting up your studio environment, creating your first beats, arranging a full song, and exporting your final mix.
Choosing the Right Edition and System Requirements
Before diving into the software, you must ensure your computer meets the technical specifications and that you have selected the appropriate edition of Ableton Live for your workflow.
Live Editions Explained
Ableton traditionally releases Live in three primary tiers: Intro, Standard, and Suite.
- Live Intro: Designed for absolute beginners on a budget. It includes core features, a selection of instruments, and effects, but limits you to 16 scenes and 16 tracks per project.
- Live Standard: The sweet spot for most independent producers. It removes track limitations, includes a wider array of native instruments (like Simpler), audio effects, and Max for Live foundations.
- Live Suite: The flagship package. It includes everything in Standard plus a massive library of sounds, Max for Live built-in integration, Operator, Wavetable, and dozens of additional instruments and effects.
Hardware Prerequisites
Digital audio production requires robust hardware. While Ableton is optimized to run efficiently, you should aim for:
- CPU: A modern multi-core processor (Apple Silicon M-series or Intel Core i7/i9 equivalent, or AMD Ryzen 7/9).
- RAM: 8GB minimum, though 16GB or higher is strongly recommended if you use heavy software instruments and orchestral sample libraries.
- Storage: Solid State Drives (SSDs) are mandatory for loading samples quickly. Allocate at least 70GB of free space if installing the full Suite sound library.
- Audio Interface: An external USB or Thunderbolt audio interface with dedicated ASIO drivers (Windows) or CoreAudio support (macOS) to minimize latency.
Initial Setup and Audio Preferences
Once installed, launching Ableton Live requires configuring your hardware settings correctly. If your audio stutters or your MIDI notes feel sluggish when you press keys, the issue almost always traces back to your preferences menu.
Navigating the Preferences Panel
Press Ctrl + , (Windows) or Cmd + , (Mac) to open the Preferences window.
Audio Tab:
- Audio Output Device / Input Device: Select your external audio interface rather than your computer's built-in speakers.
- Sample Rate: Set this to
44100 Hzor48000 Hzfor standard music production. Higher rates consume more CPU power with minimal audible benefit for beginners. - Buffer Size: This controls the delay between pressing a key and hearing sound. Set it to 128 samples or 256 samples while tracking instruments to keep latency imperceptible. If your project starts cracking due to heavy processing later, raise it to 512 or 1024 samples.
Link, Tempo, MIDI Tab:
- If you own a MIDI keyboard, controller, or pad grid (such as a Novation Launchpad or Akai APC), plug it in via USB.
- In this tab, locate your device under the MIDI Ports section and toggle Track, Sync, and Remote to On for both Input and Output. This allows Ableton to receive notes from your keyboard and send lights back to your controller.
Understanding the Two Workspaces
The defining feature of Ableton Live is its dual-view architecture. Mastering when and why to use each view is essential for a smooth workflow.
| ABLETON LIVE VIEWS | |
|---|---|
| Session View | Arrangement View |
| Non-linear clip launching | Linear timeline layout |
| Grid of cells and slots | Left-to-right track arrangement |
| Ideal for live performance and spontaneous sketching | Ideal for traditional song writing and mixing |
The Session View
Press the Tab key to toggle into the Session View. This looks like a mixing board combined with a grid of clips.
- Vertical columns represent Tracks (audio, MIDI, or return tracks).
- Horizontal rows represent Scenes.
- In this view, you can trigger loops, samples, and MIDI patterns independently in real-time, making it an incredible scratchpad for jamming, arranging live sets, or testing out chord progressions against drum loops.
The Arrangement View
Press Tab again to return to the Arrangement View. This is a traditional timeline view familiar to users of Pro Tools, Logic Pro, or FL Studio.
- Time moves from left to right horizontally.
- Tracks stack vertically.
- This is where you record your Session View jams into a linear structure, edit audio waveforms precisely, automate volume and filter sweeps over time, and build a finished song structure (Intro, Verse, Chorus, Bridge, Outro).
Building Your First Project: Step-by-Step
Let's walk through creating a simple electronic beat and chord progression in Ableton Live.
Step 1: Setting the Tempo and Time Signature
Look at the top left corner of the interface.
- The default tempo is 120 BPM (Beats Per Minute). Click the number and type in a new value (e.g.,
124 BPMfor house music or90 BPMfor hip-hop) or tap the Tap button rhythmically with your mouse. - Ensure the metronome icon next to the tempo is enabled so you can hear the click track.
Step 2: Creating a MIDI Drum Beat
- Look at the Browser on the left side of the screen. Click on Sounds or Drums.
- Drag and drop a drum kit (such as 80Kits Core or any default Drum Rack) onto an empty MIDI track.
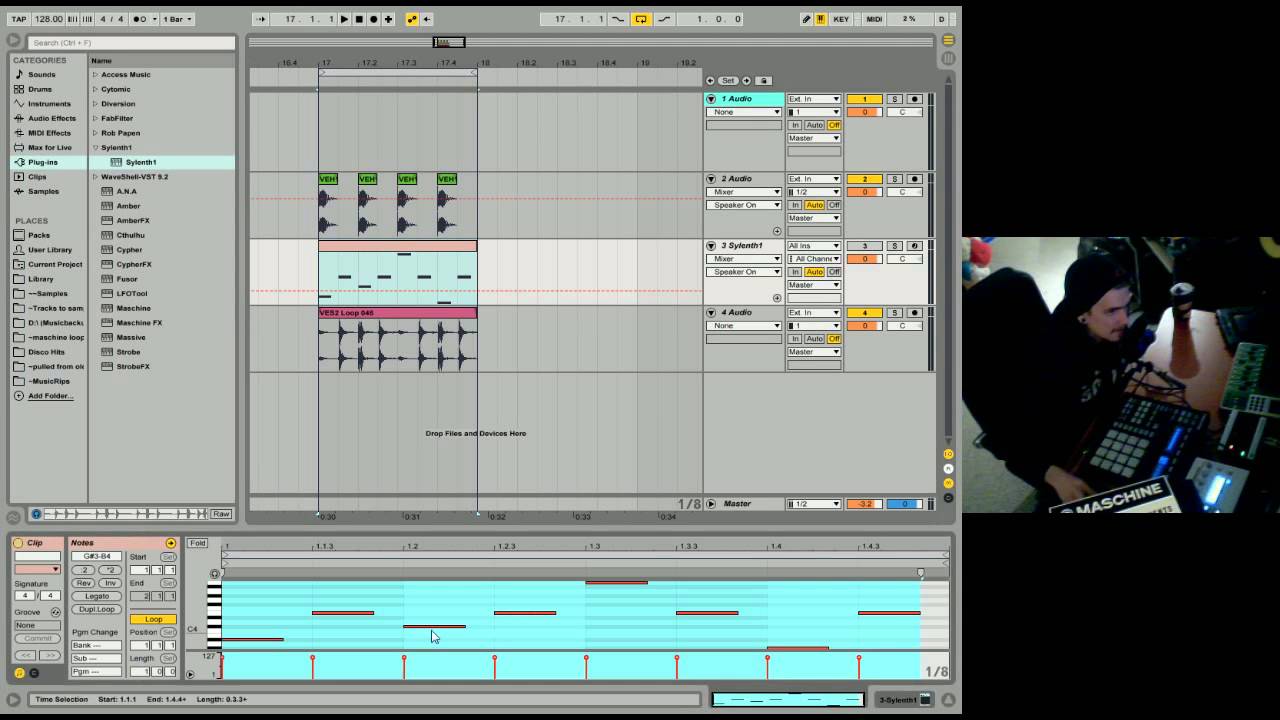
- Right-click an empty clip slot on that track in Session View and select Insert Empty MIDI Clip (or double-click the slot).
- The Clip Detail View opens at the bottom of the screen. Click the piano roll grid icon to reveal the piano roll.
- Double-click inside the grid to create individual MIDI notes. Place notes on the C1 key for the Kick drum on beats 1, 2, 3, and 4, and on the D1 key for the Snare drum on beats 2 and 4. Press the spacebar to play and stop your loop.
Step 3: Adding a Bassline or Synth Melody
- Create a new MIDI track by pressing
Ctrl + Shift + T(Windows) orCmd + Shift + T(Mac). - Browse the instruments library, select a synthesizer preset, and drag it onto the new track.
- Create another MIDI clip, open the piano roll, and draw a bassline melody that fits within the key of your drum track.
- Experiment with the Quantize shortcut (
Ctrl + UorCmd + U) if your live-recorded MIDI notes feel slightly out of time.
Working with Audio and Warping
Ableton Live shines when working with audio files, loops, and samples. Its proprietary Warp engine allows audio files to stretch, compress, and sync automatically to your project's global tempo without altering their pitch.
How to Import and Sync Audio Loops
- Navigate to your sample library or computer folders within the Ableton Browser.
- Preview a loop by clicking the speaker icon at the bottom of the browser.
- Drag the audio loop onto an empty Audio Track.
- In the Clip View at the bottom, ensure the Warp button is turned on.
- Select a warping algorithm suited to the source material:
- Beats: Best for drums, percussion, and rhythmic loops.
- Tones: Best for monophonic instruments (vocals, bass guitar).
- Complex Pro: Best for full polyphonic mixes and master tracks.
If a loop starts on an upbeat rather than the downbeat, right-click the waveform transient marker at the beginning of the audio file and select Set 1.1.1 Here to align it correctly with the grid.
Mixing and Adding Effects
Once you have your musical elements laid out, you need to shape their tone and volume using Ableton's vast library of audio effects.
Essential Native Effects
- EQ Eight: A precise parametric equalizer used to cut muddy low-end frequencies, tame harsh highs, and carve out sonic space for every instrument.
- Compressor: Controls the dynamic range of audio signals, gluing drum buses together and keeping vocals punchy and consistent.
- Reverb / Delay: Adds spatial depth, simulating room reflections or creating rhythmic echoes.
Inserting Effects
Drag any effect from the Audio Effects folder in the browser and drop it directly onto a track header or into the device chain at the bottom of the interface. Signal flow runs from left to right through your devices; always place time-based effects (like Reverb) after dynamic processors (like Compressors) unless you are intentionally seeking a distorted, stylized sound.
Exporting Your Finished Track
When your arrangement is complete and you are ready to share your music, exporting your project requires a few specific steps to ensure professional audio quality.
- Switch to the Arrangement View and use the locator brackets at the top of the timeline to highlight the exact section of the song you want to export.
- Go to the top menu and select File > Export Audio/Video.
- Configure the export settings in the dialog box:
- Rendered Track: Set to
Master. - Type: Set to
WAVorAIFFfor uncompressed archival quality, or check the box to export anMP3for easy sharing. - Sample Rate:
44100 Hz. - Bit Depth:
24-bit(standard for professional mastering). - Normalization: Leave disabled unless you want Ableton to automatically boost the peak volume of the entire file.
- Rendered Track: Set to
- Click Export, choose your destination folder, and name your file.
Frequently Asked Questions
Can I use Ableton Live without a MIDI controller?
Yes. You can use your computer keyboard as a musical keyboard by pressing the Caps Lock key to toggle the QWERTY keyboard piano mode. You can also draw notes directly into the piano roll grid with your mouse. However, a physical MIDI controller significantly speeds up your workflow and allows for expressive performance.
What is the difference between Session View and Arrangement View?
Session View is a non-linear grid designed for triggering clips independently, improvising, and live performance. Arrangement View is a traditional left-to-right timeline designed for linear song structure, precise editing, mixing, and final export.
How do I fix audio lag or crackling in Ableton?
Audio lag (latency) is usually caused by a high buffer size. Lower the buffer size in your audio preferences to reduce delay while tracking. If your computer crackles or overloads the CPU, raise the buffer size to 512 or 1024 samples, freeze complex instrument tracks, or flatten audio tracks to save processing power.
What is Max for Live?
Max for Live is a platform built into Ableton Live (standard in Suite, available as an add-on in Standard) that allows users to build custom instruments, MIDI effects, and audio processors using a visual programming language. It unlocks thousands of free and commercial community-created devices.
How do I save my project so I never lose samples?
Always use File > Collect All and Save. This command tells Ableton to scan your computer for every external sample, audio recording, and groove used in your project and copy them into a dedicated project folder, preventing missing media errors if files are moved later.
Conclusion and Next Actions
Mastering Ableton Live takes time, patience, and consistent practice. Start by exploring the built-in lessons accessed via the Help View (Ctrl + H or Cmd + H) within the software. Open a blank project today, set your tempo, record a simple four-bar drum loop, and experiment with dropping audio effects onto your tracks. The more time you spend navigating the interface, the more intuitive your music production workflow will become.