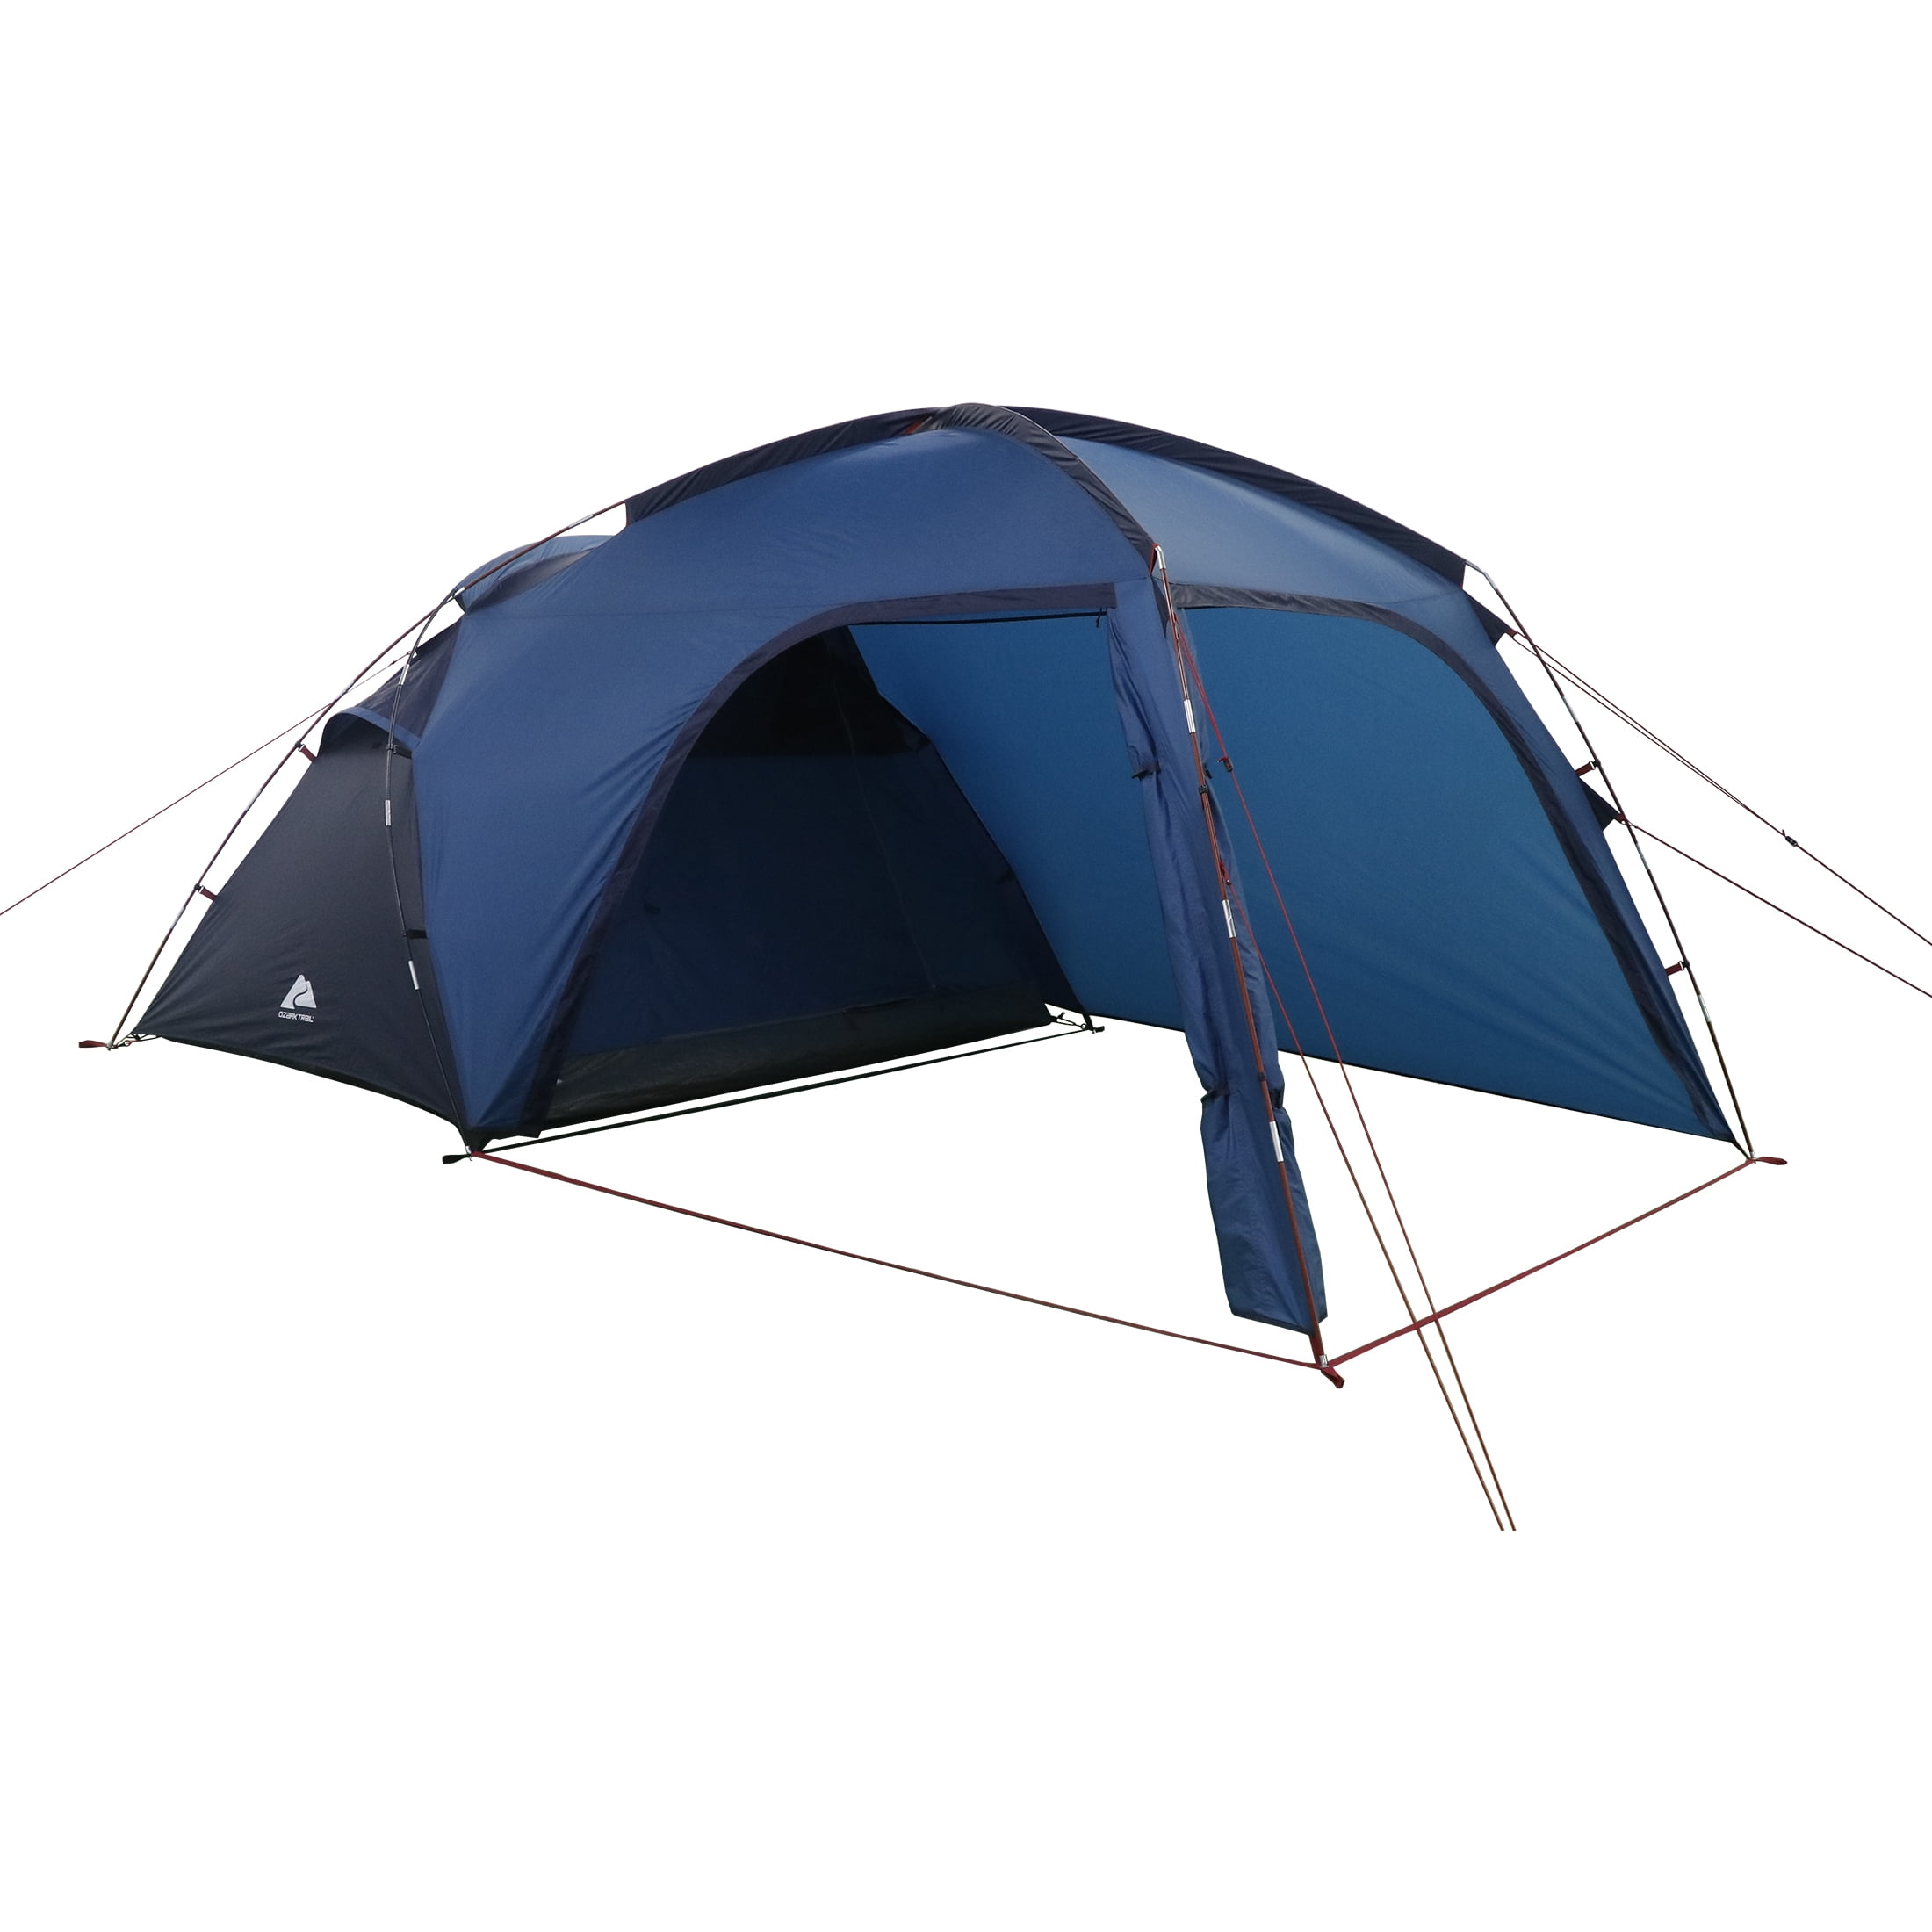
Setting up an Ozark Trail 1 person backpacking tent requires sorting your components, laying out the footprint or tent floor, assembling the shock-corded fiberglass or aluminum poles, securing the inner mesh body, and properly draping and staking the rainfly to ensure weather resistance and structural stability in the field.
Introduction to the Ozark Trail 1-Person Backpacking Tent
For solo campers, hikers, and minimalist backpackers looking to hit the trail without breaking the bank, budget-friendly shelter systems present an accessible entry point. Among these, the Ozark Trail 1 person backpacking tent is a popular choice found at major retailers across North America. Designed to balance weight, packability, and cost, this compact shelter protects single occupants from the elements. However, budget tents often come with minimalist documentation, leaving campers to puzzle over pole configurations, stake placement, and rainfly attachment in sub-optimal weather conditions.
Understanding how to properly unpack, assemble, tension, and maintain your Ozark Trail 1-person tent is essential for a successful outdoor excursion. Whether you are prepping for your maiden voyage into the backcountry or brushing up on your campcraft skills ahead of the 2026 camping season, mastering these step-by-step instructions ensures your shelter stays secure, dry, and comfortable through shifting weather patterns. This comprehensive guide covers pre-trip preparation, a detailed assembly sequence, teardown procedures, maintenance tips, and answers to common user questions.
Pre-Trip Preparation and Component Identification
Before you ever step foot on a trailhead, familiarity with your gear is your best defense against unexpected complications at camp. Attempting to pitch a tent for the first time in the fading light of dusk or during a sudden downpour is a recipe for frustration. Taking twenty minutes to practice a backyard setup allows you to inventory your components and verify that all necessary hardware is present and undamaged.
The typical contents of an Ozark Trail 1-person backpacking tent kit include several core components. Carefully unpack your tent sack and lay out each piece on a clean, flat surface to check against the following list:
- Inner Tent Body: A lightweight structure featuring a waterproof bathtub floor and breathable mesh upper panels for ventilation and condensation reduction.
- Rainfly: A separate waterproof sheet designed to drape over the inner body, shielding the occupant from rain and wind.
- Tent Poles: Typically lightweight shock-corded fiberglass or aluminum poles (often two main crossing poles or a ridge-pole system) that provide the structural skeleton.
- Tent Stakes / Pegs: Metal or plastic pins used to anchor the tent corners and guy lines to the ground.
- Guy Lines: Cordage attached to the rainfly loops to stabilize the tent against high winds.
- Carry Bag: A compression or stuff sack designed to house all components for transport.
Choosing and Preparing Your Campsite
The longevity and performance of your Ozark Trail tent depend heavily on where you pitch it. Look for a level, well-drained area free of sharp rocks, protruding roots, and heavy debris that could puncture the tent floor. Whenever possible, set up your tent downwind of natural windbreaks like large boulders or dense tree clusters, and avoid pitching directly under dead tree branches—often referred to in the camping community as "widow-makers"—that could snap during overnight storms.
Step-by-Step Setup Instructions
Pitching a single-person backpacking tent follows a logical, sequential workflow. Working methodically prevents strain on the fabric and ensures the tent maintains its designed geometric tension, which sheds water and wind effectively.
Step 1: Clear the Area and Lay Down a Footprint
Clear the designated patch of ground of any sharp twigs, stones, or pinecones. While not always included with budget tents, laying down a ground cloth or dedicated footprint cut slightly smaller than the tent floor perimeter prevents moisture from wicking up through the floor fabric and protects against abrasion. Center the inner tent body on top of your footprint with the door facing your desired direction.
Step 2: Unfold and Assemble the Tent Poles
Pull your shock-corded poles from their sleeve and allow the internal elastic cord to guide the sections together into full-length poles. Ensure each joint seats completely and securely; failing to fully seat pole segments puts undue stress on the aluminum or fiberglass joints, which can lead to splintering or snapping under tension.
Step 3: Position and Secure the Frame
Depending on the specific production run of your Ozark Trail 1-person model, the framing style typically utilizes either an X-configuration or a hub-and-pole ridge design:
- Insert the tips of the assembled poles into the pin-and-ring assemblies located at the four bottom corners of the inner tent body.
- If your model features clips, attach the plastic speed-clips running along the mesh body's exterior directly to the corresponding poles, working your way from the bottom up to create a freestanding dome.
- If your model utilizes pole sleeves, slide the poles smoothly through the fabric channels, taking care not to force the material if it snags.
Step 4: Stake Out the Inner Tent Base
With the frame upright and the inner tent suspended, pull the four corners of the floor taut so that the floor forms a clean, rectangular or polygonal shape without wrinkles. Drive your tent stakes through the corner webbing loops into the ground at a 45-degree angle pointing away from the tent. Use a mallet or a smooth rock to drive stakes fully; never use your foot to stomp stakes in, as this can bend them.
Step 5: Attach and Secure the Rainfly
The rainfly is your primary defense against precipitation. Carefully drape the rainfly over the assembled inner tent, aligning the door panels with the tent door.
- Locate the attachment buckles or hooks on the underside corners of the rainfly and clip them securely into the matching buckles near the tent's base pin-and-ring assemblies.
- Secure any interior Velcro tabs around the poles beneath the rainfly to add structural rigidity against wind shear.
- Pull the rainfly guy-out points taut and stake them down. Ensure the rainfly fabric does not touch the inner mesh walls, as direct contact can transfer condensation moisture to the inside of your sleeping quarters.
Tent Component Comparison
To help you understand how the materials of an entry-level shelter compare to higher-end backpacking tents, review the breakdown below:
| Component | Standard Ozark Trail Materials | Functional Purpose | Maintenance Consideration |
|---|---|---|---|
| Floor | Polyethylene or Coated Polyester | Blocks ground moisture and abrasion | Avoid setting up on sharp debris; dry completely before storage. |
| Mesh Body | Polyester No-See-Um Mesh | Maximizes cross-ventilation and keeps insects out | Brush clean of dirt; store loosely to preserve elasticity. |
| Rainfly | Polyester with PU Coating (e.g., 450mm–1200mm) | Sheds rain and blocks wind | Inspect waterproof coating periodically; wash with mild soap only. |
| Poles | Shock-Corded Fiberglass or Aluminum | Provides structural framework | Do not drop heavy items on poles; wipe clean of grit after trips. |
| Stakes | Stamped Steel or Aluminum Wire | Anchors tent structure to earth | Count stakes upon teardown; bend back into shape if warped. |
Teardown, Packing, and Storage
Breaking camp correctly is just as important as setting up properly. Rushing the packing process can lead to damp fabric, lost hardware, and damaged poles. Follow these guidelines when it is time to pack up your Ozark Trail 1 person backpacking tent:
- Clear the Interior: Remove all personal gear, sleeping pads, and sleeping bags. Shake out the tent floor to remove crumbs, dirt, and trapped leaves.
- Detach the Rainfly and Poles: Unbuckle the rainfly, fold it loosely, and set it aside. Collapse the tent poles by pushing—never pulling—the sections apart from the middle to prevent damaging the internal shock cord. Store poles in their dedicated sleeve.
- Pull Stakes and Collapse the Body: Pull all stakes from the ground, wipe off adhering soil, and place them in their stake bag. Unclip or slide out the remaining framing elements from the inner tent body.
- Fold, Don't Roll (When Possible): Rolling a tent tightly forces air and moisture into microscopic creases. Instead, "flake" or fold the tent along its natural seam lines to match the approximate width of your stuff sack, then loosely roll or fold it. Packing it slightly randomized prevents permanent crease lines from wearing down the waterproof coating prematurely.
- Dry Storage Warning: Never store a tent wet. If you must pack up in the rain, unpack and set up the tent in a garage or living room as soon as you return home to allow it to air dry fully. Storing a damp tent for even a few days leads to mold growth, fabric degradation, and stubborn mildew odors.
Maintenance, Troubleshooting, and Field Repairs
Even budget-friendly gear will last for multiple seasons if treated with basic care. Routine maintenance prevents unexpected field failures.
Common Field Issues and Solutions
- Condensation Buildup: Single-wall setups or fully zipped rainflies often accumulate interior condensation overnight due to body heat and breath meeting cold air. Leave the rainfly vestibule partially unzipped if weather permits to encourage cross-ventilation.
- Leaking Seams: Factory seam tape can peel over time. If you notice moisture weeping through seams during heavy rain, apply a silicone-based seam sealer to the exterior stitching during a dry pre-trip weekend.
- Bent or Splintered Poles: If a fiberglass pole splinters in high winds, wrap the damaged area tightly with duct tape or emergency splint tubing as a temporary field fix, then replace the damaged segment upon returning home.
Frequently Asked Questions
Can one person easily set up an Ozark Trail 1-person tent alone?
Yes. These tents are designed specifically for solo assembly. The freestanding or semi-freestanding architecture allows a single camper to pitch the shelter in roughly 5 to 10 minutes without requiring a second set of hands.
Is the Ozark Trail 1-person tent waterproof?
The tent features a coated rainfly and a waterproof bathtub floor designed to withstand standard rain conditions. However, heavy, prolonged downpours or wind-driven rain can overwhelm budget waterproof ratings. Applying an aftermarket waterproof spray to the fly and sealing the seams can significantly enhance water resistance.
What is the packed size and weight of this tent?
While exact dimensions vary slightly depending on the specific model year and production batch, Ozark Trail 1-person backpacking tents typically weigh between 3 and 4 pounds and pack down into a cylinder roughly 15 to 20 inches long, making them suitable for strapping to the exterior or sliding into the bottom of a standard hiking backpack.
Can I use this tent in winter weather?
This tent is engineered primarily as a 3-season shelter for spring, summer, and early autumn use. It is not built to withstand heavy snow loads, sub-zero alpine temperatures, or high winter winds, as its mesh panels allow too much cold airflow.
How do I clean my Ozark Trail tent after a muddy trip?
Set the tent up in your yard or clean driveway. Use a sponge, lukewarm water, and a mild, fragrance-free dish soap to gently scrub dirty spots. Never machine wash or machine dry your tent, as the agitation and heat will destroy the waterproof coatings and warp the pole shock cords. Allow it to dry completely in the shade before packing away.
Final Recommendations for Your Backpacking Trip
Before heading out into the wilderness with your Ozark Trail 1 person backpacking tent, perform a complete dry run in your yard. Check that all stakes are accounted for, test the zippers, and verify that the rainfly attaches smoothly. Pairing your tent with a high-R-value sleeping pad and a reliable sleeping bag ensures you remain insulated from cold ground temperatures. By investing a little time in proper setup, teardown, and maintenance, your budget-friendly shelter will provide a dependable, dry refuge mile after mile.