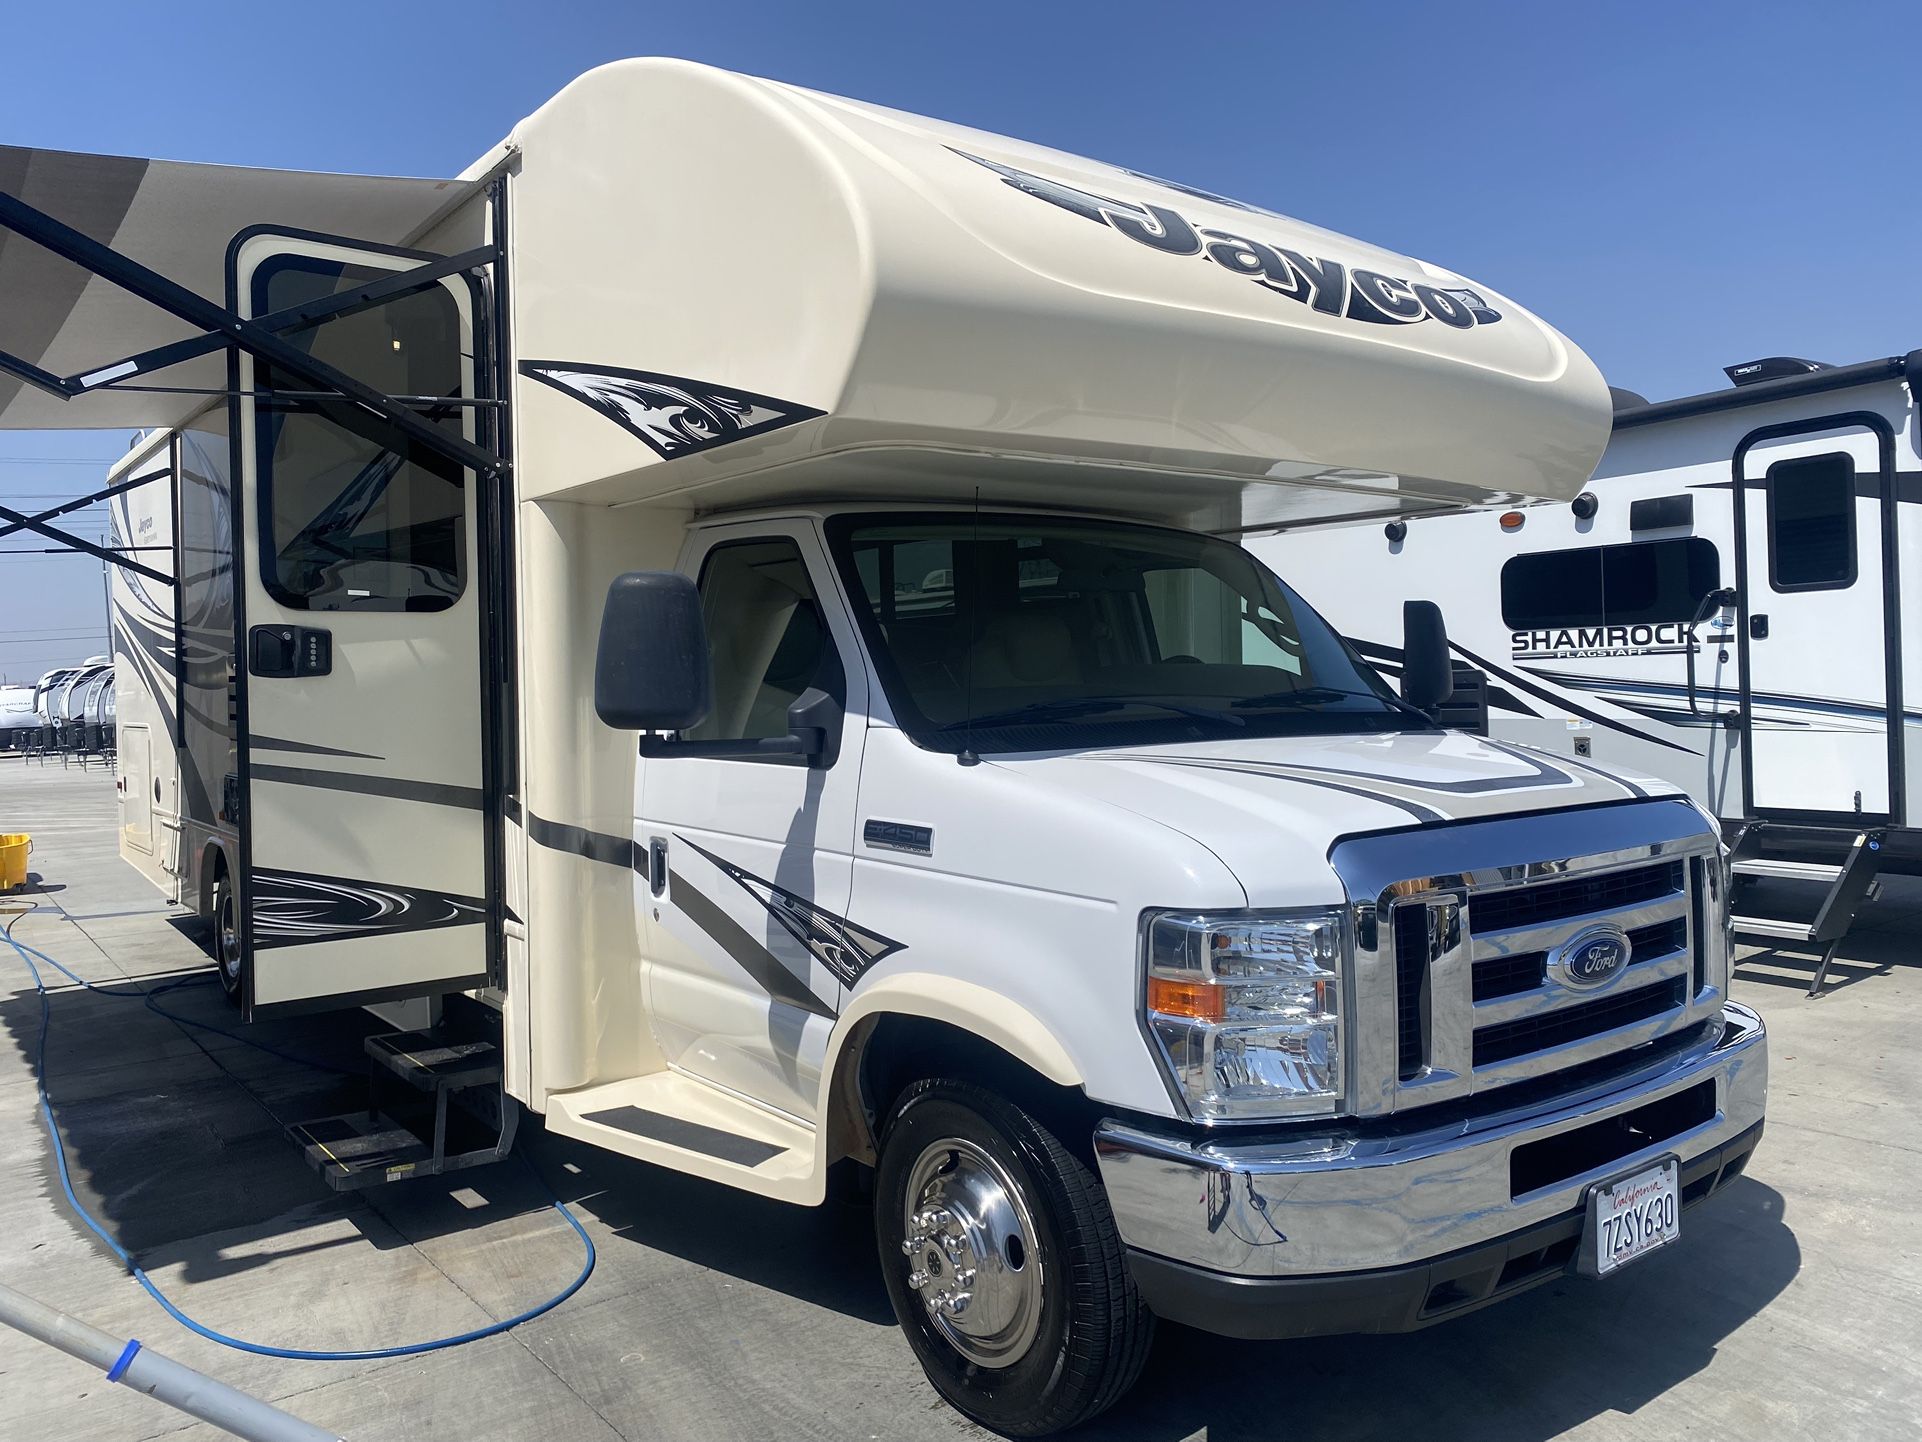
Installing a solar energy system on a 2017 Jayco Greyhawk 29MV allows owners to achieve greater off-grid independence by recharging house batteries using renewable energy. The process involves selecting compatible photovoltaic panels, mounting them securely to the rubber or fiberglass roof membrane, wiring them through a solar charge controller to the battery bank, and ensuring all electrical connections meet standard RV safety protocols for voltage and amperage.
The 2017 Jayco Greyhawk 29MV is a popular Class C motorhome built on the Ford E-450 chassis. Because of its relatively compact footprint and moderate power consumption, it is an ideal candidate for a moderate solar upgrade. Whether you are looking to trickle-charge your batteries during storage or sustain a multi-day boondocking trip, this guide outlines the technical requirements, safety considerations, and procedural steps to successfully integrate solar power into your rig.
Assessing Your Power Requirements
Before purchasing equipment, you must calculate your energy budget. Solar power is not a magic solution; it is a replenishment system. You need to determine how many amp-hours (Ah) your appliances consume daily.
- Audit Your Loads: List every appliance you use—LED lights, the water pump, the furnace blower, and infotainment systems.
- Calculate Daily Usage: Determine the total watt-hours used in a 24-hour period. For example, a 60-watt load running for 5 hours is 300 watt-hours.
- Account for Battery Capacity: Your 2017 Greyhawk likely came with one or two group 27 or 31 deep-cycle lead-acid batteries. Solar can only replace what the batteries can store. If your battery bank is small, a large solar array may be wasted because there is nowhere to store the excess energy once the batteries reach full charge.
Selecting the Right Components
The core of your solar system consists of four primary components. Selecting high-quality, matched components is vital for system longevity and fire safety.
1. Solar Panels
For the Greyhawk 29MV, you generally have two choices: rigid monocrystalline panels or flexible thin-film panels.
- Rigid Panels: These are durable and offer better airflow beneath the panel, which improves efficiency in hot weather. They are typically mounted on brackets.
- Flexible Panels: These are lightweight and adhere directly to the roof. While easier to install, they can trap heat against the roof membrane and may have a shorter lifespan due to thermal cycling.
2. Charge Controllers
This is the most critical electronic component. A Maximum Power Point Tracking (MPPT) controller is highly recommended over the cheaper Pulse Width Modulation (PWM) versions. An MPPT controller can convert the higher voltage of your panels into the optimal charging voltage for your battery, typically resulting in a 20–30% increase in efficiency.
3. Mounting Hardware
Because the 2017 Greyhawk uses a specific roof construction, mounting requires careful selection of brackets. "Z-brackets" are the industry standard for rigid panels. They allow for a small air gap between the panel and the roof, which is essential for cooling.
4. Cabling and Fusing
Always use solar-rated, UV-resistant wiring (typically 10 AWG or 8 AWG depending on current). Every positive wire must have an inline fuse or circuit breaker installed as close to the power source as possible to protect against short circuits.
Planning the Roof Layout
The 2017 Jayco Greyhawk 29MV features a rubber or TPO roof membrane. Navigating this space requires caution to avoid damaging existing equipment or creating potential leaks.
- Avoid Shadows: Even small shadows from roof-mounted AC units, vents, or TV antennas can significantly drop the voltage output of your entire array if panels are wired in series.
- Structure and Fasteners: Your roof is supported by wooden trusses. When mounting rigid panels, try to locate these trusses, or ensure your mounting points are reinforced with high-quality sealant and appropriate hardware.
- Cable Entry: You will need a way to get the wires from the roof into the coach. The "entry gland" is a specialized, waterproof housing that sits on the roof, allowing cables to pass through the roof deck and down into the interior (often via a refrigerator vent or a dedicated conduit).
The Installation Process
Step 1: Surface Preparation
Clean the installation area on the roof thoroughly using a mild soap and water solution, followed by an alcohol wipe to ensure the sealant adheres properly. Avoid harsh solvents that might damage the roofing membrane.
Step 2: Mounting the Panels
Attach the Z-brackets to the frames of your panels while on the ground. Once ready, position the panels on the roof. Apply a generous amount of an RV-specific self-leveling lap sealant (such as Dicor) to the base of the brackets before screwing them into the roof deck. Always apply a secondary bead of sealant over the screw heads to create a watertight seal.
Step 3: Running the Wiring
Route your cables through the entry gland. Many Greyhawk owners find that the refrigerator vent provides an easy path to drop cables behind the fridge cabinet, which often sits near the power distribution center. Ensure cables are secured every 12–18 inches along the roof to prevent wind damage.
Step 4: Connecting the Charge Controller
Connect the charge controller to your battery bank before connecting the solar panels. This prevents the controller from potentially being damaged by a surge of voltage from the panels without a reference battery voltage. Ensure you observe correct polarity (positive to positive, negative to negative).
Step 5: System Verification
Once connections are made, check the charge controller display. It should indicate battery voltage and, if the sun is out, the current charging status.
Comparison of Solar Installation Methods
| Method | Benefit | Drawback | Suitability |
|---|---|---|---|
| Rigid Panels (Z-Bracket) | Highly durable, better heat dissipation. | Heavier, requires roof penetration. | Long-term boondockers. |
| Flexible Panels (Adhesive) | Low profile, no drilling required. | Prone to overheating, lower life span. | Occasional weekend use. |
| Portable Suitcase | No installation, tracks the sun. | Easy to steal, requires manual setup. | Users with limited roof space. |
Important Considerations and Safety
Sealing and Waterproofing
Roof leaks are the death of any motorhome. When installing solar on a 2017 Jayco, never rely on screws alone. Every hole you put in the roof must be encapsulated in high-quality, UV-resistant self-leveling sealant. Inspect these seals at least twice per year.
Electrical Codes
While an RV is not a residential building, you should still follow the National Electrical Code (NEC) Article 690 regarding solar installations. This includes using proper wire gauges to prevent overheating and ensuring the total voltage of your panel array does not exceed the maximum input voltage rating of your charge controller.
Battery Chemistry
If you are still using the factory-installed lead-acid batteries, ensure your solar charge controller has a profile set to "Flooded" or "AGM." If you upgrade to Lithium (LiFePO4) batteries in the future, your controller must be capable of a Lithium charging profile. Lithium batteries charge at different voltages and require specific settings to prevent cell damage.
Frequently Asked Questions
1. Can I install solar panels on my 2017 Jayco Greyhawk without drilling the roof? Yes, but your options are limited. Flexible panels can be adhered to the roof using industrial-grade structural adhesive, or you can use a portable solar suitcase that plugs into an exterior solar port if your RV is equipped with one. However, rigid panels provide significantly better longevity.
2. How many watts do I need for my Greyhawk? For most users, 200 to 400 watts is the "sweet spot." This is sufficient to keep your batteries charged through a weekend of moderate use, powering lights, fans, and moderate device charging without needing to run a noisy generator.
3. Will solar charge my coach batteries and chassis battery? Most standard solar setups are designed to charge the house battery bank. To charge the chassis (starter) battery, you would need a battery combiner or a "Trik-L-Start" device, which allows excess energy from the house bank to flow into the chassis battery once the house bank is fully charged.
4. Can I walk on the roof of my 2017 Greyhawk while installing panels? Jayco roofs are generally walkable, but you should distribute your weight using plywood sheets if you are unsure of the specific roof integrity. Avoid stepping on the edges or near the vents, as these are the most common areas for structural weakness.
5. How often do solar panels need cleaning? In dusty or desert environments, cleaning panels every month is beneficial. In moderate climates, cleaning them once or twice a year is usually sufficient. Use only water and a soft brush; detergents can leave a residue that attracts more dirt.
Next Steps for Your Installation
Before beginning, verify your roof's current condition. If the lap sealant around your existing vents is cracked or brittle, prioritize a "roof refresh" before adding the weight and complexity of solar panels. When you are ready to proceed, purchase a complete kit that includes the panels, controller, and mounting hardware specifically marketed for RV use, as these kits contain pre-sized wiring and fuses, significantly reducing the chance of error.