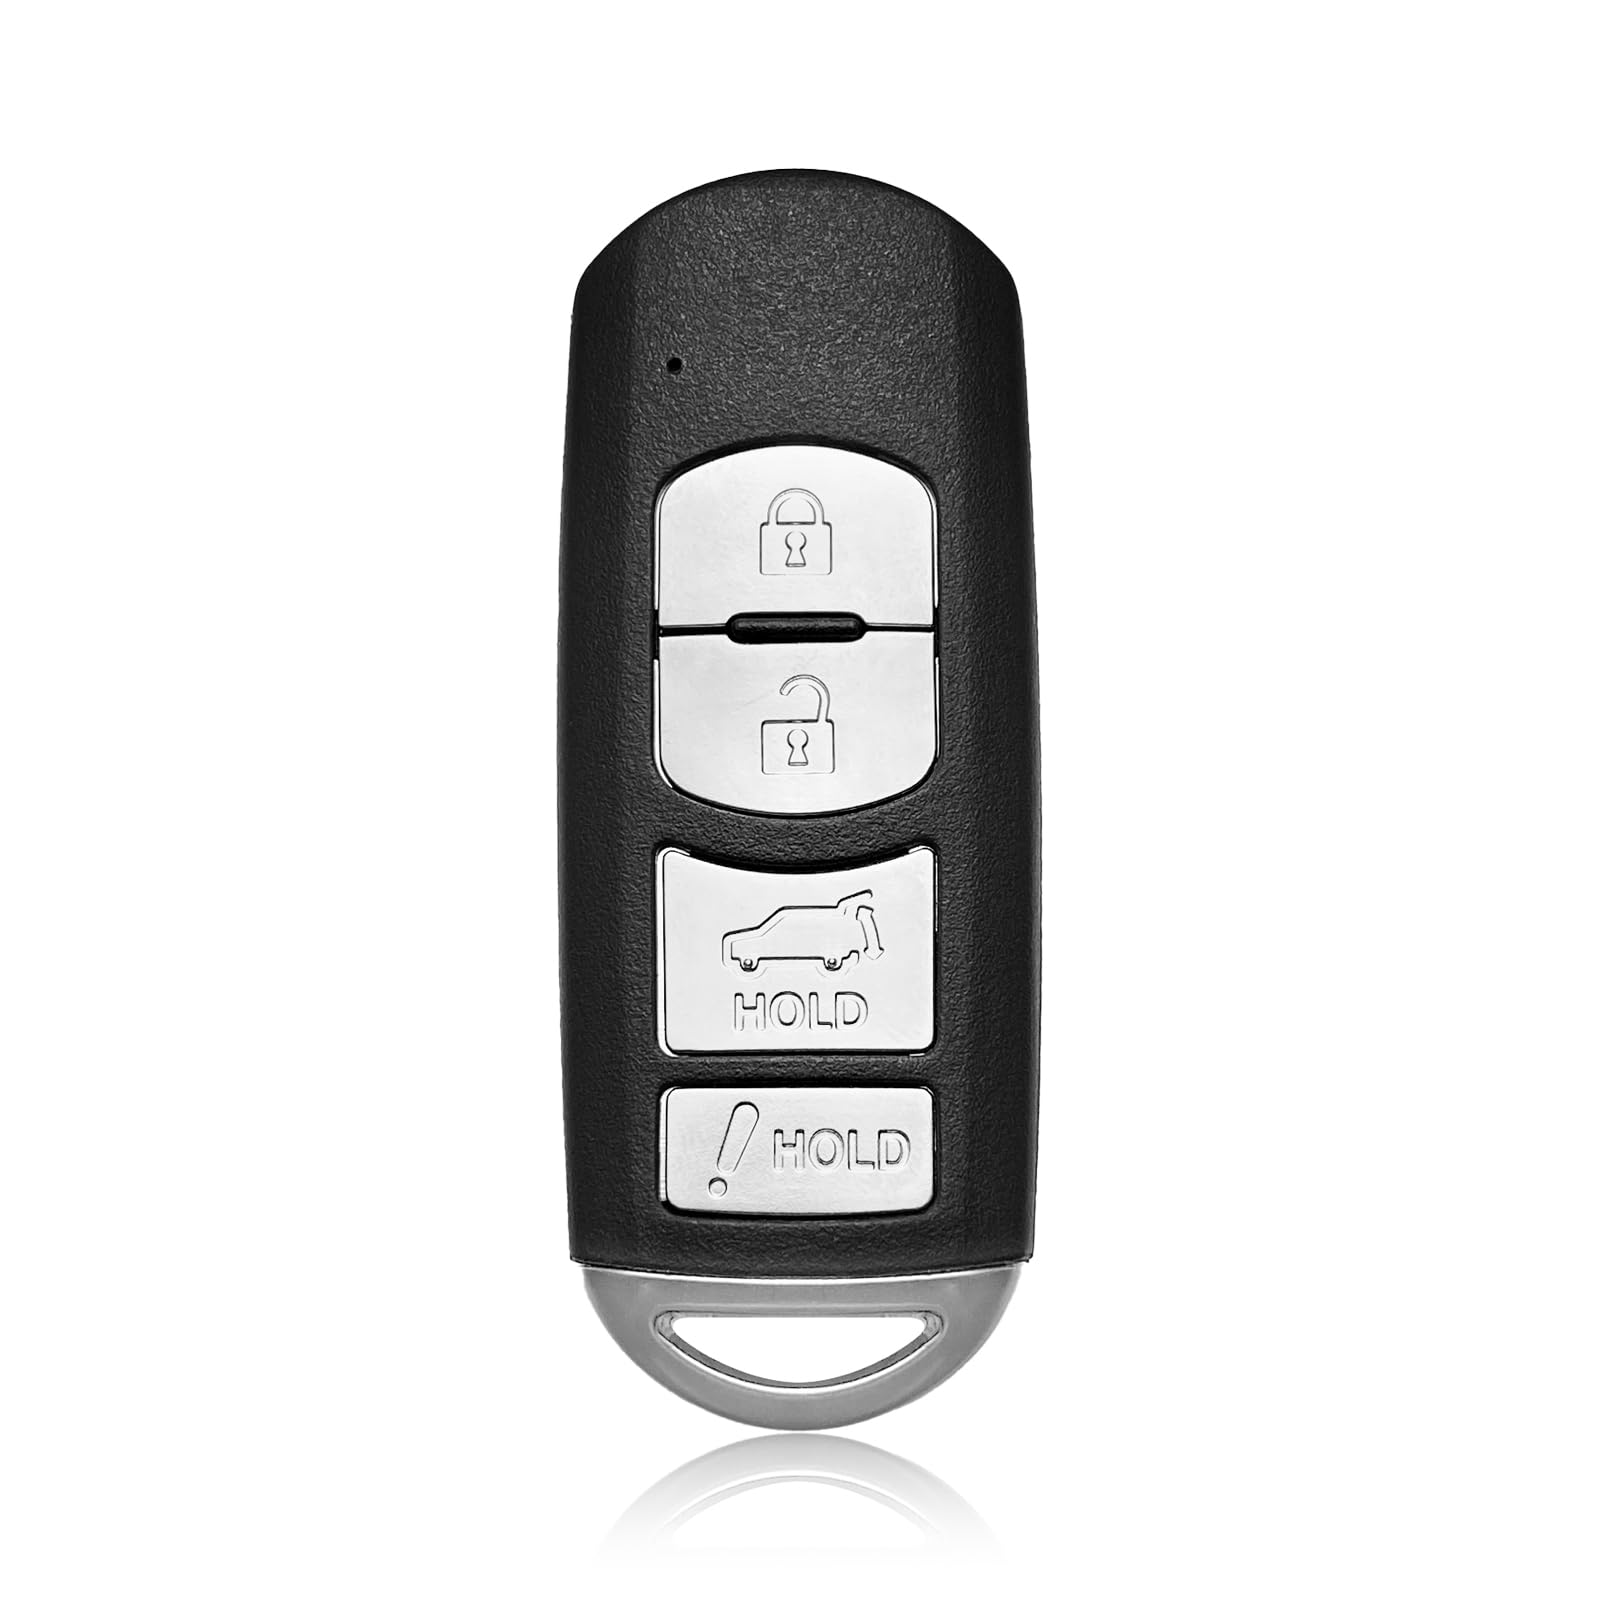
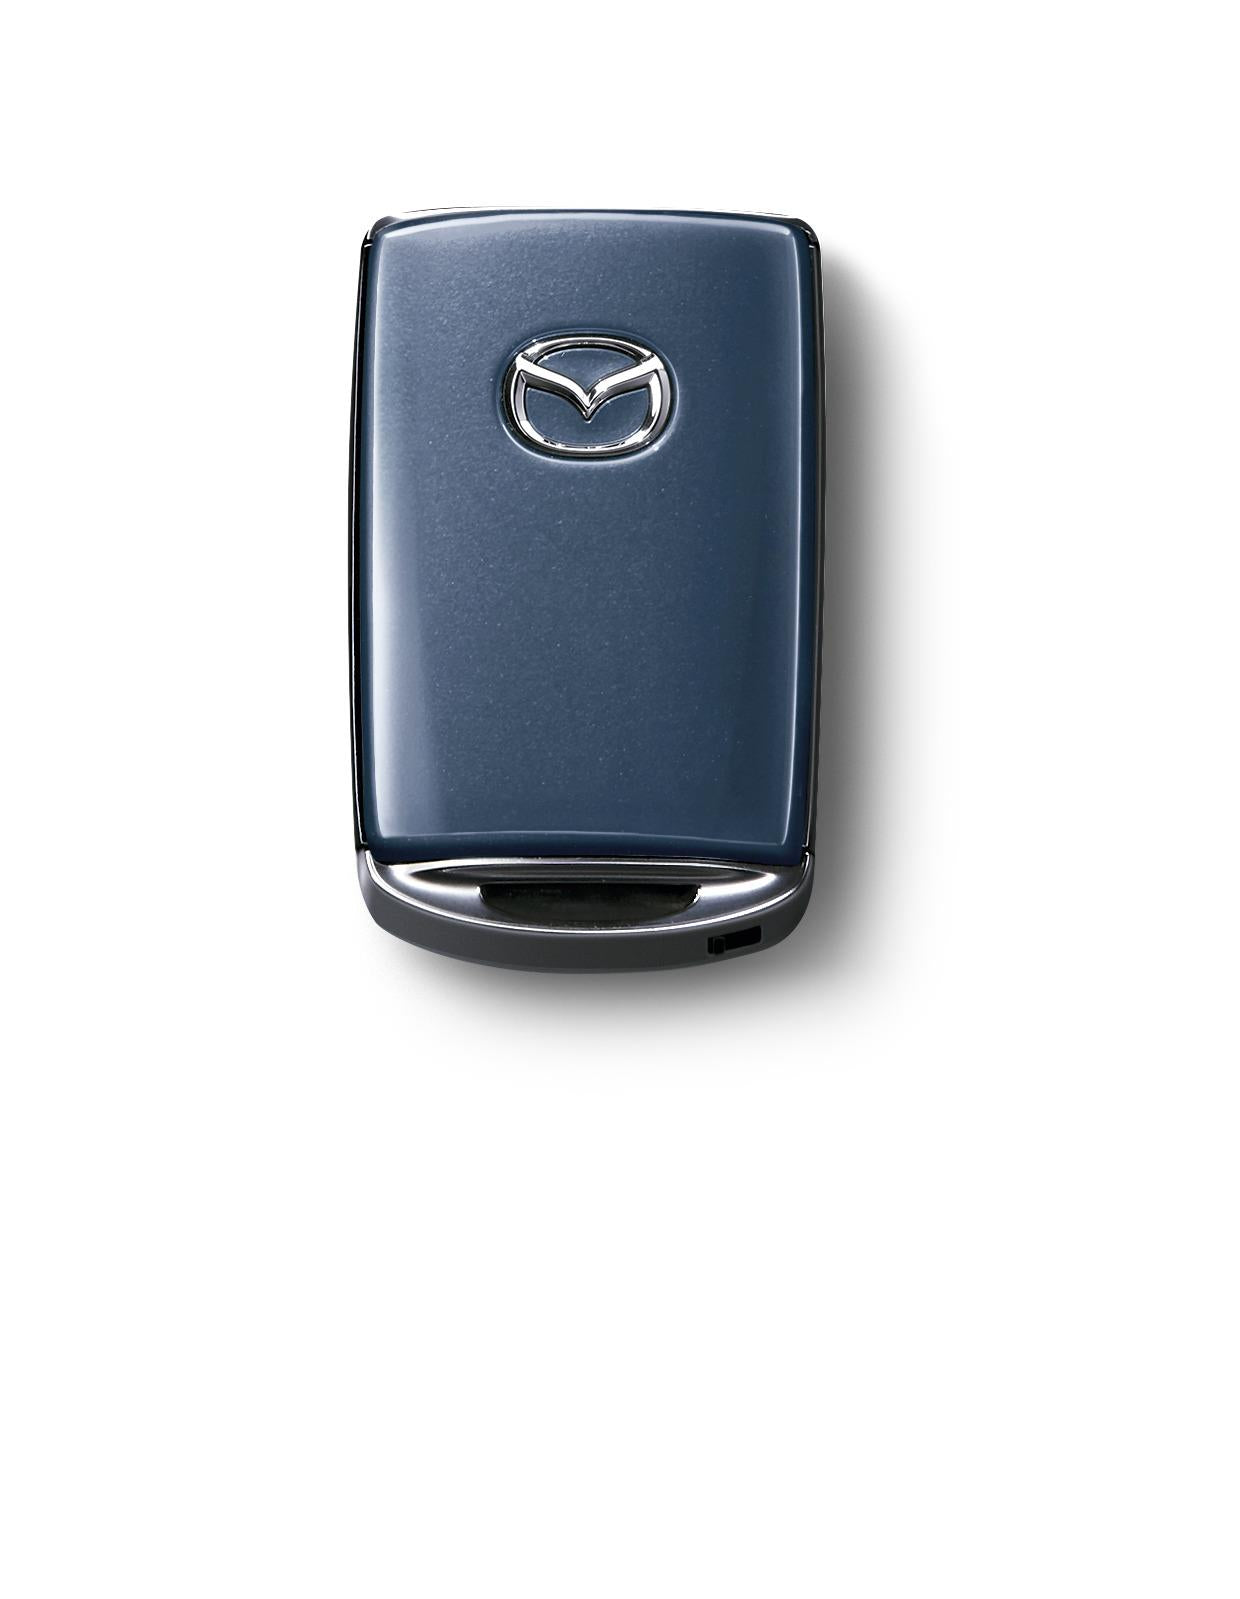
Replacing the battery in your Mazda CX-5 key fob is a straightforward maintenance task that you can complete in minutes without specialized tools. By using a standard CR2032 3V lithium coin battery and following the correct disassembly sequence, you can resolve entry and ignition issues caused by a depleted remote signal, saving you a trip to the dealership.
Understanding Your Mazda CX-5 Key Fob
The Mazda CX-5 utilizes a proximity key system, often referred to as the "Advanced Keyless Entry" system. This sophisticated device communicates with the vehicle’s onboard computer via encrypted radio frequency signals. Unlike older metal keys, this fob contains an internal circuit board powered by a small coin-style battery.
Over time, the chemical composition of the lithium battery degrades, leading to a diminished signal. You may notice that you have to stand closer to the vehicle to lock or unlock the doors, or you might receive a "Key Battery Low" warning message on your Mazda CX-5’s instrument cluster display. In 2026, as these vehicles continue to age, many owners will find themselves needing this maintenance for the first time. Addressing this promptly ensures your vehicle remains reliable, as a dead fob may eventually prevent the push-button start system from recognizing the key inside the cabin.
Prerequisites and Preparation
Before you begin the physical replacement, ensure you have the correct materials. The most common requirement for the Mazda CX-5 key fob—regardless of the model year—is a CR2032 3V lithium coin battery.
It is highly recommended to purchase a high-quality battery from a reputable brand to ensure longevity and consistent voltage output. Cheap, unbranded batteries often have a shorter shelf life and may fail prematurely, forcing you to repeat this process sooner than necessary.
Tools required:
- A small flathead screwdriver (or a sturdy butter knife with a thin tip).
- Your Mazda CX-5 key fob.
- A clean, well-lit workspace to avoid losing the small internal components.
- A microfiber cloth to wipe down the battery contacts if they appear dusty or corroded.
Safety and Handling Precautions
When handling coin batteries, observe standard safety protocols. These batteries are small and present a choking hazard for young children and pets. Always keep the old battery out of reach until it can be properly recycled.
Additionally, avoid touching the flat surfaces of the new battery with your bare fingers if possible. The natural oils and moisture on your skin can create a thin film on the battery, which may interfere with electrical conductivity or encourage premature corrosion over time. Using a pair of plastic tweezers or wearing thin gloves is an excellent practice for longevity. If you must use your fingers, wipe the battery clean with a dry, lint-free cloth before installation.
Step-by-Step Battery Replacement Procedure
Follow these steps carefully to open the housing without damaging the delicate plastic clips or the internal circuit board.
1. Extract the Auxiliary Key
Turn the key fob over so the back is facing up. Locate the small switch or button near the side of the fob. Slide this switch to release the internal mechanical key. Pull the key out and set it aside. This step is mandatory, as the mechanical key effectively locks the outer shell of the fob in place.
2. Open the Fob Housing
With the auxiliary key removed, look at the opening where the key was stored. You will see a small notch or seam along the side. Insert your flathead screwdriver into this seam. Gently twist the screwdriver to pry the two halves of the fob apart. Do not force it; the plastic is designed to snap apart with moderate pressure. If it resists, move the screwdriver slightly and try again.
3. Remove the Internal Component
Once the outer shell is separated, you will see the internal remote unit. You may need to gently lift this unit out of the housing. Be mindful of the rubber button pad, which may fall out if you turn the fob over. Set the buttons aside in a safe place.
4. Replace the Battery
Inside the remote unit, you will see the circular battery secured by a small metal clip or pressure fit. Use your screwdriver to gently pry the old battery out from its cradle. Take note of the orientation; the side with the writing (the positive "+" side) should be facing up or down depending on your specific fob generation. Typically, the positive side faces upward. Insert the new CR2032 battery, ensuring it clicks firmly into place and sits flush with the casing.
5. Reassemble the Fob
Align the two halves of the key fob and press them firmly together. You should hear a distinct "click," indicating that the plastic retention clips have engaged. Reinsert the auxiliary mechanical key into its slot until it clicks, signaling it is locked in position.
Troubleshooting and Verification
If your fob does not work after replacing the battery, consider these common issues:
- Incorrect Orientation: Check that the battery is installed with the correct polarity (+ facing the correct direction).
- Poor Contact: Ensure the metal contact tabs are not bent or obstructed. If they are flattened, gently lift them back up with your screwdriver to ensure they make firm contact with the battery.
- Debris: Dust or lint inside the fob can occasionally interfere with the signal. A quick blast of compressed air can clear the internal cavity.
- Syncing Issues: In rare cases, the fob may lose its pairing if the battery is dead for an extended period. If the car still does not recognize the key, hold the key fob directly against the "Start" button and press it; the vehicle should detect the chip even if the battery is faulty. If this fails, consult your owner's manual for the re-syncing procedure specific to your model year.
Comparison of Key Fob Maintenance Tasks
| Task | Frequency | Difficulty | Tools Needed |
|---|---|---|---|
| Battery Replacement | 2–3 Years | Low | Flathead Screwdriver |
| Button Pad Cleaning | As Needed | Low | Rubbing Alcohol, Cloth |
| Housing Shell Swap | If Damaged | Moderate | Screwdriver, Trim Tool |
| Full Fob Reprogramming | Only if Lost/Broken | High | OBD-II Scanner / Dealer |
Frequently Asked Questions (FAQ)
Does changing the battery delete the fob’s programming? No. Replacing the battery merely provides power to the transmitter. The unique security code that links your fob to your Mazda CX-5 is stored on a non-volatile microchip that does not require electricity to retain its memory.
How do I know if I need a CR2032 or a different battery? The CR2032 is the industry standard for virtually all Mazda proximity keys manufactured over the last decade. You can verify this by checking the underside of your old battery, which will have the model number engraved on its face.
What should I do with the old battery? Do not throw lithium batteries in the general trash. Many local retail stores, electronic shops, and municipal hazardous waste collection sites accept used coin batteries for proper recycling to prevent fire hazards and environmental contamination.
Why does my Mazda CX-5 still say "Key Battery Low" after I changed it? If the warning persists, you likely installed a battery with insufficient voltage or placed it incorrectly. If you are certain the battery is new and oriented correctly, try resetting the system by driving the vehicle for a few miles, which allows the car’s computer to re-verify the key’s voltage levels.
Can I use a rechargeable battery? No. Never use rechargeable coin batteries in your Mazda key fob. The voltage specifications are different from the standard 3V lithium chemistry and can damage the sensitive internal circuitry of the remote.
Final Recommendations
To keep your Mazda CX-5 key fob functioning optimally, treat it as you would any sensitive electronic device. Avoid exposing it to extreme heat, water submersion, or heavy impact. Replacing your battery every 24 to 36 months is a proactive measure that prevents the inconvenience of being locked out of your vehicle. If you frequently use your remote start or proximity unlock features, expect the battery to drain slightly faster, and keep a spare CR2032 battery in your glove compartment for emergencies.